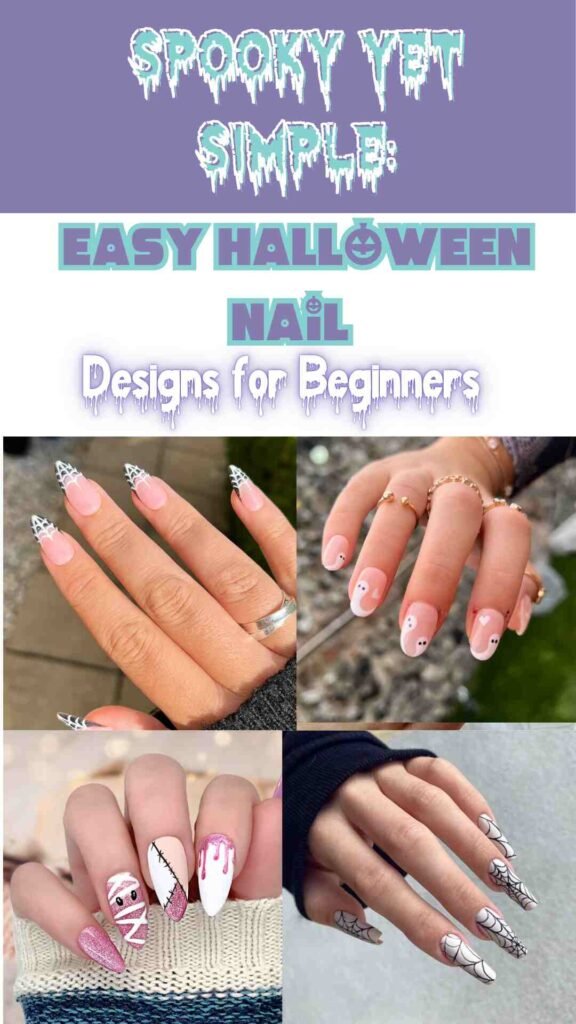
4 Quick and Easy Halloween Nail Art Ideas You’ll Love!
Are you excited for Halloween? I know I am! One of my favorite ways to get into the Halloween spirit is by doing fun and creative nail designs.
In today’s post, I’m going to show you how to create two easy nail designs: Mummy Nails and a Realistic Spider.
Both of these designs are perfect for beginners, so don’t worry if you’ve never done nail art before. Let’s get started!

What You’ll Need:
Here’s a quick list of the tools and supplies you’ll need:
- Brushes:
- A cleanup brush (for fixing mistakes)
- A 9mm liner brush (for details)
- A 12mm liner brush (for longer lines)
- Dotting tool: This is great for making small shapes like eyes.
- Glow-in-the-dark powder (optional but fun!): You can find this online or in stores.
- Gel polish: You’ll need black, white, yellow, and any other colors you like.
Design 1: Mummy Nails
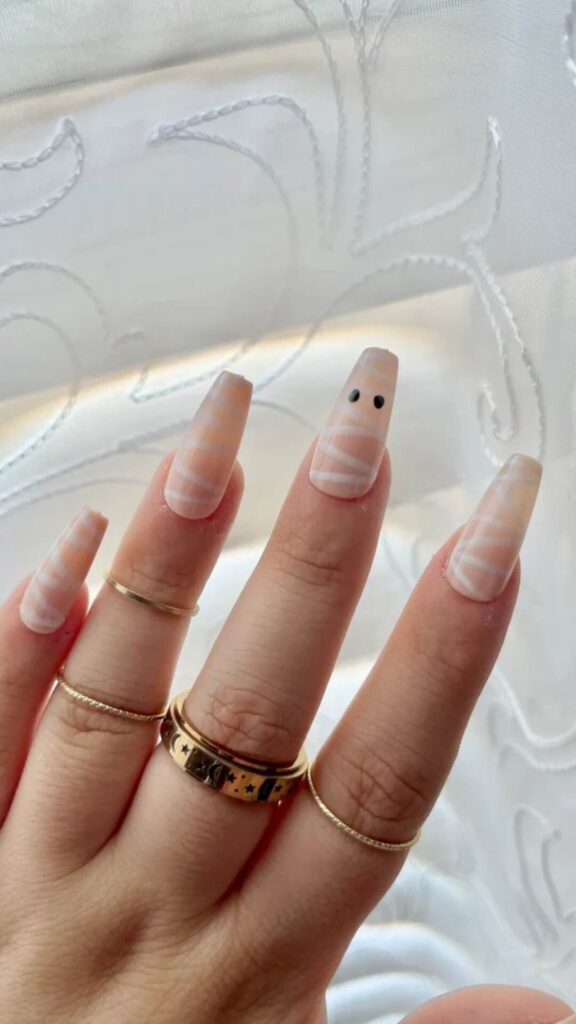
Mummy nails are super cute and really easy to do! You don’t need to be an artist to make these look awesome.

Step 1: Paint Your Nails Black
Start by painting your nails with black gel polish. You can use any brand of gel polish you have at home.
Step 2: Make Glow-in-the-Dark Eyes
Now, if you have glow-in-the-dark powder, mix it with white and yellow gel polish to make glowing eyes. Use the dotting tool to put two small dots on your nail for the mummy’s eyes.
Tip: The glow-in-the-dark effect will really stand out in the dark and add a spooky touch!
Step 3: Add Mummy Wraps
Next, grab your long liner brush and draw random lines across the nails to look like mummy wraps. Don’t worry about being neat—the wraps should look messy, just like real bandages.
Step 4: Finish the Eyes
Use the smaller end of your dotting tool to add black dots in the center of the eyes for the pupils. If you want the mummy to look cute, make the pupils big. If you want a creepier look, make them smaller.
Step 5: Add a Top Coat
Finally, apply a top coat to protect your design. You can make it matte for a smooth, soft finish, or leave it glossy for a shiny look. Both are cool, so it’s totally up to you!
Design 2: Realistic Spider
This next design might look tricky, but I’m going to show you some easy steps to make it simple.

Step 1: White Base Coat
First, paint your nails with a milky white gel polish. Apply two or three coats to make sure it’s smooth.
Step 2: Create the Spider’s Body
For the spider’s body, use your liner brush to draw an oval shape on the nail. It doesn’t have to be perfect—just make it kind of round, like a squished circle.
Step 3: Add the Spider Legs
Now for the legs! Start by drawing four legs on each side of the body. Try to make the front and back legs a little longer than the ones in the middle. This will make the spider look more realistic.
Tip: To make the legs look more real, bend them a little bit, just like a real spider’s legs bend at the joints.
Step 4: Add Shadows and Highlights
To make the spider really stand out, add a shadow underneath the legs. You can mix a little black polish with a top coat to make a light gray color for shading. Then, use white polish to add some highlights on the body and the tops of the legs to make it look like light is shining on the spider.
Step 5: Glossy Finish
If you want to make the spider look extra creepy, use a glossy top coat on the body and legs to give them a shiny, wet look. You could even use 3D gel to make the spider pop off the nail a bit more.
Bonus Design: Spooky Ghost Nails
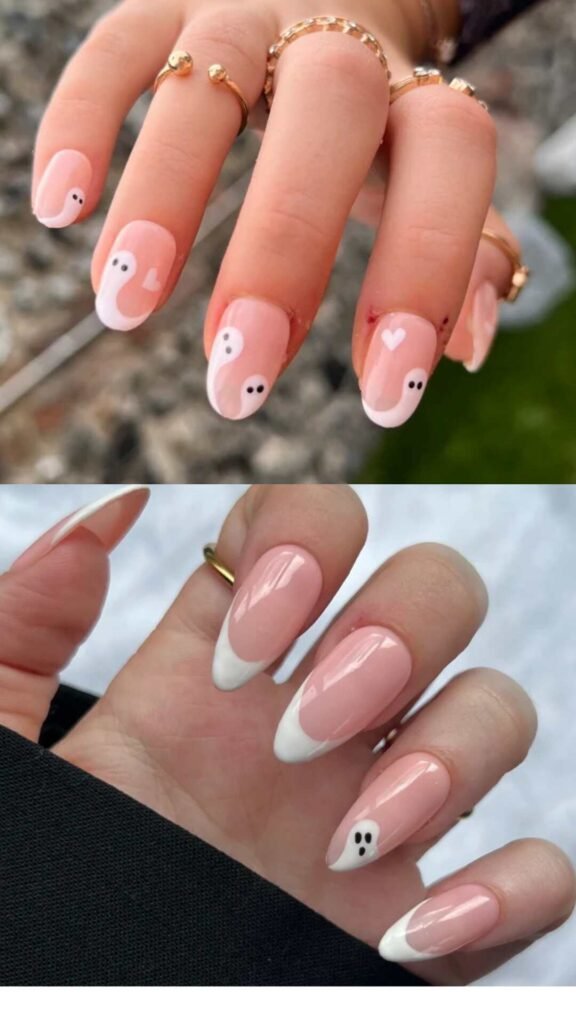
Want something a little more spooky but still fun? Let’s try making some ghosts!

Step 1: Start with an Orange Base
Paint your nails with an orange gel polish. This bright color will make your ghosts stand out. Two coats will give you a good, bold color.
Step 2: Paint the Ghosts
For the ghost bodies, use white gel polish. Make the body long with a wavy, frayed bottom to make them look spooky. You don’t need to add arms—just focus on the long, ghostly body.
Tip: Make the eyes droopy and the mouth small for a creepier look. If you want a cute ghost, you can make the eyes bigger.
Step 3: Add Some Fog
To give your ghost nails a little extra something, add some fog in the background. Dip your brush in alcohol and blend a little white polish to create a soft, misty look behind the ghosts.
Spider Web Design: Tips and Tricks
Spider webs are another fun Halloween design. Here are a few tips to make your web look just right:

Use the Right Brushes
- Use a long brush for the main lines of the web. This will help you make long, smooth lines.
- For the smaller, connecting lines, switch to a shorter brush. This gives you more control and helps make the web look neat.
How to Get Thin, Even Lines
When drawing the web, don’t load too much gel polish on your brush. You want just a small amount so that the lines stay thin and even. Take your time, and your spider web will come out perfect!
Final Thoughts
Halloween nail designs are so much fun and a great way to get into the spooky season! Whether you go for mummy wraps, creepy spiders, or cute ghosts, I know you’ll have a blast trying these out.
If you give these designs a try, let me know how it goes! Feel free to ask questions in the comments if you need help. And don’t forget to check back for more fun fall and Halloween nail ideas. I’ve got lots more planned, including 3D Halloween nail art and even some Christmas nail designs!
Happy painting, and have a spooky, fun Halloween!
| Product Type | Products Needed Get on Amazon |
|---|---|
| Nail Polish | Purple, White, Black |
| Nail Polish | Orange, Yellow, White |
| Nail Polish | Matte White |
| Nail Stickers | Bat, Ghost, Spider, Moon, Stars |
| Nail Art Tools | Black Dotting Tool, Thin Brush |
| Nail Art Brush | Fine-tipped Brush |
| Dotting Tools | Dotting Tool for Eyes and Shapes |
| Nail Sponge | Sponge for Gradient |
| Matte Top Coat | Matte Top Coat |
| Glossy Top Coat | Glossy Top Coat |
| Clear Adhesive | Clear Adhesive for Stickers |
| Floral Nail Decals | Floral Decals |
| Nail Tape | Nail Tape for Clean Lines |
| Fine Glitter Polish | Fine Glitter Accent Polish |
| 3D Eye Stickers | Googly Eyes or 3D Stickers |
| Black Spider Nail Stickers | Spider Stickers |
| Pumpkin Face Stencils | Pumpkin Stencils |
| Bat Nail Stickers | Bat Stickers |
| Ghost Nail Stickers | Ghost Stickers |
| Moon and Stars Nail Stickers | Moon and Stars Stickers |
