Hey there, ghouls and goblins! It’s your friendly neighborhood Halloween fanatic, Roshan Sharma, here to make your spooky season unforgettable. 🎃
Is the rain pouring down, trapping your little monsters inside with nothing to do? Maybe you’re looking for a perfect Halloween craft that’s more cute than creepy and won’t break the bank. You need something simple, fun, and a great way to bond as a family. 🎉
Well, you’ve come to the right haunted house! I’ve run this activity in workshops for years, and it’s always a monstrous hit. We’re going to turn those lonely, mismatched socks into a crew of adorable monster puppets that will spark hours of creative play. Let’s get crafting! 👻
Activity At-a-Glance
- Best For 👨👩👧👦: Rainy day fun, pre-Halloween crafting, creative playtime, family bonding
- Time Required ⏳: Approx. 30-60 minutes (plus drying time)
- Budget Level 💰: Low-Cost
- Spookiness Level 👻: Low
What You’ll Need for Your Adorable Monster Sock Puppets 📋
- Clean, mismatched socks (calf-length or longer work best) 🧦
- Googly eyes (various sizes) or white/black felt for eyes 👀
- Felt scraps (various colors for mouths, tongues, horns, hair)
- Yarn, pipe cleaners, or fabric scraps for hair/decorations 🧶
- Craft glue (non-toxic, washable) or fabric glue
- Scissors (child-safe scissors for older kids, adult supervision for younger) ✂️
- Optional: Fabric markers, glitter glue, pom-poms, buttons, sequins ✨
Preparation & Setup: Creating the Spooky Scene
Before the monster-making madness begins, let’s set the stage! Find a clean, flat surface like a kitchen table or a spot on the floor with good lighting. I always lay out all the materials in little piles or bowls so the kids can see all their options—it gets their creative gears turning right away!
To really get into the spirit, I love putting on a fun, not-too-spooky Halloween playlist in the background. Think “Monster Mash” or the Ghostbusters theme song. It instantly makes everything more festive!
Pro Tip 💡: An old newspaper or a cheap plastic tablecloth is your best friend here. It will protect your table from the inevitable glue drips and make cleanup a breeze. Trust me, you’ll thank me later!
How to Lead the Adorable Monster Sock Puppets Activity: Step-by-Step 🚀
Step 1: Gather Your Monster-Making Materials
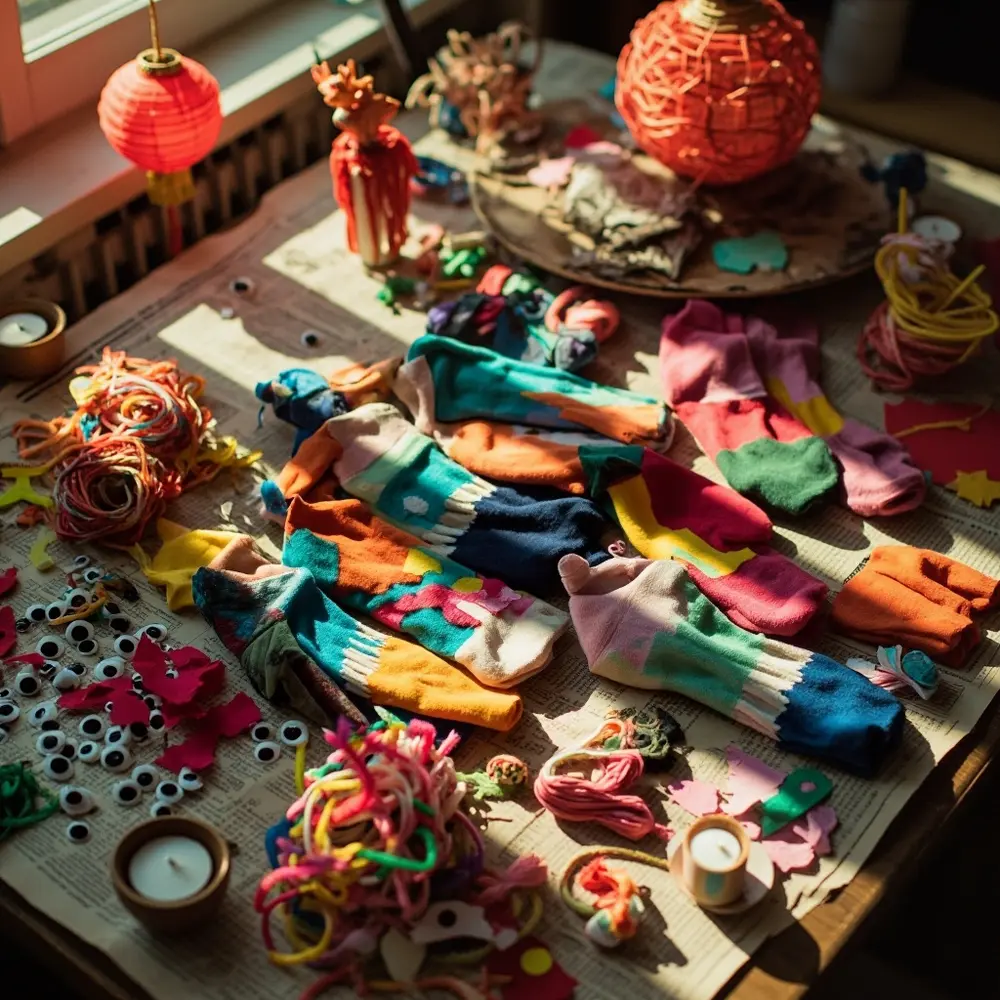
First things first, let your little creators survey their treasure trove! Lay out the socks, the googly eyes of all sizes, the colorful felt scraps, and all the other goodies. Encourage them to pick a sock that speaks to them and start imagining what kind of monster it will become. Will it be a grumpy green one? A silly, three-eyed purple one? The possibilities are endless!
Image-1: A vibrant, top-down shot of various colorful socks, googly eyes, felt scraps, yarn, and craft glue neatly laid out on a table covered with newspaper.
Step 2: Prepare Your Sock Base
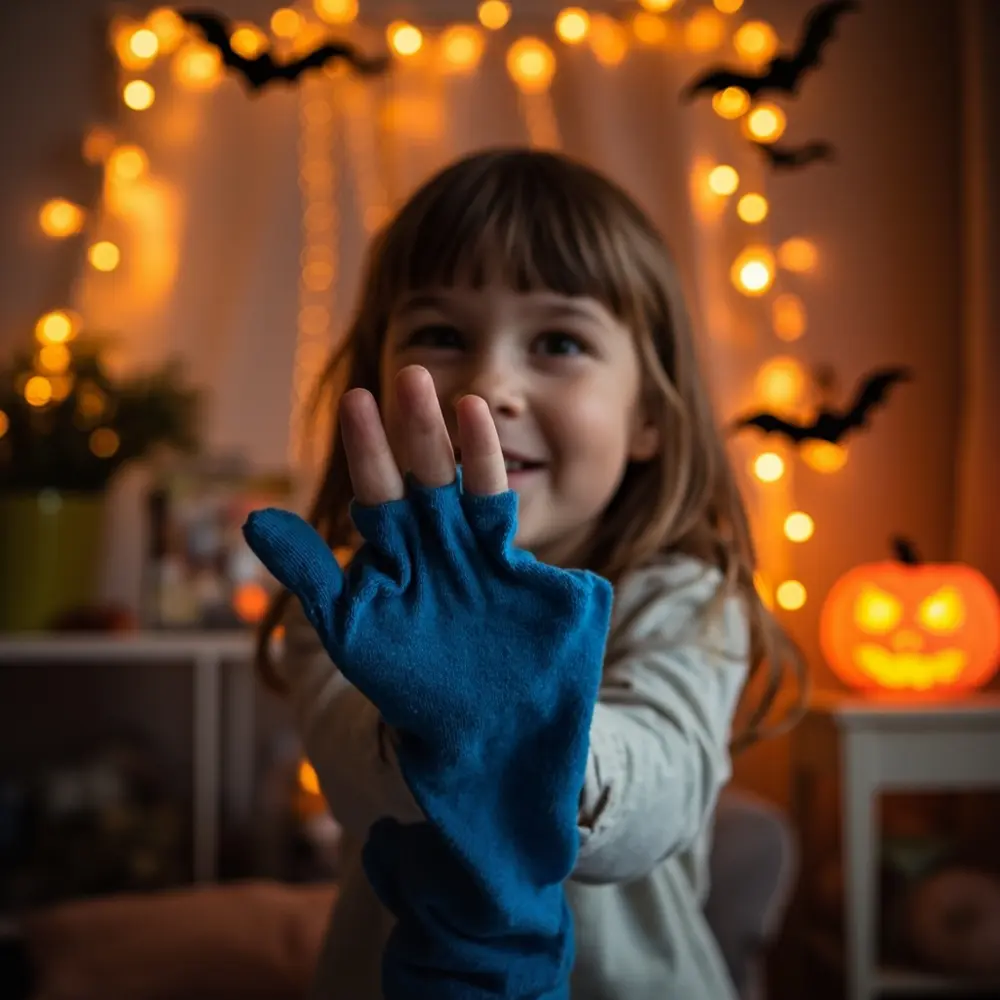
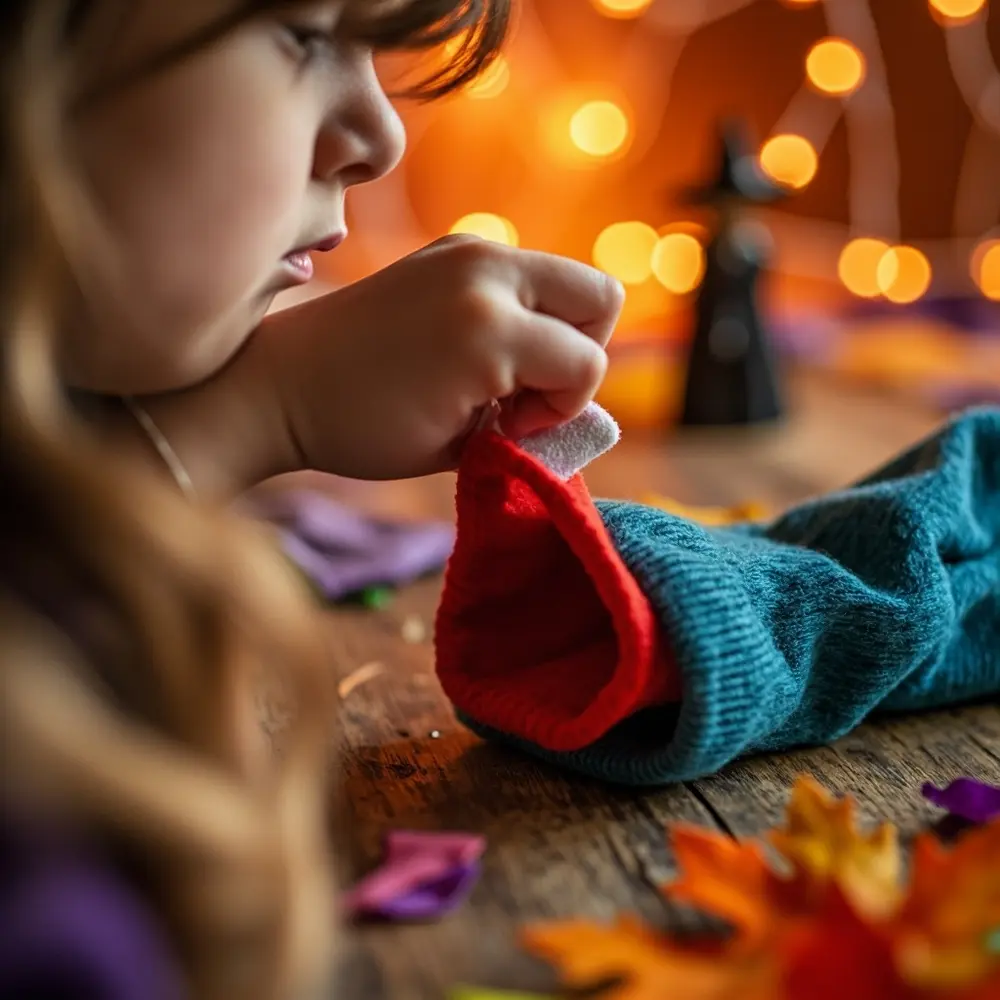
This is where the magic begins. Have your child slide their hand into the sock. Show them how to make a “C” shape with their hand so their fingers are on top and their thumb is on the bottom, creating a mouth. The heel of the sock should naturally form the back of the puppet’s head, and the toe section will be the perfect spot for the mouth. Let them practice opening and closing the mouth a few times to get the feel of it.
Image-2: A close-up photo of a child’s hand inside a bright blue sock, demonstrating how to fold their hand to shape the puppet’s mouth opening.
Step 3: Give Your Monster Some Eyes
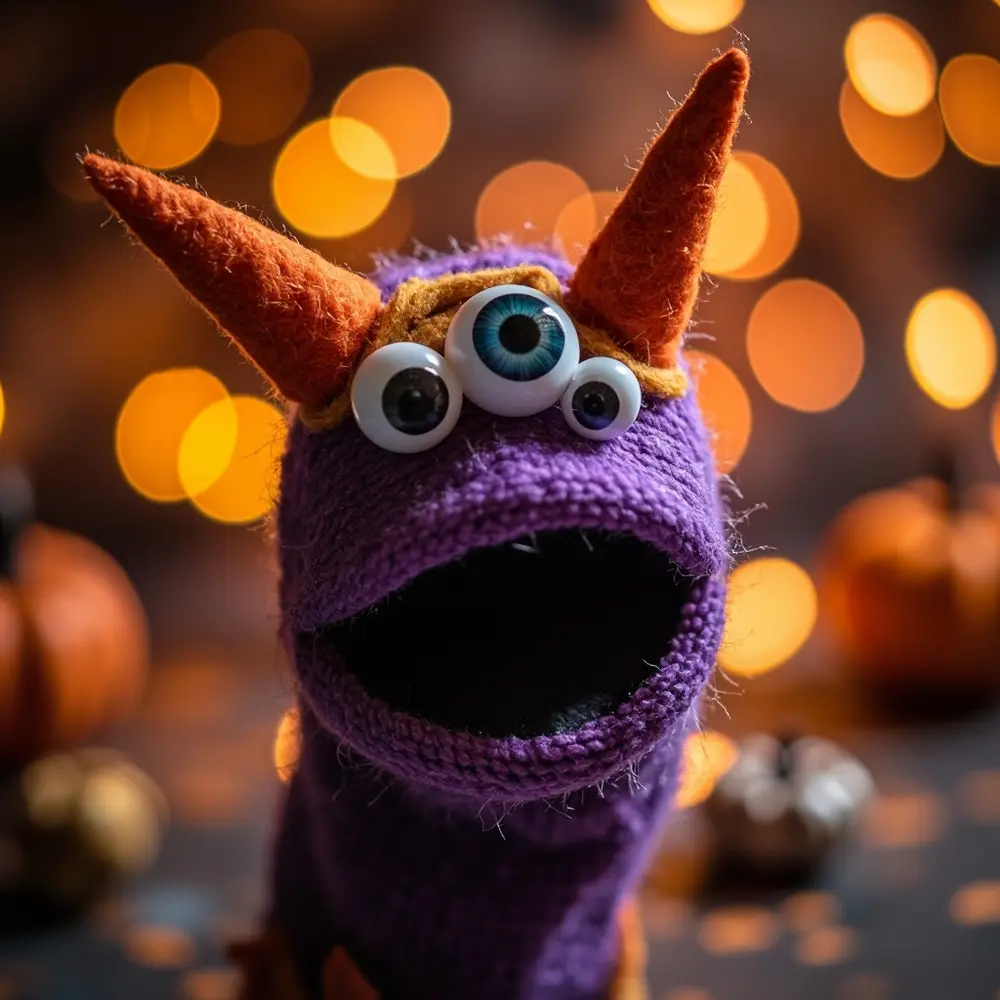
Now for the personality! It’s time to add the eyes. You can use classic googly eyes for a wacky look or cut out circles from white and black felt for a softer feel. Let your kids decide! Do they want one giant cyclops eye, two mismatched eyes, or maybe five eyes all in a row? A dab of glue is all it takes to bring their vision to life.
Note 📝: Please keep a close eye on your youngest crafters when using small parts like googly eyes or buttons, as they can be a choking hazard. Always use non-toxic glue!
Image-3: A photo showing a child’s hands carefully gluing two large googly eyes onto the top part of a striped sock puppet.
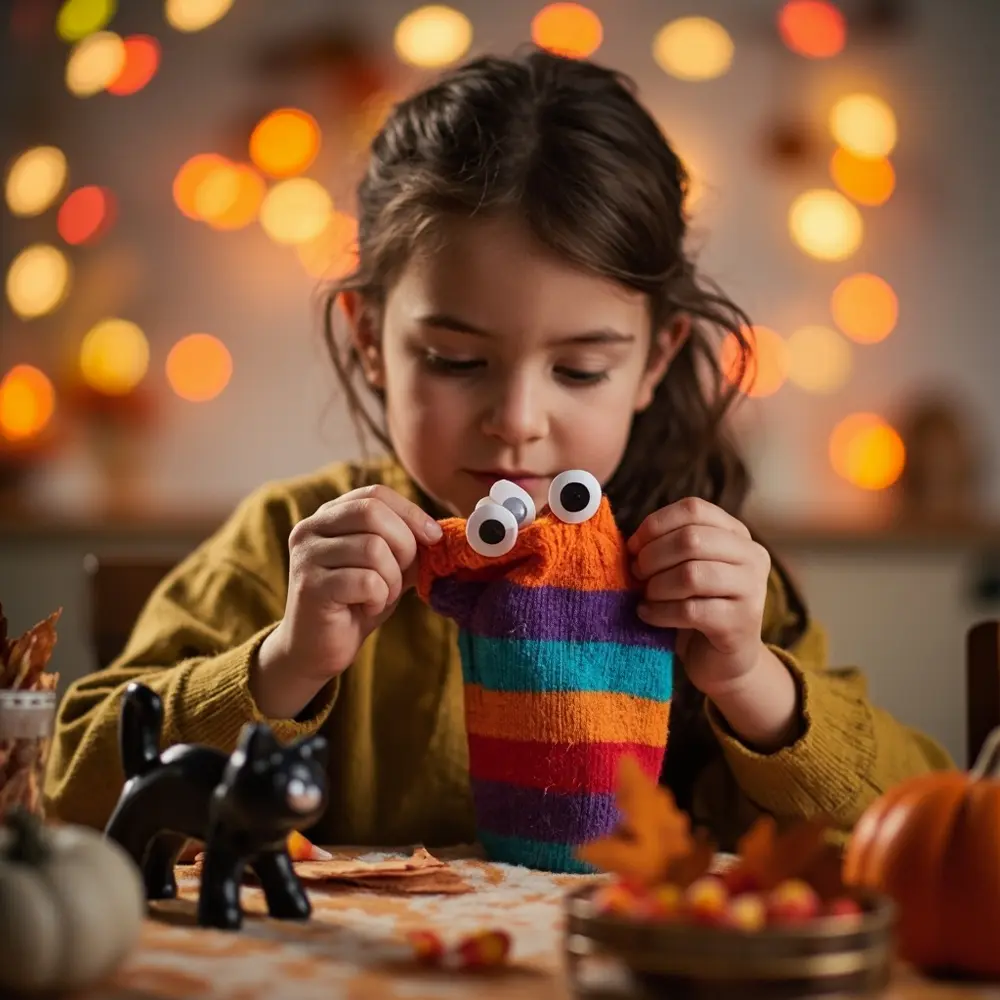
Image-4: A close-up of a finished puppet head showing three different-sized googly eyes placed asymmetrically for a funny, monstrous look.
Step 4: Craft a Monster Mouth & Tongue
A monster needs a mouth to roar (or say silly things)! Cut a half-moon or oval shape from a piece of felt—red, black, or pink works great. Then, cut a smaller, skinnier shape for a tongue. Carefully glue the larger mouth piece inside the “mouth” you formed with your hand on the toe-end of the sock. Then, stick the tongue on top!
Image-5: A photo showing a red felt oval being glued inside the sock’s toe fold, creating the puppet’s mouth opening. A little pink felt tongue is ready to be glued on next.
Step 5: Add Fun Monster Details
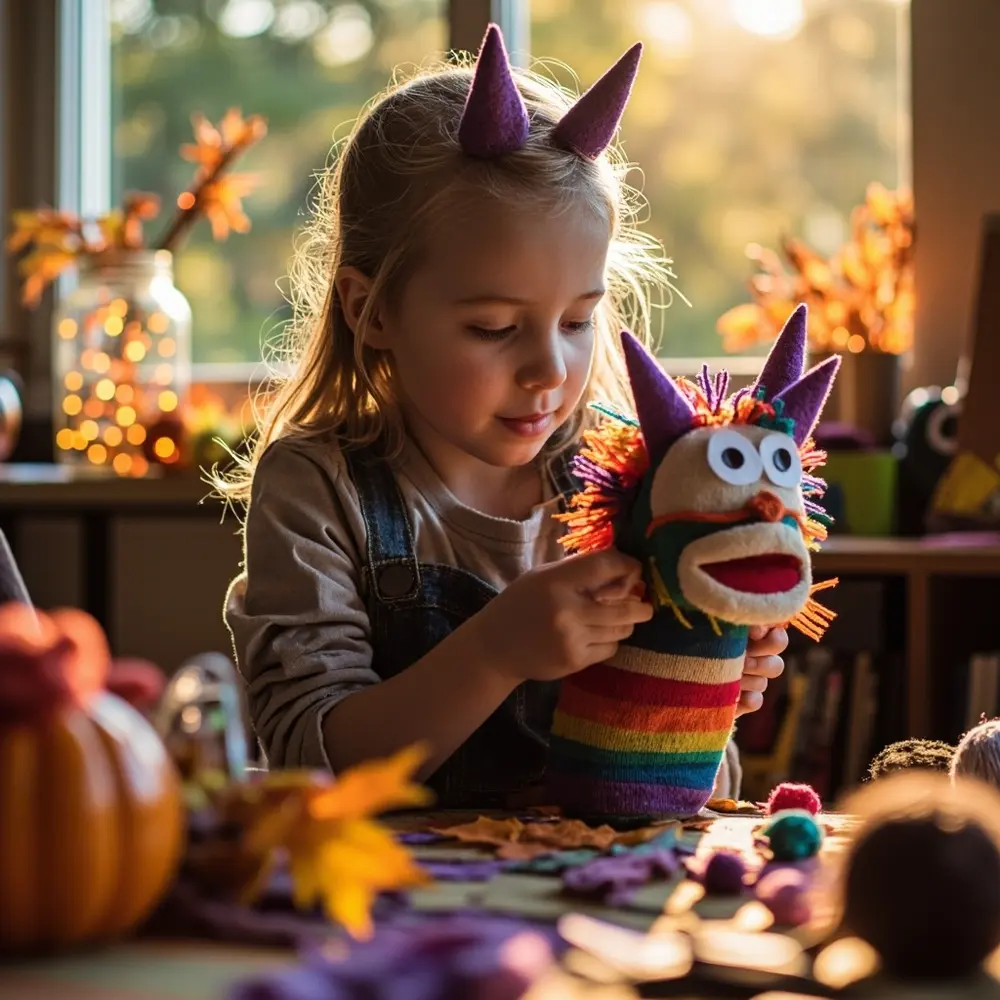
This is my favorite part—unleash the creativity! Use yarn or pipe cleaners for wild, spiky hair. Cut out felt triangles for horns, pointy ears, or even dragon-like scales. Fabric markers are perfect for adding spots, stripes, or freckles. Pom-poms can become noses, and glitter glue can add a touch of sparkle. Encourage them to go wild!
Image-6: A photo of a partially completed sock puppet with eyes and a mouth, while a child is gluing on colorful orange yarn for hair.
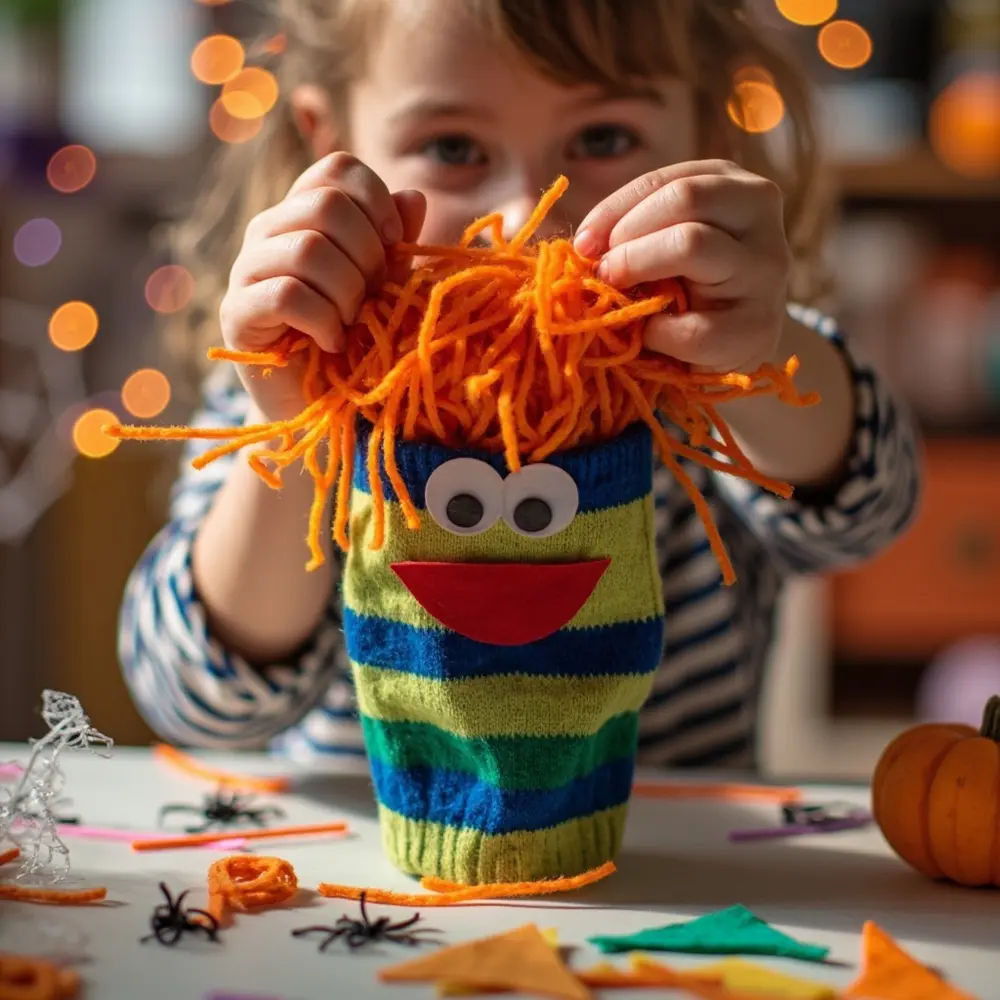
Image-7: Another angle showing a child adding purple felt triangles as horns to the top of their puppet’s head.
Step 6: Bring Your Adorable Monster to Life!
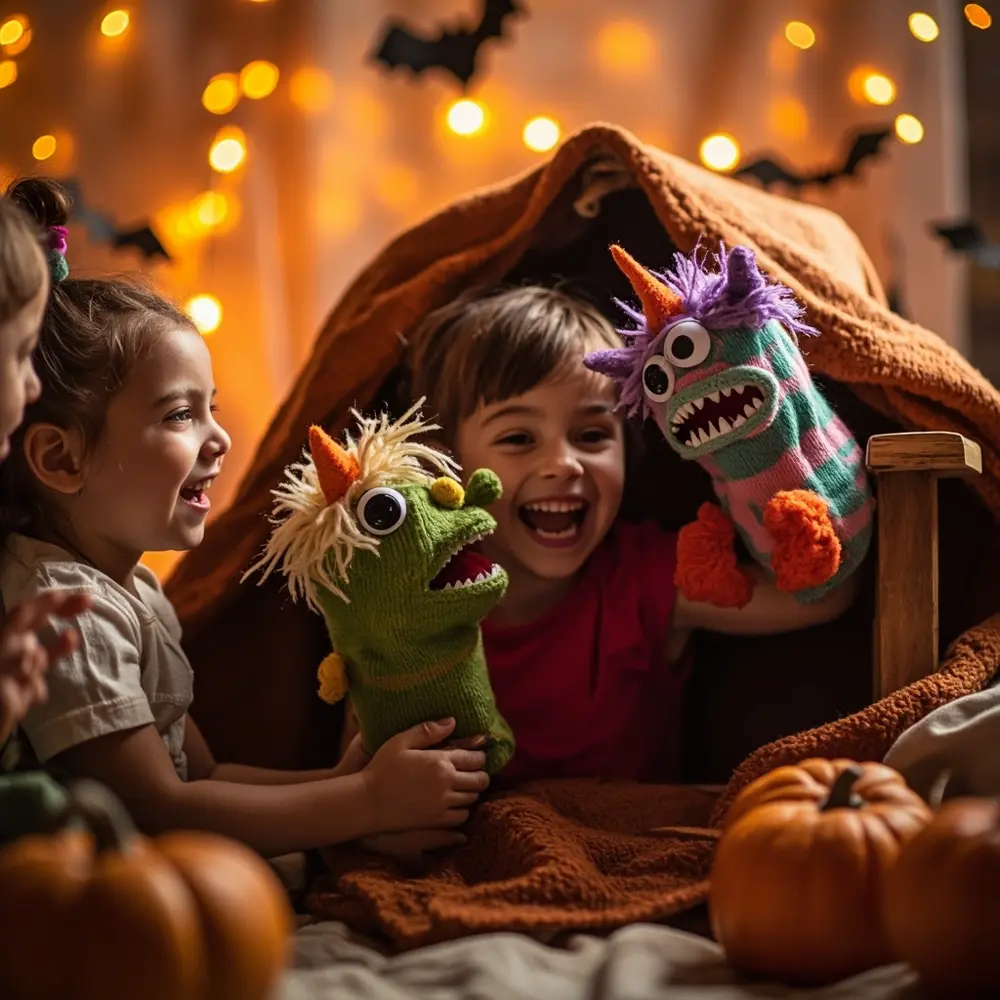
Once all the decorations are glued on, set the puppets aside to dry completely. This is the hardest part—the waiting! Once they’re ready, it’s showtime! Encourage your kids to give their monsters names and voices. Put on a puppet show, have the monsters introduce themselves, or just have fun making them “talk” to each other.
Image-8: A joyful shot of two or three completed, colorful, and unique monster sock puppets on children’s hands, playfully interacting with each other in front of a makeshift curtain (a blanket over a chair).
Making Your Monster Puppets Safe and Fun for Every Little Creator
As someone who’s taught workshops to kids of all ages, I know one size doesn’t fit all! Here’s how you can adapt this activity to be perfect for your little creator:
- For Toddlers (Ages 2-4): Safety and simplicity are key! Pre-cut the felt shapes (mouths, horns) for them. Instead of liquid glue, which can get messy, try fabric glue dots or double-sided fabric tape. Stick to larger decorations like big pom-poms and avoid small googly eyes—use large felt circles instead. Your role will be more hands-on, but they will love picking the colors and placing the pieces.
- For Older Kids (Ages 5+): Let them take the lead! They can handle child-safe scissors to cut their own felt shapes, which is great for developing fine motor skills. Encourage them to try more intricate designs, like adding felt fangs, eyebrows for different expressions, or even sewing on buttons for eyes (with your supervision, of course!).
Variations & Customizations to Haunt Your House
- Glow-in-the-Dark Monsters: Use glow-in-the-dark fabric paint or glue to add spots, stripes, or outline the eyes. Charge them under a lamp and then turn off the lights for a spooky surprise! 🌟
- Storytelling Prompts: Create a “story jar” with little slips of paper inside. Prompts like, “Your monster found a magic key,” or “Your monster is afraid of tickles,” can inspire some hilarious puppet shows. 🎭
- No-Sew Options: For the quickest and easiest version, stick entirely to glue and felt. It’s perfect for younger kids or when you’re short on time.
- Theme-Specific Puppets: Don’t stop at generic monsters! Try making vampire puppets with little white felt fangs, witch puppets with a tiny felt hat, or ghost puppets using plain white socks and simple black felt eyes. 🧛♀️
Theme Twist 💡: Why not create a whole family of monster puppets? My niece and I did this last year. We made a dad monster with a pipe cleaner mustache, a mom monster with fabulous yarn hair, and a little baby monster from one of her old baby socks. They had a blast “meeting” each other in a puppet show later!
Halloween Activity FAQs ❓
#### Q1: What kind of socks work best for these puppets?
From my experience, clean, calf-length or knee-high socks work best because they give you plenty of room to decorate. Stretchy cotton socks are great, and don’t be afraid to use ones with wild colors or patterns—they make for the most unique monsters!
#### Q2: How long does the glue take to dry completely?
It depends on the glue you use and how thickly you apply it. Standard non-toxic craft glue might take 1-2 hours to be handleable, but I recommend letting it dry overnight to make sure everything is super secure before a vigorous puppet show begins. Always check the instructions on the glue bottle!
#### Q3: Can we wash the sock puppets after we make them?
Unfortunately, most of these monster creations are not machine washable, as the glue will likely dissolve and the decorations will fall off. I’d recommend spot-cleaning with a damp cloth if they get a little dirty. Think of them as works of art!
Conclusion
And there you have it—a simple, inexpensive, and ridiculously fun way to spend an afternoon creating memories and a whole cast of adorable monsters! I absolutely love this activity because it’s not just about making a craft; it’s about unlocking your child’s imagination and setting the stage for storytelling and play. Seeing the unique personality each kid gives their puppet is pure Halloween magic. ✨
I hope you and your family have a blast bringing your fuzzy, googly-eyed friends to life. Create a whole monster crew, put on a show, and embrace the silly, spooky fun.
Now I have to ask: What’s the first thing your new monster puppet is going to say? Let me know in the comments below! 💬
