H1: Your Guide to a No-Carve Pumpkin Painting Party
Hey there, ghouls and goblins! It’s Roshan, your friendly neighborhood Halloween fanatic, and I can practically smell the pumpkin spice and autumn leaves in the air. Are you dreaming of a fun, festive Halloween activity but dreading the thought of sharp carving tools and pumpkin guts all over your kitchen? 🔪
Let’s be real—the idea of giving a little one a knife can be more terrifying than any haunted house. You want all the creative fun and family bonding, but without the mess and the safety stress. It’s a classic Halloween dilemma! 😱
Well, you’ve come to the right spooky spot! I’m here to solve your pumpkin problems with the ultimate guide to hosting a no-carve pumpkin painting party. It’s a safe, clean-ish, and wonderfully creative way for everyone, from toddlers to grandparents, to make some Halloween magic together. 🎉
Activity At-a-Glance
- Best For 👨👩👧👦: Kids’ parties, family fun, classroom activities, playdates
- Time ⏳: Approx. 1.5 – 2 hours (including setup & cleanup)
- Budget Level 💰: Low-Cost / Moderate
- Spookiness Level 👻: Low (but can be cranked up!)
H2: What You’ll Need for Your Pumpkin Painting Party 📋
Here’s your shopping list for a spooktacular painting session. I’ve run dozens of these parties, and this is the gear that guarantees success!
- Pumpkins 🎃: Grab various sizes! Small sugar pumpkins are perfect for little hands. Make sure they are cleaned and completely dry.
- Washable Acrylic Paints 🎨: Non-toxic is a MUST. Get a rainbow of colors, including black, white, orange, and green.
- Paintbrushes 🖌️: A mix of sizes is great. I always include cheap foam brushes for applying easy base coats.
- Paint Palettes or Paper Plates 🍽️: For doling out paint without making a giant mess.
- Water Cups 💧: Old yogurt containers work perfectly for rinsing brushes.
- Paper Towels or Old Rags 🧻: For spills, blunders, and creative blotting techniques.
- Surface Covers 🗞️: Newspapers, old sheets, or plastic tablecloths are your best friends here.
- Art Smocks or Old T-shirts 👕: Because paint has a mind of its own, especially around kids.
- Permanent Markers ⚫: A black marker is perfect for drawing faces or outlining designs before painting.
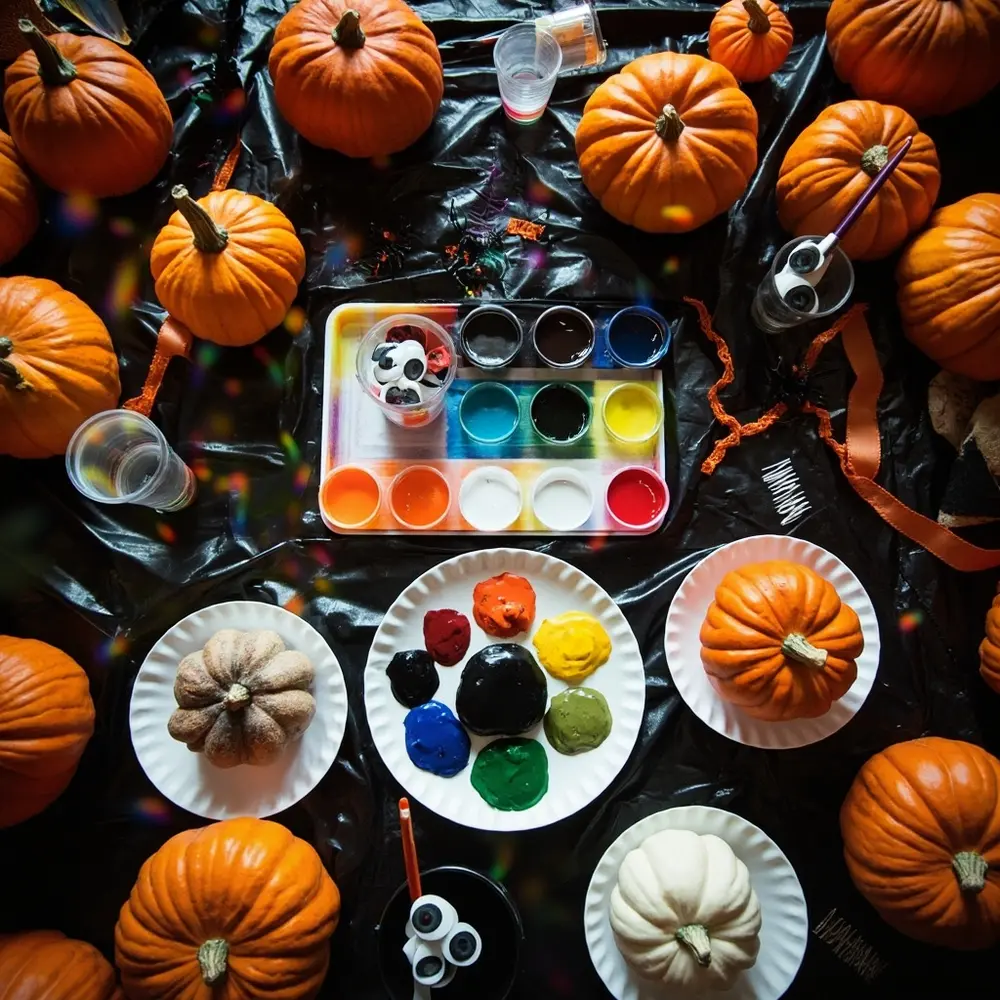
- Optional Embellishments ✨: Googly eyes, glitter (if you’re brave!), craft glue, stickers, yarn for hair, and puff balls.
Image-1: A vibrant, top-down shot of all the party supplies neatly arranged on a table: colorful paints, brushes, clean pumpkins, and a bowl of googly eyes.
H2: Preparation & Setup: Creating the Spooky Scene 🕸️
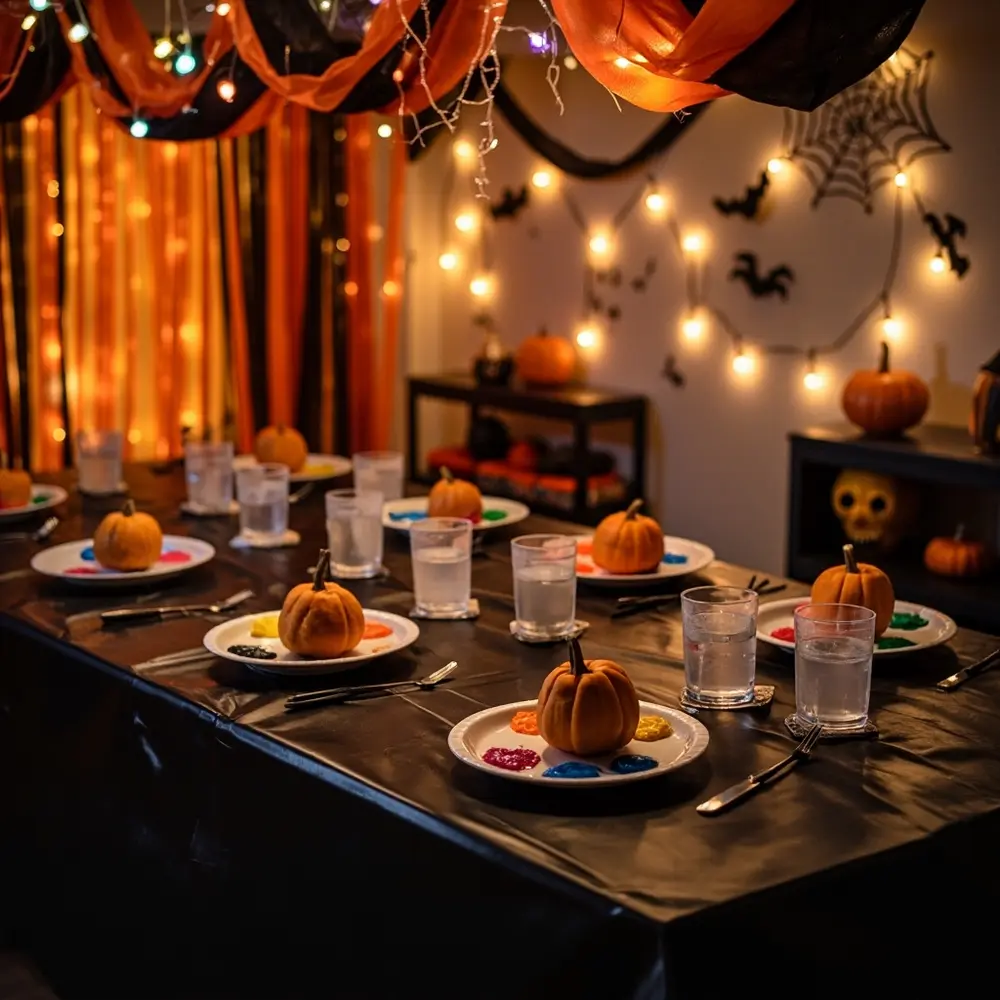
Alright, let’s set the stage for creativity! The key to a low-stress party is preparing your “art studio” ahead of time. Cover your table and a good portion of the floor below it with your chosen covering. Trust me, paint will find its way to the floor. Set up an individual station for each little artist: a pumpkin, a paper plate palette with a few dollops of primary colors, a water cup, and a couple of brushes.
To really get into the spirit, dim the lights and turn on a Halloween playlist! I love the instrumental soundtracks from classic spooky movies. It creates an atmosphere of fun and mystery that gets everyone excited to start.
Pro Tip 💡: Drape orange and black streamers around the party area or scatter some fake spiderwebs (away from the paint!) for a simple, high-impact decoration. My niece loves helping with this part!
Image-2: A photo of a fully prepped party space. A table is covered with a black plastic cloth, with individual painting stations neatly set up. Orange and black streamers hang in the background.
H2: How to Lead the Pumpkin Painting Party: Step-by-Step Guide 🚀
H3: Step 1: Prep Your Pumpkins & Party Zone
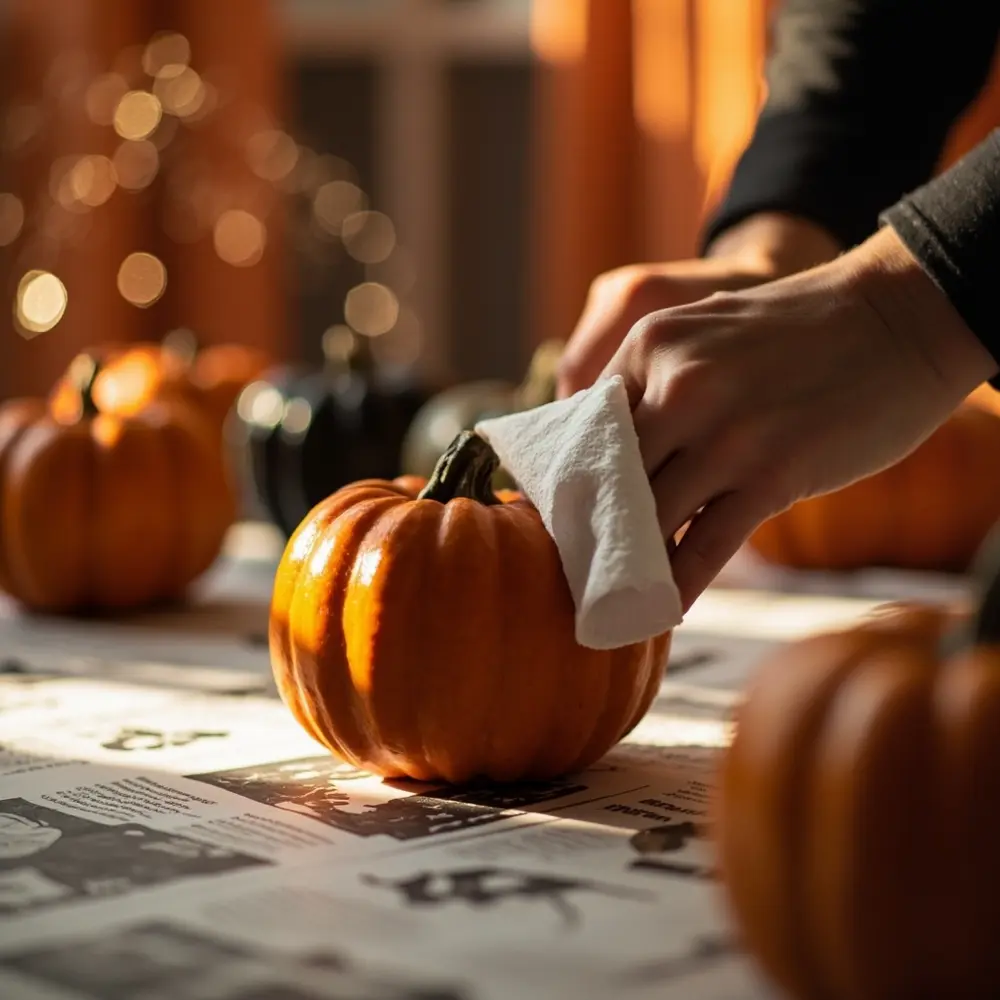
Before your guests arrive, make sure every pumpkin is wiped clean and totally dry. Any dirt or moisture will make the paint peel right off. This is also your last chance to double-check your stations. Are the water cups filled? Is there a paper towel for each person? Having everything ready makes you look like the super-organized host you are!
Image-3: A close-up shot of hands wiping a small, clean pumpkin with a dry paper towel, with other prepped pumpkins in the background.
H3: Step 2: Unleash the Creativity!
This is the fun part! Encourage everyone to think about their design first. They can use a pencil or a permanent marker to lightly sketch an outline on their pumpkin. This is a game-changer for kids who want to create a specific character.
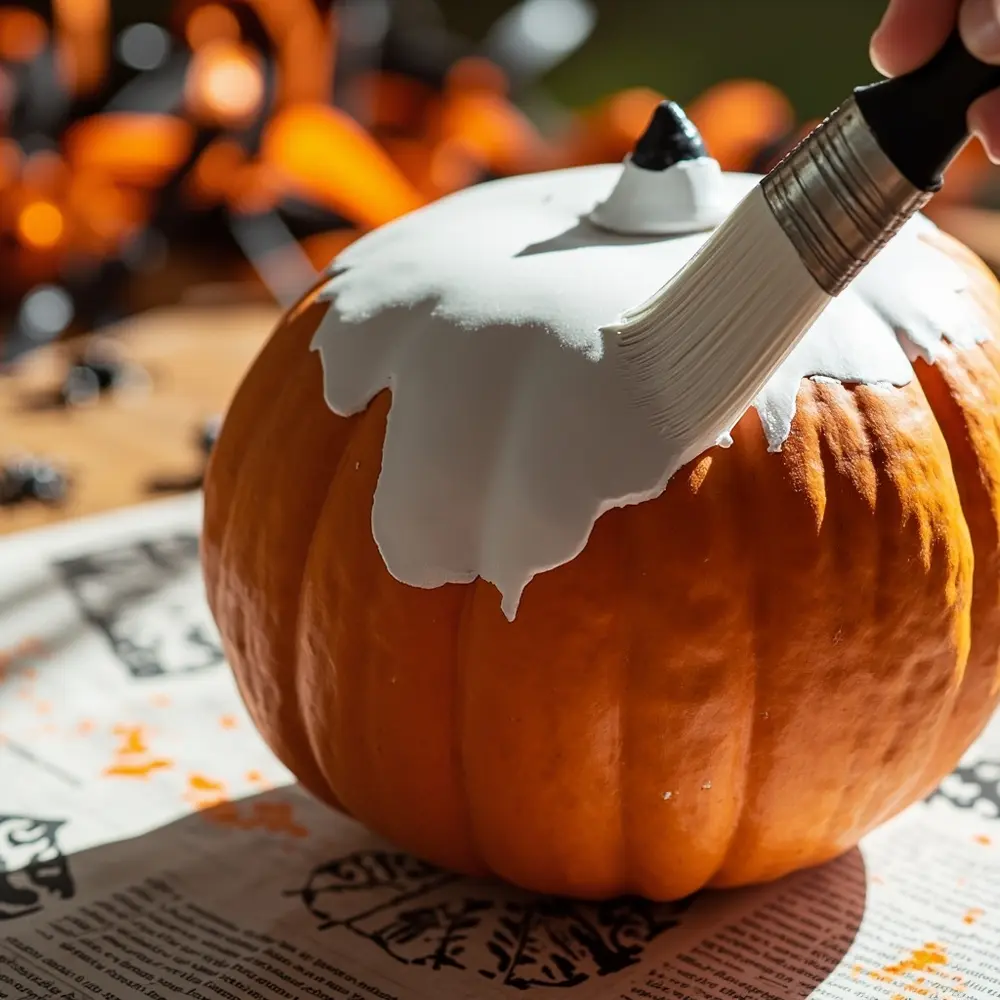
Guide them to start with a base coat if they want to change the pumpkin’s color completely. A layer of white paint first can make other colors pop! Let them know it’s okay for layers to dry a bit in between. While one side is drying, they can work on the other.
[Caution]: Please supervise young children closely to ensure they don’t put paint or brushes in their mouths. While we’re using non-toxic paints, it’s always better to be safe! Good ventilation is also a plus.
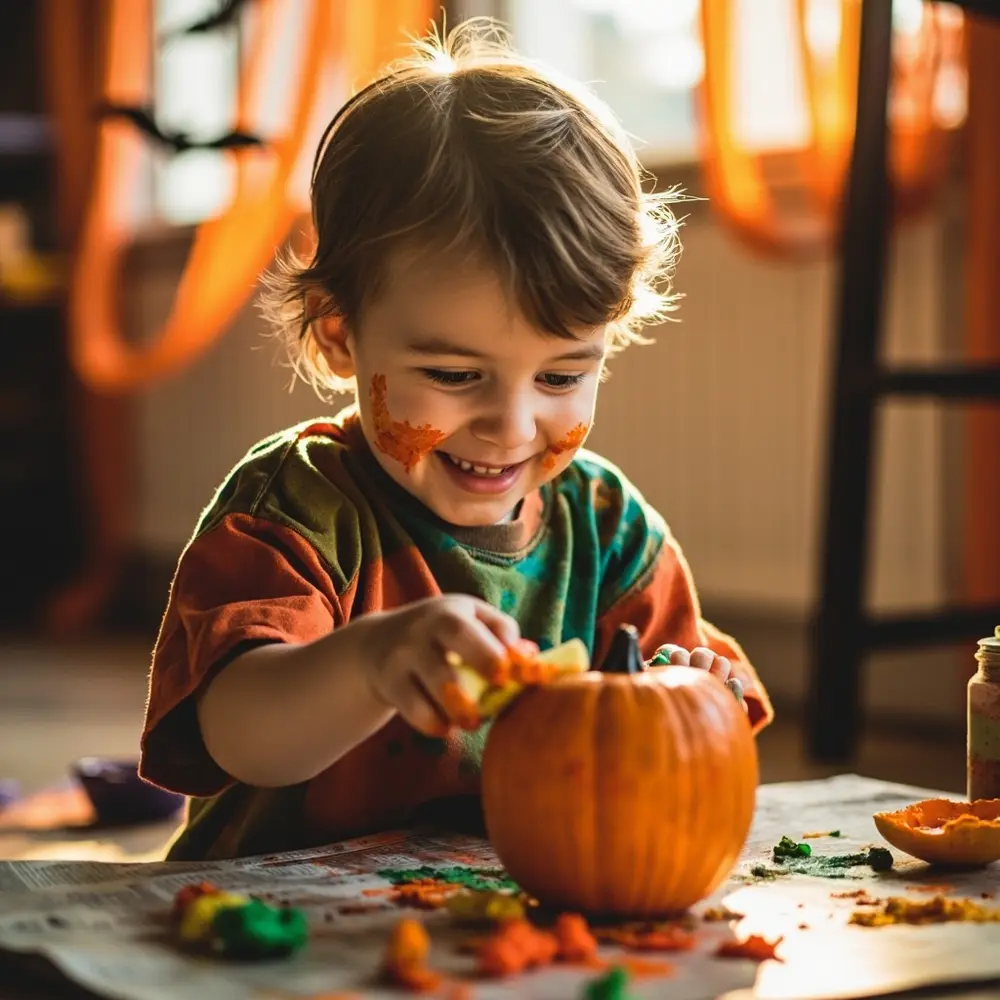
Image-4: A happy child with a paint-smudged cheek, carefully applying green paint to a pumpkin with a focused expression.
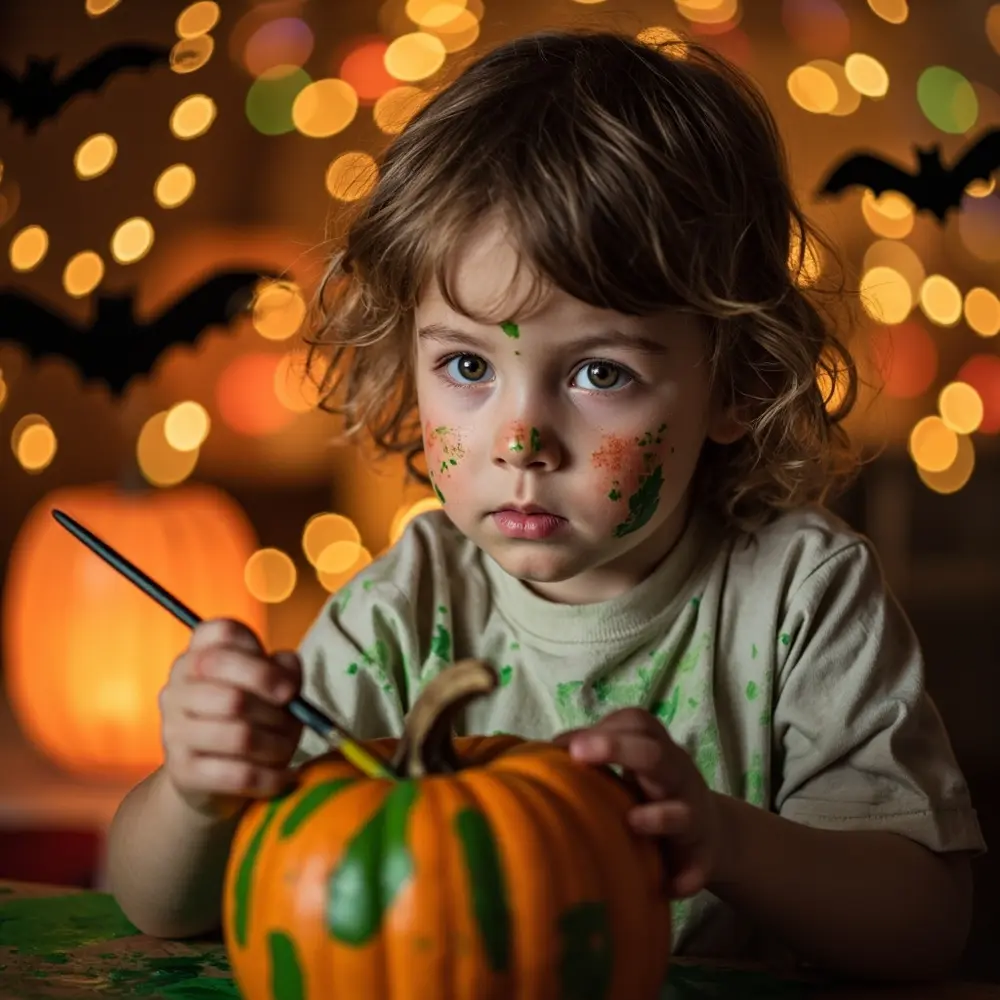
Image-5: A shot demonstrating a technique, like a foam brush being used to apply a smooth white base coat to a medium-sized pumpkin.
H3: Step 3: Drying & Displaying Your Masterpieces
Once the painting is done, the pumpkins need a safe place to dry. I usually set up a separate “drying rack” on a counter covered in newspaper. To speed things up, you can aim a small fan at the pumpkins on a low setting.
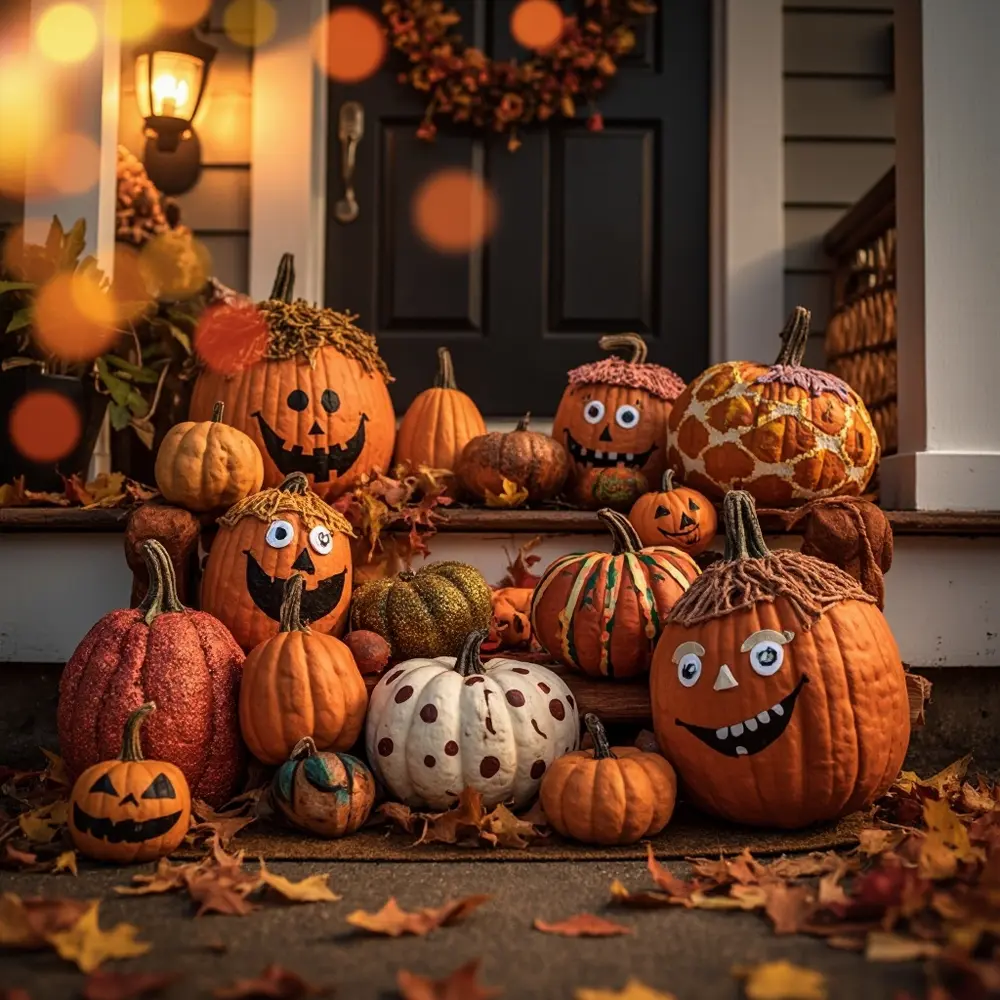
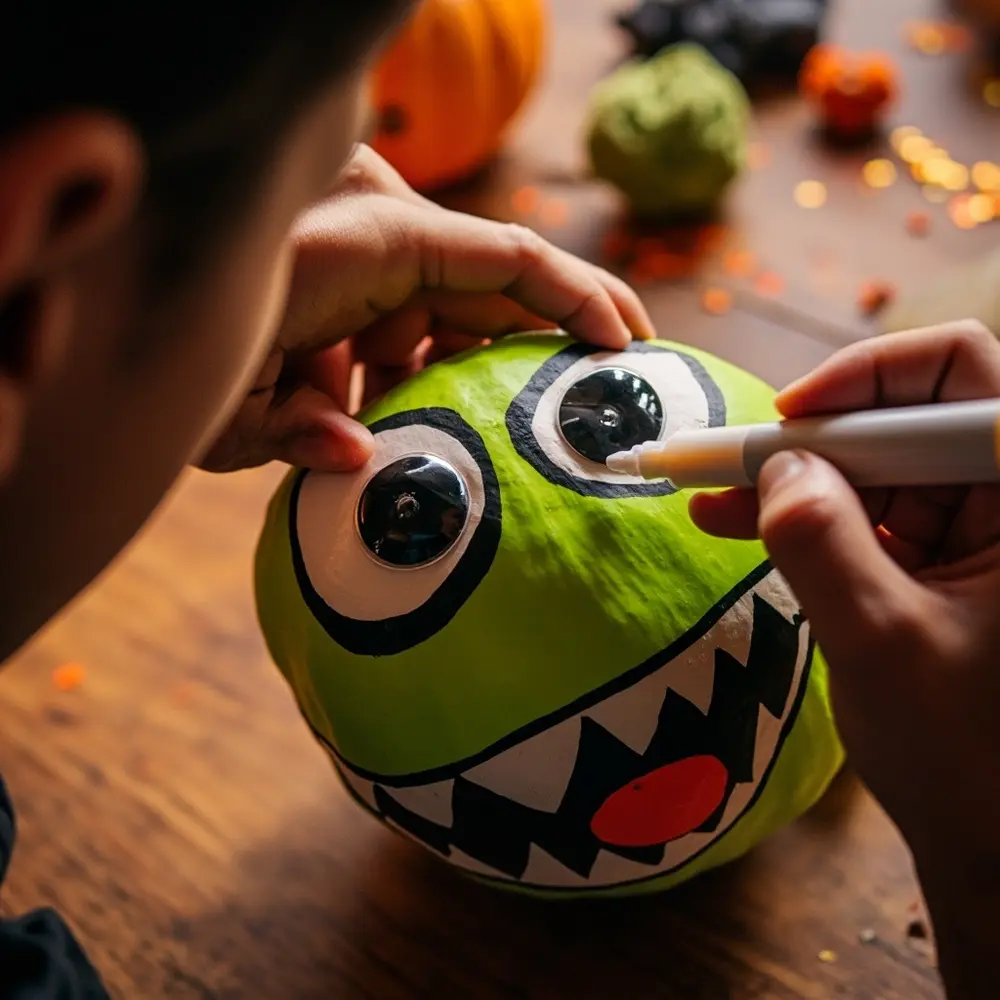
After the paint is dry to the touch, it’s time for the embellishments! Break out the craft glue, googly eyes, and yarn. This is where those monster pumpkins really come to life. Once they’re fully decorated and dry, help your guests find the perfect spot to display their work—on the front porch, a windowsill, or as a spooky centerpiece!
Image-6: A row of several uniquely painted pumpkins drying on a newspaper-covered surface. One has a ghost face, another is abstract, and a third is covered in glitter.
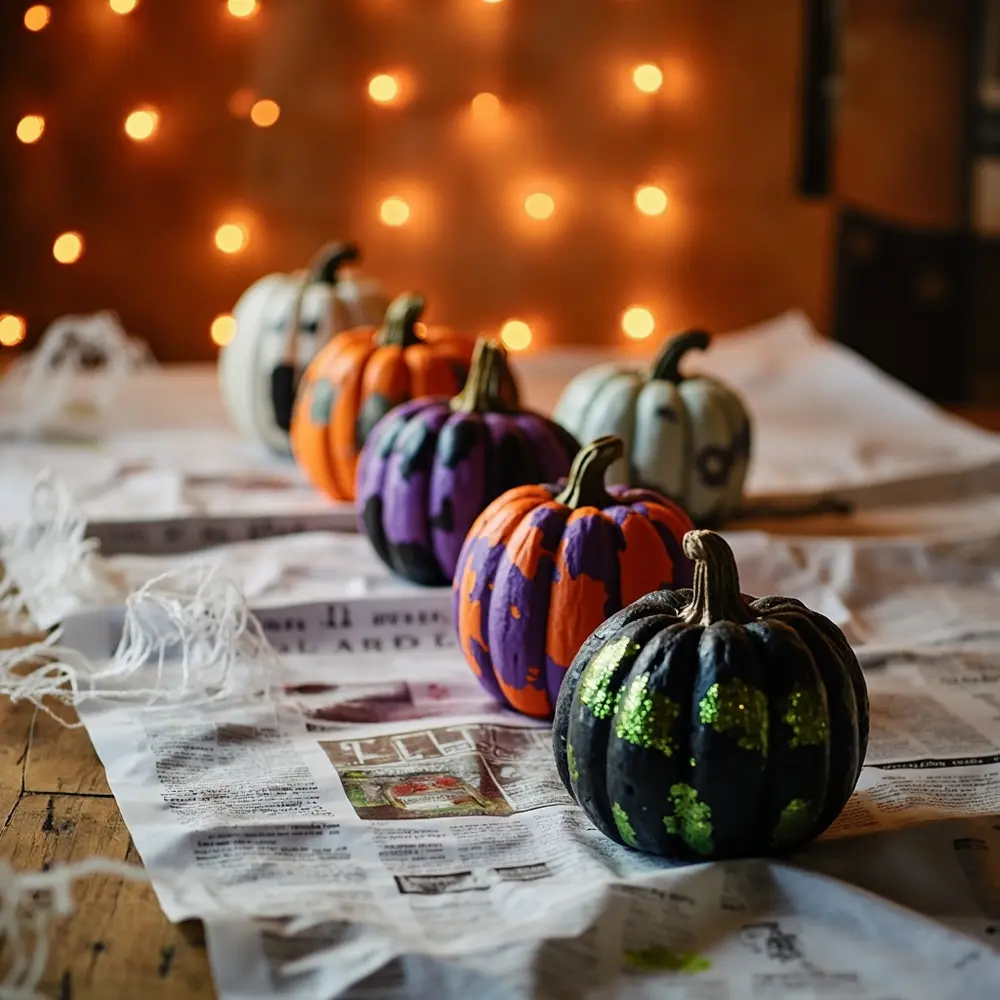
Image-7: A close-up of hands carefully gluing giant googly eyes onto a brightly painted monster pumpkin.
H2: Keeping It Clean & Safe: Tips for Little Hands 🧸
When I taught my first kids’ Halloween workshop, I learned fast that managing toddlers and paint requires a special strategy! This activity is perfect for them, but a few tweaks make it foolproof.
- Smocks are Non-Negotiable: Use an old adult t-shirt as a full-body smock for toddlers.
- Pre-Portion the Paint: Give them a paper plate with just a few small dollops of paint. They can always ask for more, and it prevents an entire bottle from becoming a “creative spill.”
- Think Beyond Brushes: For the littlest artists, finger painting (with washable, non-toxic paint) is a blast! You can also use cut-up sponges, which are easier for tiny hands to grip and create a cool textured effect.
- One-on-One Supervision: Stay close to your youngest painters to guide their hands and make sure paint goes on the pumpkin, not in their mouths.
Image-8: A joyful toddler wearing an oversized t-shirt as a smock, happily dabbing a small pumpkin with a paint-covered sponge.
H2: Variations & Customizations to Haunt Your House 🦇
Want to mix it up? I’ve tried all of these, and they’re all fantastic!
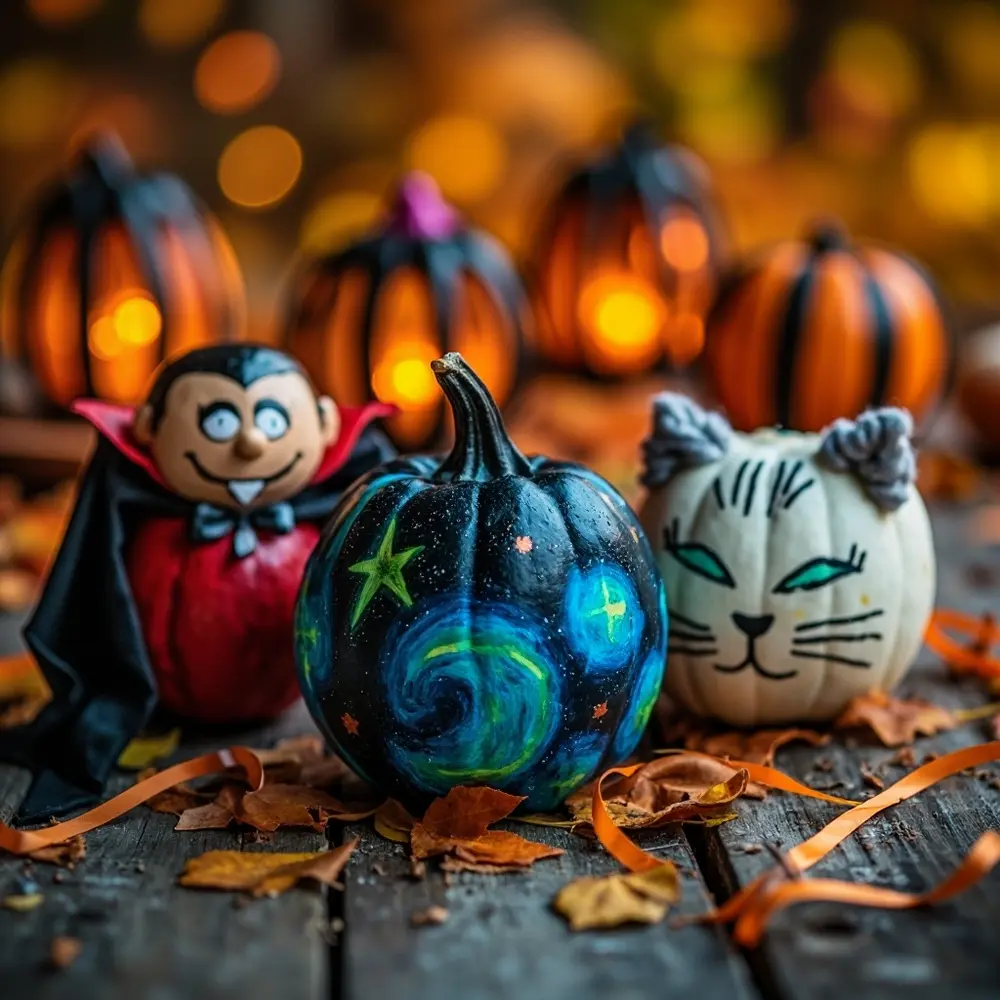
- 👻 Theme Pumpkins: Go for classic monsters, cute animals, or even superheroes.
- ✨ Glow-in-the-Dark: Use glow-in-the-dark paint for eyes or patterns that will pop at night.
- 🧽 Sponge Painting: Perfect for creating texture or for little ones to easily cover their pumpkin.
- 🎀 Sticker & Embellishment Bar: Create a separate station just for adding stickers, glitter, and yarn hair. This is great for kids who lose interest in painting quickly.
- 🎨 Abstract Art: Forget faces! Focus on cool color combos, stripes, and polka dots for a modern, artistic look.
- 🔦 Blacklight Party: Use fluorescent neon paints and swap your regular bulbs for blacklights. The effect is amazingly spooky!
Theme Twist 📚: Host a “Favorite Book Character” pumpkin party! I did this for my niece’s birthday, and we got Hedwig from Harry Potter, the Cheshire Cat, and The Very Hungry Caterpillar. It was a huge hit!
Image-9: A photo showcasing a variety of themed pumpkins: one painted like a vampire, one covered in glow-in-the-dark stars, and one decorated to look like a cat with yarn whiskers.
H2: Halloween Activity FAQs ❓
Q1: What kind of paint works best for pumpkins?
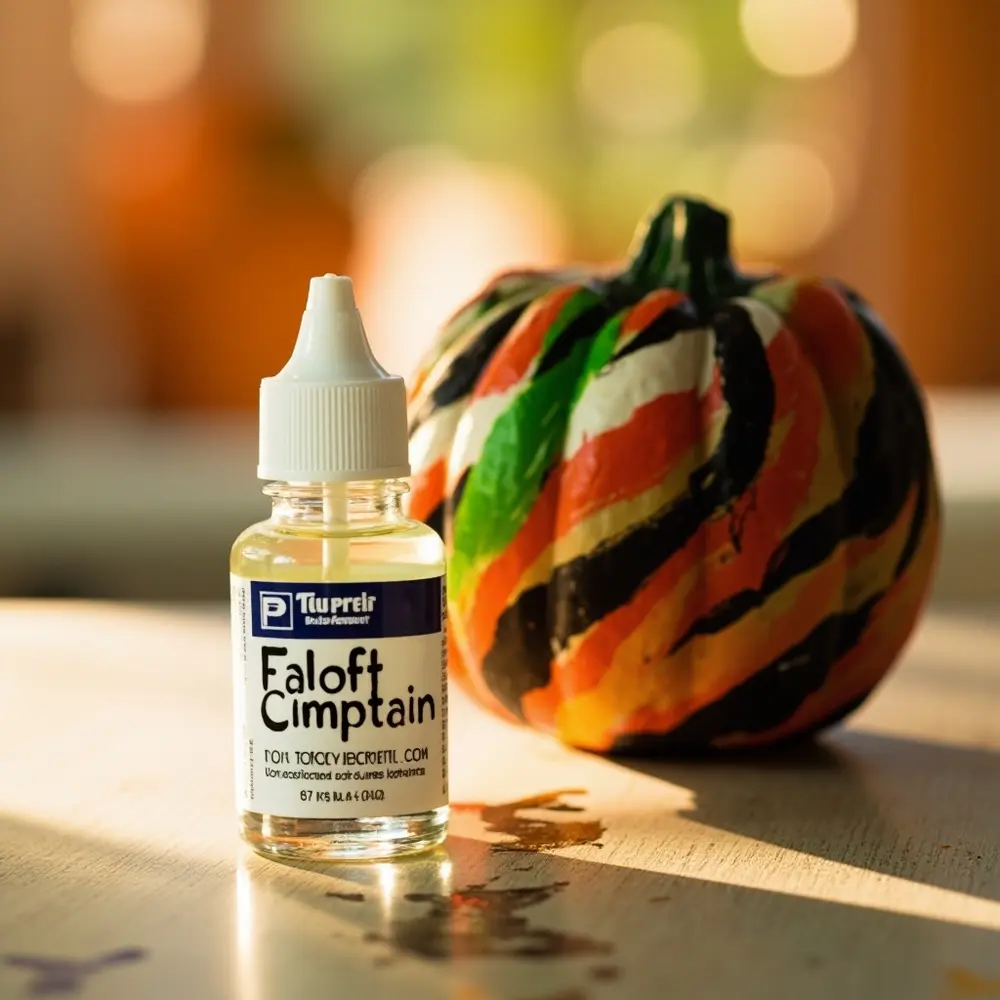
Acrylic craft paint is your best bet! It sticks well to the pumpkin’s surface and comes in a huge variety of colors. For parties with kids, make sure you choose a brand that is washable and non-toxic.
Image-10: A close-up shot of a bottle of non-toxic acrylic paint next to a colorfully painted pumpkin, highlighting the paint type.
Q2: How do I prevent paint from smearing or rubbing off?
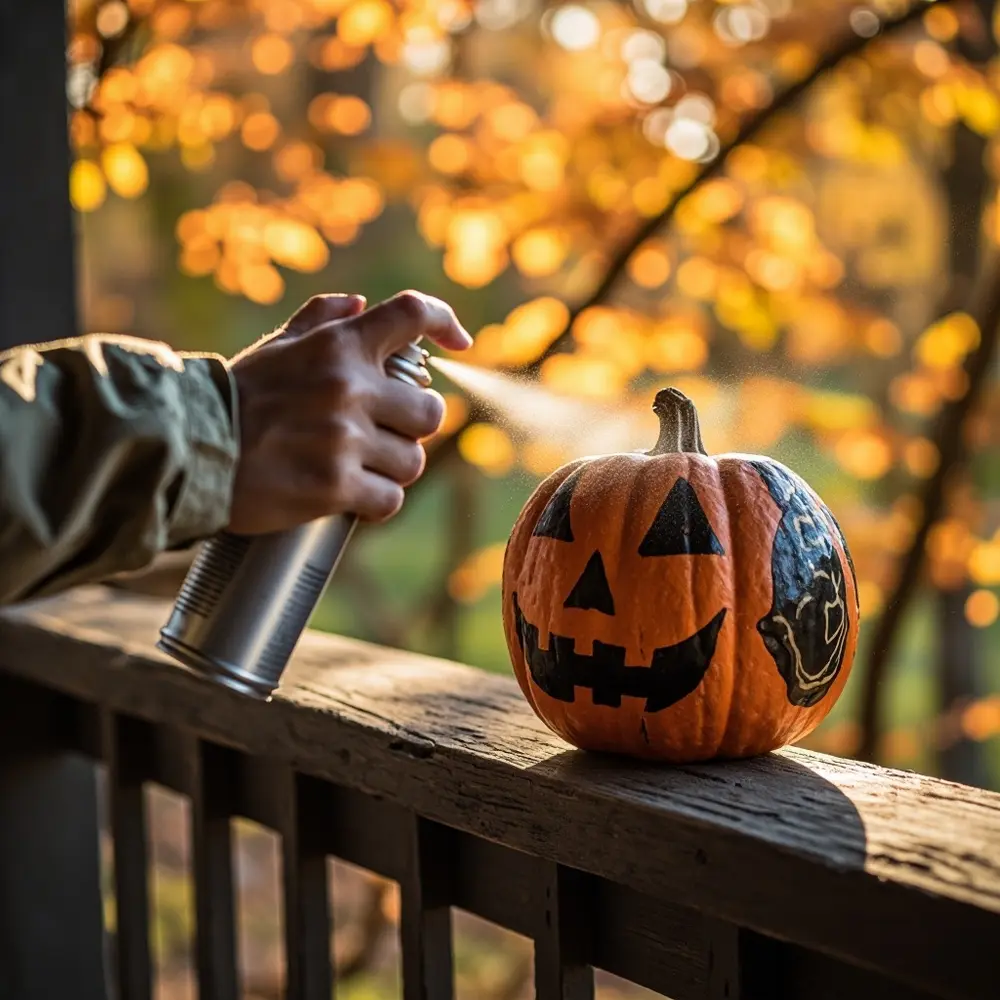
The key is to let the paint dry completely! If you want extra protection, you can apply a coat of clear sealant spray (like Mod Podge) once the paint and glue are 100% dry. This is a job for an adult and should be done in a well-ventilated area.
Image-11: An adult’s hand spraying a clear sealant over a finished, painted pumpkin in an outdoor setting.
Q3: How long do painted pumpkins typically last, and how should I store them?
An uncut, painted pumpkin can last for several weeks, often much longer than a carved one! Keep it in a cool, dry place. Avoid direct sunlight and rain, which can cause the paint to fade and the pumpkin to rot faster.
Conclusion
There you have it—your complete guide to a fantastic, fuss-free pumpkin painting party! You’re all set to create a new family tradition that’s packed with laughter, creativity, and spooky fun. Seeing the pride on everyone’s faces when they show off their one-of-a-kind pumpkin masterpiece is a Halloween treat that can’t be beaten. So go ahead, get your paints ready, and make some memories! 🧡
What’s your favorite no-carve pumpkin decorating idea? Let me know in the comments—I’m always looking for new tricks to try!
Image-12: A final, festive shot of a group of finished, diverse pumpkins displayed together on a front porch step, next to a welcome mat and some autumn leaves.
