It’s that time of year again, ghouls and goblins! The air is getting crisp, my pumpkin spice coffee intake is at an all-time high, and the need for a last-minute costume is REAL. 🎃
You know the feeling—the school parade is tomorrow, and the store shelves are picked clean. Panic sets in! But don’t you worry. Roshan here, your friendly neighborhood Halloween fanatic, and I live for this stuff. After designing haunted yards for 15 years, I’ve learned that the best decorations and costumes are often the ones you make yourself. ✨
This guide is my gift to you: a super-easy, low-cost way to create spooky bat wings and a matching mask. It’s the perfect solution for a last-minute need and a fantastic way to spend some quality time creating Halloween magic with your little monsters. Let’s get crafting! 🦇
Activity At-a-Glance
- Best For 👨👩👧👦: School parades, at-home dress-up, last-minute Halloween costumes
- Time Required ⏳: Approx. 30-60 minutes per piece
- Budget Level 💰: Low-Cost (potentially Free if materials are on hand!)
- Spookiness Level 👻: Low
What You’ll Need for Your DIY Bat Wings and Masks 📋
For Wings:
- Large black trash bags (heavy duty preferred) OR black felt/fabric scraps ⚫
- Scissors ✂️
- Black elastic, string, or ribbon (approx. 1/2 inch wide)
- Safety pins OR fabric glue OR needle and thread (optional, for more secure attachment) 🧷
- Optional: Cardboard for a stencil, black marker
For Masks:
- Black construction paper OR cardboard from a cereal box 📦
- Pencil ✏️
- Scissors ✂️
- Hole punch
- Elastic string, yarn, or thin ribbon
- Optional: White glue, googly eyes, glitter, markers for decoration ✨
Image-1: A flat-lay photo showing all the materials neatly organized on a wooden table. The trash bag is folded, scissors are placed safely, and a small bowl holds the elastic and safety pins.
Preparation & Setup: Creating the Spooky Scene
First things first, let’s set the stage for our creepy-crawly crafting session! Find a good, clear space to work, like the kitchen table or a spot on the floor. I highly recommend laying down some old newspaper or a plastic tablecloth to protect your surfaces from any glue or marker mishaps.
Once your space is prepped, lay out all your supplies so everything is within easy reach. This is a trick I learned from my DIY YouTube channel days—having everything ready to go prevents that mid-craft scramble for the scissors!
Pro Tip 💡: To really get in the spirit, turn on a fun, kid-friendly Halloween playlist! And for a little extra flair, drape some fake cobwebs over a corner of the table or scatter a few plastic spiders around. My niece loves this part!
How to Lead the Activity: Step-by-Step 🚀
Step 1: Gather Your Batty Craft Supplies
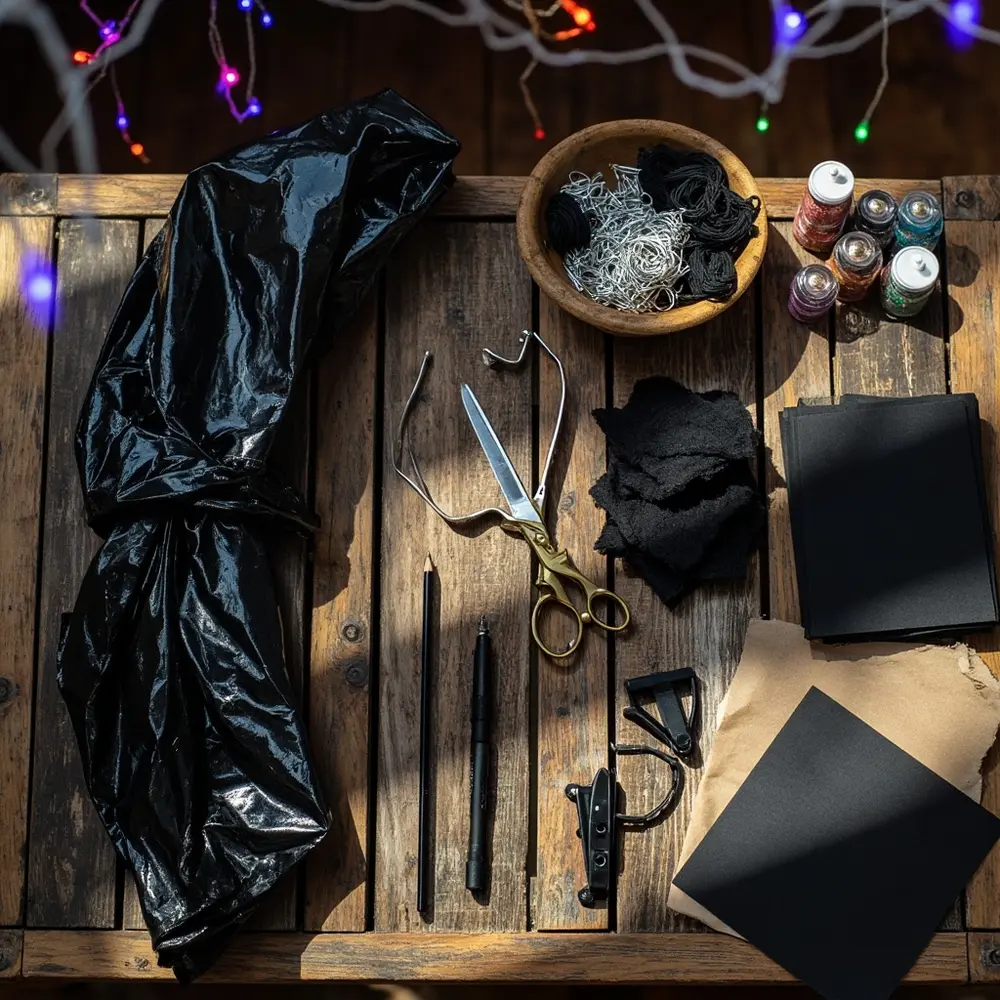
Alright, team! Before we dive into the fun, let’s do a quick supply check. Make sure you have everything from the list above laid out and organized. This little bit of prep makes the whole process smoother and keeps the creative energy flowing without any interruptions.
Image-2: A photo of a child’s hands and an adult’s hands pointing to the different supplies laid out on the table, as if taking inventory.
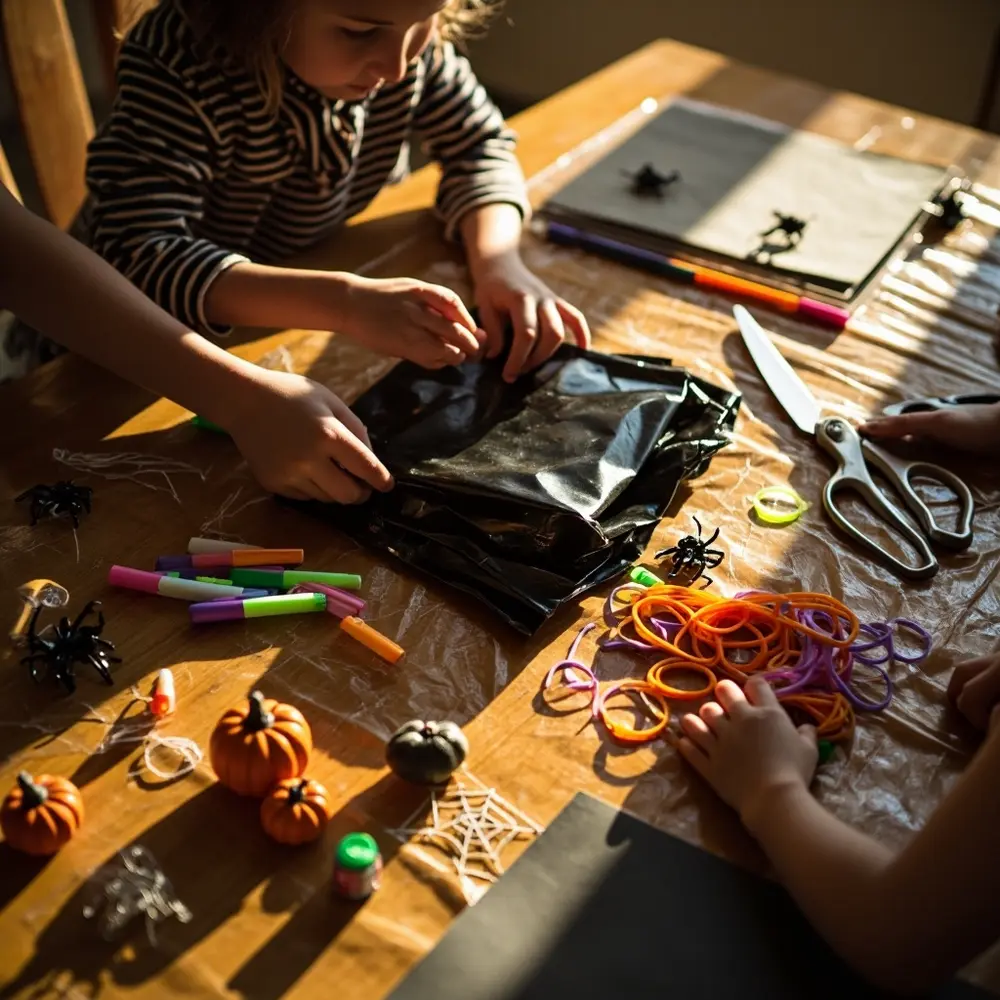
Step 2: Crafting Your Spooky Bat Wings Base
This is where the magic begins! Take your black trash bag or fabric and fold it in half. On one side, use your marker to draw half of a bat wing shape, starting from the folded edge. Think of a scalloped, pointy cloud. If you’re nervous about freehanding it, you can create a stencil from a piece of cardboard first.
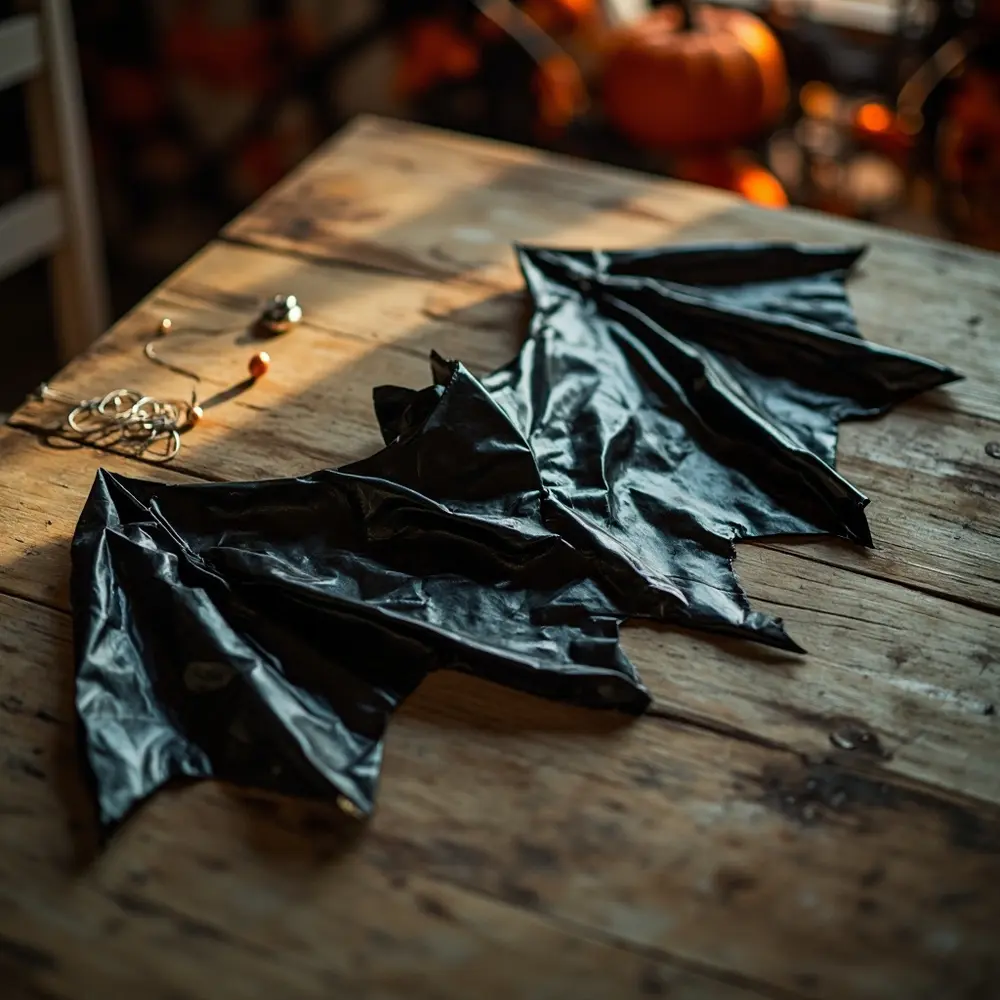
Now, carefully cut along the line you drew. When you unfold it, you’ll have a perfectly symmetrical set of bat wings! It’s like a spooky magic trick. 🦇
Caution ⚠️: This step involves scissors! Please make sure a grown-up is either doing the cutting or closely supervising any little hands. Safety first is the #1 rule in my Halloween workshops!
Image-3: A close-up, top-down shot of an adult hand guiding a child’s hand as they safely cut the bat wing shape out of a folded black trash bag.
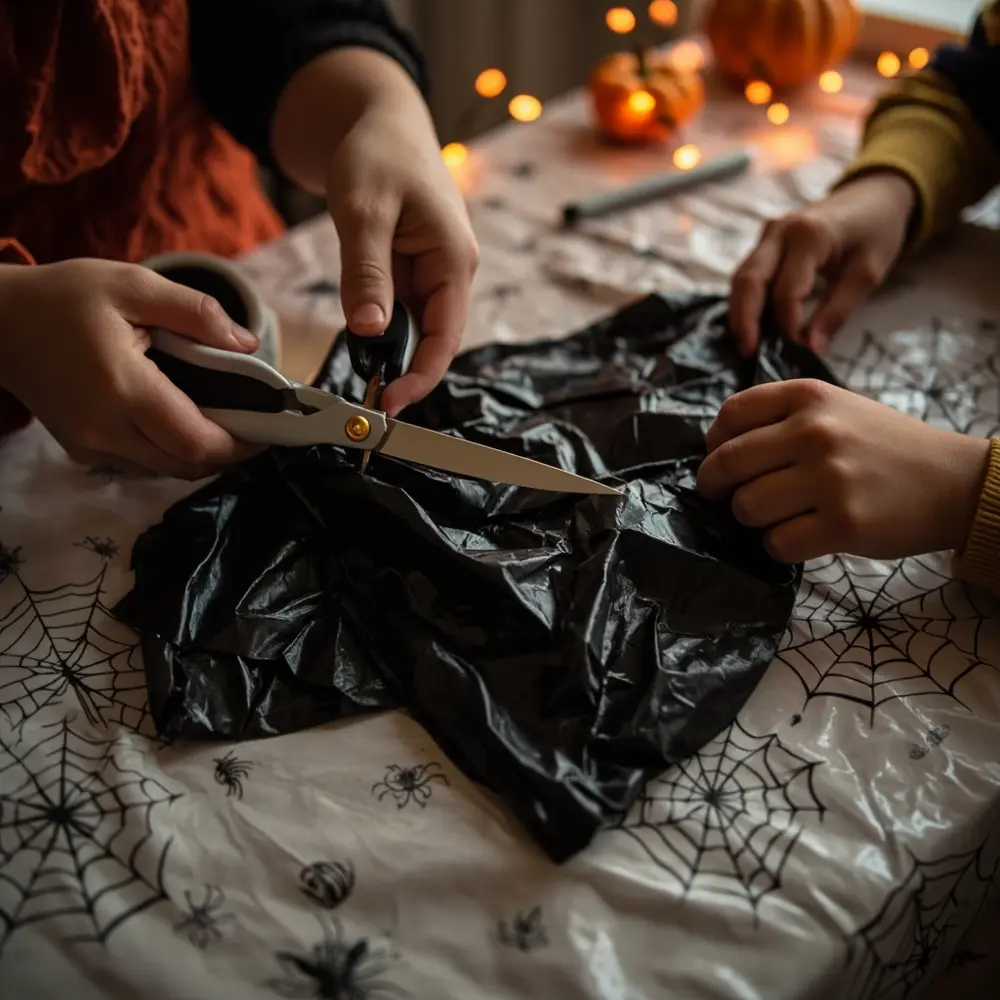
Image-4: A photo of the cut-out material being unfolded to reveal the full, symmetrical bat wing shape.
Step 3: Attaching Your Bat Wings (No-Sew Options)
Time to make these wings fly! The easiest way to attach them is by using two small loops of elastic for the wrists and then pinning the center of the wings to the back of your child’s shirt with safety pins.
Alternatively, you can create “straps” like a backpack. Cut two long pieces of elastic, glue or pin them into loops on the back of the wings, and your little bat can slip them on and off with ease. This is my go-to method for active kids who will be running around at a party.
Image-5: A photo showing the back of the wings with two elastic loops attached, ready to be worn like a backpack.
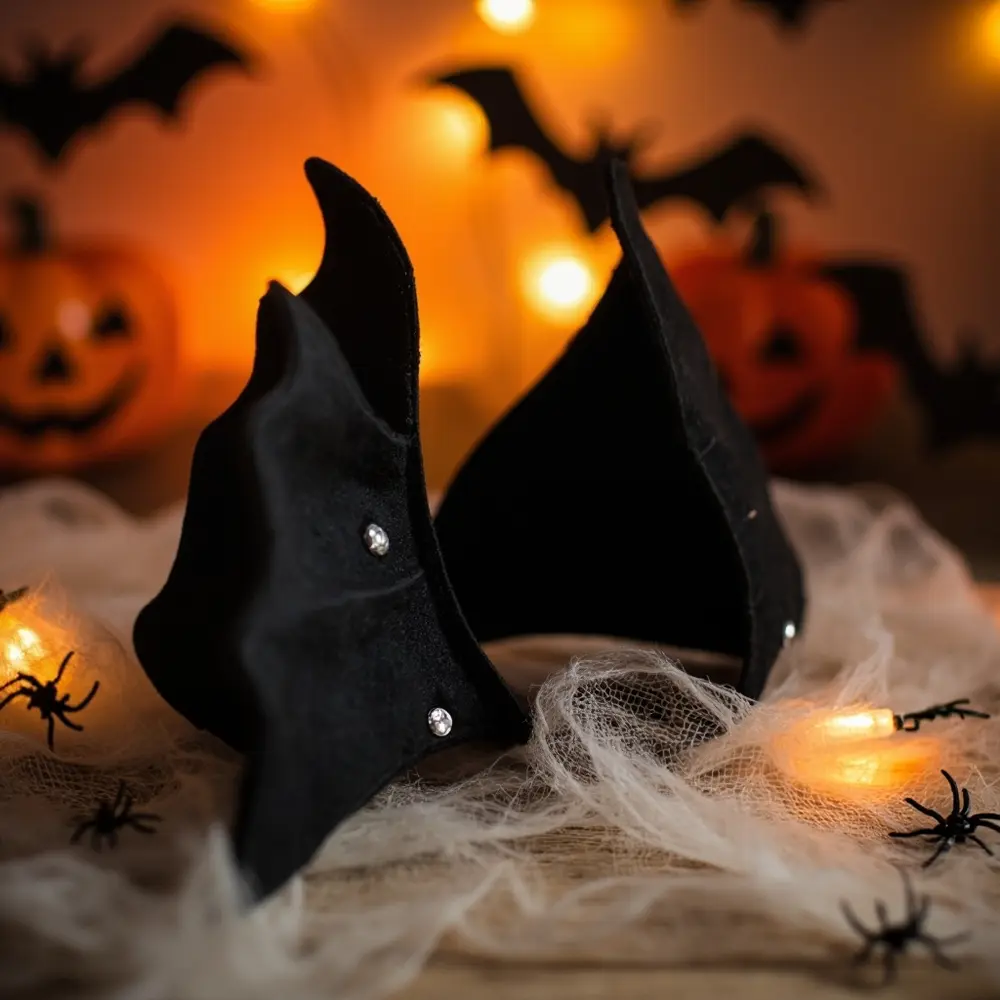
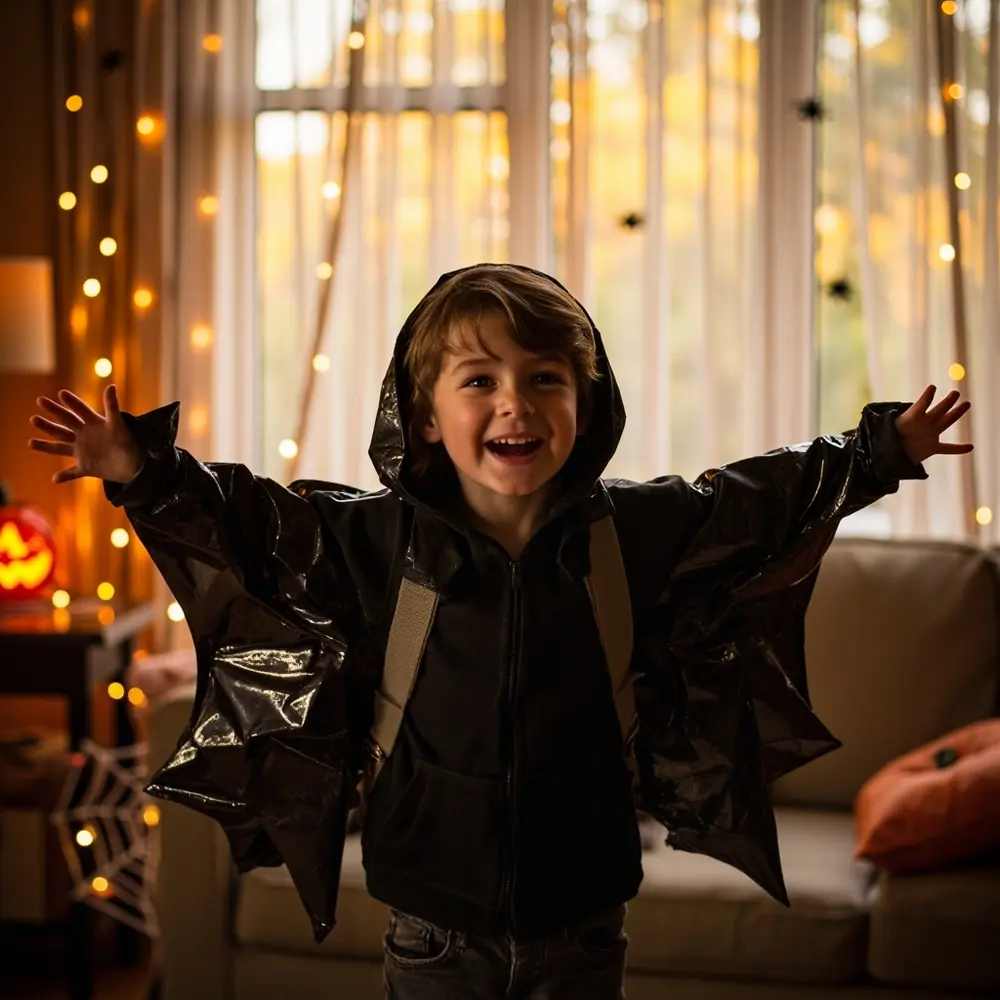
Image-6: A photo of a child from behind, happily wearing the wings with their arms outstretched to show how they look in action.
Step 4: Designing Your Frightful Bat Mask
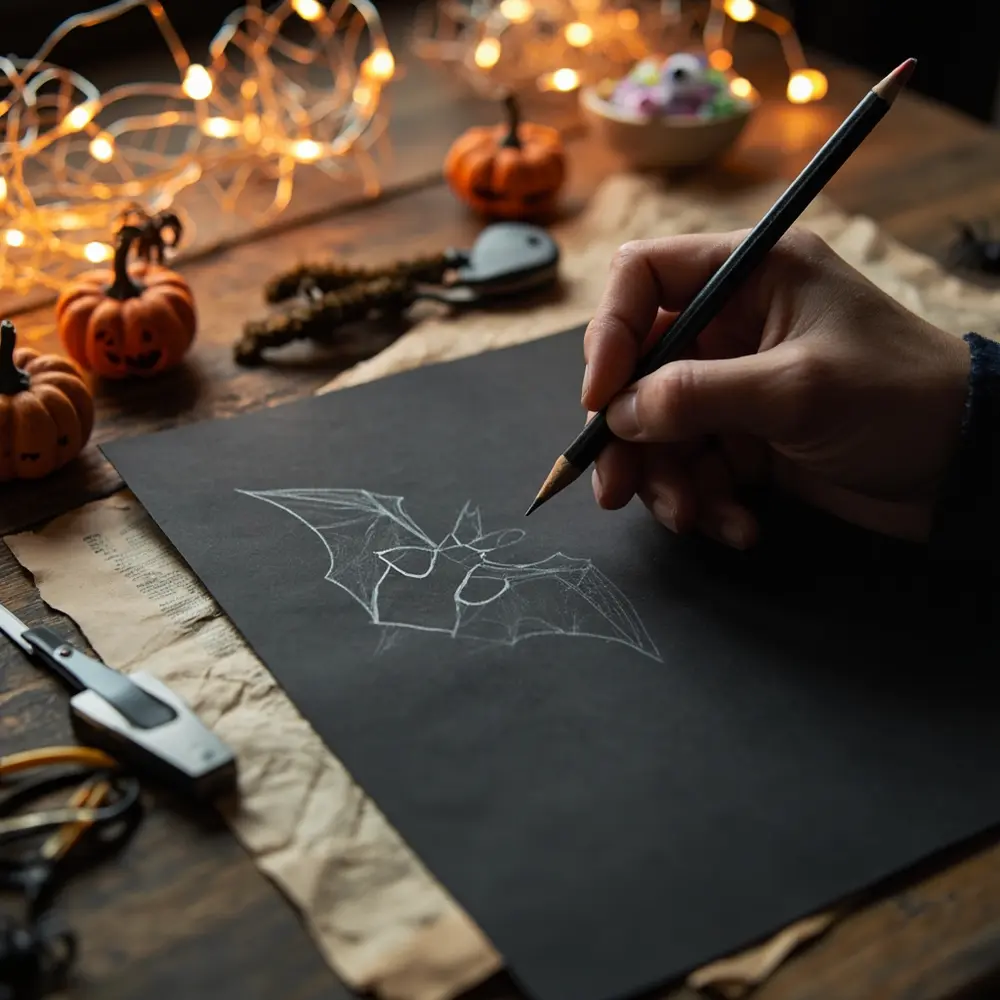
Every bat needs a mysterious identity! Grab your black construction paper or a piece of a cereal box. Sketch a simple mask shape—I like to make mine look a bit like a squished hourglass or a wide, swooping “M” shape.
Hold it up to your child’s face to get an idea of where the eye holes should go, then mark them with your pencil. Carefully fold the mask in half and snip out two small ovals for the eyes. Cutting them while the mask is folded keeps them even!
Image-7: A photo of a hand sketching the bat mask outline on a piece of black construction paper with a pencil.
Step 5: Securing Your Bat Mask
Almost there! Use your hole punch to make one hole on each side of the mask. Take your thin elastic string or ribbon, thread it through one hole, and tie a knot. Measure it around your child’s head for a snug but comfortable fit, then thread the other end through the second hole and tie it off.
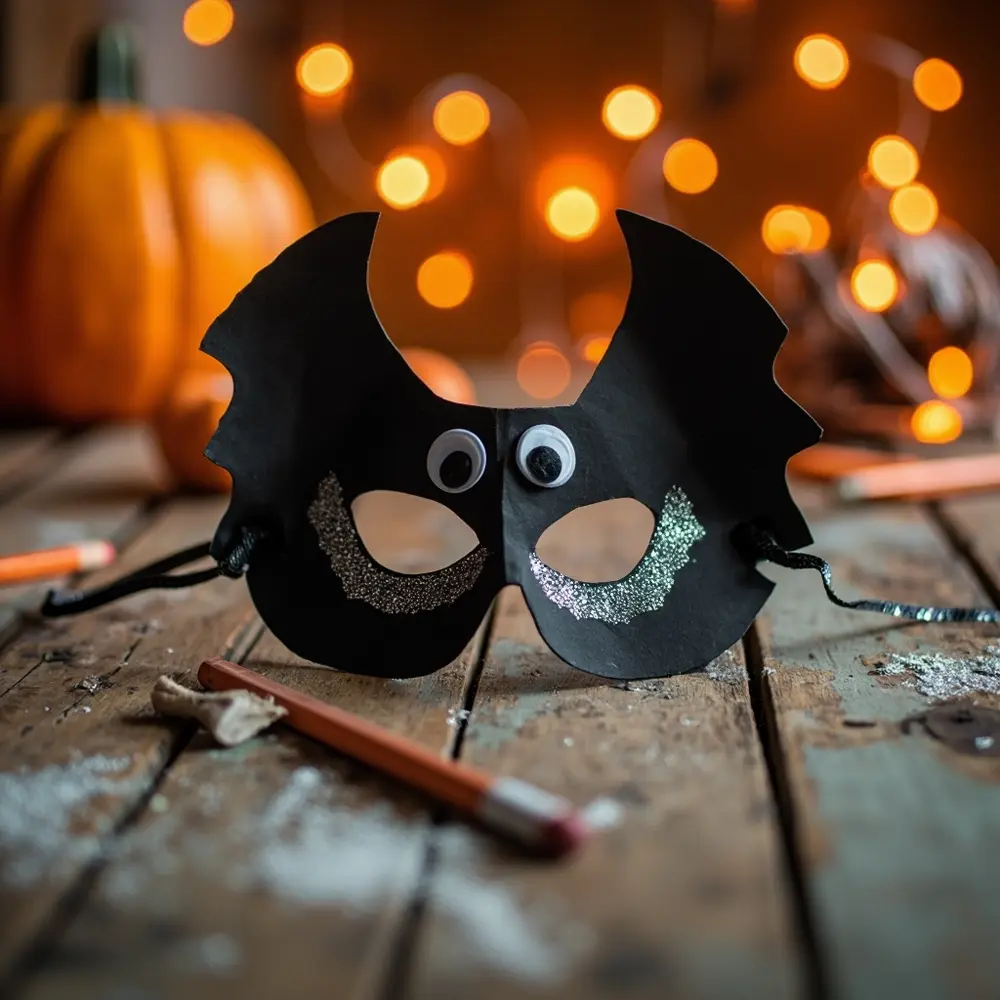
Now’s the time for any extra decorations! Googly eyes? Glitter? White marker fangs? Let your little one’s creativity run wild!
Image-8: A close-up shot of a completed bat mask with elastic string tied through the punched holes, maybe decorated with a little silver glitter.
Last-Minute & Low-Cost Solutions
I get it—sometimes “last-minute” means right now. If you’re really in a pinch, here are some hacks using only what you likely have at home:
- The All-in-One Paper Bag: Don’t have trash bags or construction paper? A large brown paper grocery bag can be your hero! Cut the wings and mask from the same bag. It gives a cool, rustic-spooky vibe.
- Simplify the Shape: Instead of scalloped wings, just cut two large triangles. Attach them to the back of a black hoodie. Done! Fast, easy, and still gets the bat point across.
- No Elastic? No Problem: Use long pieces of yarn or even shoelaces to tie the mask on. For the wings, you can use duct tape to secure them directly to the back of a shirt or jacket you don’t mind getting a little sticky.
Variations & Customizations to Haunt Your House
- Decorate Your Wings ✨: Use glow-in-the-dark paint, glitter glue, or stick-on gems for extra flair.
- Vampire Bat Twist 🧛: Add red paper fangs to the mask or a little red “blood drop” detail on the wings using a fabric marker.
- Spider Web Wings 🕸️: Draw or glue white yarn/string to create a spider web pattern on the black wings.
- Different Animal Masks 🦉: Use the same technique to create cat, owl, or monster masks.
- Group Theme 🦇: Make a whole “colony” of bats for siblings or friends for an awesome group costume.
Theme Twist 🧚♀️: Instead of spooky bats, make cute, sparkly fairy wings! Use white or pastel-colored trash bags, cut the wings in a rounded shape, and go wild with glitter glue and ribbons.
Halloween Activity FAQs ❓
Q1: What’s the best material for durable, reusable bat wings?
From my experience, black felt is the champion for durability. It won’t rip like a trash bag and can be worn year after year. You can find it at any craft store, and it’s still very budget-friendly!
Q2: How can I make the mask comfortable for my child to wear for long periods?
Great question! The key is a good fit. Make sure the eye holes are large enough so they don’t block vision. You can also glue a small piece of soft felt or foam to the inside of the mask where it rests on the bridge of the nose to prevent any chafing.
Q3: Are there any no-cut alternatives for younger toddlers?
Absolutely! For the littlest ghouls, skip the cutting. Get a black t-shirt and use white or glow-in-the-dark fabric paint or markers to draw wing shapes directly onto the back and sleeves. They can still flap their “wings” without any loose parts!
Conclusion
And there you have it—a fantastic set of DIY bat wings and a mask, ready for any Halloween adventure! I hope you and your family have an absolute blast bringing these spooky creations to life. Honestly, helping my 25+ client families create these kinds of memories is the best part of my job. The laughter, the little dabs of glue on the table, the proud look on a child’s face when they show off what they made—that’s the real magic of Halloween. ✨
These homemade costumes are more than just a last-minute fix; they are a ticket to creative expression and family bonding. You did it!
Now go out there and have a spooktacular time! I’d love to see your creations. Share them on social media and tag them with #SpookySharmaCreations* so I can see your amazing work! What’s your go-to DIY costume trick? Let me know in the comments! 🦇
