Recipe: How to Build Creepy-Cute DIY Haunted Gingerbread Houses
H1: Recipe: How to Build Creepy-Cute DIY Haunted Gingerbread Houses
Hey there, ghouls and goblins! It’s Roshan, your friendly neighborhood Halloween fanatic, here to make your spooky season unforgettable. 🎃
Are you looking for a perfect family activity that screams Halloween but is more sweet than scary? You want something creative that gets everyone off their screens and making memories, but the usual holiday crafts feel a little out of season. 🎉
The struggle is real! Finding a project that’s spooky enough for the older kids but cute enough for the little ones can feel impossible. You don’t want a craft that’s over in five minutes, but you also don’t want a building disaster that ends in frustration (and a pile of broken gingerbread). 👻
Well, you can stop your search! I’ve designed and built more haunted displays than I can count, and I’m here to share my ultimate guide for creating the most amazing, creepy-cute DIY Haunted Gingerbread Houses. We’re going to bake, build, and decorate a masterpiece that will be the talk of your Halloween party. Let’s get started! ✨
Activity At-a-Glance
- Best For 👨👩👧👦: Family Halloween bonding, a pre-trick-or-treat activity, or a creative party centerpiece.
- Time Required ⏳: Approx. 3-4 hours (including baking, cooling, and decorating).
- Budget Level 💵: Moderate.
- Spookiness Level 👻: Medium (perfectly creepy-cute!).
H2: What You’ll Need for Your Haunted Gingerbread Houses 📋
Here’s our haunted shopping list! I’ve broken it down into what you’ll need for the gingerbread, the icing “glue,” and the all-important spooky decorations.
For the Gingerbread Dough:
- Unsalted butter 🧈
- Dark brown sugar
- Molasses or golden syrup
- An egg 🥚
- All-purpose flour
- Ground ginger, cinnamon, and cloves (for that spooky spice smell!)
- Baking soda
- A pinch of salt
For the Royal Icing “Glue”:
- Egg whites (or meringue powder for an easier option)
- Powdered sugar
- A few drops of lemon juice or water
- Black, orange, or green food coloring ⚫🟠🟢
Essential Tools:
- Mixing bowls and an electric mixer
- Rolling pin
- Parchment paper
- Baking sheets
- House-shaped cookie cutters or a printable template and a sharp knife
- Piping bags with various tips
- A cardboard cake round or sturdy plate for the base
For Spooky Decorating (The Fun Part!):
- Chocolate bars (for doors and shutters) 🍫
- Candy corn (for fangs or roof tiles)
- Black licorice strings (for spiderwebs)
- Mini marshmallows (for adorable ghosts) 👻
- Pretzel sticks (for creepy fences)
- Shredded wheat cereal (for a thatched roof)
- Crushed chocolate cookies (for spooky dirt paths) 🍪
- Gummy worms and candy eyeballs 👀
- Edible glitter for a magical, misty effect ✨
H2: Preparation & Setup: Creating the Spooky Scene 🦇
Before we dive in, let’s set the mood! I’ve found that turning the process into an event makes it so much more fun. Clear off a large table and cover it with a disposable tablecloth for easy cleanup. Put on a playlist of your favorite Halloween tunes (the Ghostbusters theme is a must in my house!).
Pro Tip 💡: Create instant atmosphere with black tablecloths or orange construction paper placemats. Dim the main lights and use a few battery-operated candles for a safe, spooky glow that will make your decorating station feel like a real wizard’s workshop!
H2: How to Lead the Haunted Gingerbread House Building: Step-by-Step Guide 🚀
H3: Step 1: Baking Your Gingerbread Haunts (Dough & Cutouts)
This is where the magic begins! Creating your house from scratch makes it extra special.
- 1. Mix the Dough: Cream your butter and sugar together until fluffy. Beat in the molasses and egg. In a separate bowl, whisk together the flour, spices, baking soda, and salt. Slowly add the dry ingredients to the wet ingredients until a stiff dough forms.
- 2. Chill Out: Wrap the dough in plastic wrap and let it chill in the fridge for at least 30 minutes. This is a crucial step I learned the hard way—chilled dough is much easier to roll and cut!
- 3. Cut Your Pieces: Roll the dough out on a lightly floured sheet of parchment paper to about 1/4-inch thickness. Use your cookie cutters or a template to cut out two front/back walls, two side walls, and two roof pieces.
- 4. Bake to Perfection: Transfer the parchment paper with your cutouts onto a baking sheet. Bake at 350°F (175°C) for 10-15 minutes, until the edges are firm. Let them cool completely on the baking sheet.
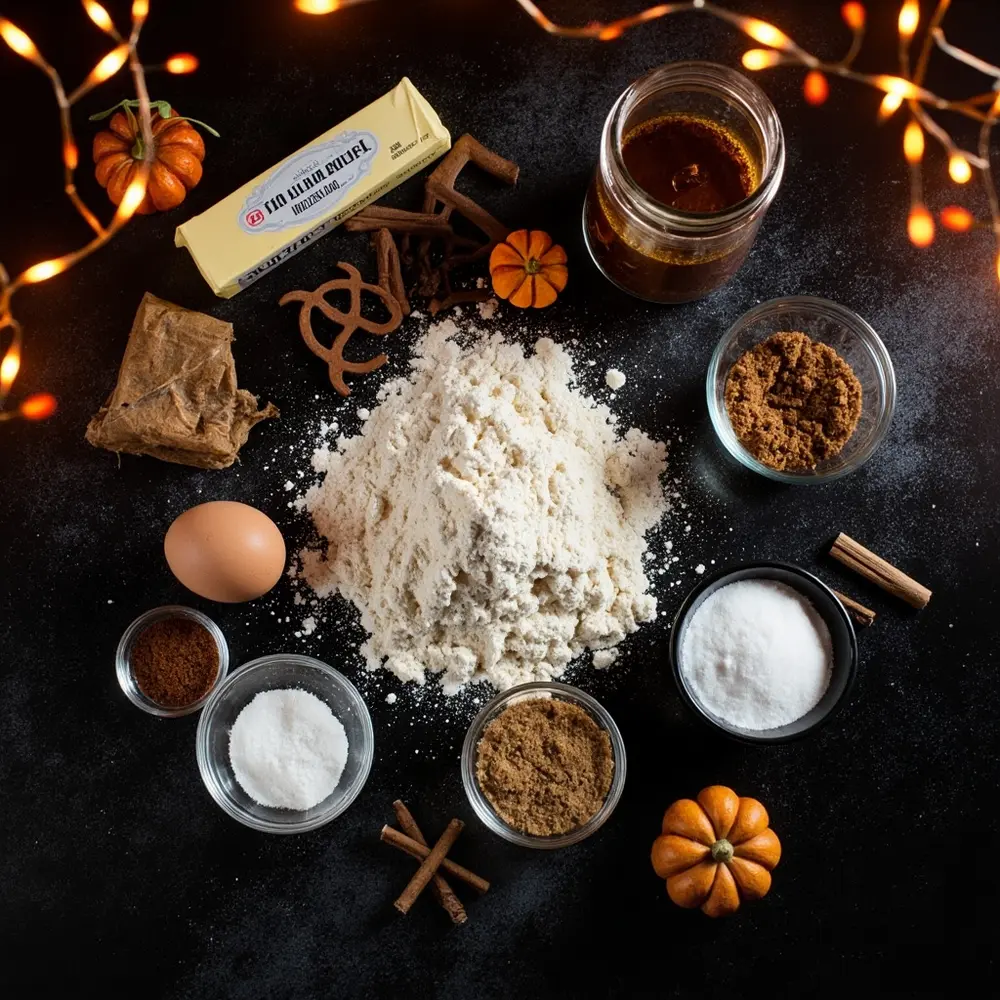
Image-1: A top-down shot of all the gingerbread dough ingredients measured and laid out neatly on a dark countertop.
Caution ⚠️: Hot baking sheets are no joke! Make sure an adult handles moving them in and out of the oven. And be gentle with those cookie cutters—their edges can be sharp!
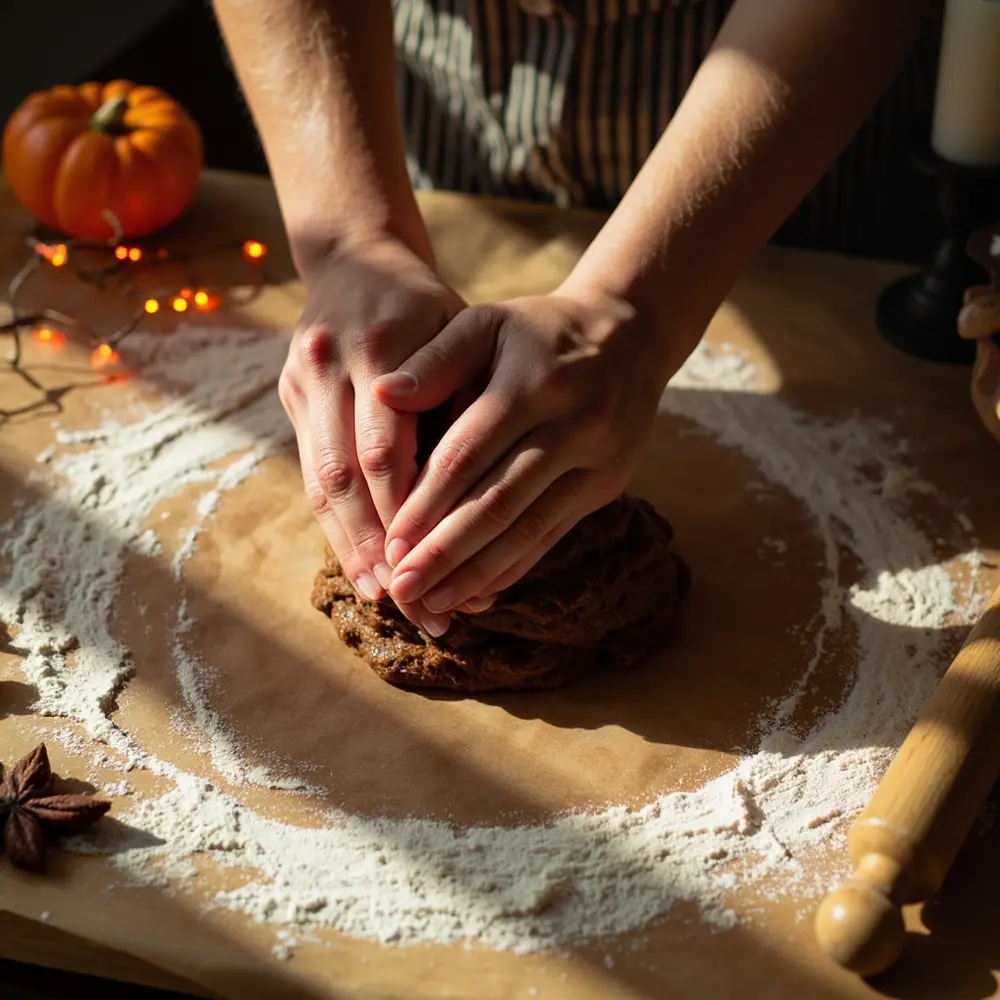
Image-2: A pair of hands kneading the dark, spicy gingerbread dough on a lightly floured surface.
H3: Step 2: Constructing Your Creepy-Cute Abode
Now it’s time to play architect! Your royal icing is the super-strong glue that holds your haunted mansion together.
- 1. Whip the Icing: Beat your egg whites (or meringue powder and water) until foamy. Gradually add the powdered sugar until the icing is thick, glossy, and holds stiff peaks. This is your “construction-grade” icing.
- 2. Pipe the Edges: Fill a piping bag with the white icing. Pipe a generous line of icing along the bottom and side edges of one of your wall pieces.
- 3. Build the Walls: Press the wall pieces together on your base plate or board. Don’t be afraid to use a lot of icing! It acts like cement.
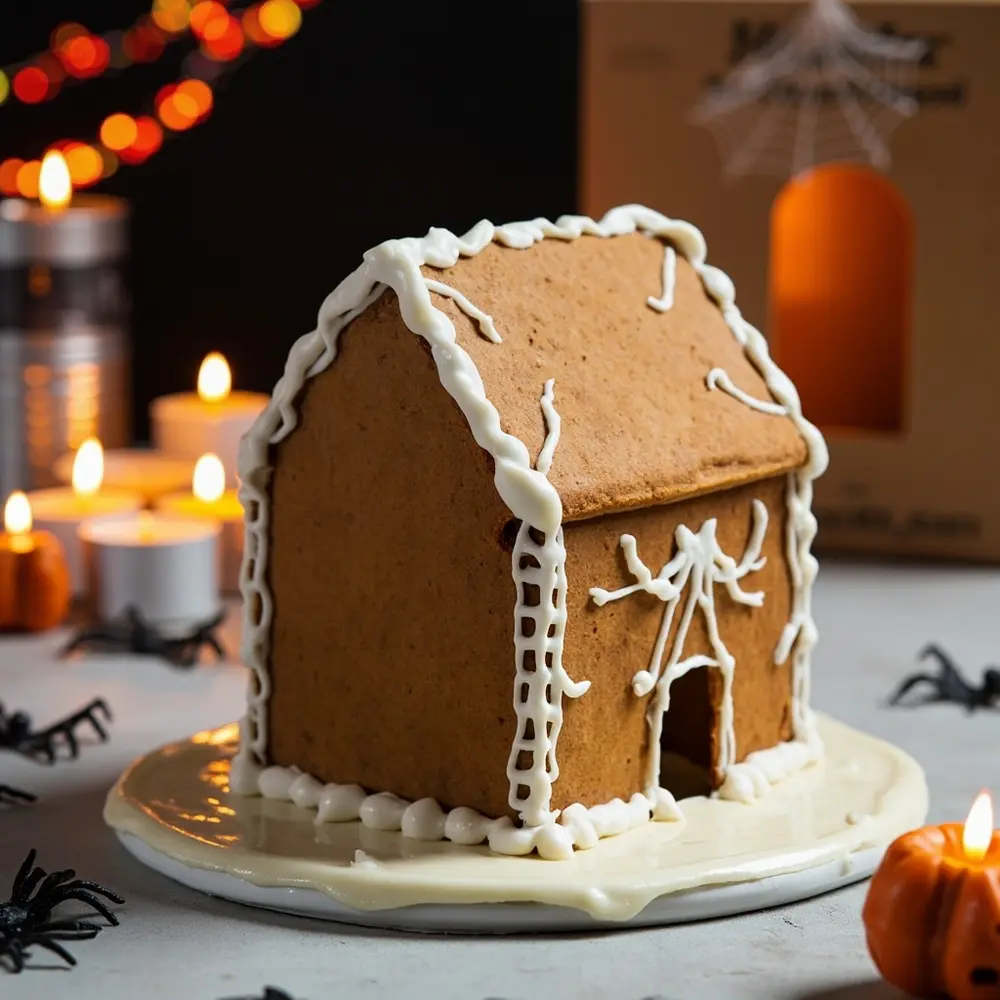
Image-3: A close-up shot of a gingerbread house structure being carefully assembled, with thick white royal icing piped along the seams.
Pro Tip 💡: This was a game-changer for me! Use small cans of soup or little boxes to prop up the walls on the inside and outside while the icing dries. This prevents a spooky structural collapse! Let it set for at least an hour before touching it.
H3: Step 3: Laying the Foundation for Frightful Decorating
A haunted house needs haunted grounds!
- 1. Secure the House: Once the walls are sturdy, pipe a thick border of icing onto your cardboard base and gently press the assembled house structure into it.
- 2. Create the Lawn: Tint some of your remaining icing green, black, or even a spooky purple. Use a spatula to spread it around the base of the house to create a “lawn” or “graveyard.”
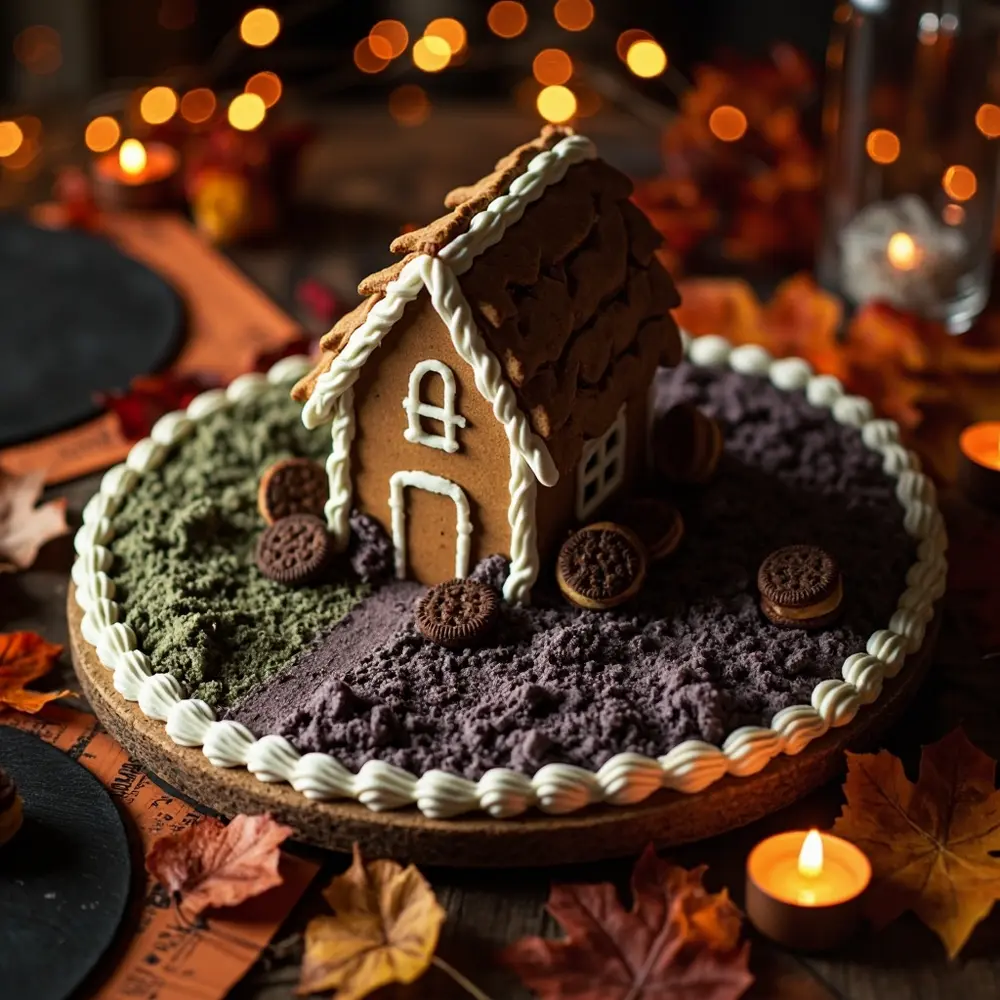
Image-4: The fully assembled gingerbread house structure is shown securely attached to its cardboard base, with spooky green icing spread around it as a “lawn.”
H3: Step 4: Bringing the Haunts to Life: Initial Decorating
Let’s give this house some character.
- 1. Add the Roof: Pipe a thick line of icing along the top edges of the walls and carefully place your two roof pieces. Pipe more icing along the peak of the roof to seal it.
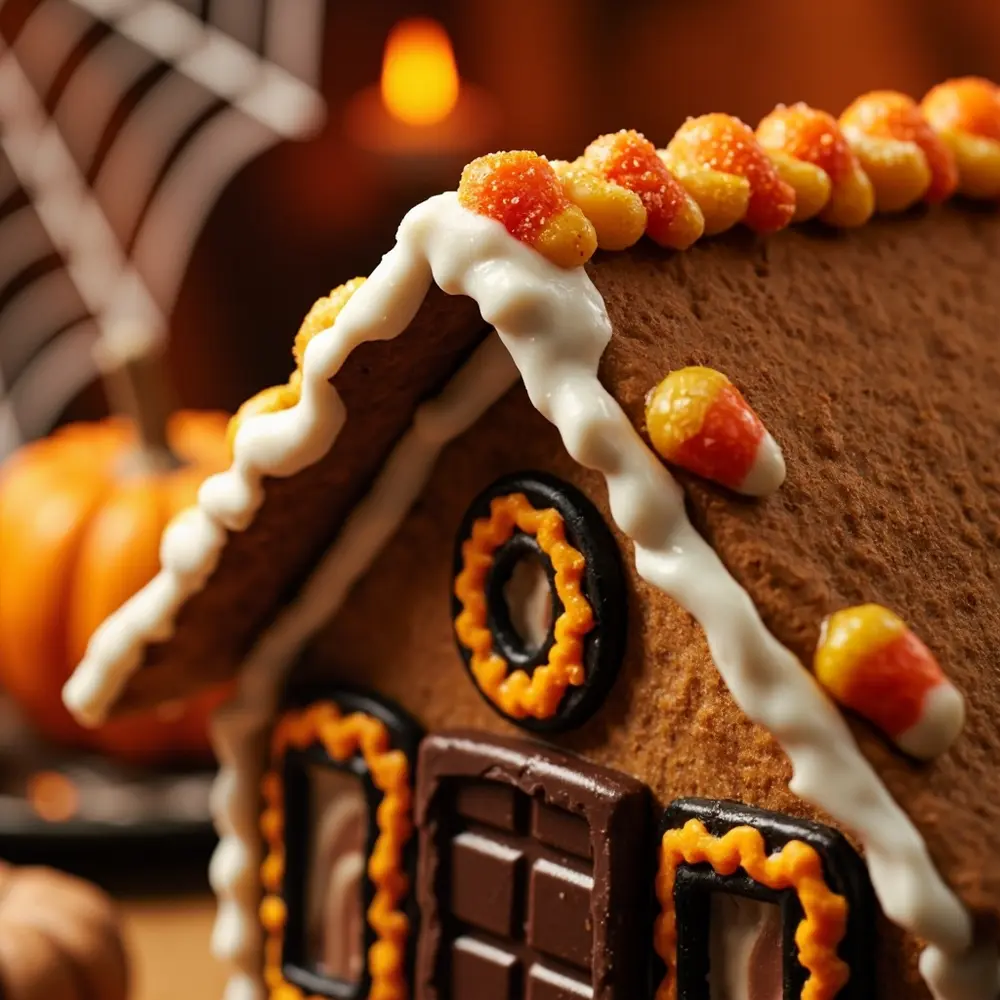
- 2. Decorate the Roof: Now for the fun! Overlap candy corn, chocolate buttons, or pieces of shredded wheat to create spooky roof tiles.
- 3. Frame Windows & Doors: Use black or orange icing to outline windows and a door. A small piece of a chocolate bar makes a perfect, creepy door!
Image-5: The house is shown with initial details added, like candy corn roof tiles and a dark chocolate bar for a door.
H3: Step 5: Detailing Your Spooky Scene & Adding Residents
This is where your family’s creativity can run wild.
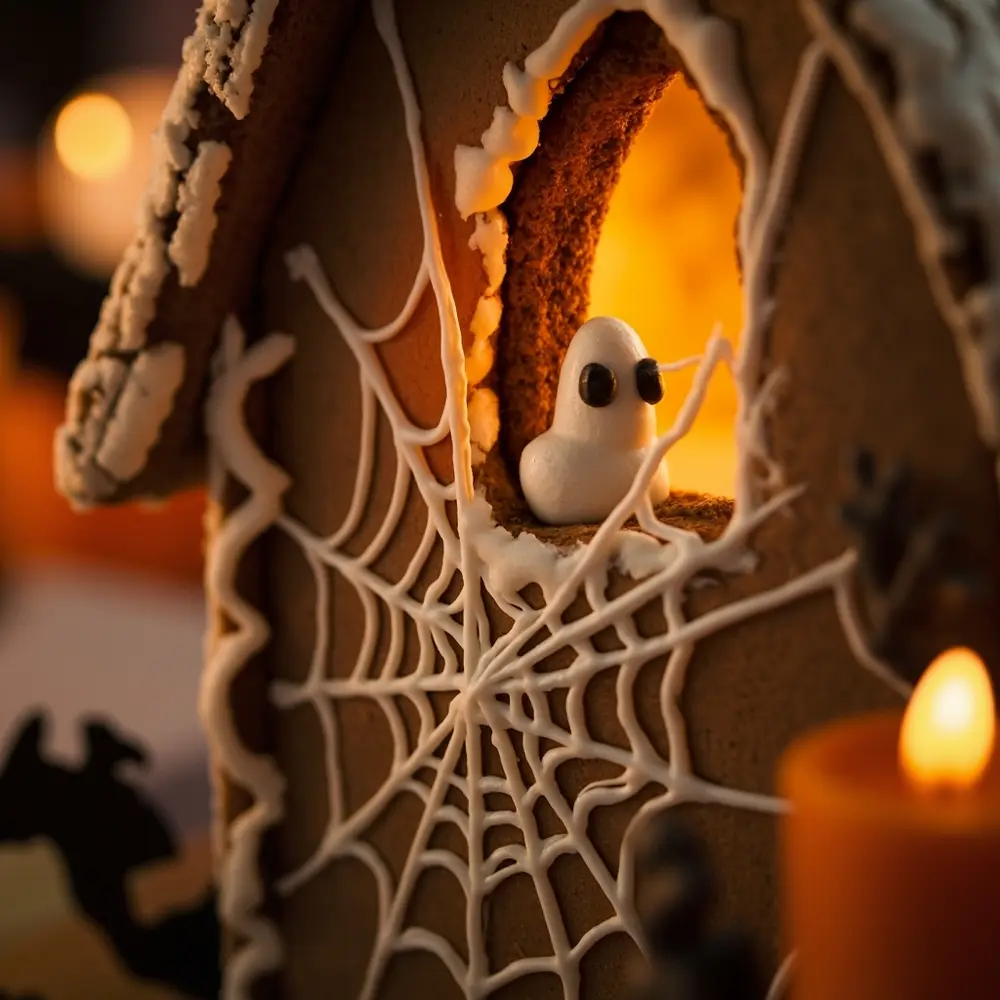
- 1. Spin Some Webs: Use a fine-tipped piping bag to draw delicate spiderwebs in the corners of the house.
- 2. Plant a Graveyard: Use small, rectangular cookies or candy pieces as “tombstones” in your icing lawn.
- 3. Add Ghoulish Ghosts: My niece’s favorite part! Just stick a couple of mini chocolate chips onto a mini marshmallow for eyes, and you’ve got an adorable little ghost to place in a window or on the roof.
Image-6: A close-up shot focusing on intricate decorating, like a piped icing spiderweb in a corner and a marshmallow ghost peeking out of a window.
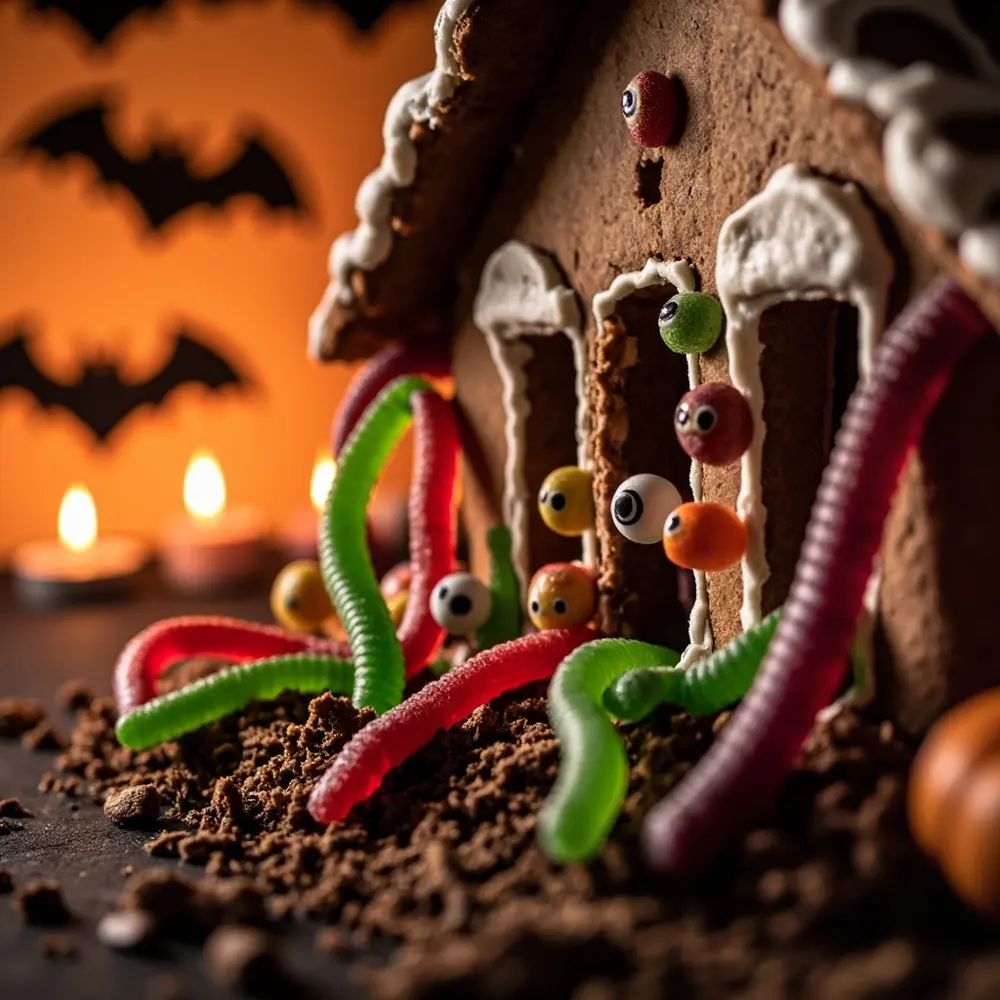
Theme Twist 👻: Bring your house to life! Have gummy worms “crawling” out from under the house, or stick candy eyeballs in the windows to make it look like someone is peeking out.
Image-7: A fun photo showing gummy worms and candy eyeballs being added to the gingerbread house scene.
H3: Step 6: The Final Spooky Touches & Display
The final flourish!
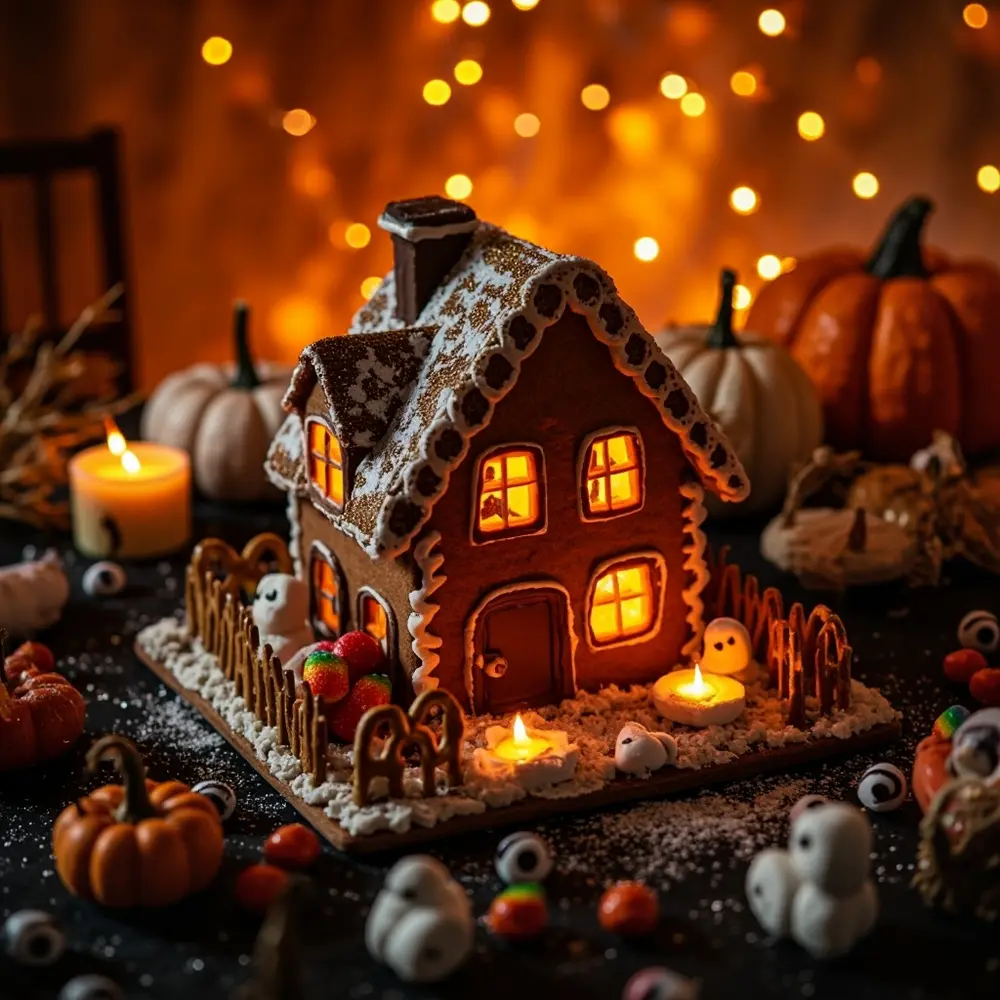
- 1. Add Some Sparkle: A light dusting of edible glitter can give your scene a magical, eerie mist.
- 2. Make it Dusty: Lightly dust the roof with powdered sugar to make it look old and abandoned.
- 3. Create a Path: Sprinkle a path of crushed chocolate cookies leading up to the chocolate bar door.
- 4. Display with Pride: Place your finished haunted gingerbread house in the center of your table as an epic Halloween centerpiece!
Image-8: A beautiful shot of the fully decorated, finished haunted gingerbread house, complete with all the spooky details and maybe a battery-operated tealight inside to make the windows glow.
H2: Tips for Young Builders & Creepy-Cute Decorating Hacks 🛠️
From my experience running kid’s workshops, I know things can get a little messy. Here’s how to keep it fun for everyone!
- For Little Monsters: Let younger kids take charge of the decorating! Give them a bowl of candy and let them stick things on. You can pre-build the house for them so they can get straight to the best part. Squeeze bottles are also easier for small hands to handle than piping bags.
- Creepy-Cute Ideas: Use pretzel sticks to build a rickety fence around the property. Break them into different lengths for a more dilapidated look! Use melted white chocolate or candy melts to draw little fangs on candy corn “vampires.”
- Troubleshooting Runny Icing: If your icing is too thin and drippy, just add more powdered sugar, a little bit at a time, until it’s thick and paste-like.
- Fixing a Collapse: Disaster! If a wall falls, don’t panic. Scrape off the wet icing, add a fresh, thick layer, and reassemble using your can props. Let it dry completely this time. It’s all part of the DIY adventure!
H2: Halloween Activity FAQs ❓
#### Q1: How far in advance can I bake the gingerbread pieces?
You can bake the gingerbread pieces up to a week in advance! Just let them cool completely and store them in an airtight container at room temperature. This breaks the project up into manageable chunks.
#### Q2: What are the best types of candy for haunted house decorations?
Think texture and shape! I love using licorice for lines, candy corn for colors, rock candy for crystalline spooky growths, and any kind of gummy creature. Chocolate cookies are fantastic for creating “dirt” or “stone.”
#### Q3: How can I make the gingerbread house structure more stable?
The secret is thick icing and patience! Make sure your royal icing is the consistency of toothpaste. And seriously, let the walls dry for at least an hour before you even think about putting the roof on. Using cans for support is my number one tip for success.
*
Conclusion
And there you have it—your very own creepy-cute haunted gingerbread house, built with love, creativity, and a little bit of spooky magic! This project is so much more than just a craft; it’s about laughing together, making a glorious mess, and starting a new family tradition that you’ll look forward to every October. I still remember the lopsided, candy-covered houses my family made when I was a kid, and they’re some of my favorite memories.
I hope you have an absolute blast bringing your haunted creations to life. Display your edible masterpiece proudly, and don’t forget to take tons of pictures before everyone gobbles it up!
What’s your favorite candy to decorate with? I’m always looking for new ideas for my next haunted project! Let me know in the comments below! 🎃

