Hey there, ghouls and goblins! Roshan Sharma here, your friendly neighborhood Halloween fanatic. 🎃 It’s that time of year again when the air gets crisp and our kitchens should be filled with spooky fun! Are you looking for a super simple, kid-friendly Halloween activity that doubles as a delicious dinner? 🎉
Sometimes, the pressure to create magical Halloween memories can feel a bit monstrous, leaving you scrambling for ideas that won’t cause a total meltdown (yours or the kids’). I get it—I’ve planned dozens of Halloween parties, and the best activities are always the easiest. 👻
That’s why I’m so excited to share one of my all-time favorites: Mummy Dogs! This recipe is the perfect solution. It’s a low-mess, high-fun way to get your little monsters involved in the kitchen, bond as a family, and create a meal that’s so cute, it’s scary. Let’s get wrapping! 🧡
Activity At-a-Glance
- Best For 👨👩👧👦: Halloween dinner, kids’ party food, fun family cooking activity
- Time Required ⏳: Approx. 30-45 minutes (15 mins prep, 15-30 mins bake)
- Budget Level 💰: Low-Cost
- Spookiness Level 👻: Low (cute spooky)
What You’ll Need for Your Mummy Dogs 📋
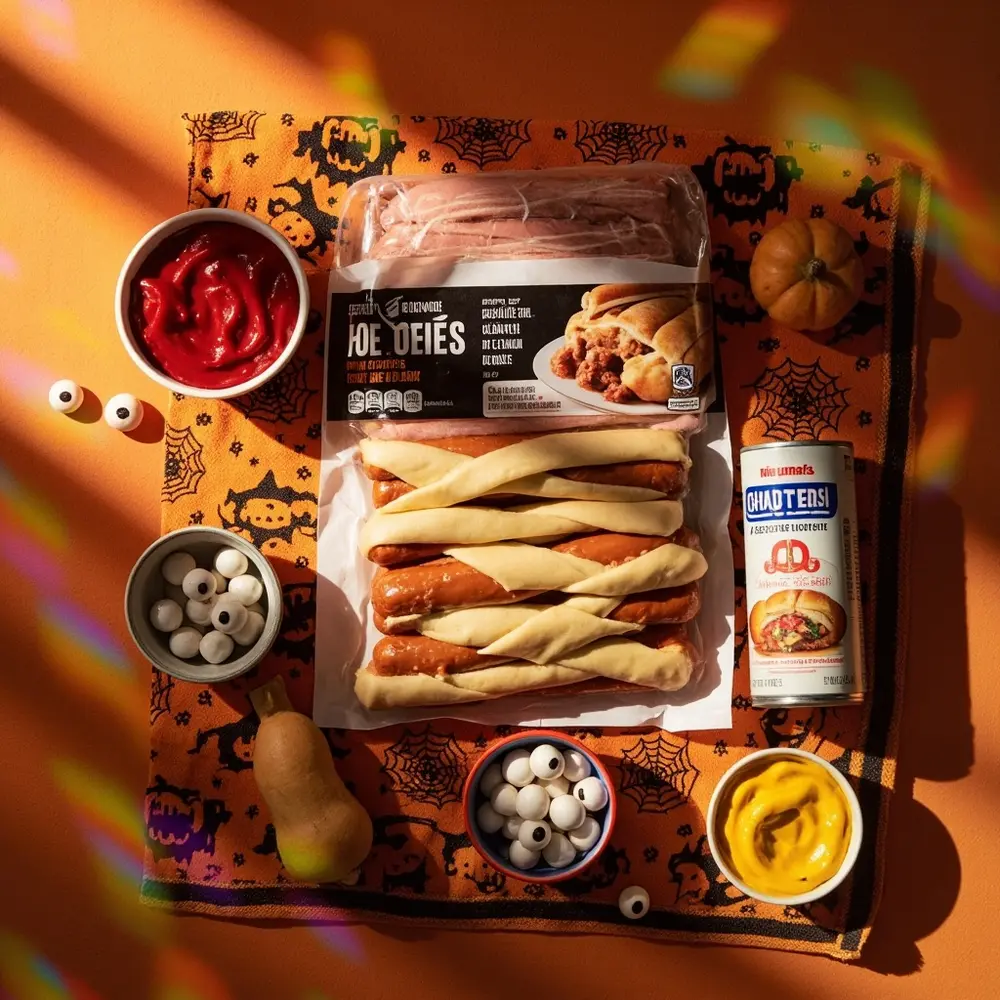
- 🌭 Package of hot dogs (beef, turkey, or plant-based)
- 🥐 Can of refrigerated crescent roll dough (or puff pastry)
- 🥣 Baking sheet
- 📜 Parchment paper
- 🔪 Sharp knife or pizza cutter (for adults only!)
- 👀 Ketchup, mustard, or small candy eyeballs (for decoration)
Image-1: All the ingredients for mummy dogs—hot dogs, a can of crescent dough, and condiments—arranged neatly on a festive Halloween-themed kitchen towel.
Preparation & Setup: Creating the Spooky Scene
First things first, let’s set the stage for our culinary magic! I always find that a little preparation makes the whole experience smoother and way more fun.
Preheat your oven to 375°F (190°C). While it’s warming up, line a baking sheet with parchment paper. This is my secret weapon for zero-stress cleanup later! Gather all your ingredients and tools so everything is within arm’s reach. To really get into the spirit, I love to put on a spooky soundtrack (the Monster Mash is a classic for a reason!) and have my niece put on her favorite little chef’s apron.
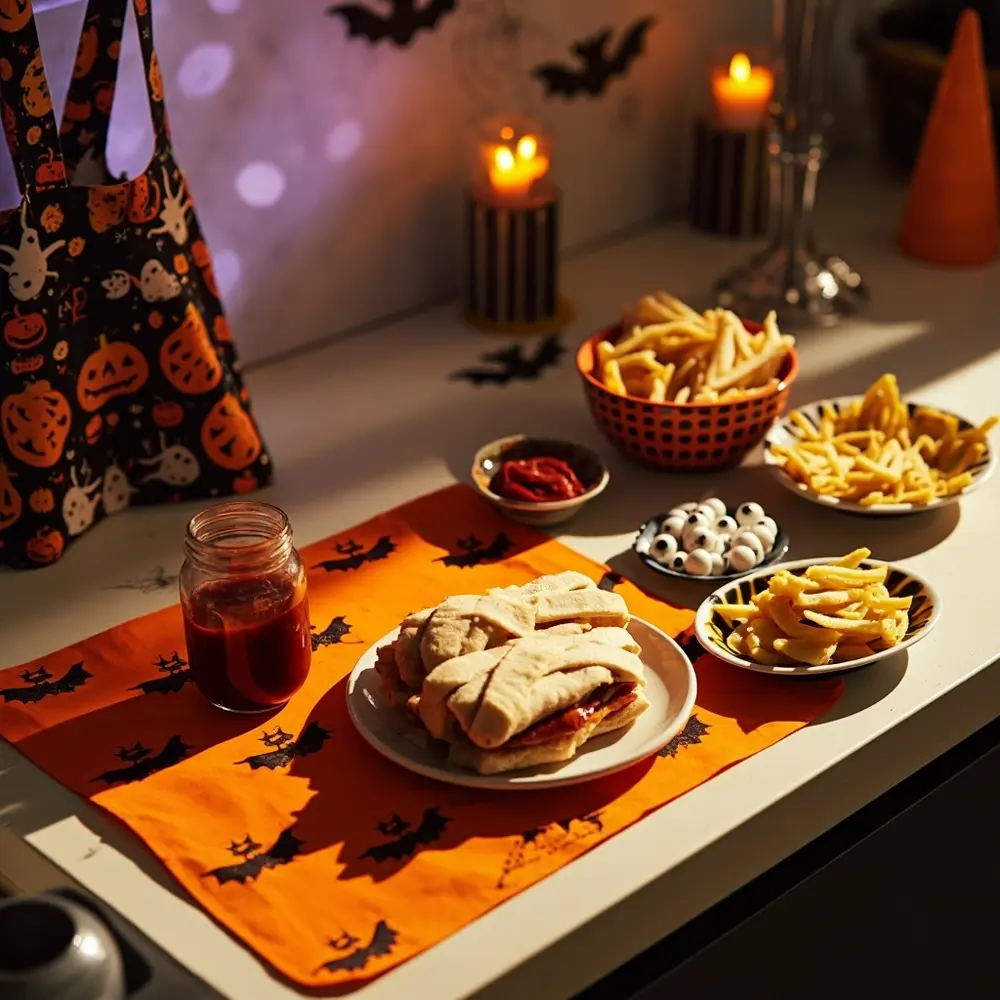
Pro Tip 💡: Arrange all your ingredients on a Halloween-themed placemat or serving tray before starting. It instantly turns your counter into a “Mummy-Making Station” and gets the kids even more excited to dive in!
Image-2: A “Mummy-Making Station” with ingredients neatly laid out on an orange and black placemat, with a kid’s apron hanging nearby.
How to Lead the Mummy Dog Activity: Step-by-Step 🚀
This is where the real fun begins! I’ve made these countless times for my Halloween workshops, and they are always a huge hit.
Step 1: Prep Your Hot Dogs & Dough
Let’s get our mummies-to-be ready for their bandages. If your hot dogs are packed in water, give them a good pat-down with a paper towel so the dough sticks better. Now, pop open that can of crescent dough! Unroll it carefully on a clean, lightly floured surface. You can either separate the dough at the perforated triangle lines or, for more “bandages,” press the seams together to form a rectangle and use a pizza cutter to slice it into thin, spaghetti-like strips.
Image-3: A sheet of unrolled crescent dough being sliced into thin strips with a pizza cutter, with a package of hot dogs sitting next to it.
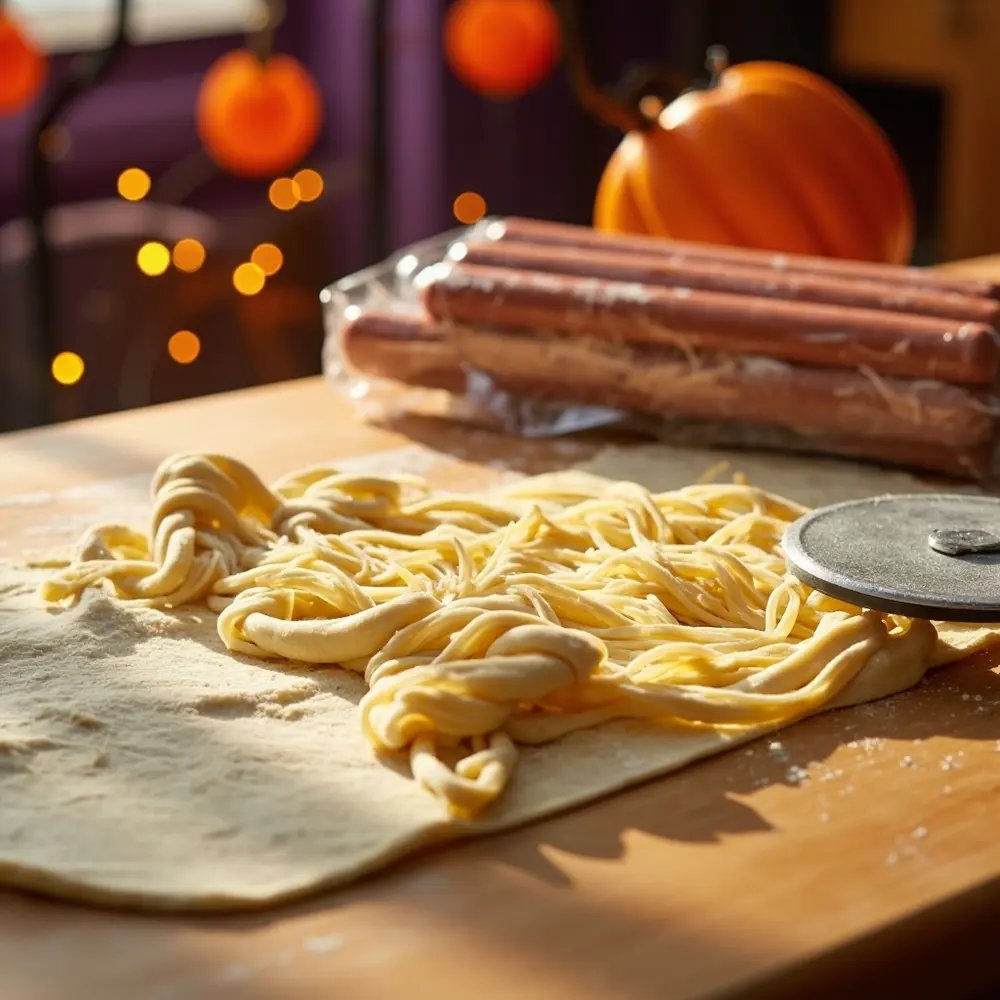
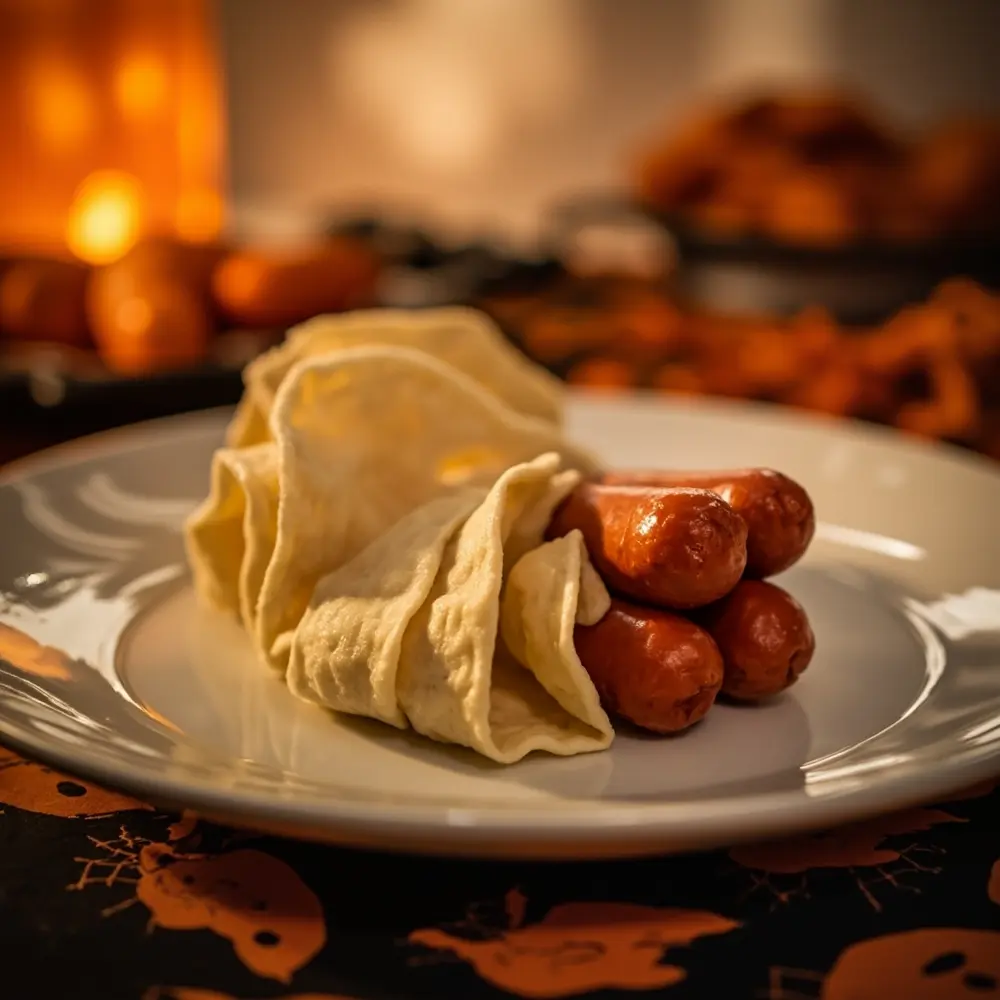
Image-4: A close-up shot of the thin strips of dough laid out next to the dried hot dogs, ready for wrapping.
Step 2: Wrap Your Mummies
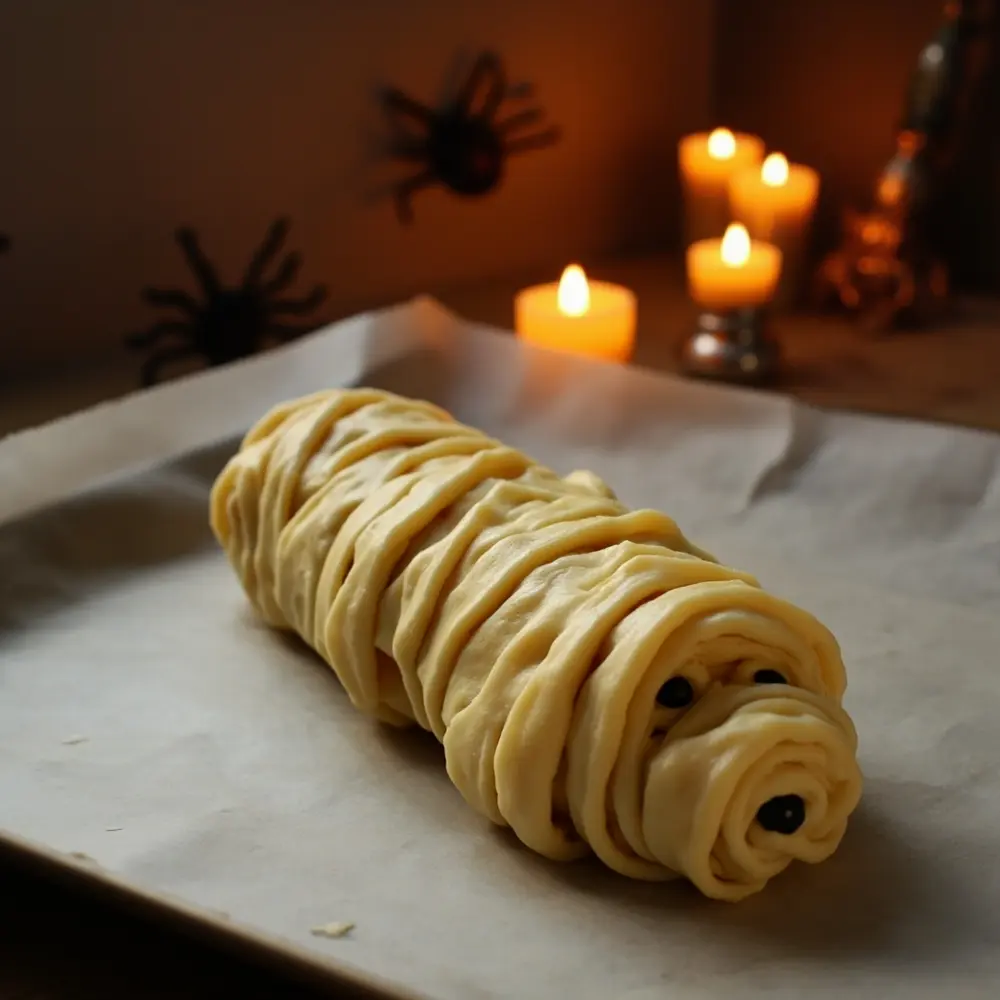
Time to bring these mummies to life! Take one strip of dough and start wrapping it around a hot dog, spiraling from one end to the other. Crisscross the strips and leave a few gaps to make it look like old, tattered mummy bandages. Most importantly, leave a little space near the top of the hot dog unwrapped—this is where the mummy’s face and eyes will go!
🚨 Caution: If you’re letting older kids help cut the dough, make sure an adult is supervising closely. A pizza cutter is often safer than a knife, but it’s still sharp! Always keep an eye on little hands around raw ingredients.
Image-5: A child’s hands, guided by an adult’s, carefully wrapping a strip of crescent dough around a hot dog.
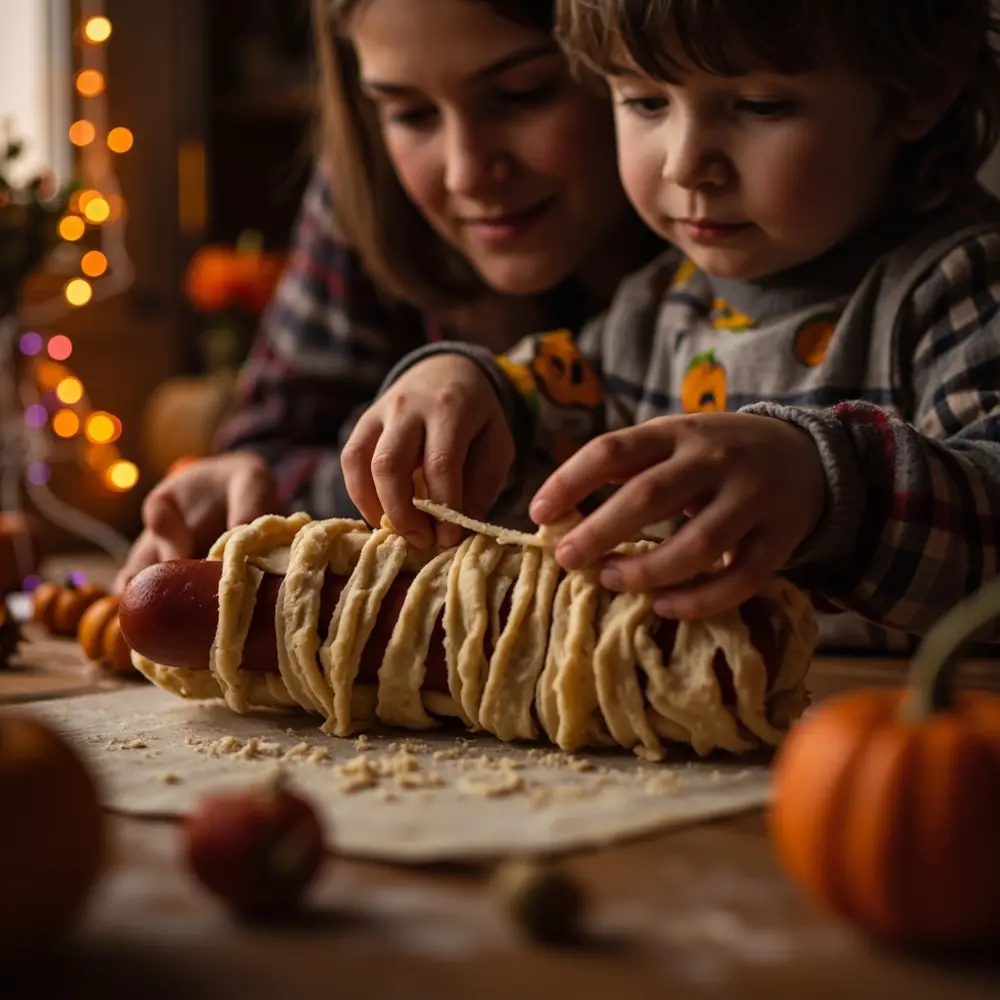
Image-6: A fully wrapped but unbaked mummy dog, showing the crisscross pattern and the small gap left for the face.
Step 3: Bake Until Golden Brown
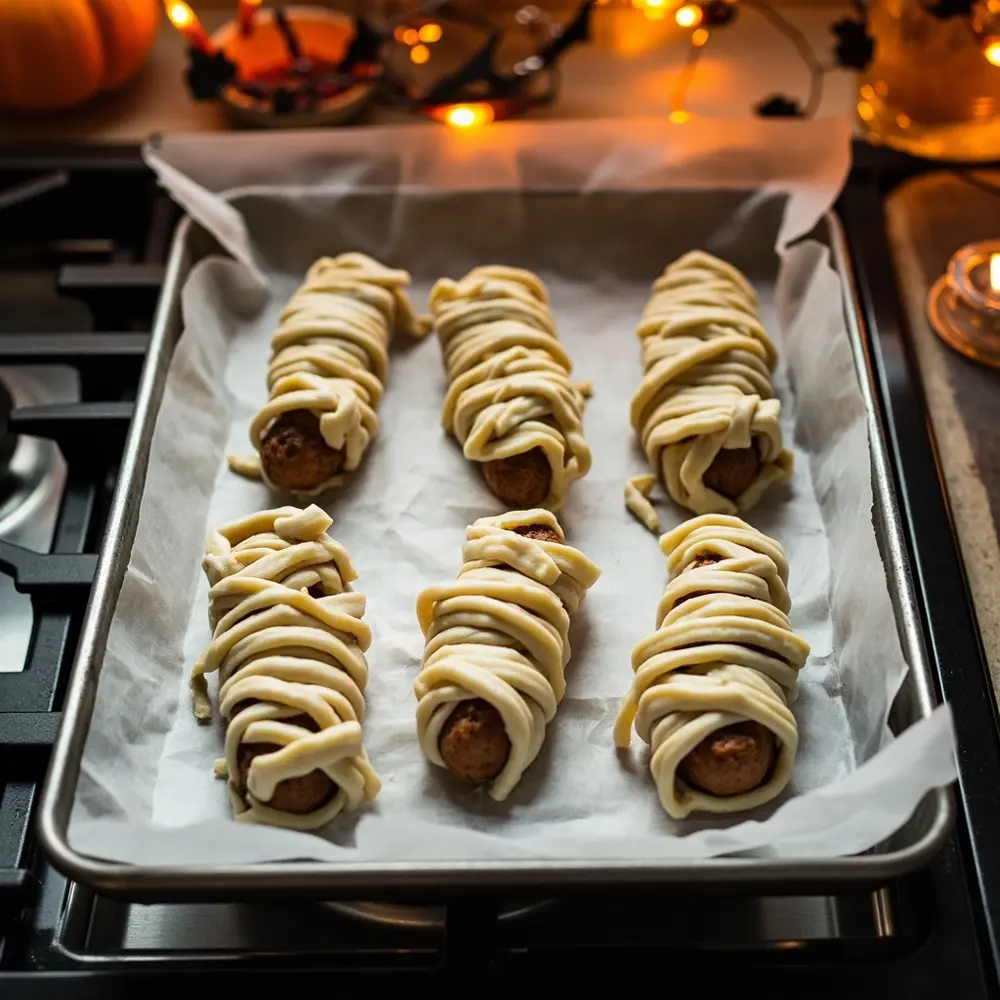
Once all your hot dogs are cozily wrapped in their doughy bandages, carefully place them on your parchment-lined baking sheet. Make sure to leave a little space between each one so they can bake evenly and don’t stick together. Pop them into the preheated oven and bake for 12-15 minutes, or until the dough is a beautiful golden brown and puffed up. The whole kitchen will smell amazing!
Image-7: Several wrapped mummy dogs arranged neatly on a parchment-lined baking sheet, ready to be placed in the oven.
Step 4: Give Your Mummies Their Eyes
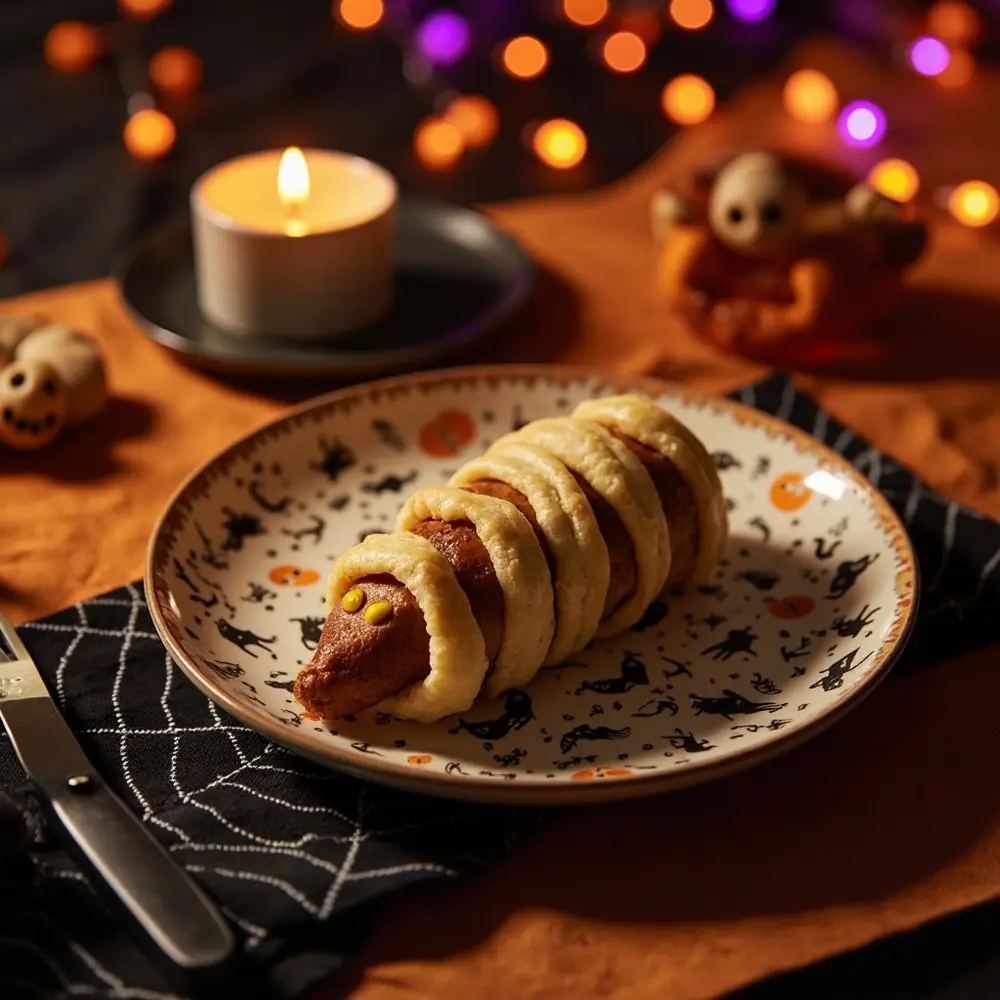
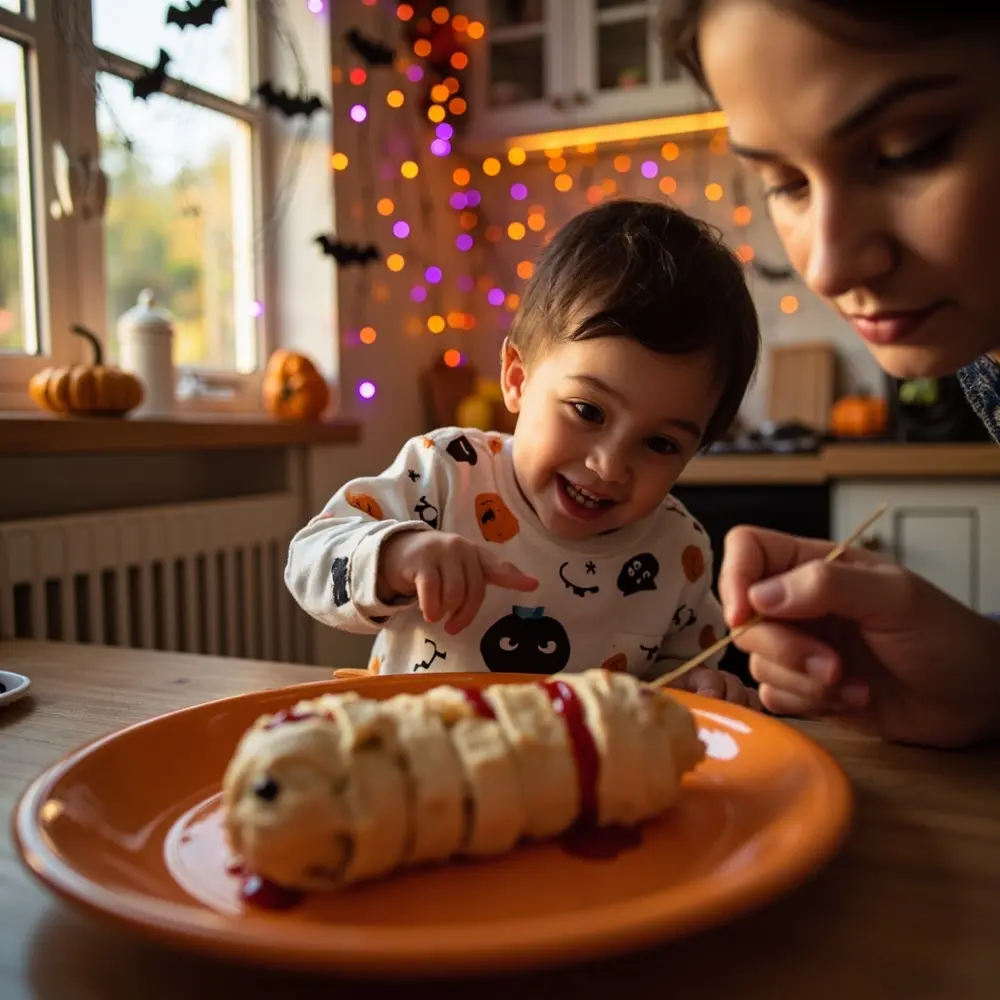
This is the final touch that gives your mummies their personality! After they come out of the oven and have cooled for a minute or two (they’ll be hot!), it’s time to give them sight. Use a toothpick to dot on two small eyes with ketchup or mustard. If you’re using candy eyeballs, you can press them gently into the warm dough in the “face” area you left open. They look so spooky and cute!
Image-8: A close-up of a finished mummy dog on a festive Halloween plate, with two small dots of mustard for eyes.
Making Mummy Dogs Easy & Fun for Every Little Monster
One thing I’ve learned from running kids’ workshops is that a little planning goes a long way. Here’s how you can adapt this for any age:
- For Toddlers (Ages 2-4): Their little hands are still developing fine motor skills. Pre-cut the dough strips for them. Their main job can be handing you the hot dogs or “painting” the finished mummies with a dipping sauce (using a clean food brush). They will feel super involved!
- For Little Kids (Ages 5-7): This is the perfect age for wrapping! Show them how to do one, and then let them try. The mummies might look a bit messy, but that’s part of the charm! They can also help place the mummies on the baking sheet.
- For Big Kids (Ages 8+): Let them take the lead! With supervision, they can help cut the dough strips with a pizza cutter and can be in charge of wrapping a whole batch. They might even want to experiment with the variations below.
To keep things tidy, lay down a plastic tablecloth for easy cleanup. And most importantly, praise their efforts! There are no “perfect” mummies—only delicious, spooky ones.
Image-9: A happy toddler pointing at a finished mummy dog while a parent dots on the eyes with ketchup.
Variations & Customizations to Haunt Your House 🧛
Want to level up your mummy game? I’ve tried a bunch of twists over the years. Here are some of my favorites:
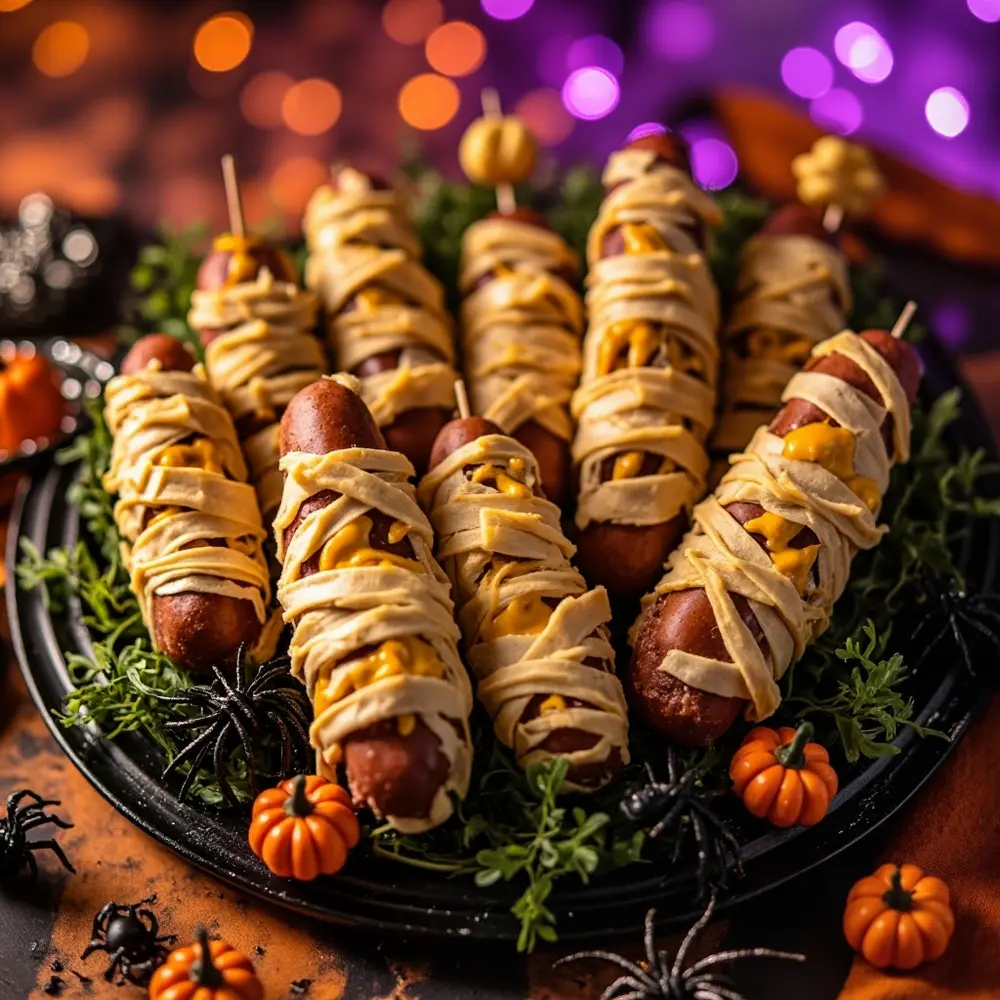
- 🧀 Cheesy Mummies: Before wrapping, place a thin strip of cheddar or mozzarella cheese alongside the hot dog. It melts into a gooey surprise!
- 🩸 “Bloody” Mummies: Serve them with a side of ketchup or marinara sauce for dipping. It’s gruesomely good!
- 🥕 Veggie Mummies: Use your favorite plant-based hot dogs or even wrap up some cooked carrots or zucchini sticks.
- 🌶️ Spicy Mummies: For the adults, try using jalapeño hot dogs or sprinkling a little chili powder on the dough before baking.
- 🤏 Mini Mummies: Use cocktail wieners and smaller dough strips for the perfect bite-sized party appetizer. My niece thinks these are the absolute cutest.
Theme Twist 🦇: Instead of mummies, make “Vampire Bites”! Wrap mini sausages in the dough, bake, and then use a toothpick to drizzle a little red frosting or strawberry jam over them to look like dripping blood. Spooktacular!
Image-10: A platter showcasing a variety of mummy dogs, including some with cheese peeking out and some mini ones on toothpicks.
Halloween Activity FAQs ❓
#### Q1: Can I make mummy dogs ahead of time?
Absolutely! You can assemble them a few hours ahead, cover them, and keep them in the fridge. Bake them just before you’re ready to serve so they’re warm and fresh. You can also bake them completely and reheat them in the oven for a few minutes.
#### Q2: What other dips go well with mummy dogs besides ketchup and mustard?
Oh, great question! I love serving them with a queso dip, honey mustard, or even a spooky green guacamole. A ranch dip tinted with a little green food coloring also looks fantastic!
#### Q3: Can I use puff pastry instead of crescent roll dough for mummy dogs?
Yes, and it’s a delicious alternative! Puff pastry will give your mummies a flakier, crispier texture. Just be sure to follow the baking instructions on the puff pastry package, as the time and temperature might be different.
Conclusion
And there you have it—a spooky, delicious, and ridiculously fun activity that’s guaranteed to be a hit with your whole crew. Making Mummy Dogs is more than just a recipe; it’s about creating those warm, silly, and slightly sticky memories that make Halloween so special. From the giggles while wrapping to the proud smiles when they see their creations come out of the oven, this is what the season is all about. 🧡
I’ve made these for everything from my own family dinners to large community events, and they never fail to bring joy. I hope you and your little monsters have an absolute blast making them.
What’s your go-to Halloween snack? I’m always looking for new ideas to add to my spooky repertoire. Drop a comment below and let me know! Happy Haunting! 👻
