It’s that time of year again, ghouls and goblins! The air is getting crisp, the leaves are turning spooky shades of orange, and my pumpkin spice coffee consumption is officially off the charts. 🎃
You want to throw a memorable Halloween bash or just have a fun, creative afternoon, but the same old activities feel a bit… dead. You could buy pre-decorated treats, but where’s the magic in that? You crave a hands-on activity that brings everyone together and fills your home with the sweet smell of spooky success. ✨
Well, you’ve come to the right haunted house! I’m Roshan Sharma, your friendly neighborhood Halloween fanatic, and I’m here to show you how to turn simple sugar cookies into edible works of art. Let’s get our aprons on and make some memories! 👻
Activity At-a-Glance
- Best For: Family fun 👨👩👧👦, Halloween party activity, creative individuals, group crafting session.
- Time Required ⏳: Approx. 2-3 hours (active decorating time, not including baking/cooling cookies).
- Budget Level 💰: Moderate
- Spookiness Level 💀: Low (can be customized to Medium/High with design choices)
What You’ll Need for Your Spooky Cookie Decorating Session 📋
Before we dive into the magic, let’s gather our potion ingredients and tools. I’ve learned from planning dozens of Halloween parties that having everything ready to go is the key to a stress-free, fun time!
- Pre-baked Halloween-shaped sugar cookies (completely cooled) 🍪
- Powdered sugar
- Meringue powder or pasteurized egg whites
- Water or lemon juice 💧
- Gel food coloring (black, orange, purple, green, white, etc.) 🌈
- Piping bags with various small round tips (#1, #2)
- Squeeze bottles or piping bags with larger round tips (#3)
- Toothpicks or a scribe tool
- Various Halloween sprinkles (bats, ghosts, pumpkins, nonpareils) ✨
- Edible glitter or dust
- Edible marker pens (black, white) 🖊️
- Small bowls for mixing icing colors
- Spatulas or spoons for mixing
- Parchment paper or silicone mats
- Cooling racks
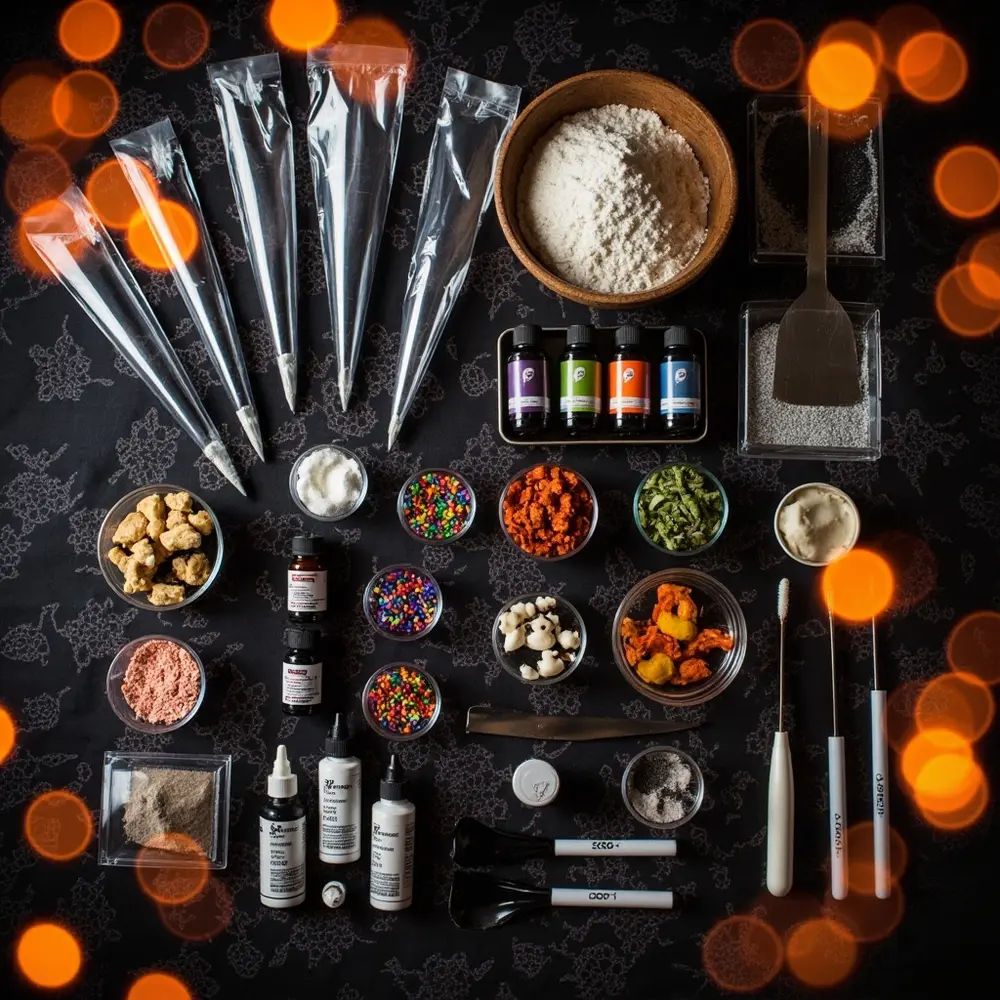
Image-1: A flat-lay photo of all the necessary supplies arranged neatly on a dark, festive tablecloth. Items include piping bags, bowls of powdered sugar, gel food colorings, and various Halloween sprinkles.
Preparation & Setup: Creating the Spooky Scene 🕯️
Let’s set the mood! This isn’t just about decorating cookies; it’s about creating an experience. Find a large, clean surface like your kitchen table or counter. Cover it with parchment paper or a disposable tablecloth for super easy cleanup.
Arrange all your tools, sprinkles, and icing bowls so everyone can easily reach them. I love to put on a Halloween-themed playlist—think “Monster Mash” and the Ghostbusters theme song! Dim the main lights and add some fun string lights to create a cozy, magical glow. This transforms a simple craft into a core memory, trust me.
Pro Tip 💡: Drape faux spiderwebs and a few plastic spiders around the decorating station for an instant spooky vibe. It’s a low-effort, high-impact decoration that my niece absolutely loves helping with!
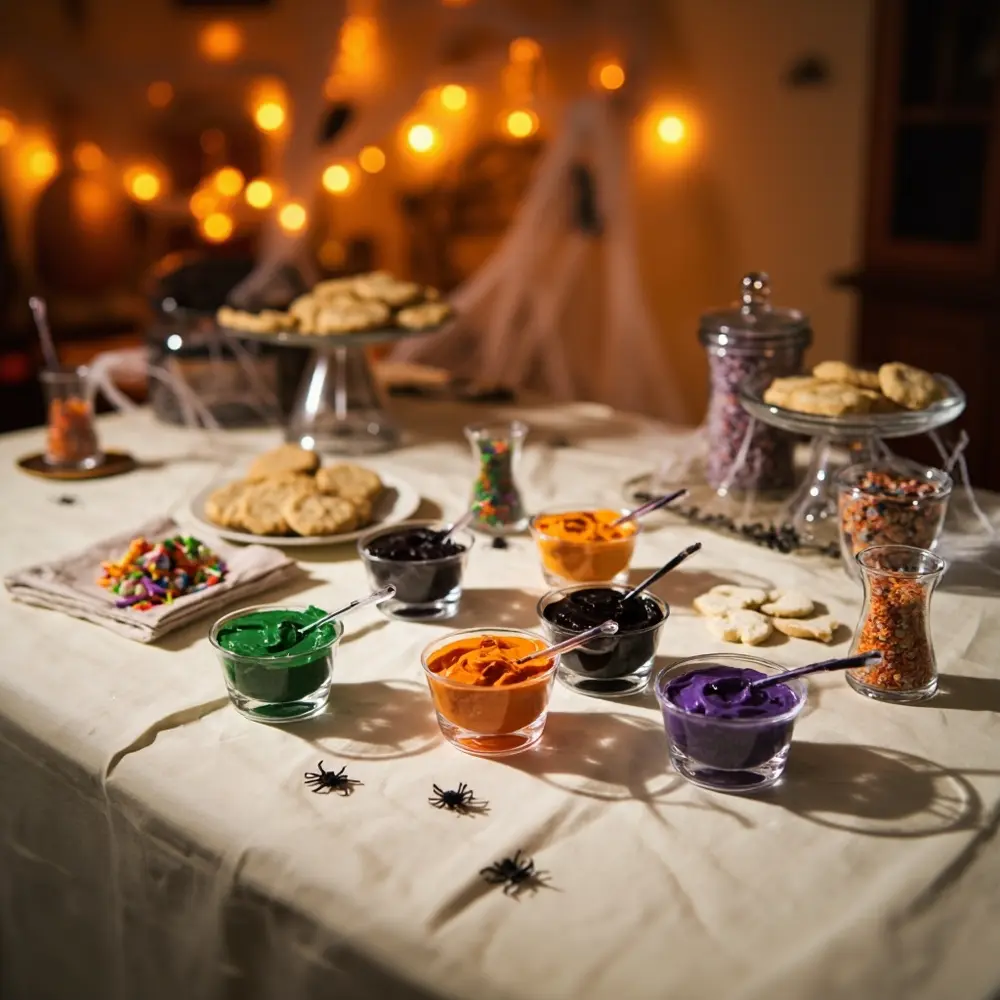
Image-2: A photo of a fully prepared decorating station with bowls of colored icing, piping bags, and sprinkles all laid out. The background is slightly dim with orange string lights and faux spiderwebs.
How to Decorate Your Halloween Sugar Cookies: Step-by-Step Guide 🚀
Ready to become a cookie-decorating master? Let’s break it down into simple, fun steps.
Step 1: Baking & Cooling Your Canvas (The Foundation)
This is the most important first step! You must start with completely cooled sugar cookies. If they are even slightly warm, your beautiful icing will melt into a sad, spooky puddle. I always bake my cookies the day before to be extra sure they are ready for their Halloween makeover.
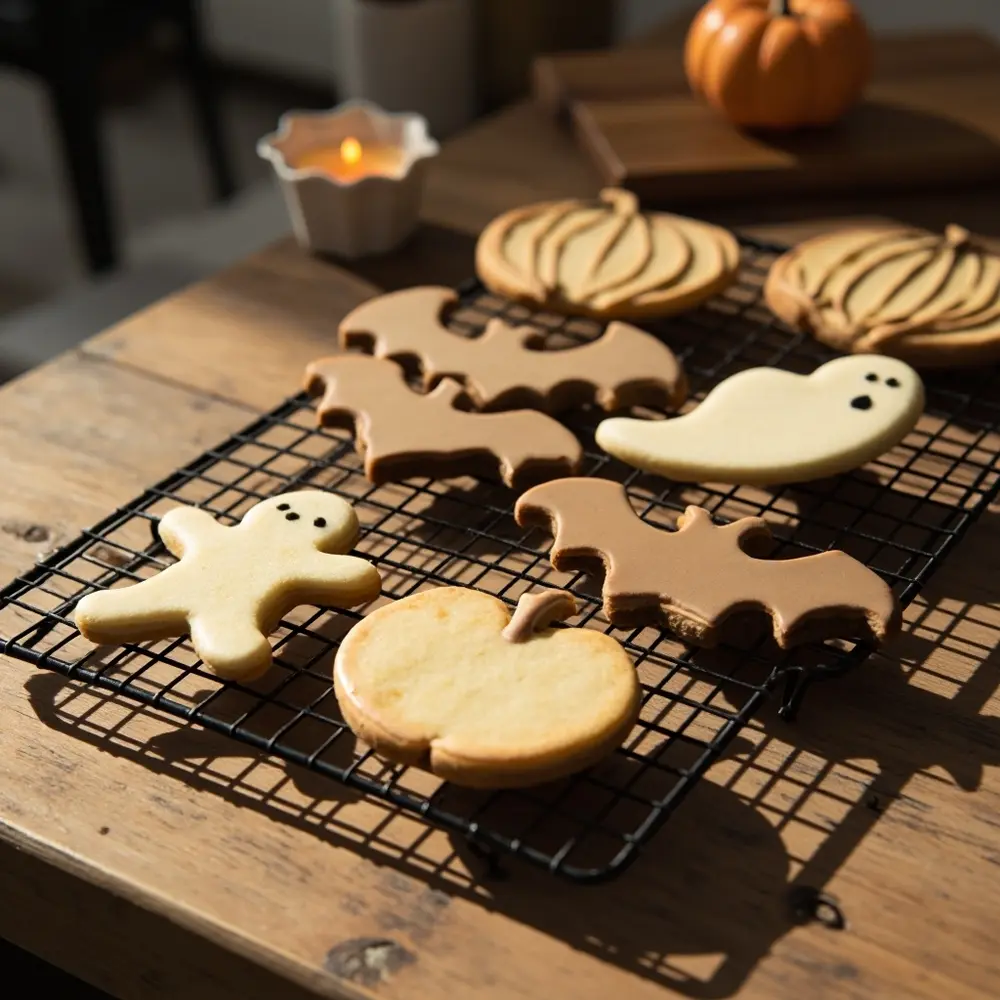
Image-3: A tray of freshly baked, cooled Halloween-shaped sugar cookies (ghosts, pumpkins, bats) laid out on a cooling rack, ready for decoration.
Step 2: Mixing & Tinting Your Icing (Consistency is Key!)
We’ll be using royal icing, which dries hard and is perfect for decorating. I prefer using meringue powder because it’s super stable and easy to work with.
- 1. Mix the Icing: Follow the instructions on your meringue powder container to mix up a batch of white royal icing. It should be a stiff consistency, like toothpaste.
- 2. Divide and Conquer: Separate the icing into a few small bowls—one for each color you want to make.
- 3. Tint Your Colors: Add a tiny drop of gel food coloring to each bowl and mix well. Gels give you vibrant colors without making the icing too watery. Keep adding color drop by drop until you get the perfect ghoulish green or pumpkin orange!
- 4. Create Two Consistencies: For each color, you’ll need two versions:
- Outline Icing: This is the stiff icing you already have. Put some in a piping bag with a small round tip (like a #2). This is for drawing your borders.
- Flood Icing: To the remaining icing in the bowl, add water a tiny bit at a time until it’s the consistency of honey or shampoo. This runny icing is for “flooding” or filling in the cookie. Pour this into squeeze bottles or piping bags with a slightly larger tip (#3).
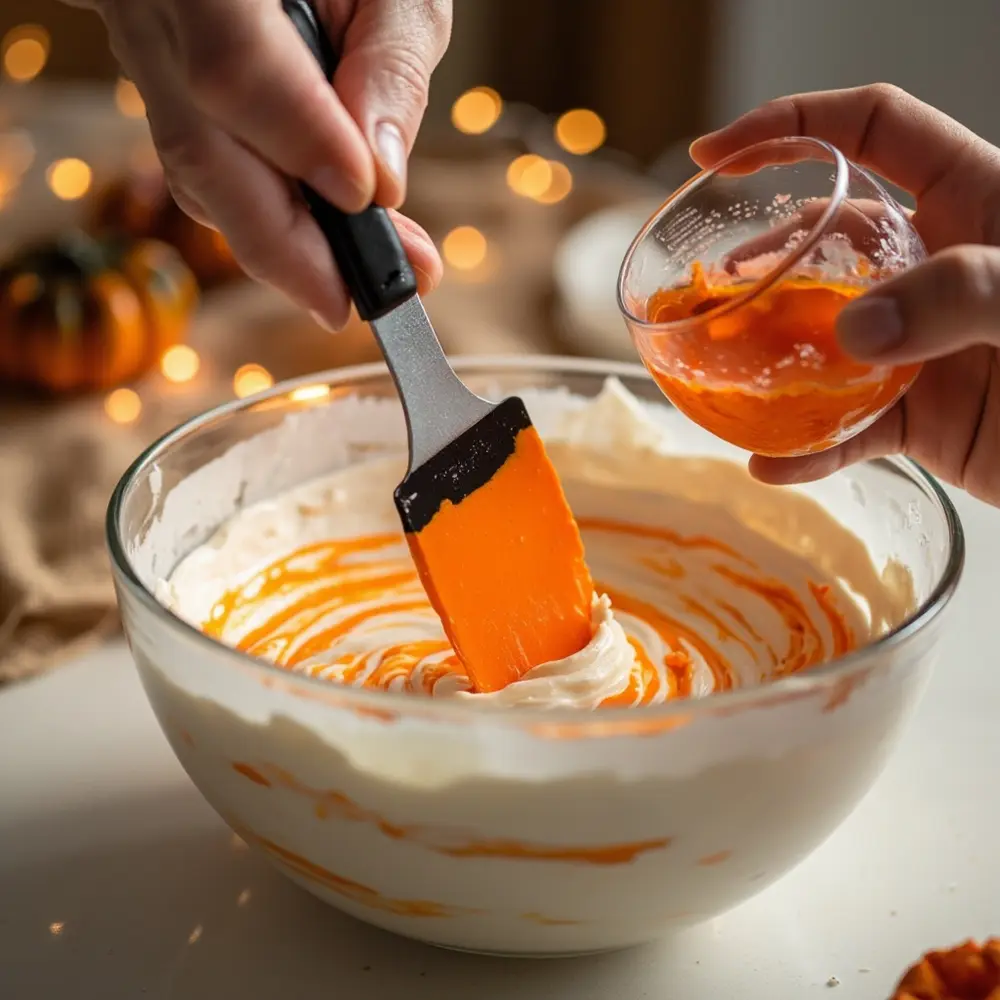
Image-4: A close-up shot of hands using a spatula to mix vibrant orange gel food coloring into a bowl of white royal icing.
> Caution ☠️: If you choose to use real egg whites instead of meringue powder, make sure they are pasteurized to avoid any risk of salmonella. Safety first, spooky fun second!
Image-5: A top-down view of several small bowls filled with brightly colored royal icing in orange, black, purple, and green. Piping bags and squeeze bottles are filled and ready next to them.

Step 3: Mastering Basic Outlining and Flooding
This is where the magic begins!
- 1. Grab a cookie and your outline icing.
- 2. Holding the piping bag like a pencil, gently squeeze and draw an outline around the edge of your cookie. Think of it as building a little fence to hold in the flood icing.
- 3. Let the outline dry for a few minutes.
- 4. Now, grab your flood icing and fill in the area inside your outline.
- 5. Use a toothpick or a scribe tool to gently push the icing into the corners and pop any pesky air bubbles that appear.
Image-6: A close-up action shot of a hand piping a clean black outline on a bat-shaped cookie. In the background, another pumpkin-shaped cookie is being filled with orange flood icing.
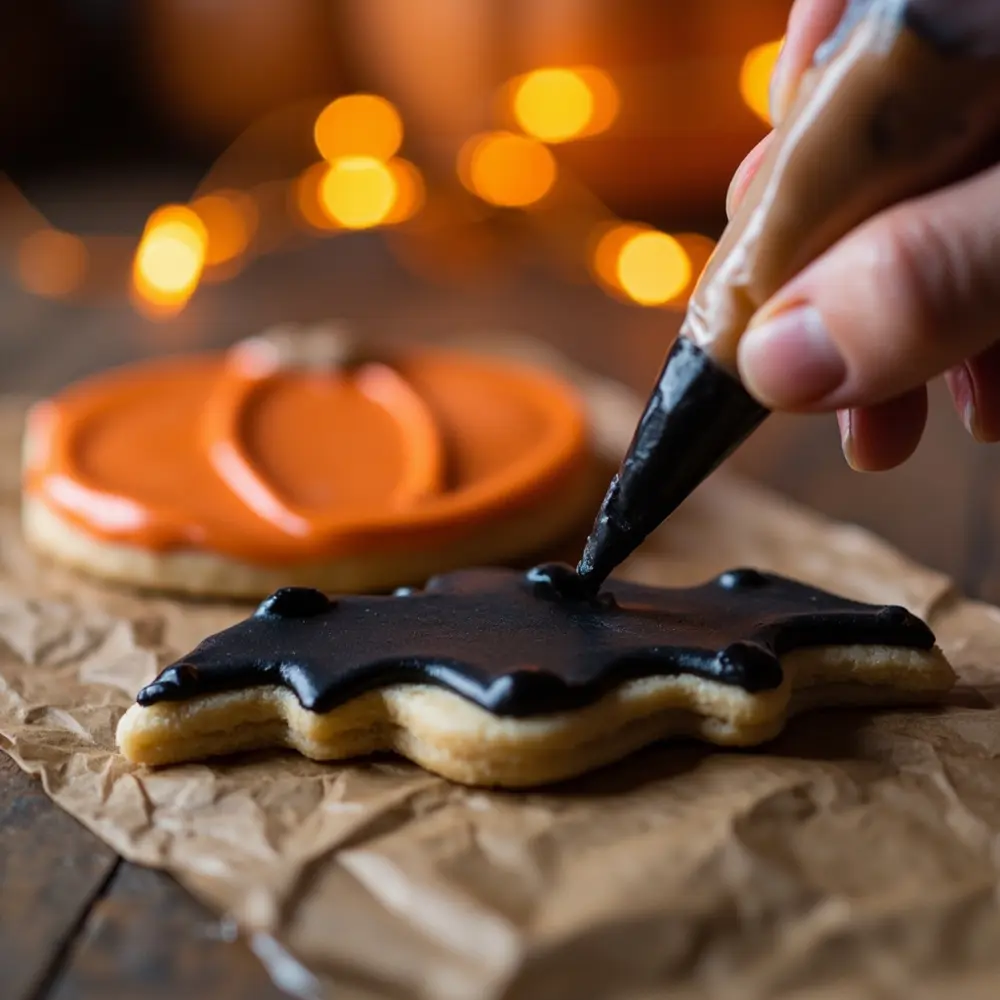
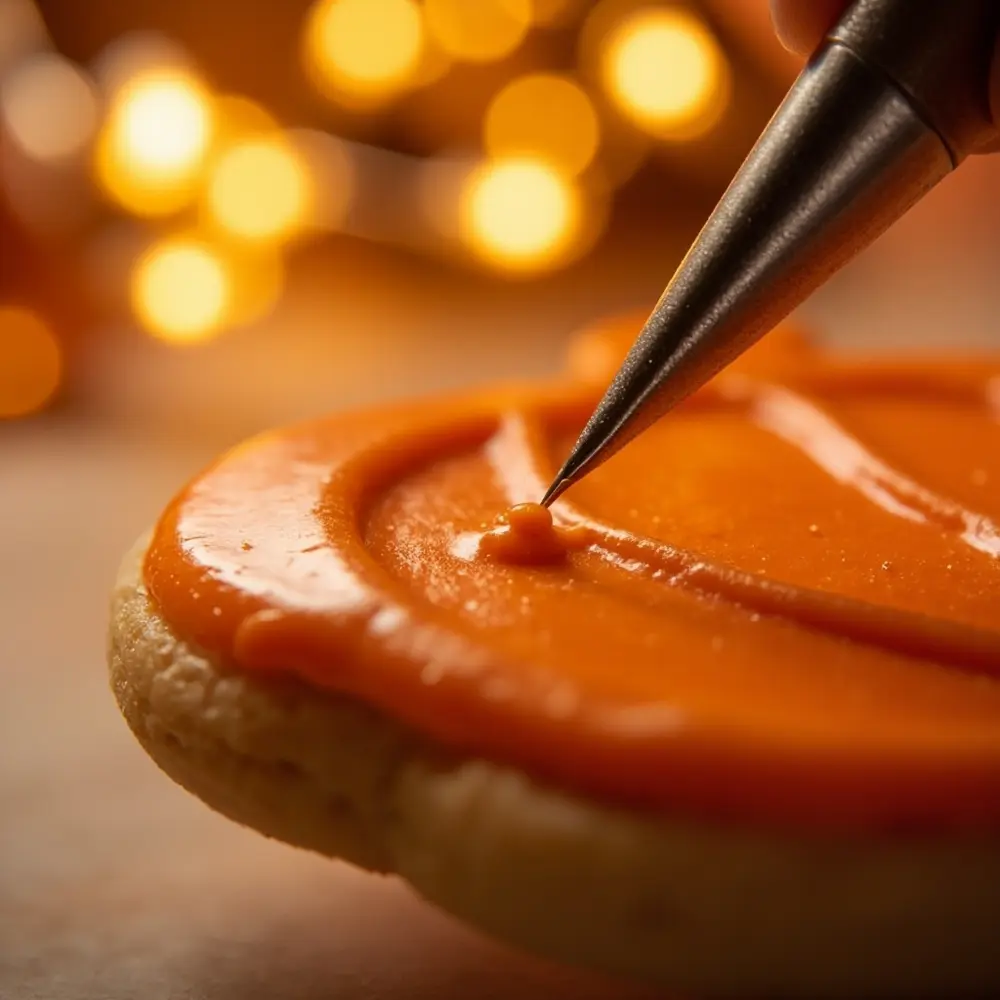
Image-7: A macro shot of a scribe tool gently popping a tiny air bubble on the surface of freshly flooded orange icing on a pumpkin cookie.
Step 4: Adding Simple Details: Wet-on-Wet & Sprinkles
Want to create some cool patterns? Now is the time, while the flood icing is still wet!
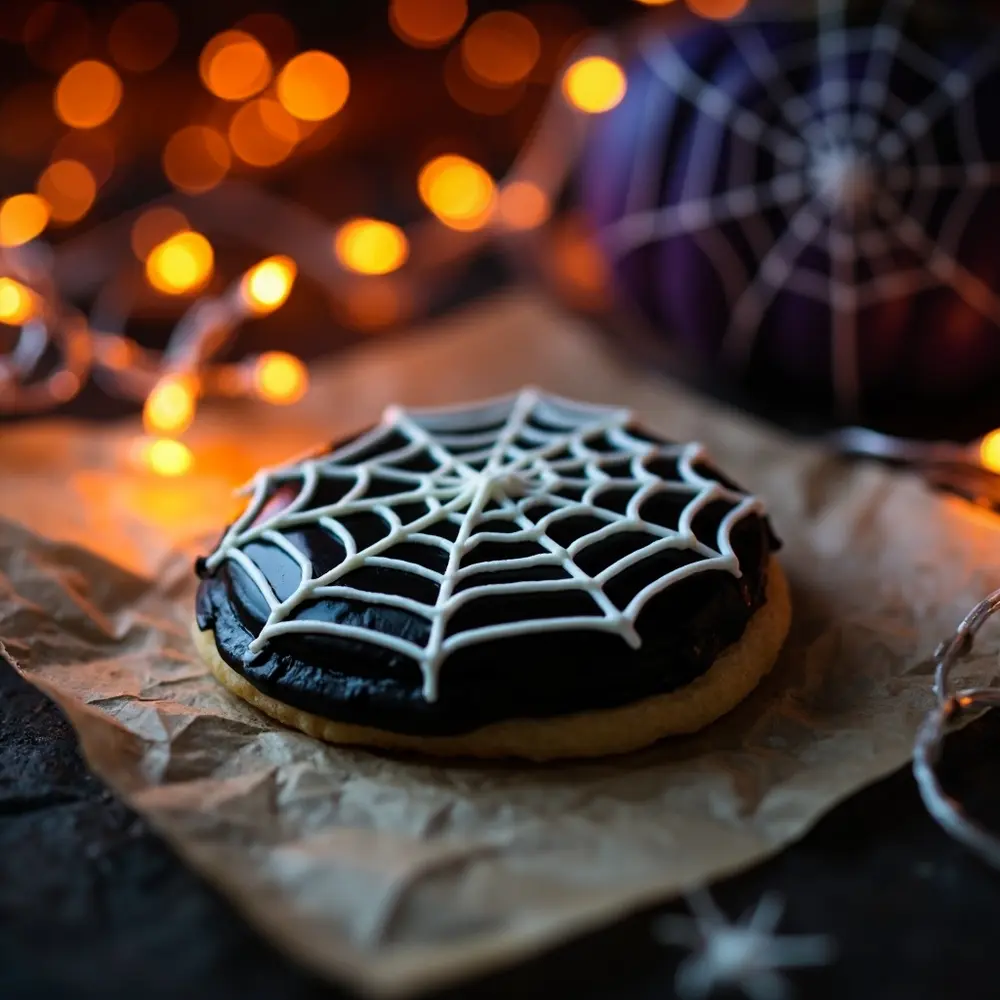
- Wet-on-Wet: To make a spiderweb, flood a cookie with black or white icing. Immediately pipe a spiral or a few circles of a contrasting color on top. Then, drag a toothpick from the center outwards to create the web effect. You can also add simple polka dots this way!
- Sprinkle Fun: While the flood icing is still wet, go wild with your Halloween sprinkles! Add bats, ghosts, or colorful nonpareils for instant texture and fun. This is a perfect step for younger kids.
Image-8: A stunning photo showcasing a round cookie with a perfect white spiderweb design on a black flooded base, demonstrating the wet-on-wet technique.
Step 5: Elaborate Designs: Fine Lines, Dimensional Elements & Hand-Painting
Once your base flood layer has dried completely (this can take a few hours), you can add the really cool details.
- Fine Lines: Use your stiff outline icing to pipe on finer details, like pumpkin vines, ghost faces, or the stitches on a Frankenstein monster.
- Dimensional Details: You can layer icing on top of the dried base to create a 3D effect.
- Edible Markers: These are a game-changer! Once the icing is rock hard, use an edible marker to draw intricate details like pupils in eyes, spooky messages, or delicate patterns. I once ran a little side gig on Fiverr designing custom invitations, and my love for fine-line details definitely came from that!
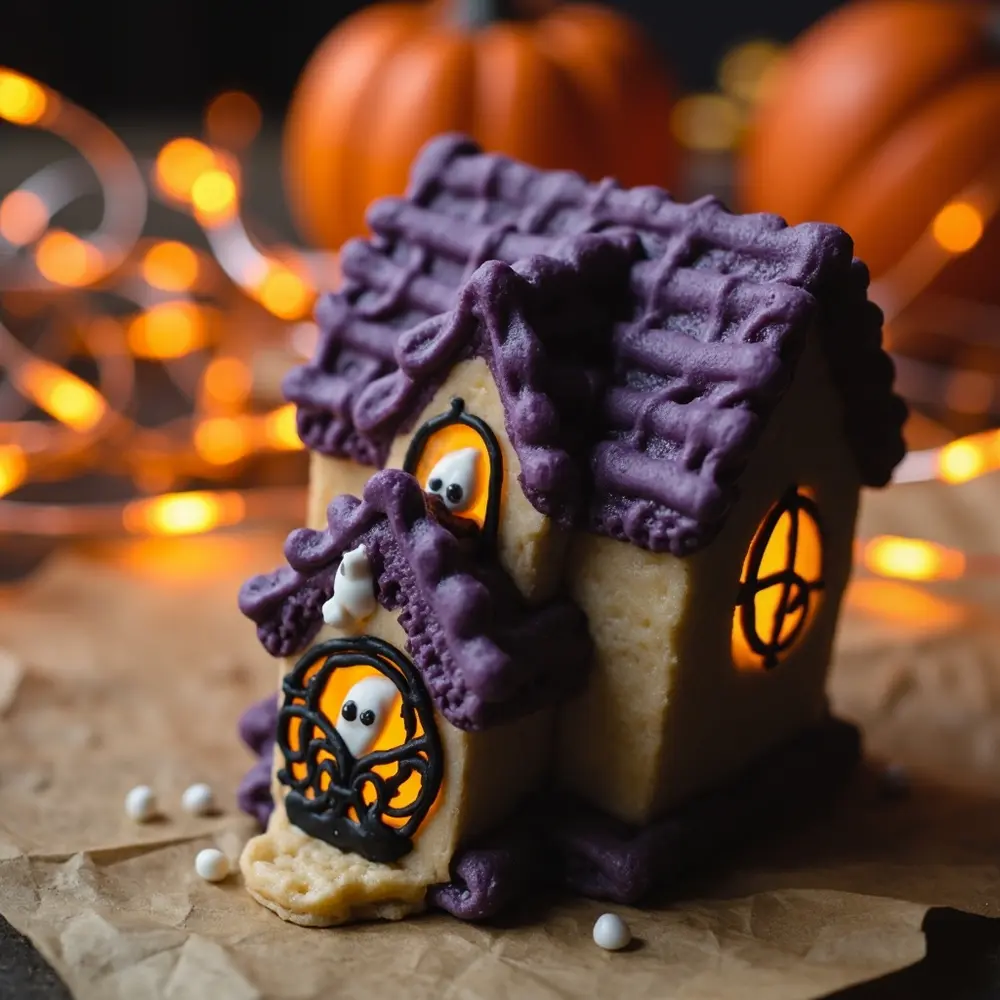
Image-9: A finished, intricately decorated haunted house cookie is the star of this photo. It shows fine line details for windows, a layered roof, and tiny ghost details drawn with an edible marker.
Tips for Perfect Halloween Cookie Decorating Techniques 💡
- Getting the Right Consistency: If your flood icing is too thin, it will run off the cookie. If it’s too thick, it won’t settle into a smooth surface. Aim for a “10-second rule”—if you drizzle a ribbon of icing back into the bowl, it should disappear in about 10 seconds.
- Preventing Bleeding Colors: This happens when a dark color bleeds into a light one. To prevent it, let the first color’s outline dry for at least 20-30 minutes before flooding with a different color right next to it.
- Fixing Craters: Sometimes, small dips or “craters” form as the icing dries. To avoid this, make sure your flood icing isn’t too thick and give the cookie a gentle shake right after flooding to even it out.
- Build Your Skills: Start simple! Master flooding and sprinkles first. Once you’re comfortable, move on to wet-on-wet designs. Save the super-detailed, multi-layered cookies for when you feel like a true pro.
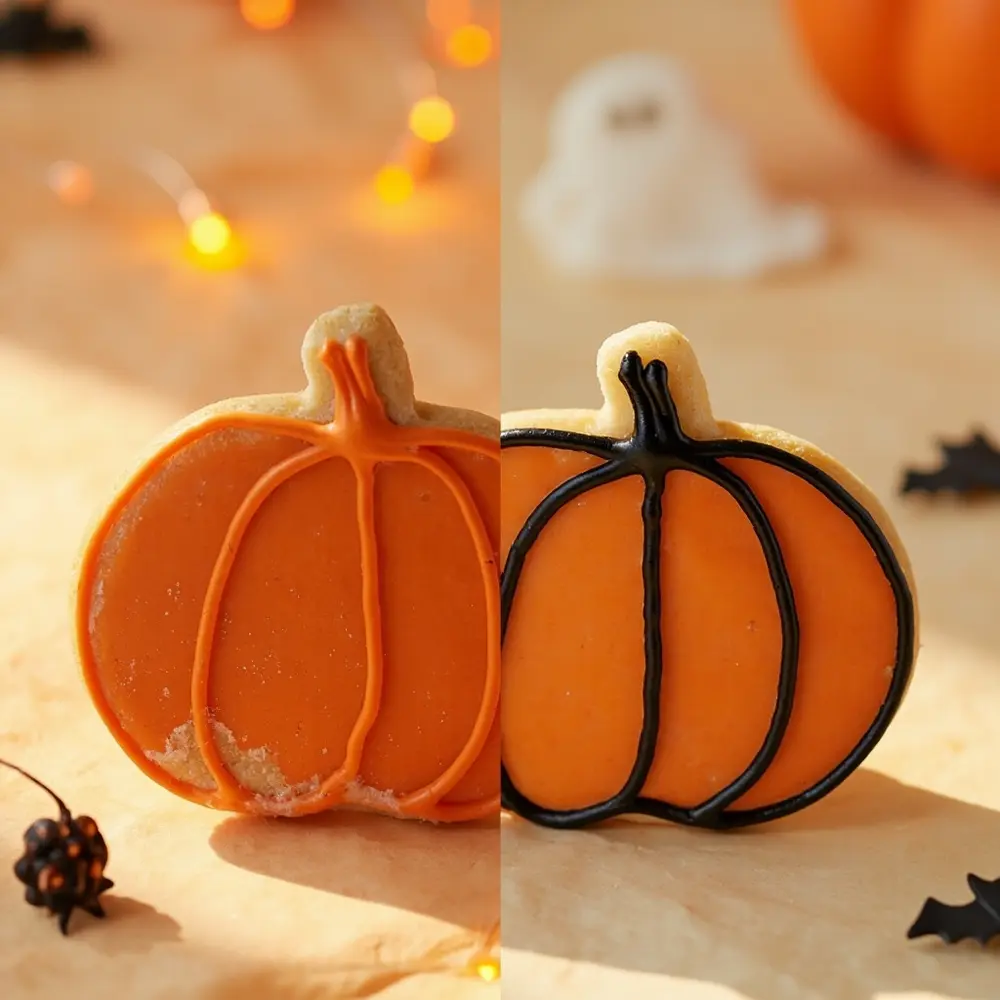
Image-10: A side-by-side comparison photo. The left cookie shows a “color bleed” issue with black running into orange. The right cookie is perfectly crisp, showing the desired result.
Variations & Customizations to Haunt Your House 🦇
The best part about this activity is making it your own!
- Cookie Cutters Galore: Don’t stop at pumpkins and ghosts! Use cutters shaped like witch hats, Frankenstein monsters, skulls, and cauldrons. 🧙
- Unique Color Palettes: Who says Halloween has to be just orange and black? Try a pastel “boo-tiful” theme for friendly ghosts, or add some edible metallic silver for a spooky, glam look.
- Skill Level Adaptations: For little monsters, have the cookies pre-flooded and just let them go to town with sprinkles and edible markers. For advanced decorators, try challenging techniques like brush embroidery or stenciling with icing.
- Edible Add-ons: Get creative with candy! Use candy eyes for creatures, mini chocolate chips for buttons, or crushed hard candies to look like broken glass.
- Cookie Pop Fun: Before baking, carefully insert a lollipop stick into the bottom of each cookie. Decorated cookie pops make fantastic party favors!
Image-11: A vibrant, colorful shot of many different decorated cookies showcasing variety: a pastel ghost, a metallic silver bat, and a pumpkin cookie with candy eyes.

> Theme Twist 🧪: Host a “Mad Scientist Lab” cookie decorating party! Focus on bubbling green and purple icing, using Pop Rocks for a fizzy effect, and creating edible “goo” with green piping gel. It’s a blast!
Halloween Activity FAQs ❓
#### Q1: How long does royal icing take to fully dry, and how can I speed up the process?
Royal icing needs about 6-8 hours to dry completely at room temperature. To speed it up, you can place the cookies in front of a small, low-speed fan. This improves air circulation and can cut the drying time in half!
#### Q2: Can I use store-bought cookies and pre-made icing for this activity?
Absolutely! This is a fantastic shortcut if you’re short on time. The goal is to have fun decorating, so don’t feel pressured to make everything from scratch. Just make sure the cookies are a plain, flat sugar cookie style.
#### Q3: How should I store decorated Halloween sugar cookies to keep them fresh?
Once the icing is 100% hard, store the cookies in a single layer in an airtight container at room temperature. They should stay fresh for up to a week. Avoid stacking them unless you place a sheet of parchment paper between layers.
I hope this guide helps you create the most spook-tacular Halloween cookies ever! There’s nothing better than seeing the proud faces of friends and family showing off their edible masterpieces. It’s a tradition in my house, and I can’t wait for it to become one in yours.
Happy decorating! What’s your favorite Halloween shape to decorate? Let me know in the comments! 🎃
