Recipe: Spiced Chocolate Bat Cookies for a Spooky Treat
It’s that time of year again, ghouls and goblins! Are you tired of the same old sugary Halloween cookies that are more for kids than for your sophisticated spooky palate? 🎃
You want a treat that screams Halloween but tastes like a dream, with complex, warming flavors that make you want to curl up with a scary movie. You need something that impresses your friends at the annual monster mash! 🦇
I’m Roshan Sharma, your friendly neighborhood Halloween fanatic, and I’ve got the perfect solution. This recipe for Spiced Chocolate Bat Cookies is my go-to for a treat that’s both fun and incredibly delicious, with a grown-up twist that everyone will adore. Let’s get baking! 🎉
Activity At-a-Glance
- Best For 👨👩👧👦: Halloween parties, fall baking projects, a unique treat for adults and families, or spooky edible gifts.
- Time ⏳: Approx. 2.5 – 3 hours (this includes the all-important dough chilling time!)
- Budget Level 💰: Moderate
- Spookiness Level 👻: Medium
What You’ll Need for Your Spiced Chocolate Bat Cookies 📋
- 1 ½ cups All-purpose flour 🌾
- ½ cup Unsweetened cocoa powder 🍫
- 1 ½ tsp Ground cinnamon
- 1 tsp Ground ginger
- ¼ tsp Ground cloves
- ½ tsp Baking soda
- ¼ tsp Salt 🧂
- ½ cup Unsalted butter, softened
- ¾ cup Granulated sugar
- ¼ cup Brown sugar, packed
- 1 Large egg 🥚
- 1 tsp Vanilla extract
- Bat-shaped cookie cutter (various sizes are fun!) 🦇
- Rolling pin
- Baking sheets
- Parchment paper or silicone baking mats
- Wire cooling racks
- Optional for Glaze: Powdered sugar, milk, and black food coloring ⚫
Preparation & Setup: Creating the Spooky Scene 🧛♂️
The best way to avoid a baking nightmare is to get organized before you begin! Trust me, I’ve learned this the hard way after planning countless Halloween parties. First, clear your counter space and gather all your ingredients and tools. Think of it as setting the stage for your delicious magic.
Go ahead and preheat your oven to 350°F (175°C). Line two baking sheets with parchment paper or silicone mats so your bat cookies lift off without a fight. An organized kitchen is a happy kitchen!
Pro Tip 💡: For perfectly consistent cookies, I always weigh my dry ingredients with a kitchen scale. It’s a game-changer! Also, make sure your butter and egg are at room temperature. This helps them mix together smoothly for the perfect cookie dough.
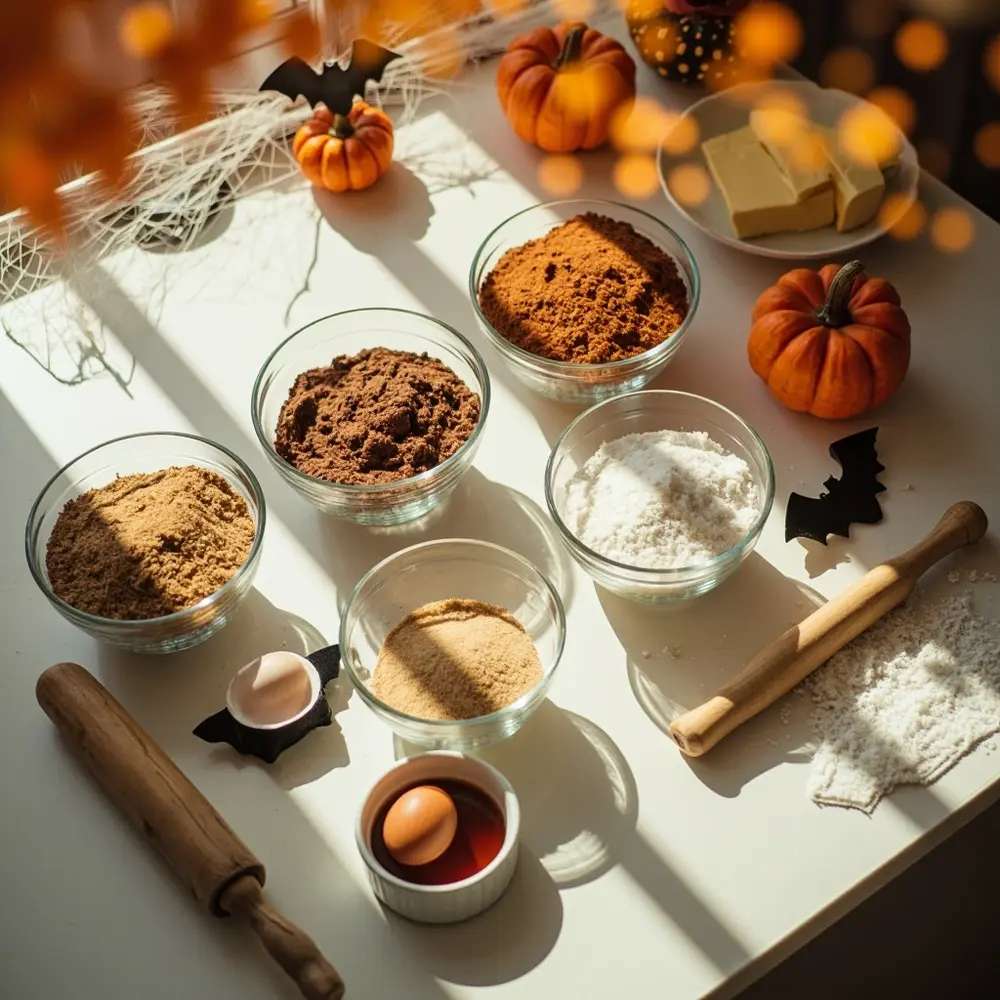
Image-1: A neat “mise en place” shot showing all the ingredients measured out in separate bowls on a kitchen counter, with the bat cookie cutter nearby.
How to Lead the Spiced Chocolate Bat Cookies: Step-by-Step Guide 🚀
Step 1: Combine Dry Ingredients
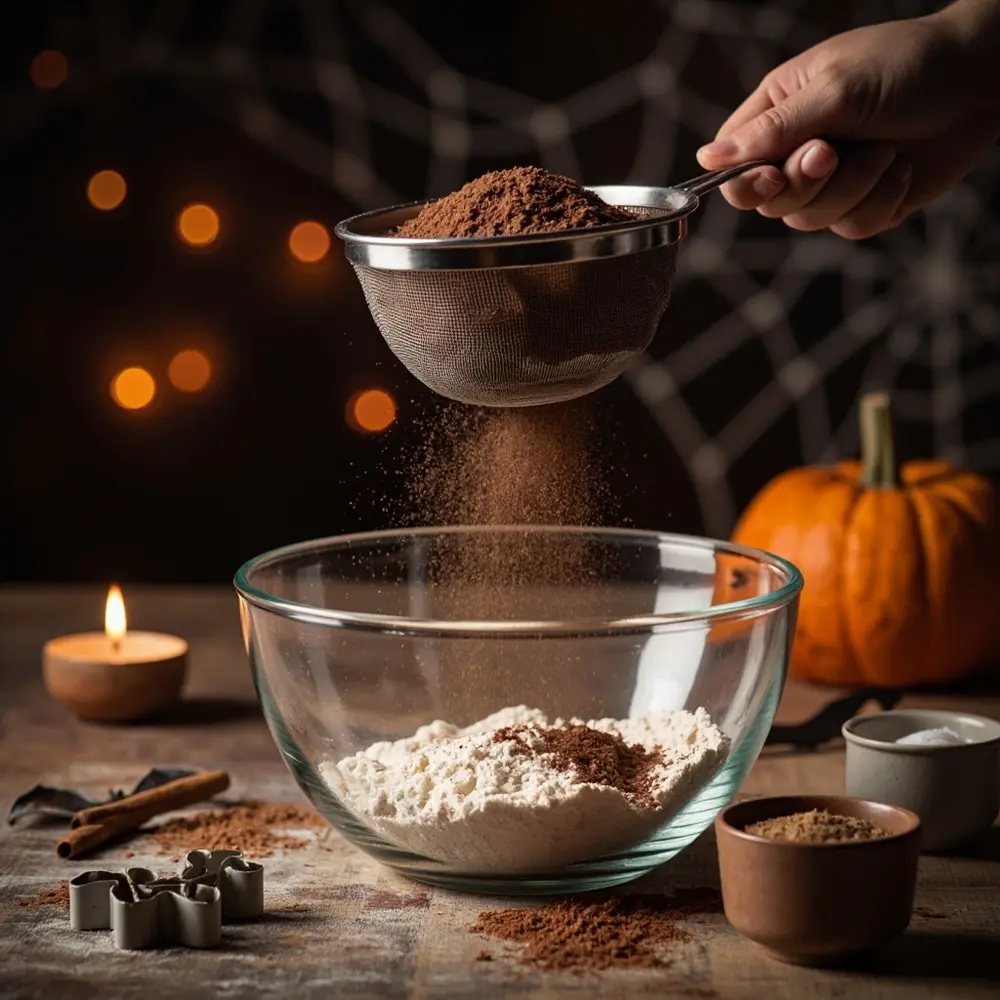
In a medium bowl, we’re going to create our spooky spice blend! Sift together the all-purpose flour, unsweetened cocoa powder, cinnamon, ginger, cloves, baking soda, and salt. Sifting is key—it breaks up any lumps and makes your cookies light and tender. Whisk it all together until it’s one uniform, chocolatey-brown color.
Image-2: A photo of flour and cocoa powder being sifted into a glass bowl, with small bowls of spices next to it.
Step 2: Cream Wet Ingredients
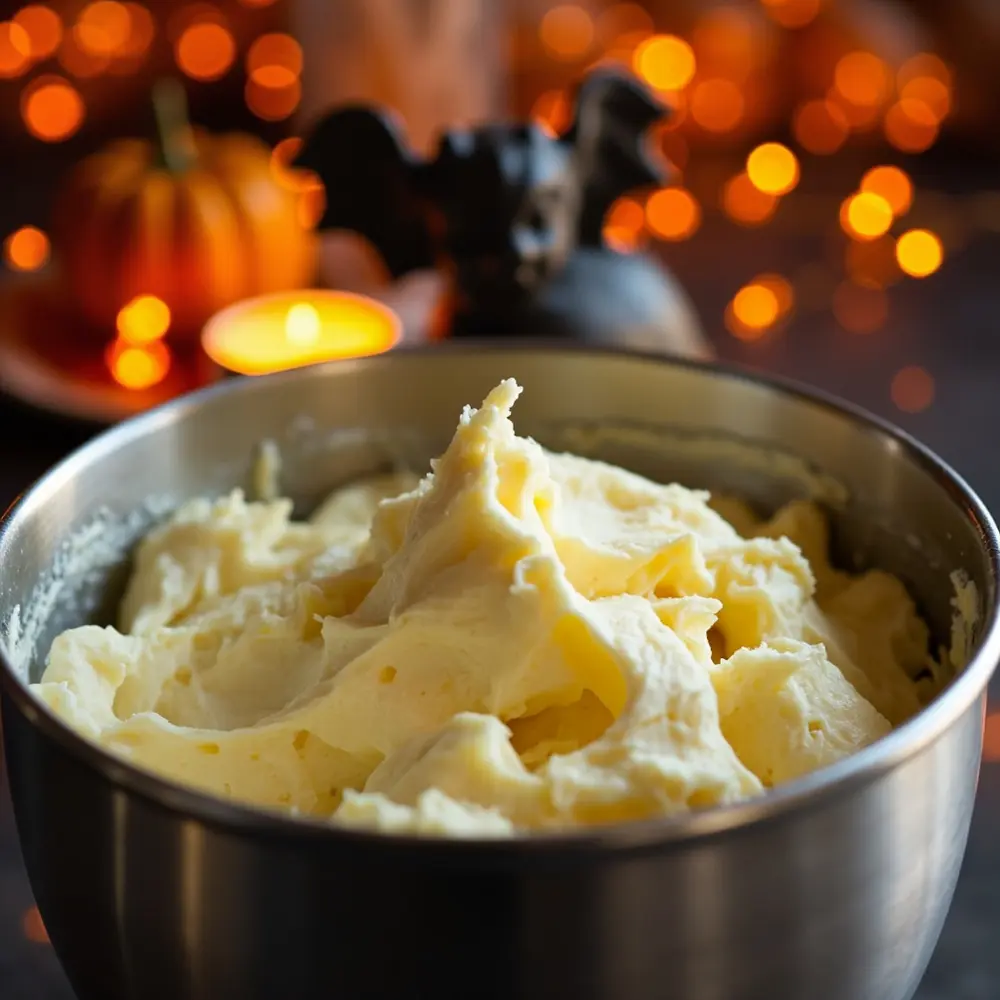
Now for the fun part! In a separate large bowl, using a stand mixer or a hand mixer, beat the softened butter, granulated sugar, and brown sugar together on medium speed. Keep going for about 2-3 minutes until the mixture is light, pale, and fluffy. Scrape down the sides of the bowl, then beat in the egg and vanilla extract until they’re just combined.
Caution ⚠️: If you have little ghouls helping you out, make sure an adult is supervising the use of any electric mixers!
Image-3: A close-up shot of the creamy, fluffy butter and sugar mixture in a stand mixer bowl.
Step 3: Mix Dough and Chill
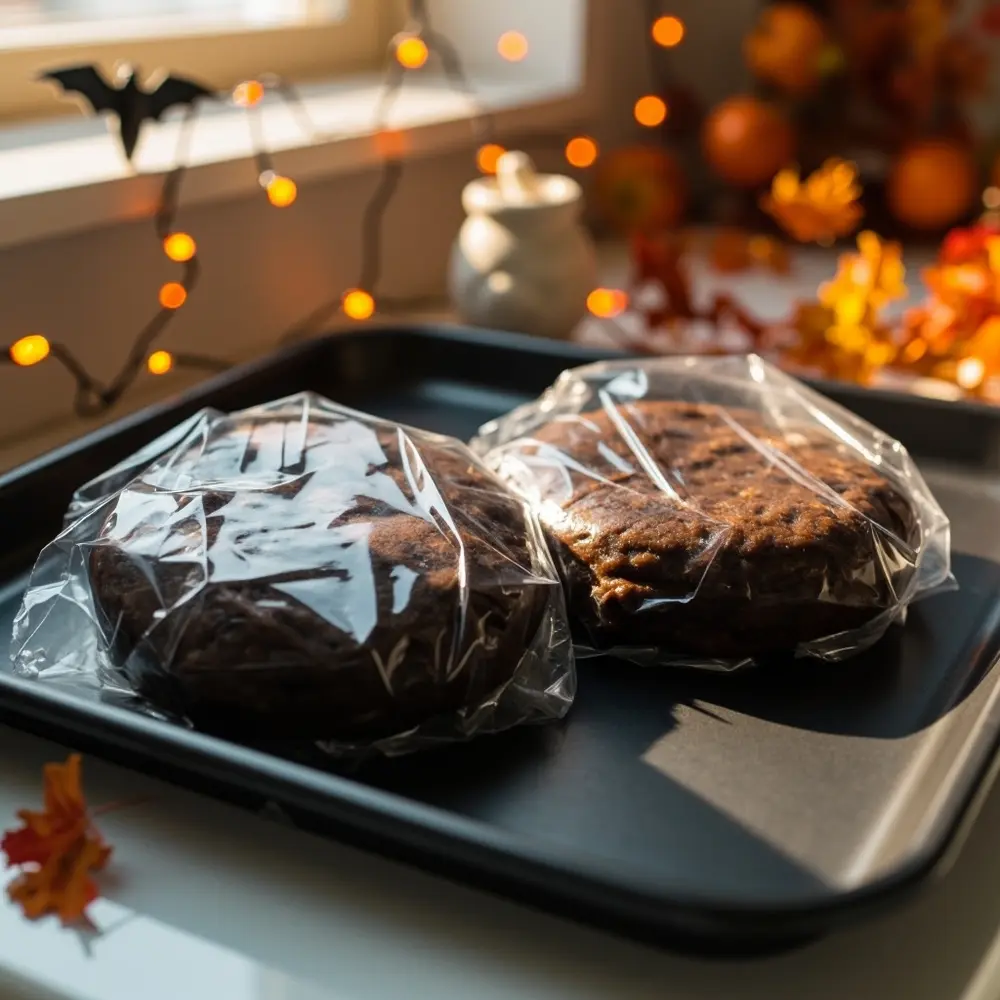
Time to bring it all together! With the mixer on low speed, gradually add the dry ingredient mixture to the wet ingredients. Mix only until a soft dough forms—be careful not to overmix! The dough will be a little sticky. Divide it in half, flatten each half into a 1-inch thick disc, and wrap them tightly in plastic wrap. Now, the hardest part: let them chill in the refrigerator for at least 1 hour (or up to 3 days). This step is crucial for preventing your bats from spreading into blobs in the oven!
Image-4: A shot of the two discs of dark chocolate cookie dough, wrapped in plastic, ready to go into the refrigerator.
Step 4: Roll and Cut Bat Shapes
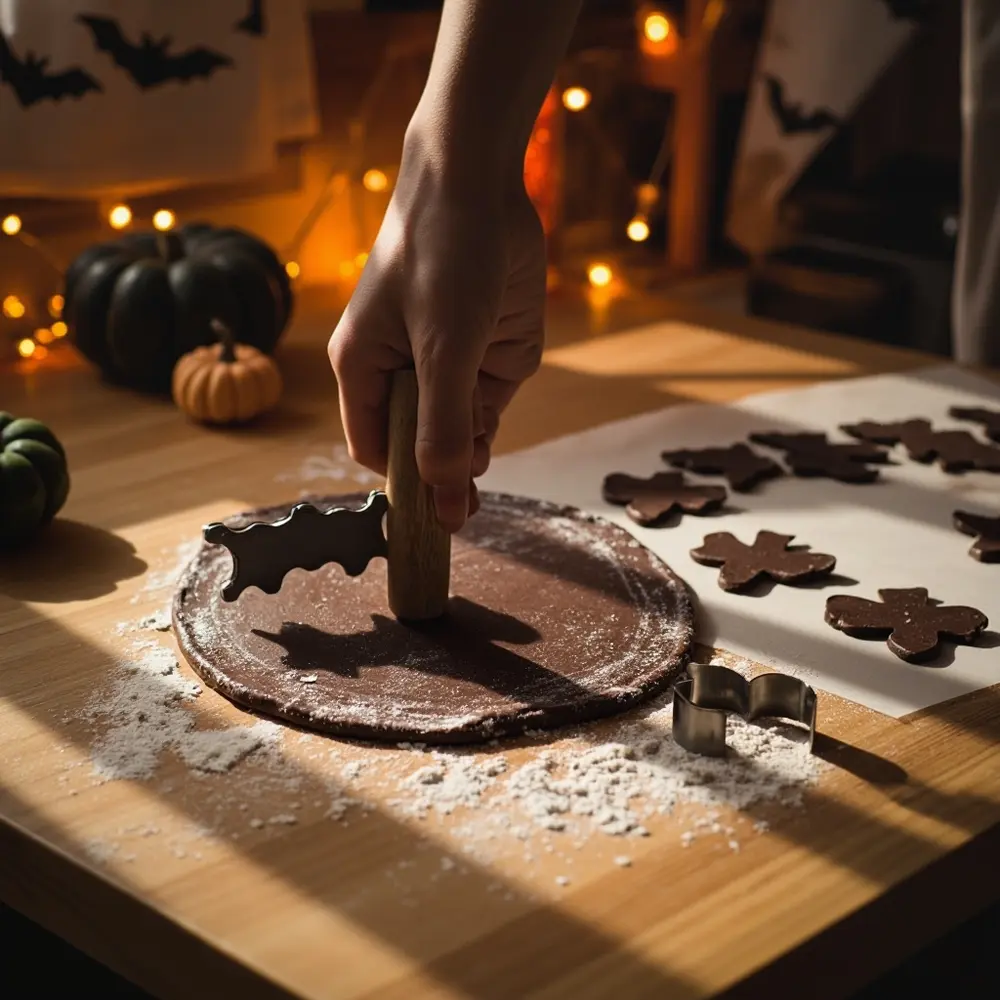
Once your dough is firm and chilled, it’s time to unleash the bats! Lightly flour a clean work surface and your rolling pin. Unwrap one disc of dough and roll it out until it’s about ¼-inch thick. Use your bat-shaped cookie cutter to cut out as many shapes as you can. Place the cutouts on your prepared baking sheets, about 1-2 inches apart. You can gather and re-roll the scraps once to get more cookies.
Image-5: An overhead shot of the dark dough being rolled out, with a hand pressing a bat-shaped cookie cutter into it.
Step 5: Bake Your Spooky Bats
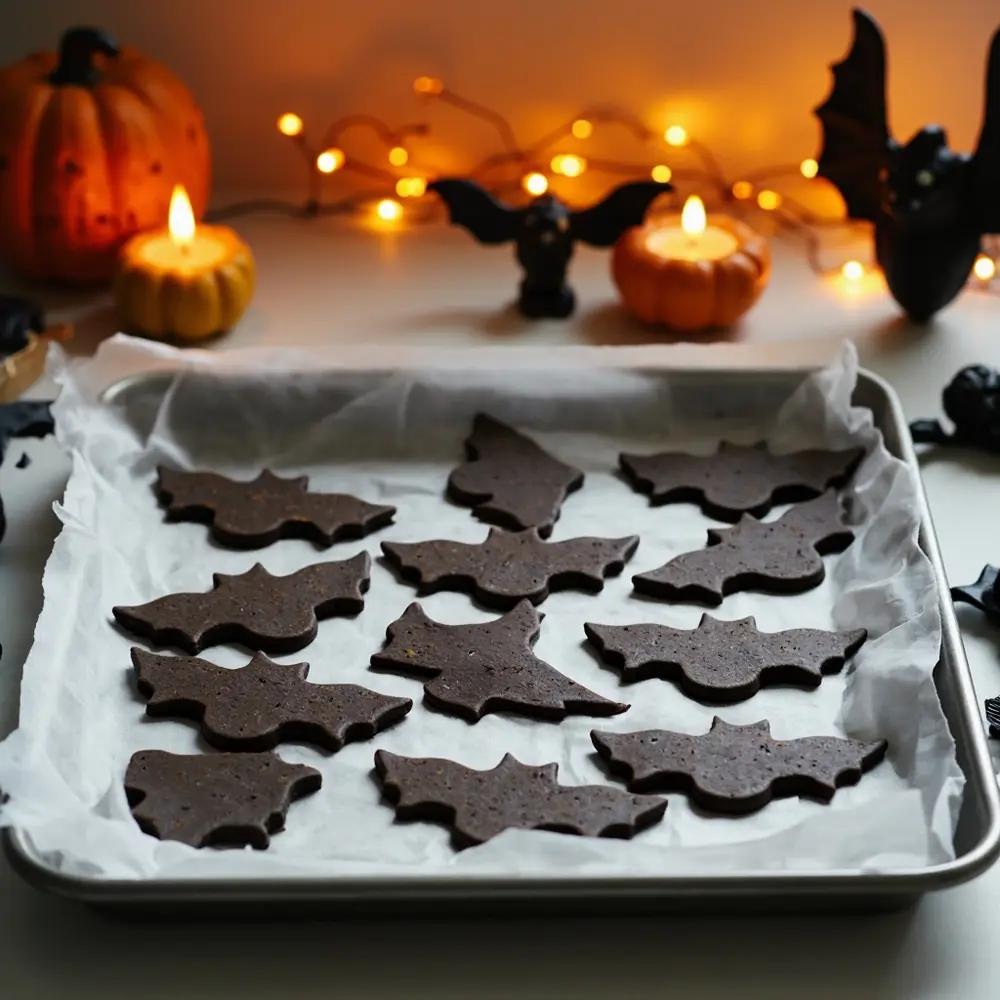
Carefully place your baking sheets, now full of spooky bat cookies, into the preheated oven. Bake for 8-10 minutes. The edges should look set and firm. They might seem a little soft in the center, but they will firm up as they cool. Don’t overbake them, or you’ll lose that delicious, slightly chewy texture!
Image-6: A photo of a baking sheet filled with unbaked chocolate bat cookies, ready to be placed in the oven.
Step 6: Cool and Decorate (Optional)
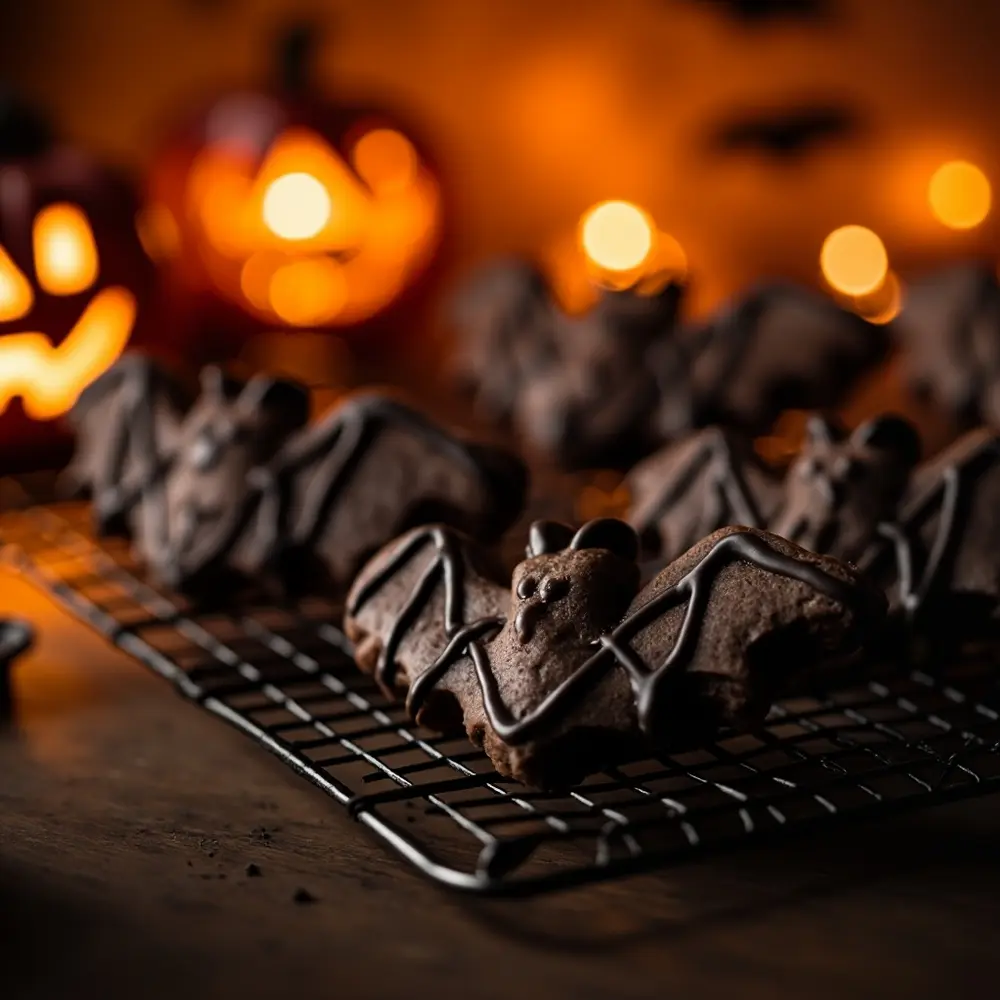
Let the cookies cool on the baking sheet for about 5 minutes before carefully transferring them to a wire rack to cool completely. Once they are totally cool, you can get creative! For a simple and spooky glaze, whisk together 1 cup of powdered sugar with 1-2 tablespoons of milk and a drop of black food coloring. Drizzle it over the bats for a shadowy effect.
Image-7: A photo of the baked bat cookies cooling on a wire rack.
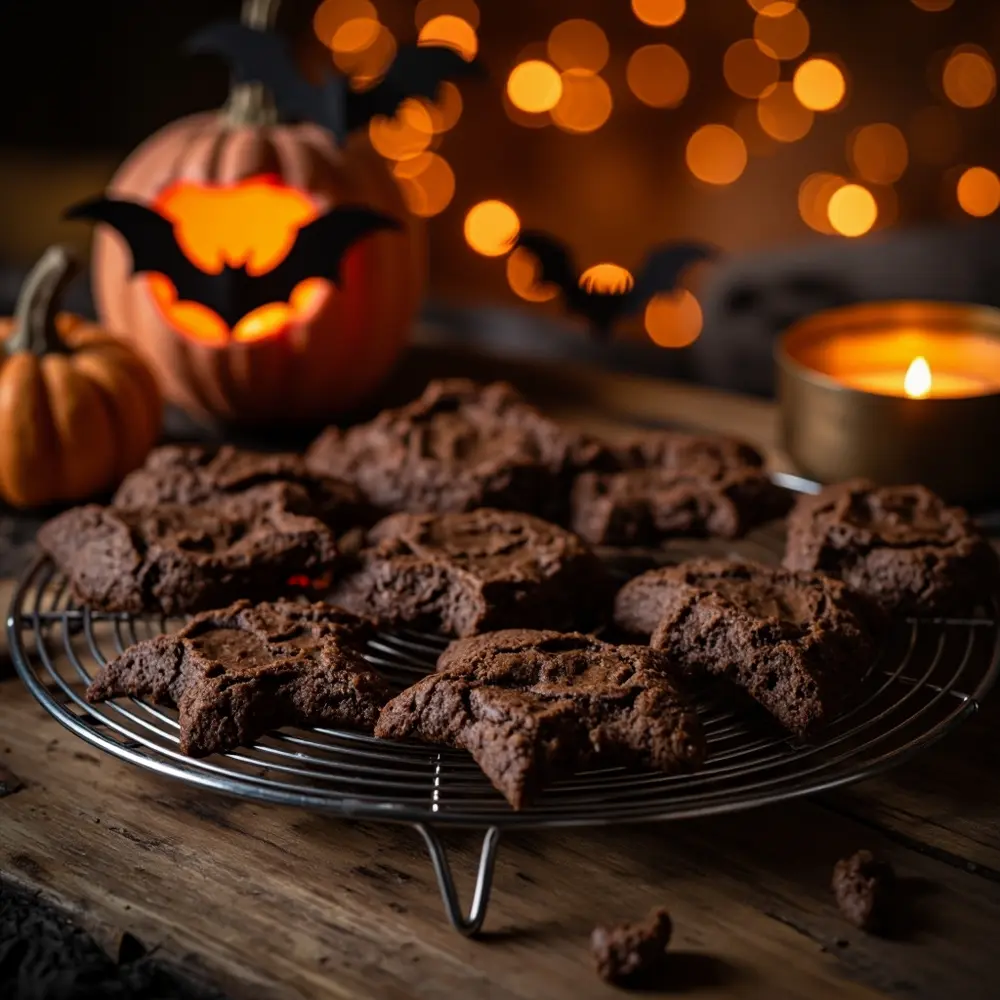
Image-8: A close-up shot of a few finished cookies, decorated with a spooky black glaze.
Deepening the Spooky Flavor: Tips for Spice and Chocolate Perfection ☕
The secret to these cookies is the flavor. To really make them stand out, use a high-quality Dutch-processed cocoa powder. It gives the cookies a deep, dark color and a rich, less bitter chocolate taste. If you’re brave, you can even add a tiny pinch of cayenne pepper with the other spices to give them a surprising, warming kick at the end!
At my Halloween parties, I love serving these with hot spiced apple cider or a dark coffee. The flavors complement each other perfectly and make for a truly memorable treat.
Variations & Customizations to Haunt Your House 🏠
- Spice Level 🔥: Feel free to adjust the spices! Add more cinnamon if you love it, or throw in a pinch of nutmeg or cardamom for even more warmth.
- Chocolate Intensity 🍫: Use dark cocoa powder for a richer, more intense chocolate flavor that’s perfect for dark chocolate lovers.
- Decorations ✨: Go beyond glaze! Use edible glitter for sparkling wings, tiny red sprinkles for eyes, or get fancy with royal icing to outline the wings.
- Cookie Shapes 🎃: This dough is amazing for any shape! Try ghosts, pumpkins, or skulls for a full Halloween cookie platter.
- Sandwich Cookies 🥪: This is a top-tier move. Make a simple cream cheese frosting, and sandwich two cooled bat cookies together for an extra-decadent treat.
Theme Twist 😈: For an even spookier vibe, add a few drops of black gel food coloring to the wet ingredients in Step 2. This will create “midnight bats” with an ultra-dark, mysterious look before they even hit the oven!
Halloween Activity FAQs ❓
Q1: Can I make the cookie dough ahead of time and freeze it?
Absolutely! This is one of my favorite party-planning hacks. You can freeze the tightly wrapped dough discs for up to 3 months. Just let the dough thaw in the refrigerator overnight before you plan to roll and bake.
Q2: What’s the best way to store these cookies to keep them fresh?
Store your cooled cookies in an airtight container at room temperature. They’ll stay fresh and delicious for up to 5 days. (Though, in my house, they never last that long!)
Q3: Can I make these cookies gluten-free or dairy-free?
You can definitely try! For a gluten-free version, substitute the all-purpose flour with a good quality 1-to-1 gluten-free baking flour blend. For dairy-free, use a plant-based butter substitute and ensure your cocoa powder is dairy-free. The texture might be slightly different, but they should still be spook-tacular!
—
And there you have it! A batch of incredible Spiced Chocolate Bat Cookies that are bound to be the star of any Halloween celebration. I’ve been making these for years, and they are always a huge hit—they bring that perfect blend of spooky fun and sophisticated flavor. There’s nothing better than the smell of warm spices and chocolate filling your home in October. It’s one of my favorite parts of the season!
Baking these is a fantastic way to get into the Halloween spirit, whether you’re doing it solo or with your family. I hope you have as much fun making (and eating!) them as I do.
What’s your go-to Halloween baking recipe? Let me know in the comments—I’m always looking for new spooky treats to try! 🎃
