It’s my favorite time of year again, ghouls and goblins! The air is getting crisp, pumpkin spice is flowing, and my inner haunting expert is ready to party. 🎃
You’ve got the costumes and the candy, but are you tired of the same old Halloween photos? It can be tough to capture the true spirit of the night in a way that feels unique and special, and store-bought decorations often lack that personal touch. 👻
That’s where I come in! I’m Roshan Sharma, your friendly neighborhood Halloween fanatic, and I’m here to solve your photo woes. We’re going to create a spooktacular DIY photo booth that will become the highlight of your celebration, creating hilarious and heartwarming memories your family will cherish for years to come! 🎉
Activity At-a-Glance
- Best For 👨👩👧👦: Halloween family gatherings, parties, trick-or-treat night photo ops, school events.
- Time Required ⏳: Approx. 1-2 hours (setup) + unlimited photo time.
- Budget Level 💸: Low-Cost
- Spookiness Level 👻: Low (customizable to Medium)
What You’ll Need for Your DIY Family Photo Booth 📋
Gathering your ghostly gear is half the fun! Most of these items are probably hiding around your house already.
- Camera/Smartphone 📱
- Tripod (optional, but I highly recommend it for hands-free fun!)
- Backdrop material (e.g., old bedsheet, plastic tablecloth, butcher paper, streamer rolls) 🖼️
- Adhesive (tape, push pins, command strips) or backdrop stand/clips
- Props (e.g., hats, wigs, oversized glasses, silly signs, masks, capes) 🎩
- Scissors or craft knife ✂️
- Markers, paint, or spray paint (for getting creative!) 🎨
- Optional: Lighting (fairy lights, ring light, lamps) 💡
- Optional: Photo booth specific apps (for fun filters or layouts)
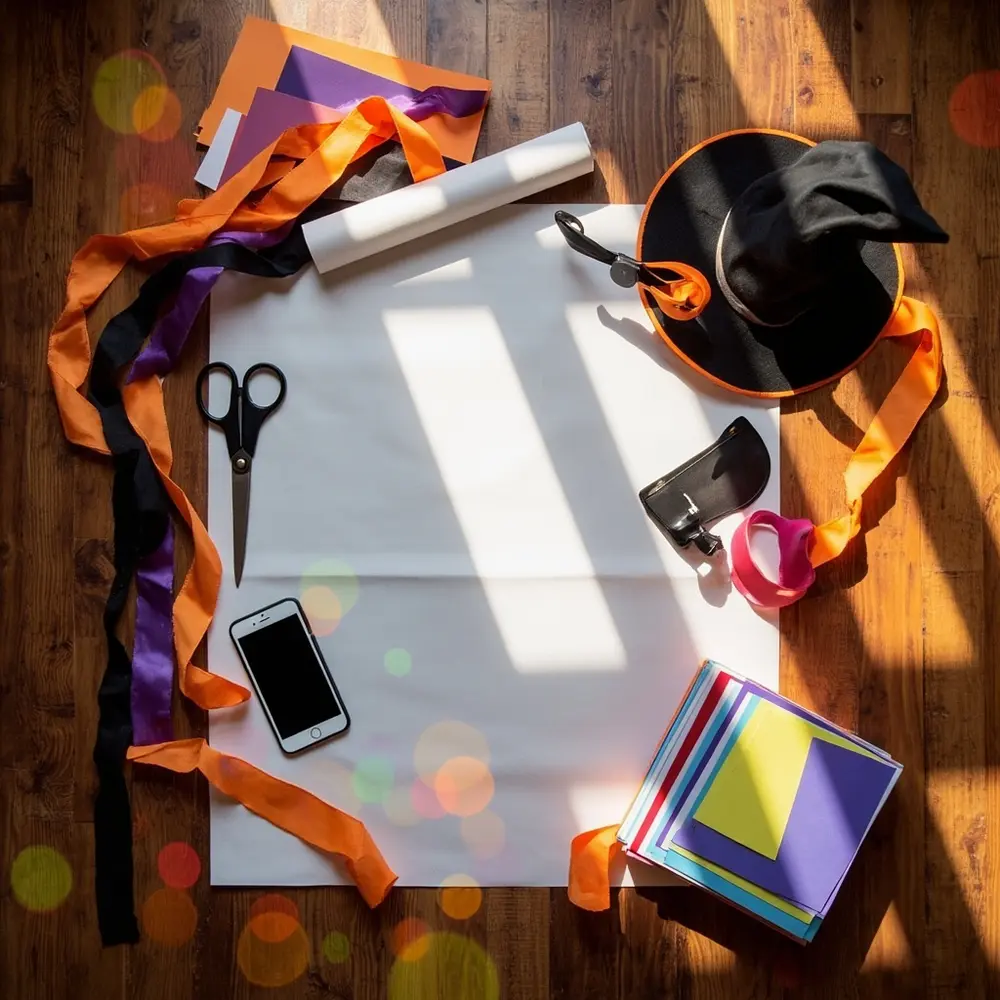
Image-1: A flat-lay photo showing all the essential photo booth supplies neatly arranged on a wooden floor, including a white sheet, colorful streamers, construction paper, scissors, props like a witch hat and oversized glasses, and a smartphone.
Preparation & Setup: Creating the Spooky Scene
Before you start building, take a moment to set the stage. Choose a corner of a room with good lighting—near a window is great for daytime, but anywhere you can control the light works. Clear away any clutter so your amazing backdrop and hilarious poses are the main focus.
To really get everyone in the Halloween spirit, I love to put on a spooky-fun playlist (think “Monster Mash” and movie soundtracks) and maybe light a few pumpkin-scented candles. It’s all about the atmosphere!
Pro Tip 💡: Drape inexpensive black or orange plastic tablecloths over nearby furniture or walls. It’s a super-fast, cheap way to instantly transform your space and make everything look cohesive and festive!
How to Lead the Activity: Step-by-Step 🚀
Alright, let’s bring this photo booth to life! I’ve set these up for dozens of parties, and I’m so excited to walk you through it.
Step 1: Choose Your Perfect Spot
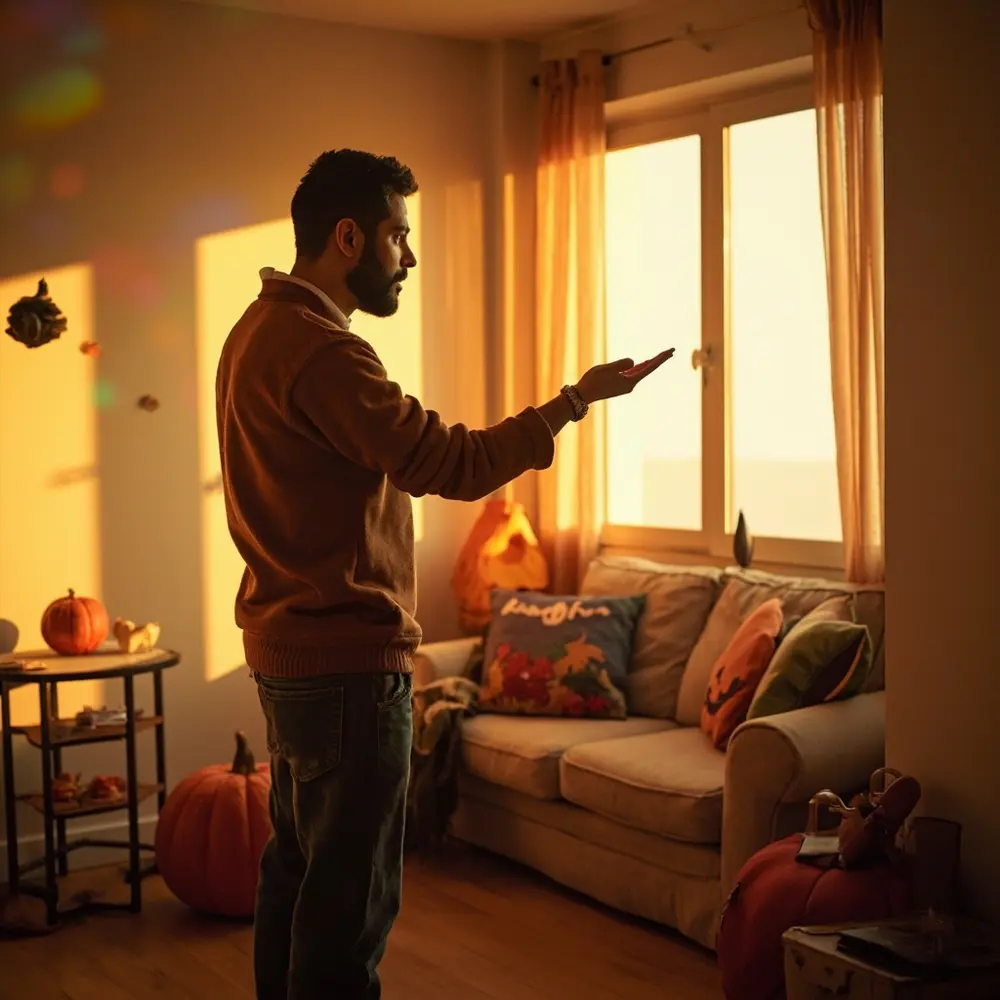
First things first, scout your location. Look for a spot against a plain wall with enough room for your family to pose—think silly monster lunges and dramatic vampire capes! An area with good natural light is fantastic, but if not, don’t worry, we’ll tackle lighting later. The goal is to have a clean slate to build your spooky scene upon.
Image-2: A person standing in a living room, pointing thoughtfully at a clear, well-lit wall, assessing it as the potential spot for the photo booth setup.
Step 2: Design & Hang Your Backdrop
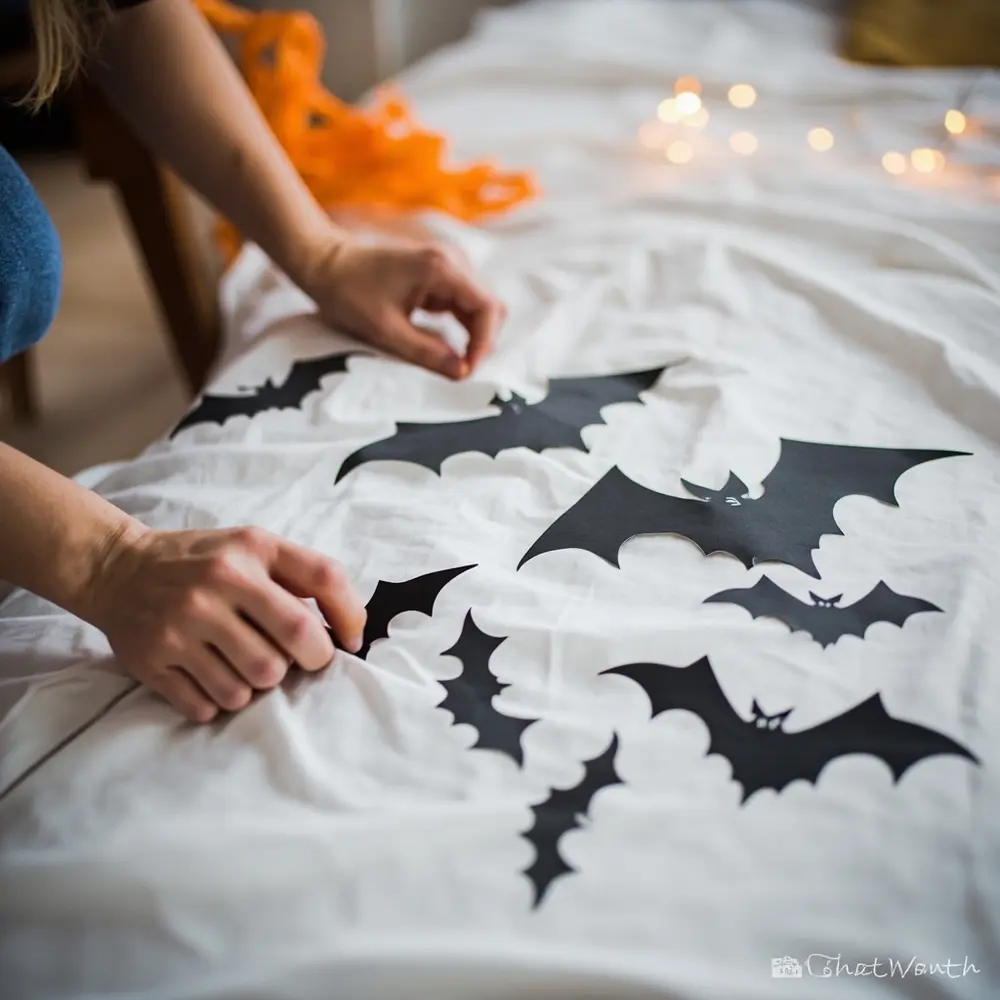
This is where your creativity gets to shine! You can go super simple by just hanging a solid-colored bedsheet or plastic tablecloth. For a bit more flair, try taping vertical rows of orange, black, and purple streamers to the wall. Feeling artsy? Grab some black paper and cut out bat shapes to tape onto a white sheet.
Once you have your design, it’s time to hang it up. Use Command Strips for a damage-free option or sturdy tape if you’re not worried about the paint.
CAUTION ⚠️: Please make sure your backdrop is securely attached! We don’t want any spooky scenes collapsing mid-photo. Use plenty of adhesive and avoid hanging anything heavy that could fall and hurt one of your little monsters. Safety first!
Image-3: A close-up shot of hands using tape to stick black paper bat cutouts onto a plain white sheet that is hanging on a wall, creating a simple DIY backdrop.
Step 3: Gather & Arrange Your Spooky Props
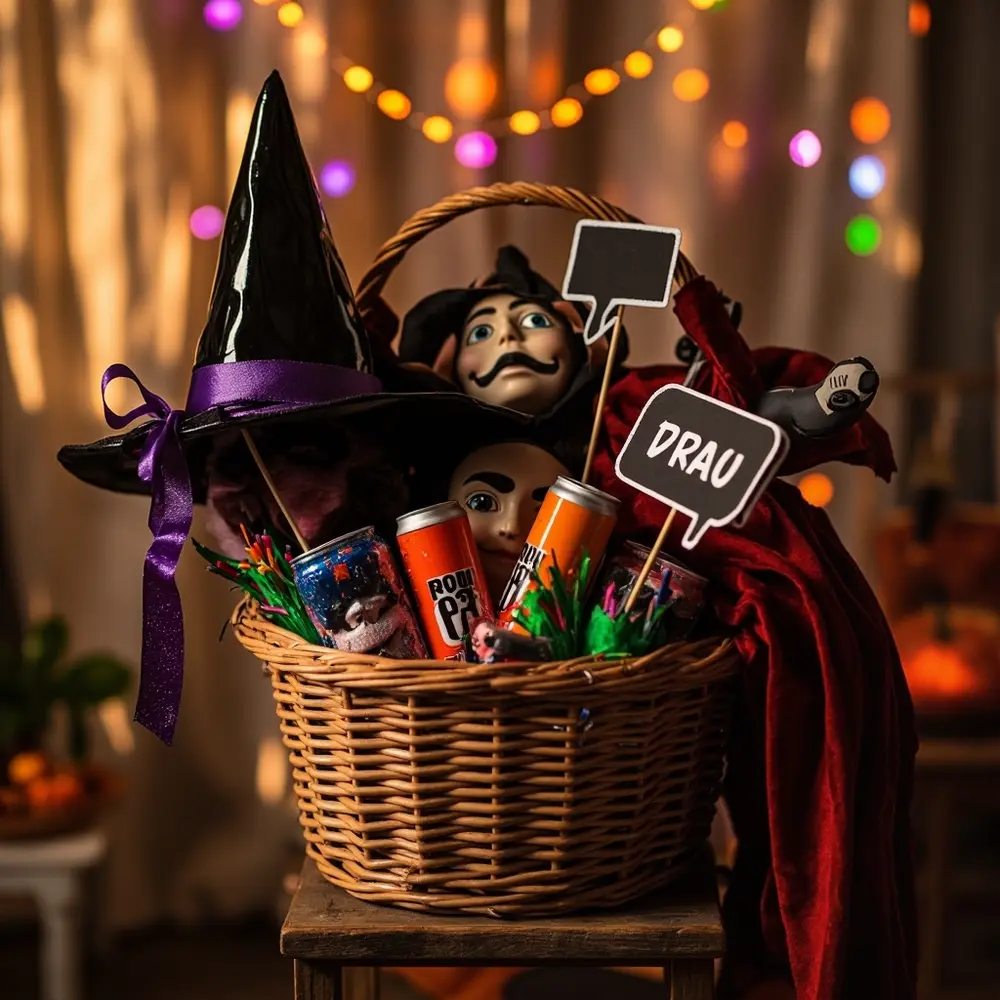
Props are the heart and soul of a photo booth! Gather a fun mix of store-bought goodies and DIY creations. I always recommend having a variety: things to wear (hats, capes), things to hold (signs, wands), and silly accessories (googly eyes on a stick, fake mustaches). Arrange them all in a basket or on a small table next to your booth so they’re easy for everyone to grab.
Image-4: A festive collection of Halloween props—including a witch hat, a vampire cape, silly string, monster masks, and DIY speech bubble signs—arranged neatly in a wicker basket beside the photo booth area.
Step 4: Set Up Your Camera & Lighting (Optional)
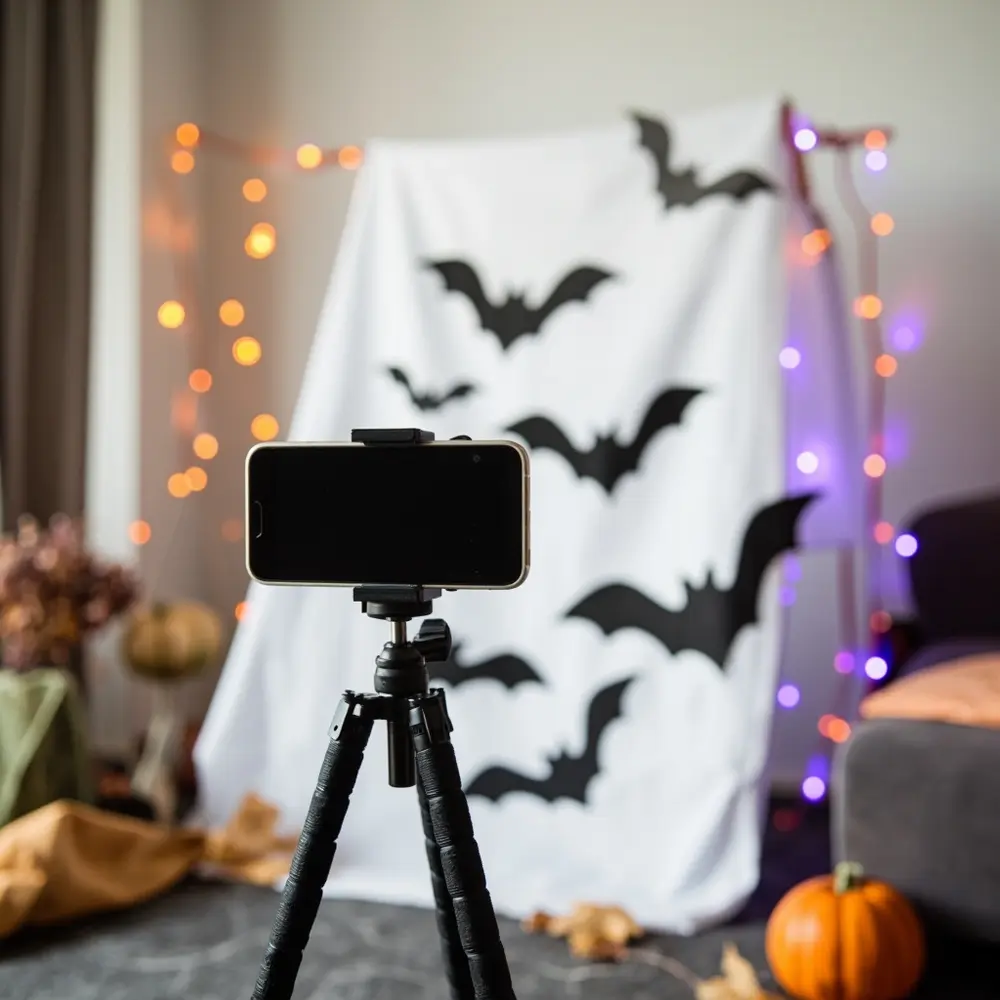
Now, let’s get your camera ready. If you have a tripod, set it up a few feet away from the backdrop, leaving plenty of room for poses. If you’re using a smartphone, you can prop it up securely on a stack of books. For lighting, face a lamp or two towards the backdrop to eliminate shadows. Wrapping some orange or purple fairy lights around the scene also adds a magical, spooky glow!
Image-5: A smartphone secured on a small tripod, positioned in front of the completed DIY bat-themed backdrop, ready to take pictures.
Step 5: Strike a Pose & Capture the Fun!
It’s showtime! Gather your ghouls and goblins, crank up the music, and let the silliness begin. Encourage everyone to grab a prop and get creative. Suggest fun poses like “scariest monster face,” “silly ghost,” or “fancy vampire.” The best photos often come from the candid, laughing moments in between, so just keep snapping!
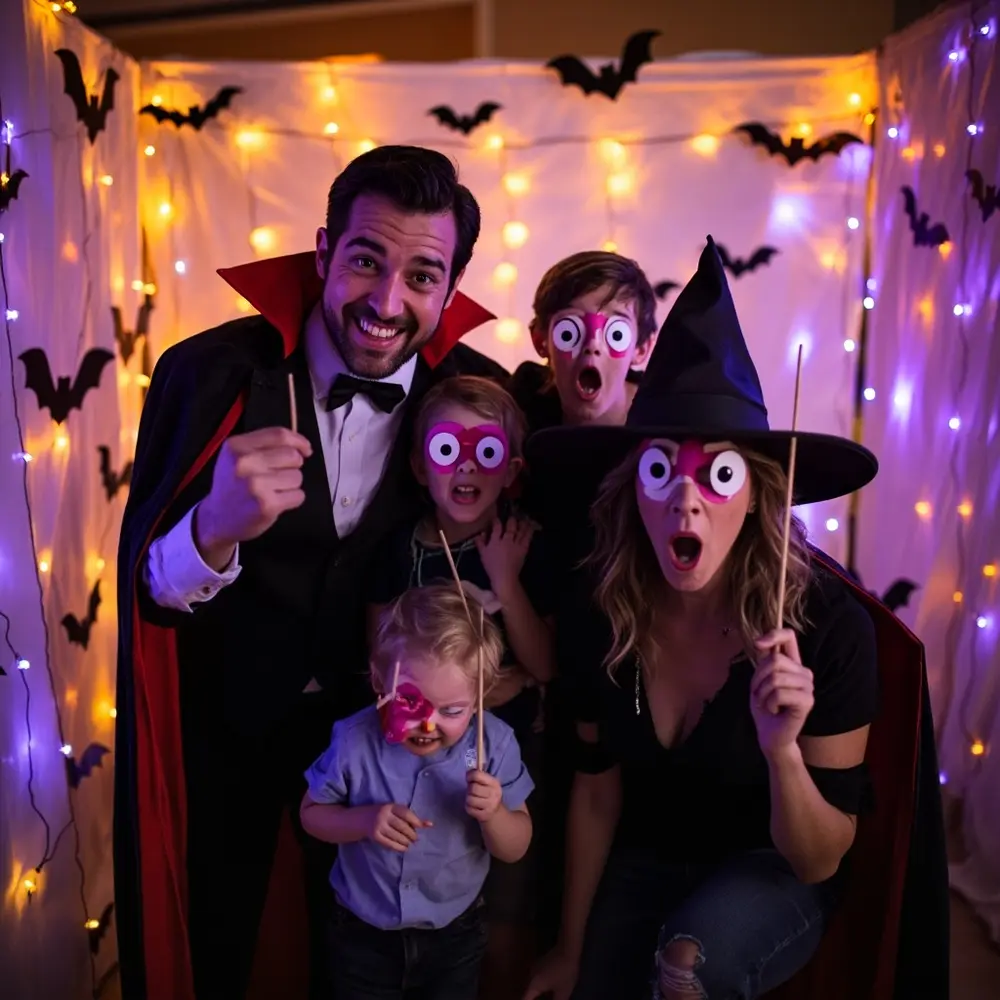
Image-6: A family of four laughing and posing in their completed DIY photo booth. The dad is wearing a vampire cape, the mom has a witch hat, and the kids are holding up googly-eye props and making funny faces.
Creative Backdrop Ideas for Spooktacular Photos 🎃
Need some inspiration? Here are a few of my all-time favorite DIY backdrops that are super easy but look amazing.
- Ghost Sheet Backdrop: The ultimate classic! Use a white sheet and cut out two big, spooky eye holes. You can even draw a silly mouth with a black marker.
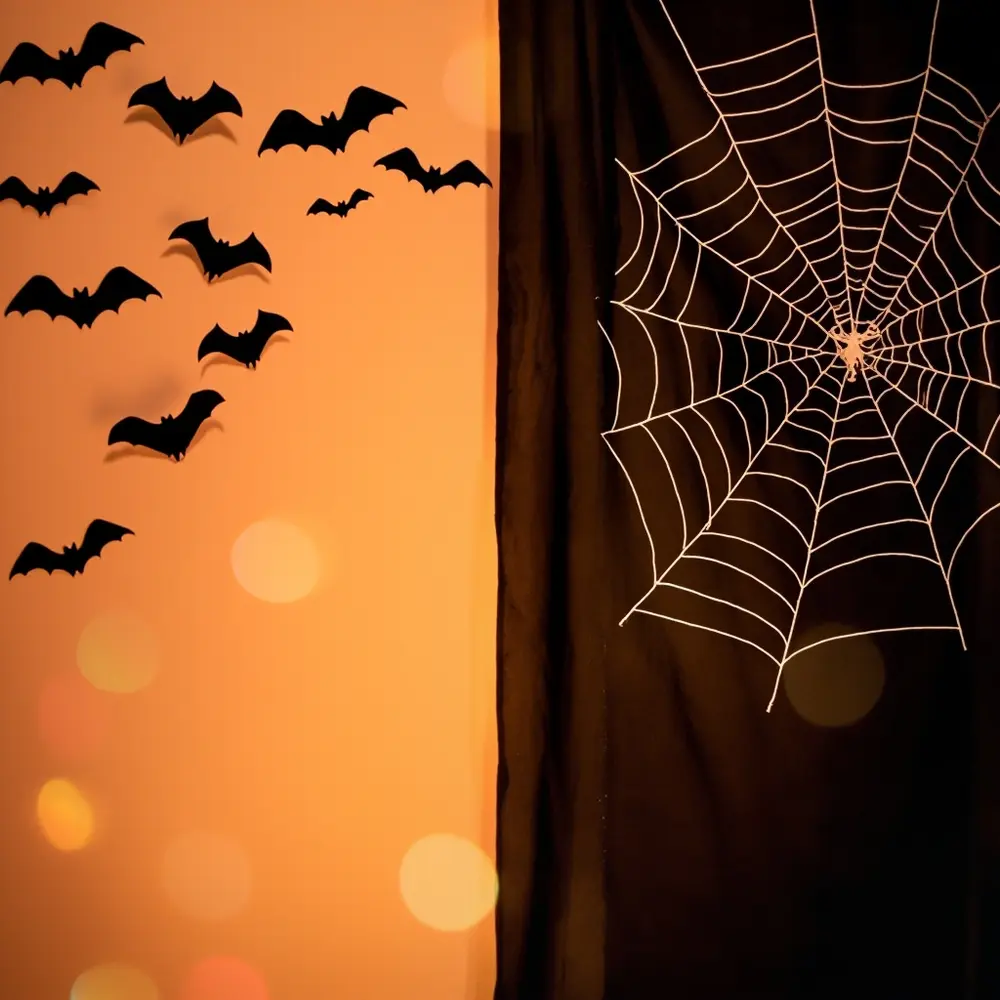
- Spiderweb Curtain: Start with a black sheet or tablecloth. Use white yarn or cotton batting and stretch it across the fabric to create a giant, creepy spiderweb. Add a few plastic spiders for the final touch! 🕷️
- Bat Silhouettes: Simple, modern, and so effective. Just cut bat shapes out of black cardstock and tape them to a plain white or light-colored wall, arranging them to look like they’re flying across the scene.
- Monster Mouth Archway: Get a large piece of cardboard (an old box works great!). Cut it into an arch and paint it to look like a giant monster mouth, complete with pointy white teeth. It makes for a hilarious photo frame!
Image-7: A split-screen image showing two different DIY backdrops: on the left, the simple and effective ‘Bat Silhouettes’ on a wall, and on the right, the creative ‘Spiderweb Curtain’ made with yarn on a black sheet.
Must-Have Props for Hilarious Halloween Memories 🤣
A great prop collection can take your photo booth from fun to unforgettable. Mix and match these ideas!
- Wearables: Witch hats, vampire capes, monster masks, oversized glasses, fake mustaches, Frankenstein’s neck bolts (made from cardboard and a headband).
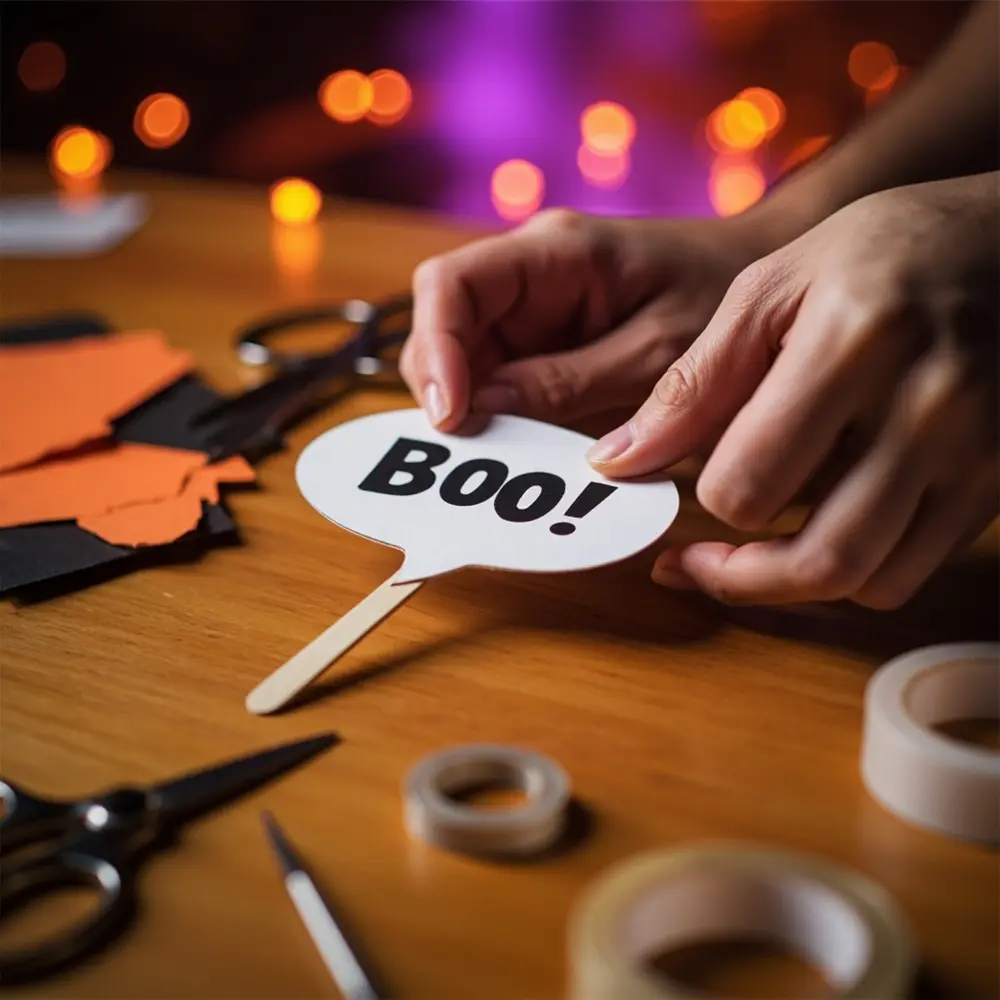
- Handhelds: Speech bubbles with spooky phrases like “Boo!”, “Trick or Treat!”, or “Eek!”. Wands, plastic skeletons, or rubber chickens.
- Silly Stuff: Googly eyes glued to popsicle sticks, creepy crawlies on headbands, or a bouquet of fake black roses.
Pro Tip 💡: My favorite quick DIY prop? Print spooky phrases (“Witch, please!”) or monster mouths on cardstock, cut them out, and tape them to wooden skewers or popsicle sticks. Instant, hilarious signs that cost next to nothing!
Image-8: A close-up of hands taping a printed-out “BOO!” speech bubble onto a popsicle stick, with other craft supplies like scissors and cardstock nearby.
Variations & Customizations to Haunt Your House 🧛
Want to put your own spin on it? Here are a few ways to customize the fun.
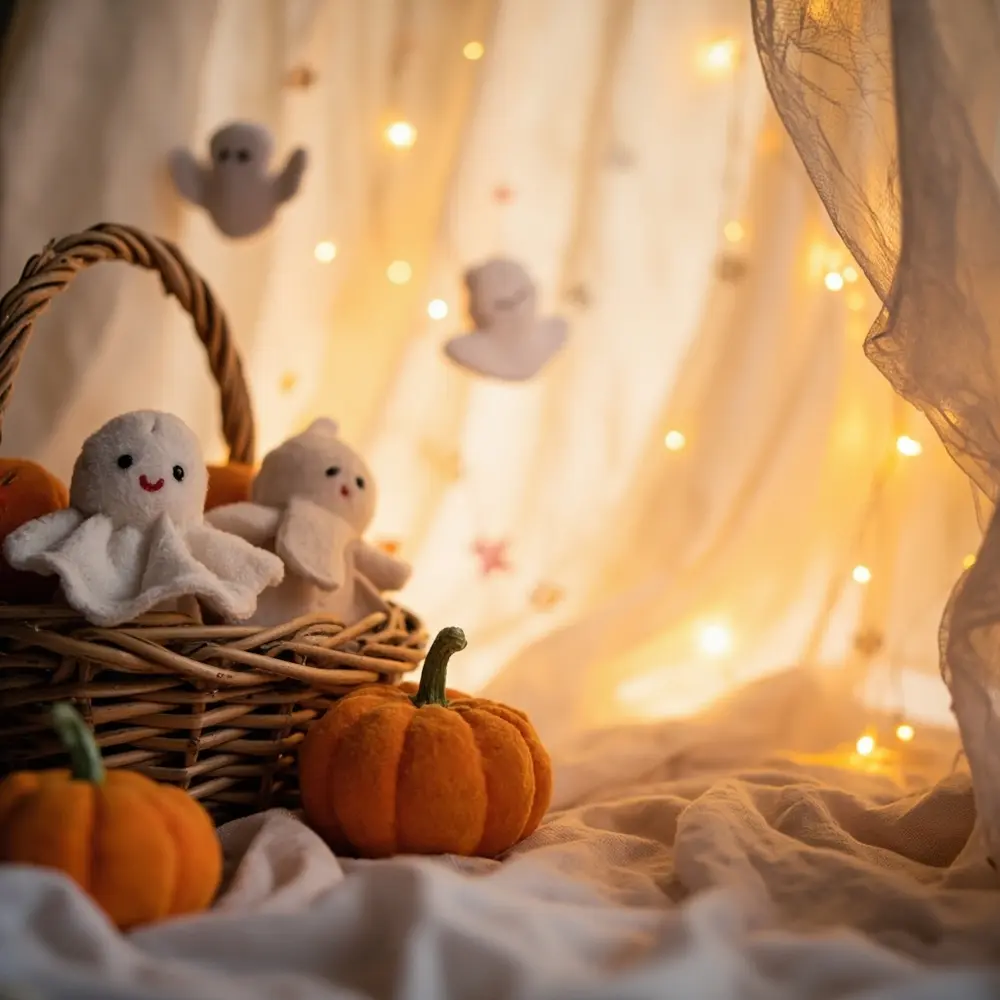
- Toddler-Friendly Booth 🧸: Use soft props like plush pumpkins and friendly ghost toys. Set the camera angle lower so you can capture their adorable faces.
- Haunted House Theme 🕸️: Go all out with stretchy cobwebs, plastic spiders, and dim, moody lighting. A fog machine, if you have one, takes this to the next level!
- Vampire Ball Glam 🍷: Use rich fabrics like deep red or black velvet for your backdrop. Add faux candelabras and elegant, gothic props like masquerade masks and fake goblets.
- Outdoor Photo Booth 🌳: If the weather allows, use nature as your backdrop! A big tree is perfect for hanging spooky decorations, or set up in front of your pumpkin patch.
Theme Twist 🧟: For a truly unique take, create a “Zombie Apocalypse Survivor” booth! Use a tattered sheet for the backdrop, provide props like torn clothing, toy tools, and maybe some (safe, non-toxic) fake dirt for smudging on cheeks.
Image-9: A shot of a toddler-friendly photo booth setup, featuring a lower camera angle and soft, plush pumpkin and ghost props in a basket.
Halloween Photo Booth FAQs ❓
Q1: What’s the best lighting for a DIY photo booth, especially at night?
For nighttime photo booths, you can’t go wrong with a simple ring light—they provide even, flattering light. If you don’t have one, no worries! Place two lamps, one on each side of the camera, and point them towards your photo area. This helps get rid of spooky (and not in a good way) shadows.
Q2: How can I make my DIY photo booth stand out on a really tight budget?
Focus on creativity over cost! Use what you have: old sheets, cardboard boxes, and leftover craft supplies. The dollar store is your best friend for streamers, plastic tablecloths, and silly accessories. A hand-drawn backdrop on butcher paper has so much more personality than a store-bought one!
Q3: What are some easy ways to encourage shy family members to participate?
Lead by example! Be the first one to jump in and make a silly face. I find that “challenge poses” work wonders—write down prompts like “act like a zombie” or “pretend you saw a ghost” on slips of paper and have people draw one. It breaks the ice and usually ends in a fit of giggles.
—
Setting up your own DIY Halloween photo booth is more than just a fun craft—it’s about building a space for laughter, creativity, and pure, spooky joy. You’re not just taking pictures; you’re capturing the magic of the season and creating memories that your family will look back on and smile about for years.
So go ahead, get creative, and have a blast with it!
What’s the silliest Halloween prop you’ve ever used in a photo? Let me know in the comments—I’m always looking for new ideas! 📸
