It’s that time of year again, ghouls and goblins! The air is getting crisp, my pumpkin spice coffee intake is reaching alarming levels (no regrets!), and everyone’s looking for the perfect Halloween activity. 🎃
Are you tired of plopping down for another spooky movie night or trying to get the kids off their phones? You want to create real, laugh-out-loud, shiver-inducing memories together, but finding an activity that’s free, easy, and engaging for everyone from your littlest pumpkin to the eye-rolling teen can feel like a real monster mash. 🧟
Well, you’ve come to the right place! I’m Roshan Sharma, your friendly neighborhood Halloween fanatic, and I’m here to share one of my all-time favorite family traditions. A DIY Spooky Story Circle is the ultimate screen-free way to bond, boost creativity, and have a howling good time. Let’s get this spooky party started! 🎉
Activity At-a-Glance
- Best For 👨👩👧👦: Family game night, Halloween gatherings, or any cozy fall evening.
- Time Required ⏳: Approx. 45-60 minutes.
- Budget Level 💸: Free / Low-Cost.
- Spookiness Level 👻: Low to Medium (You’re in control!).
What You’ll Need for Your DIY Spooky Story Circle 📋
The best part about this activity is that you probably have everything you need already! No frantic trips to the store required.
- 🛋️ Cozy seating: A nest of pillows, blankets, and cushions on the floor is perfect.
- 💡 Dim lighting: Grab some battery-powered lanterns, string lights, or just a classic flashlight.
- 🔊 Optional: Simple sound effects: A phone or tablet playing a crackling fire sound or a distant owl hoot can work wonders.
- ✍️ Optional: Notepad and pen: Great for jotting down funny character names or plot twists you don’t want to forget.
- 🧠 Imagination: The most important ingredient!
Preparation & Setup: Creating the Spooky Scene
Setting the mood is half the fun! This takes just a few minutes but makes a huge difference. I always say a little atmosphere goes a long way.
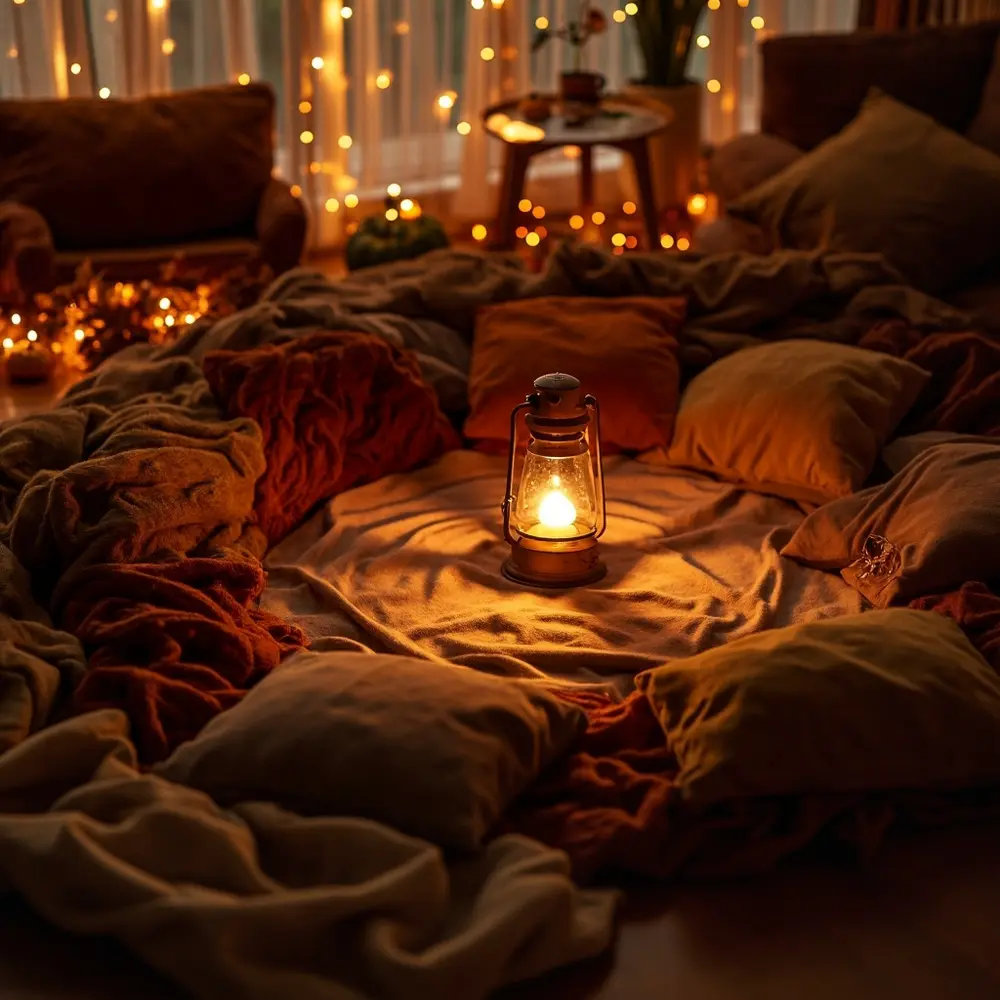
First, gather your cozy seating into a circle. The goal is for everyone to see each other and feel connected. No one should be left out! Next, turn down the main lights and switch on your spooky mood lighting. A single flashlight held under the chin is a classic for a reason, but a lantern placed in the center of the circle creates a wonderful, flickering glow.
If you want to go the extra mile, put on some ambient Halloween music—think instrumental spooky tunes, not pop songs—at a very low volume. It adds a cinematic feel without being distracting.
Image-1: A cozy living room with pillows and blankets arranged in a circle on the floor. A single battery-powered lantern sits in the middle, casting a warm, soft glow.
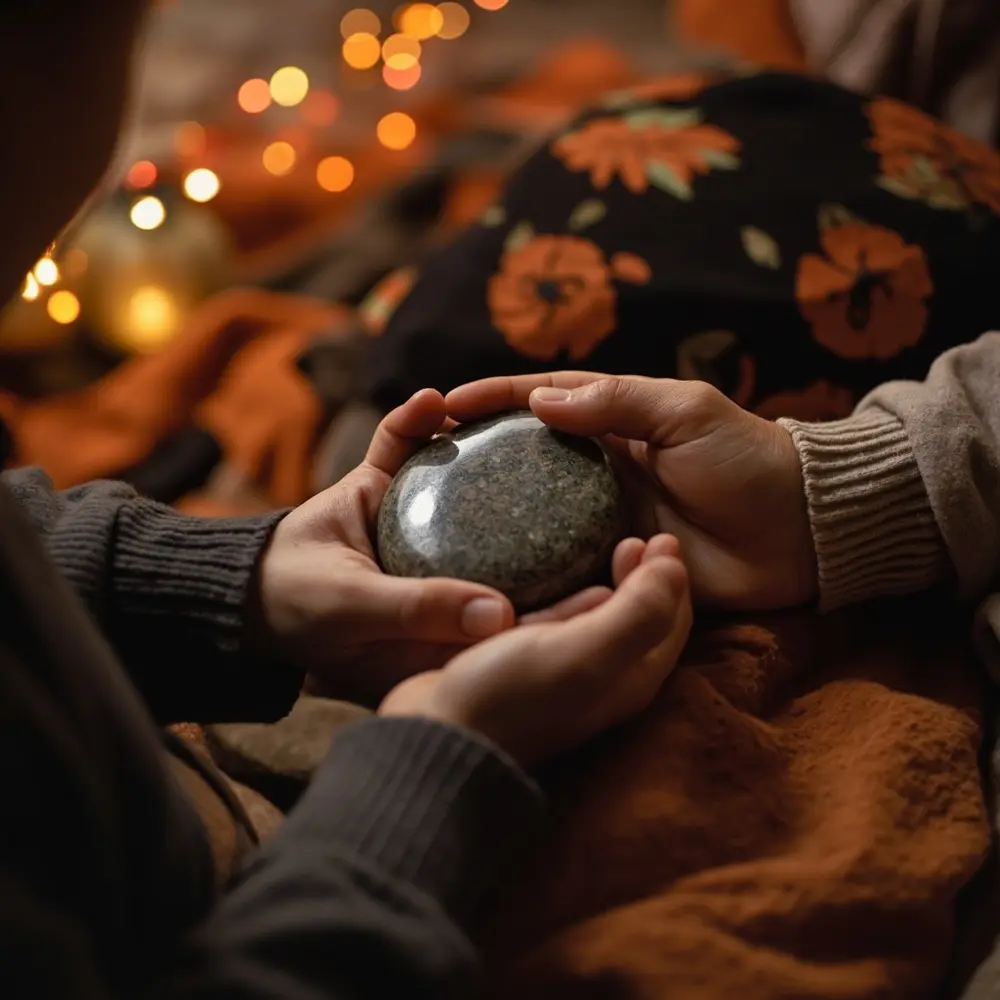
Pro Tip 💡: Use a “talking stick” to keep the story flowing smoothly. This can be a flashlight, a cool-looking stick from the yard, or even a designated “story stone.” Whoever holds the object is the one whose turn it is to speak. It’s a simple trick I learned from my kid’s workshops that works wonders for preventing interruptions!
How to Lead the Activity: Step-by-Step 🚀
Alright, your scene is set. It’s time to lead your family into a world of collaborative spooky fun!
Step 1: Setting the Scene & Ground Rules
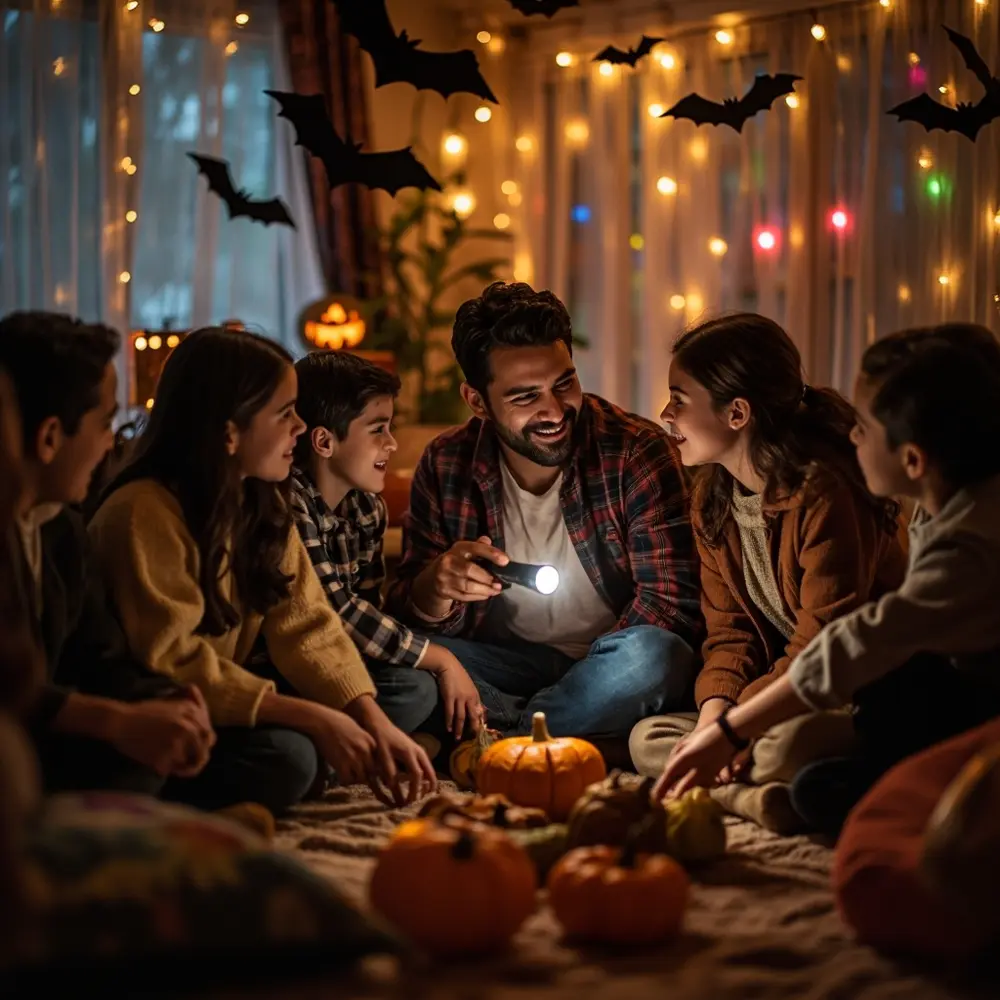
Gather everyone in your cozy circle. Explain that you’re all going to build a spooky story together, one person at a time. The key is that there are no wrong answers! Before you start, lay out a few simple ground rules to keep things fun for everyone:
- One storyteller at a time. (This is where the talking stick comes in handy!)
- Listen respectfully when it’s not your turn.
- Build on the last person’s idea. Say “yes, and…” to keep the story moving.
- Keep it spooky, not scary. We want fun shivers, not nightmares, especially for the little ones!
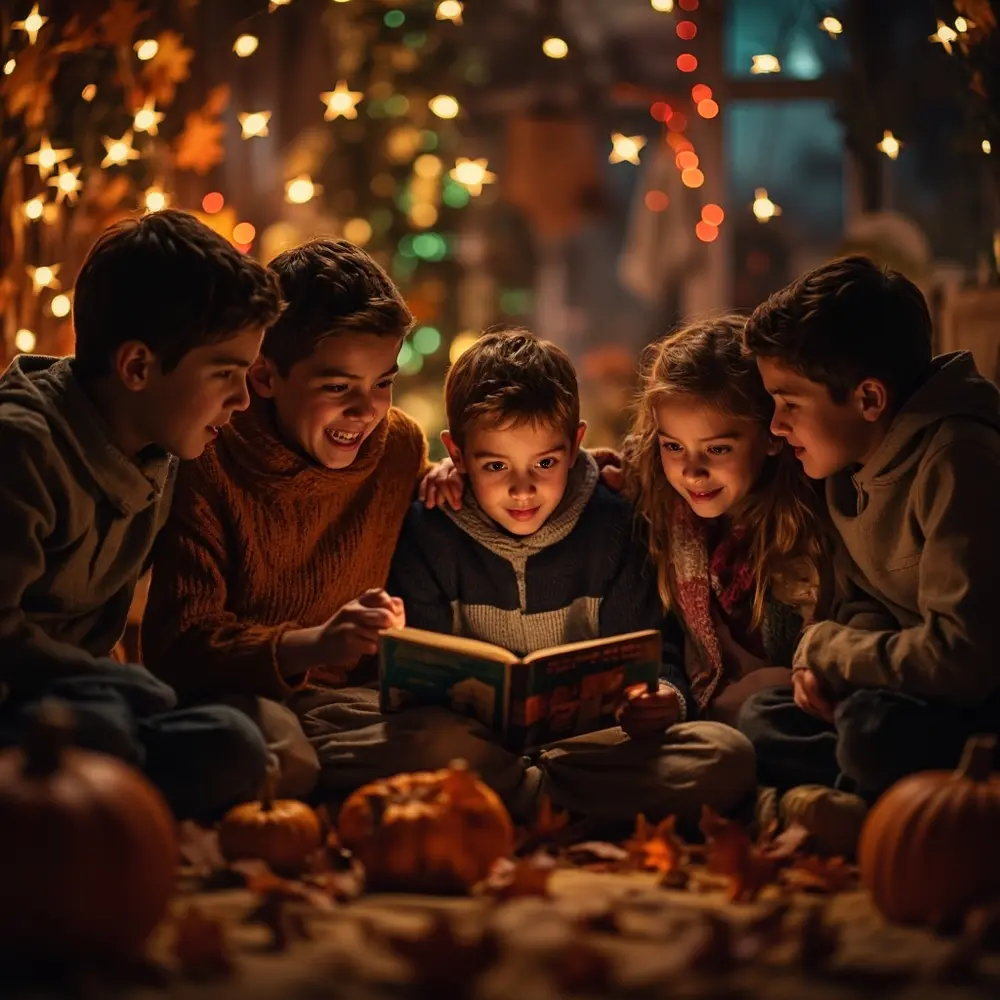
Image-2: A family sitting in a circle, smiling. A parent is explaining the rules, holding up a flashlight as the “talking stick.”
Step 2: Kicking Off the First Story
As the leader, the easiest way to start is for you to provide the opening line. This takes the pressure off everyone else. Keep it simple and classic!
Try one of these openers:
- “It was a dark and stormy night…”
- “The old abandoned house at the end of the street had a secret…”
- “Deep in the woods, a strange sound echoed through the trees…”
- “On the night before Halloween, a black cat with glowing green eyes appeared on the doorstep…”
Say your line with a little dramatic flair, then pass the talking stick (or flashlight) to the person next to you.
Caution 📝: Remember who is in your circle! I always do a quick check-in before we start, reminding my younger niece that we’re making up silly monster stories, not real scary ones. Adjust the spookiness level to the youngest or most sensitive person in the group.
Image-3: A close-up shot of a child holding the flashlight under their chin, eyes wide with excitement as they begin their part of the story.
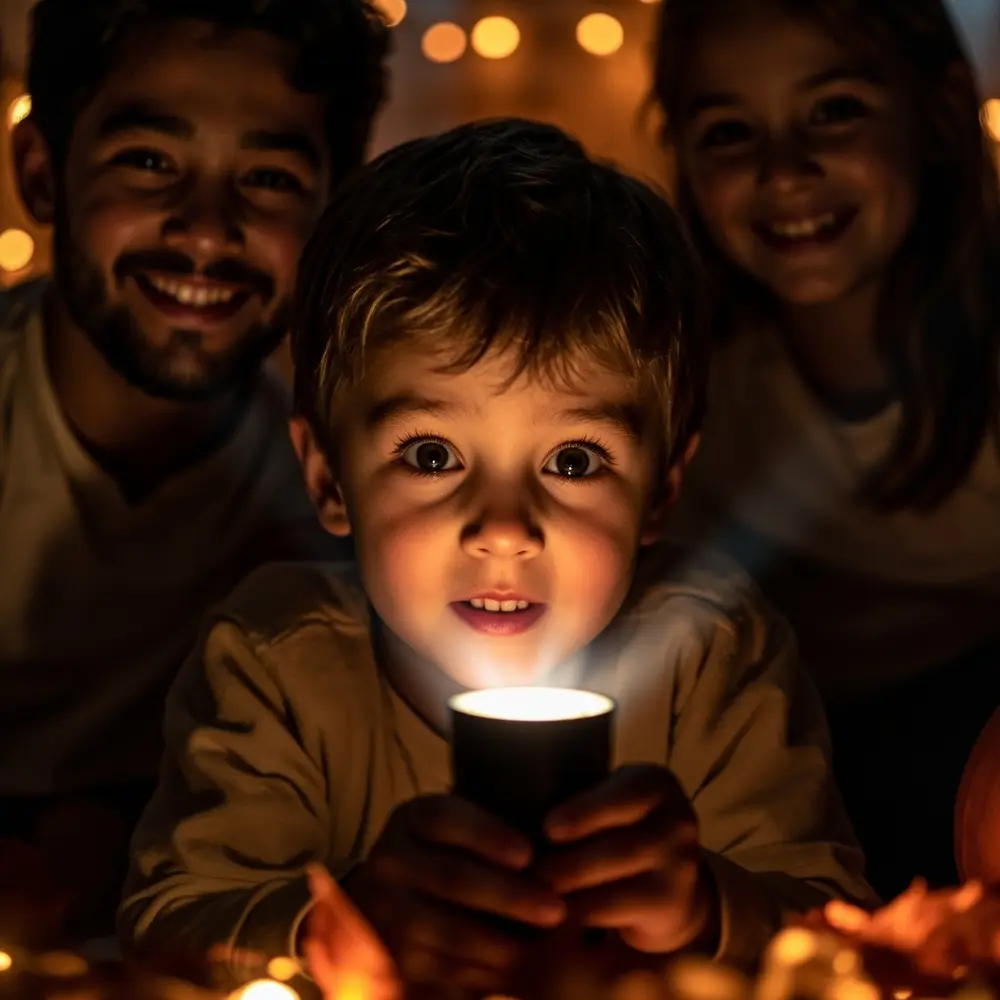
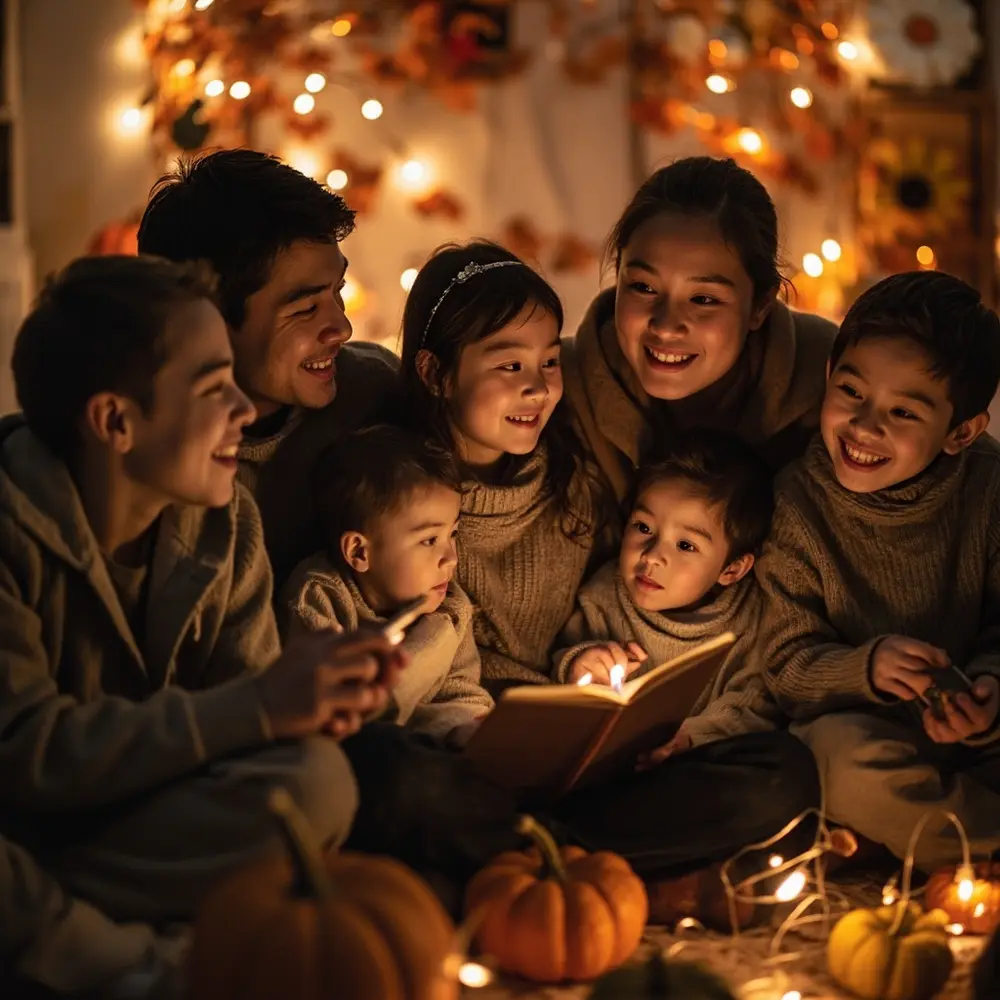
Image-4: The faces of other family members are visible in the background, listening intently with expressions of amusement and anticipation.
Step 3: Collaborative Storytelling & Passing the Turn
This is where the magic happens! Each person adds a sentence or two to the story, building on what the previous person said. Encourage everyone to be creative. Maybe the strange sound was just a squirrel, or maybe it was a tiny ghost looking for his lost puppy! The goal is to let the story evolve naturally.
Once a person has added their part, they simply pass the talking stick to the next person in the circle. The story will twist and turn in ways you’d never expect.
Image-5: A photo showing the “story stone” being passed from a grandparent’s hand to a child’s hand within the circle.
Step 4: Guiding the Narrative & Bringing it to a Close
As the leader, your job is to be the gentle guide. If the story starts to stall, you can jump in with a question like, “And what did they find behind the creaky door?” If someone is rambling, you can gently say, “Great detail! Let’s pass it on to see what happens next.”
After the story has gone around the circle a few times, it’s time to bring it to a close. Announce something like, “Okay, let’s wrap this story up in the next three turns!” This gives everyone a chance to work towards a fun and satisfying conclusion together.
Image-6: A wide shot of the family fully engaged, some leaning in with suspenseful looks, others laughing at a funny story twist.
Mastering the Storytelling Flow: Prompts & Tips for Engaging Narratives
Sometimes, even the most creative minds get stuck. As the leader, having a few tricks up your sleeve can keep the energy high and the story moving. I’ve used these in countless Halloween parties I’ve planned, and they always work!
To Spark Ideas, Ask Open-Ended Questions:
- “What’s that strange shape hiding in the shadows?”
- “What if the painting on the wall suddenly whispered a name?”
- “What was inside the mysterious, rattling box?”
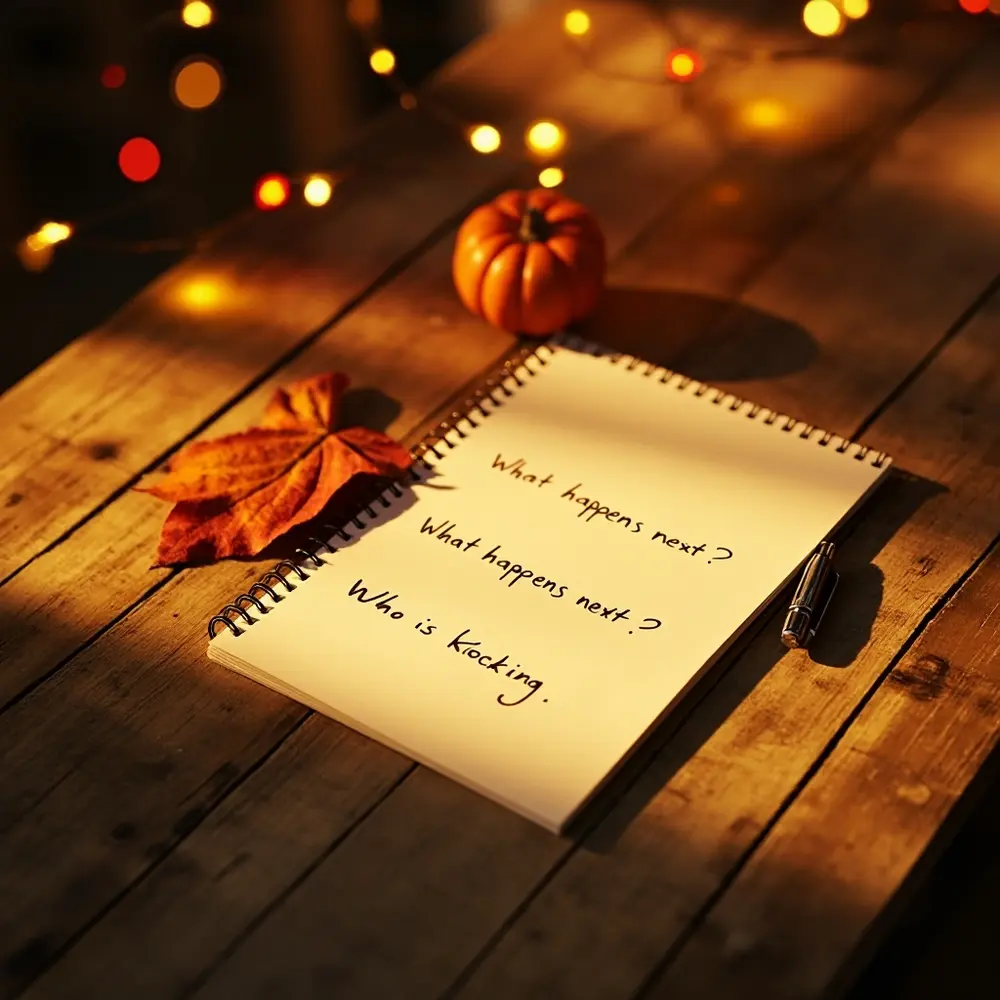
Image-7: A close-up on a notepad with hand-written prompt questions like “What happens next?” and “Who is knocking?”.
To Keep the Momentum Going:
- Use “What happens next?” cues: A simple but powerful way to prompt the next person.
- Introduce a twist: If the story is slowing down, have the next person add an unexpected element. “Suddenly, all the lights went out!” or “Just then, they heard a tapping on the window…”
- Encourage new characters: “Who else was in the haunted house with them? Was it a friendly ghost or a mischievous gremlin?”
To Manage the Group:
- For shy participants: Ask them a direct, simple question. “What color was the spooky cat’s collar, Sarah?” This gives them an easy entry point.
- For dominant storytellers: Gently guide them to pass the turn. “That’s an amazing idea! Let’s see what your brother adds to that.”
Variations & Customizations to Haunt Your House 🦇
Once you’ve mastered the basic story circle, mix it up! My family loves trying these variations to keep it fresh every year.
- Theme Twists: Instead of a general spooky story, pick a theme! Try a ghost story night, a vampire tale, or an alien encounter. My personal favorite is the “Haunted Holiday” theme—tell a spooky story about a haunted Christmas tree or a Valentine’s Day card that comes to life! 🎄
- Age Adaptations: For little kids, make it silly-spooky. Focus on giggling ghosts and goofy monsters. For teens, you can lean into creepier themes like mysteries or psychological suspense (still keeping it family-friendly, of course!).
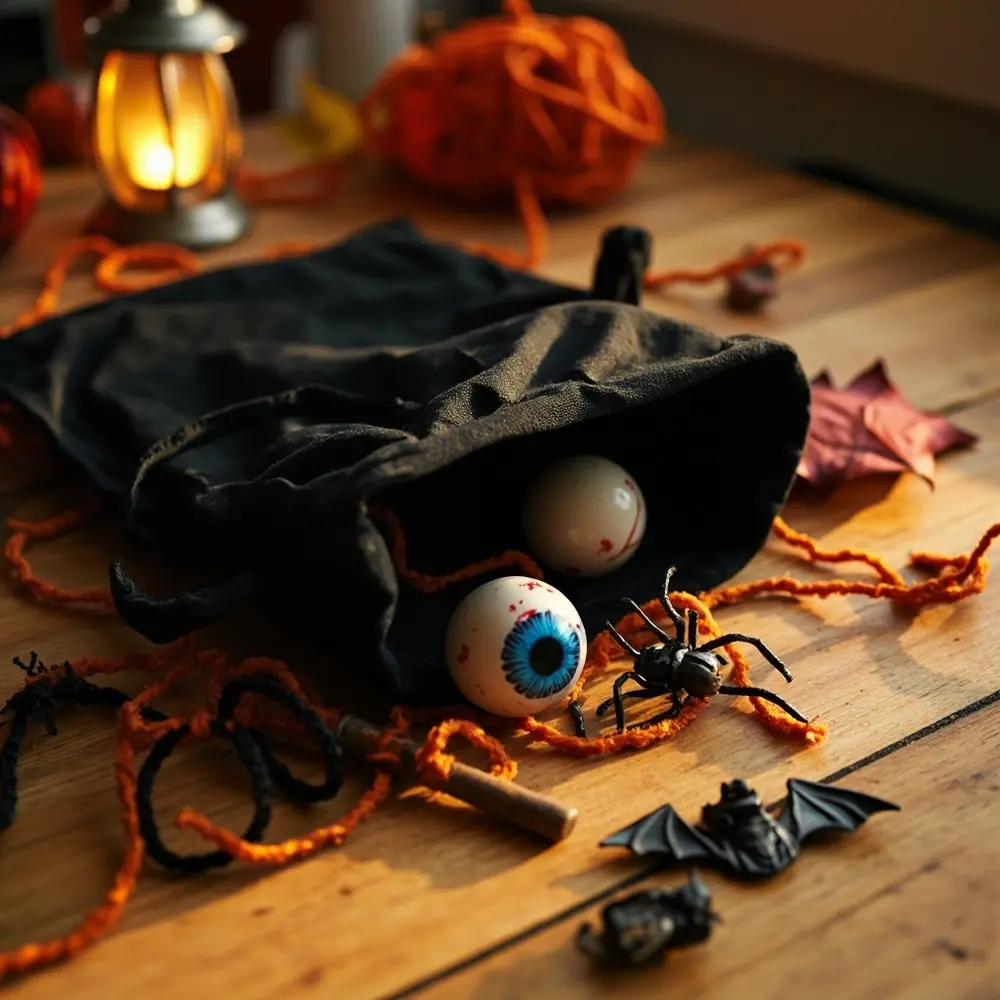
- Prop-Based Storytelling: This is a huge hit! Fill a bag with random objects—a rusty key, a fake spider, a pair of old glasses, a tangled piece of yarn. Each person pulls an object from the bag and must incorporate it into their part of the story.
- Genre Mash-up: What happens when you mix spooky with comedy? Or a spooky mystery? The results are often hilarious.
- Sound Effect Challenge: Assign each person a sound effect (a creak, a howl, a cackle). They have to make their sound at some point during their turn.
Image-8: A shot of a “prop bag” with several spooky items spilling out, like a plastic eyeball, an old key, and a rubber bat.
Halloween Activity FAQs ❓
How long should each person’s turn be?
Aim for one to three sentences per turn. This keeps the pace snappy and ensures everyone gets to contribute multiple times before the story ends. It’s about collaboration, not a monologue!
What if someone can’t think of anything to say?
No problem at all! This happens to everyone. You can offer them a prompt (“What do you think the character was feeling?”), or you can have a “pass” rule where they can simply pass the talking stick to the next person. Keep it low-pressure and fun.
How do we make sure everyone gets a turn?
Going in a circle is the easiest way to manage this. The talking stick or flashlight is a fantastic visual cue that makes it clear whose turn it is and who is next in line, so no one gets skipped.
—
And there you have it! Everything you need to lead a wonderfully spooky, creative, and memorable story circle with your family. The best part isn’t the story you create, but the laughter, the gasps, and the fun of creating it together. You’re not just telling a tale; you’re building a tradition.
Now go on, gather your ghouls, and start your story!
What’s your family’s favorite screen-free activity during the spooky season? Drop your ideas in the comments below—I’m always looking for new inspiration! 🎃
