It’s that time of year again, ghouls and goblins! The air is getting crisp, and my pumpkin spice coffee intake is officially off the charts. You’re probably looking for a fun Halloween activity that’s more magical than monstrous for your little ones, right? 👻
Finding a hands-on project that can hold a toddler’s attention without being too scary or complicated feels like a real challenge. You want to create those core family memories, but you need something that’s actually doable and, most importantly, safe for curious little hands. ✨
Well, you’ve come to the right haunted corner of the internet! I’m Roshan Sharma, your friendly neighborhood Halloween fanatic, and I’m here to show you how to create the most enchanting Glow-in-the-Dark Sensory Bin. This activity is a massive hit in my house and is the perfect way to spark wonder and explore senses in a fantastically spooky (but not-so-scary) way. Let’s get glowing! 🎃
Activity At-a-Glance 📊
- Best For 👨👩👧👦: Toddlers and Preschoolers, Halloween play, Rainy day fun, Sensory exploration
- Time Required ⏳: Approx. 30-45 minutes (setup) + unlimited play
- Budget Level 💸: Low-Cost / Moderate
- Spookiness Level 😱: Low (more wondrous and magical than spooky)
What You’ll Need for Your Glow-in-the-Dark Sensory Bin 📋
Here’s the treasure map to your glowing creation. I find that gathering everything first makes the process a whole lot smoother, especially with an excited little helper “assisting” you!
- The Container: A large, shallow plastic bin or container. A clear one is great, but any will do! 📦
- Sensory Filler: Choose one base.
- Dried black beans or dark rice for a “night sky” effect.
- Water beads (use with extreme caution and supervision for kids over 3).
- Simple water or clear hair gel.
- The Glow:
- A pack of glow sticks and bracelets in various colors (green, orange, and purple are perfect for Halloween!). 🟢🟠🟣
- Glow-in-the-dark plastic toys (stars, spiders, skeletons). 🕷️⭐
- Non-toxic glow-in-the-dark paint.
- Tools for Play:
- Kid-safe tongs, scoops, and spoons. 🥄
- A small funnel.
- Clear plastic bottles, jars, or test tubes for “potion” making. 🧪
- The Magic Touch (Optional but Recommended): A blacklight (a simple bulb or wand works wonders!). 💡
Preparation & Setup: Creating the Spooky Scene
Before you unleash the glow, let’s set the stage. The goal is a comfy, contained, and slightly mysterious environment where your little one can explore freely.
First, pick your spot. I recommend a room where you can easily control the lighting, like a bathroom with no windows or a bedroom with blackout curtains. Dimming the lights is key to making the colors pop! Then, lay down a splat mat, old sheet, or tarp. Trust me on this one; when I first did this with my niece, the rice went everywhere. The tarp made cleanup a five-minute job instead of a thirty-minute vacuuming marathon.
If you’re using a blacklight, set it up so it shines directly onto the bin area. Make sure any cords are safely tucked away from the play zone.
Pro Tip 💡: Set everything up before you invite your child to play. The big reveal is part of the magic! Having it all ready to go keeps impatient little monsters from getting fussy while you’re trying to crack glow sticks.
How to Lead the Glow-in-the-Dark Sensory Bin: Step-by-Step 🚀
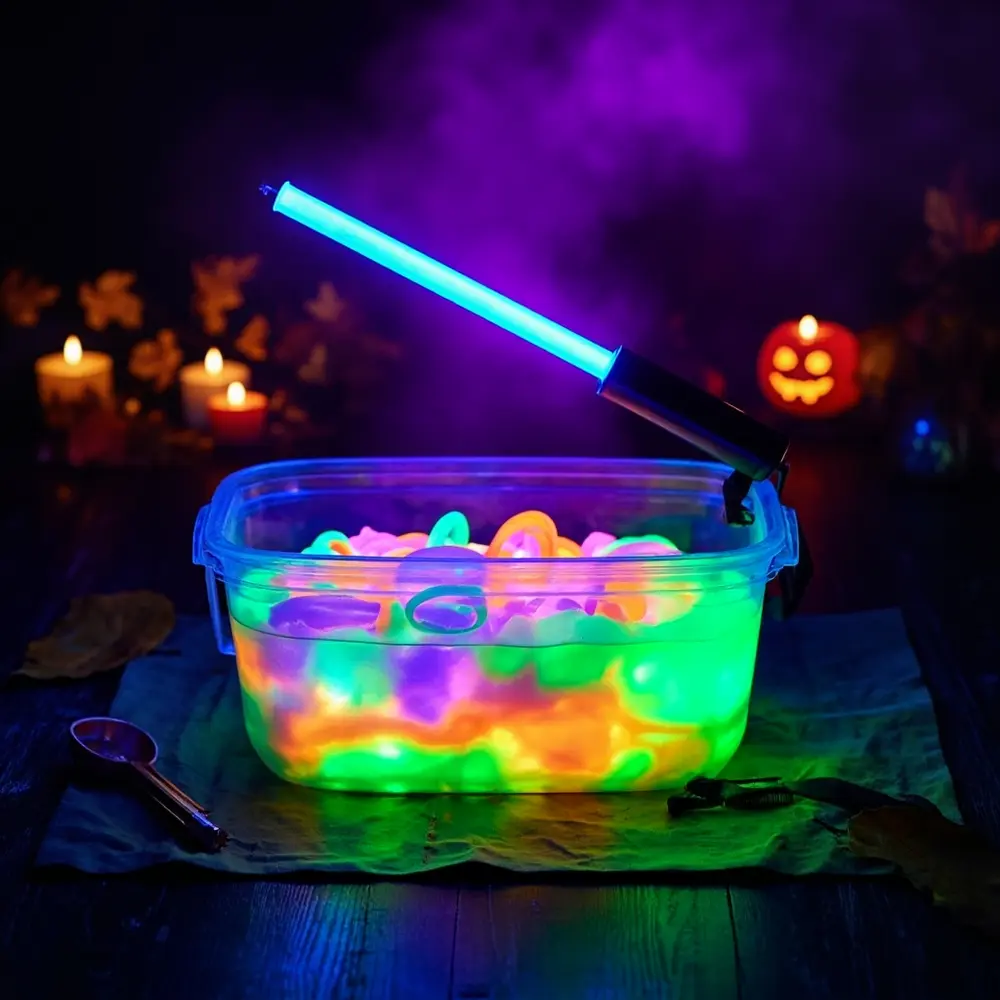
Alright, let’s get this spooky show on the road!
Step 1: Gather and Activate Your Glowing Materials
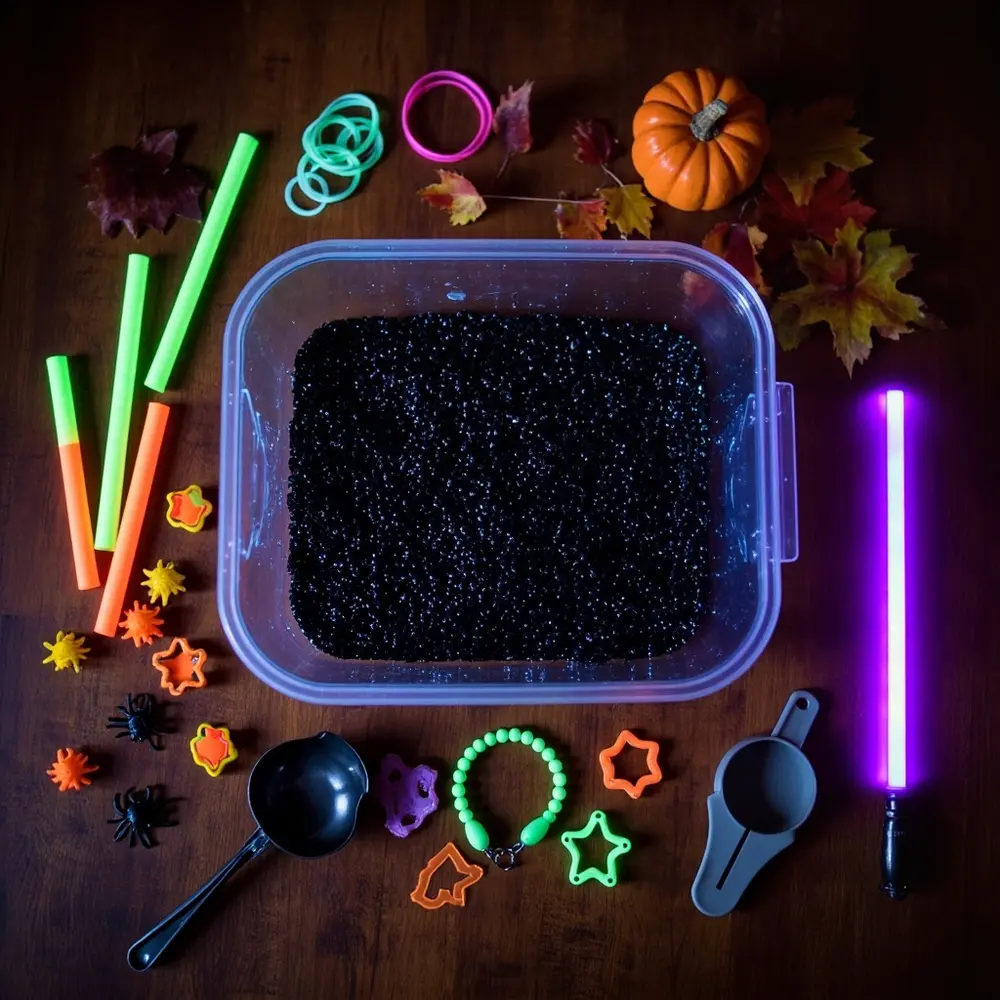
First things first, let’s bring the light! Collect all your glowing items. Take your glow sticks and bracelets and give them a good snap and shake to activate them. You’ll see them start to radiate that tell-tale spooky glow. If you’re making “glow water,” now is the time to squirt some non-toxic glow paint into a bottle of water and shake it vigorously until it’s mixed.
Image-1: A top-down shot of a wooden table with all the materials neatly arranged: a clear plastic bin, a bag of black beans, activated green and orange glow sticks, plastic spiders, scoops, and a small blacklight wand.
Step 2: Assemble Your Bin’s Foundation
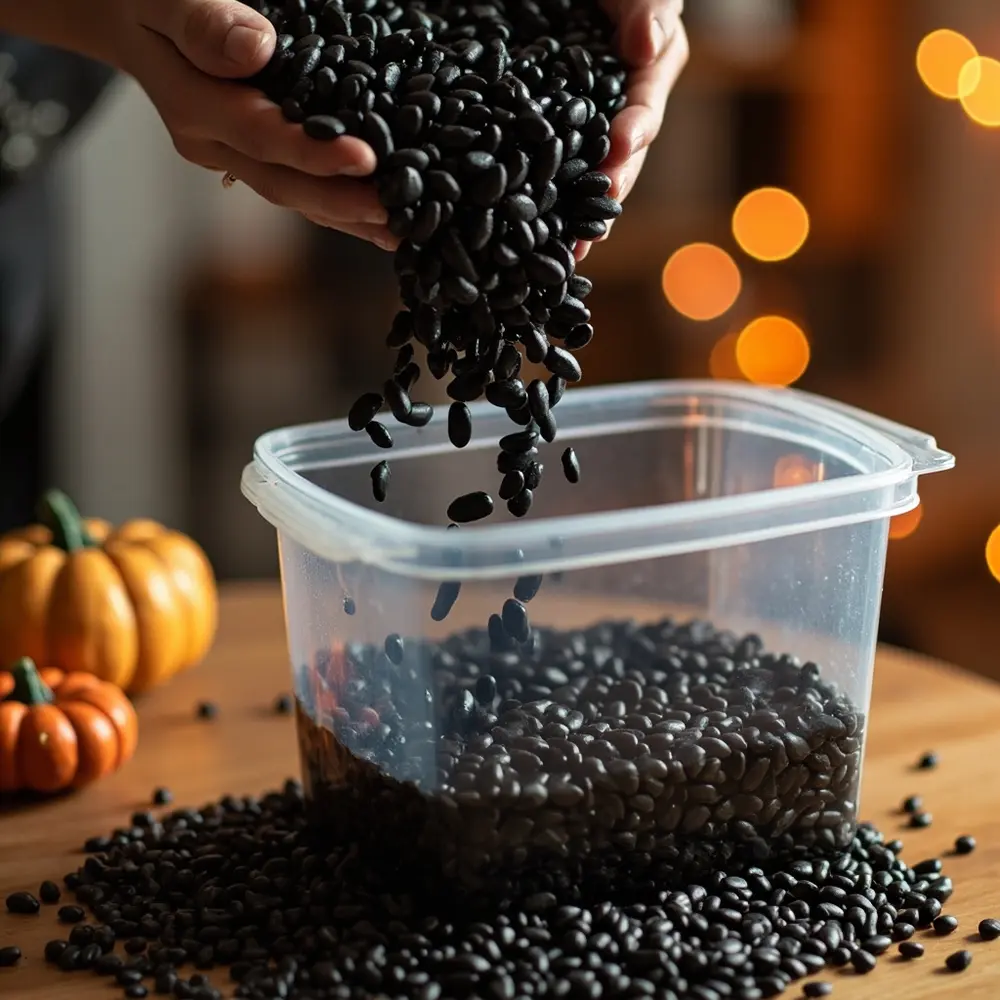
Now, create the world for your glowing treasures. Pour your chosen sensory filler into the large bin. Whether it’s the gentle rustle of black beans or the cool squish of water beads, this base layer is what your child will dig through. Fill it about one-third of the way full—enough to hide things but not so much that it easily spills over the sides.
Image-2: A close-up action shot of hands pouring a stream of shiny black beans into the clear plastic bin, filling the bottom.
Caution ⚠️: If using water beads or other small items, please remember they can be a choking hazard. This activity requires constant and active adult supervision, especially for toddlers who are still exploring the world with their mouths.
Step 3: Integrate the Glow-in-the-Dark Elements
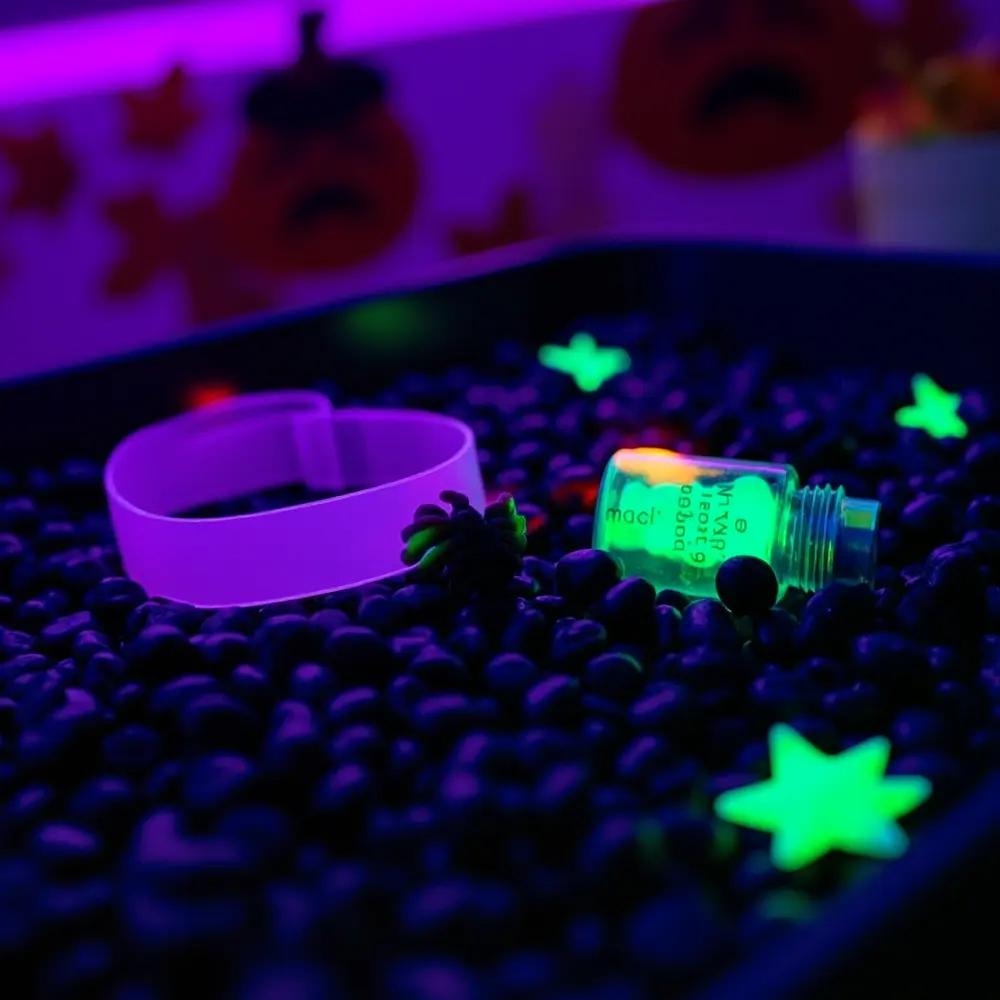
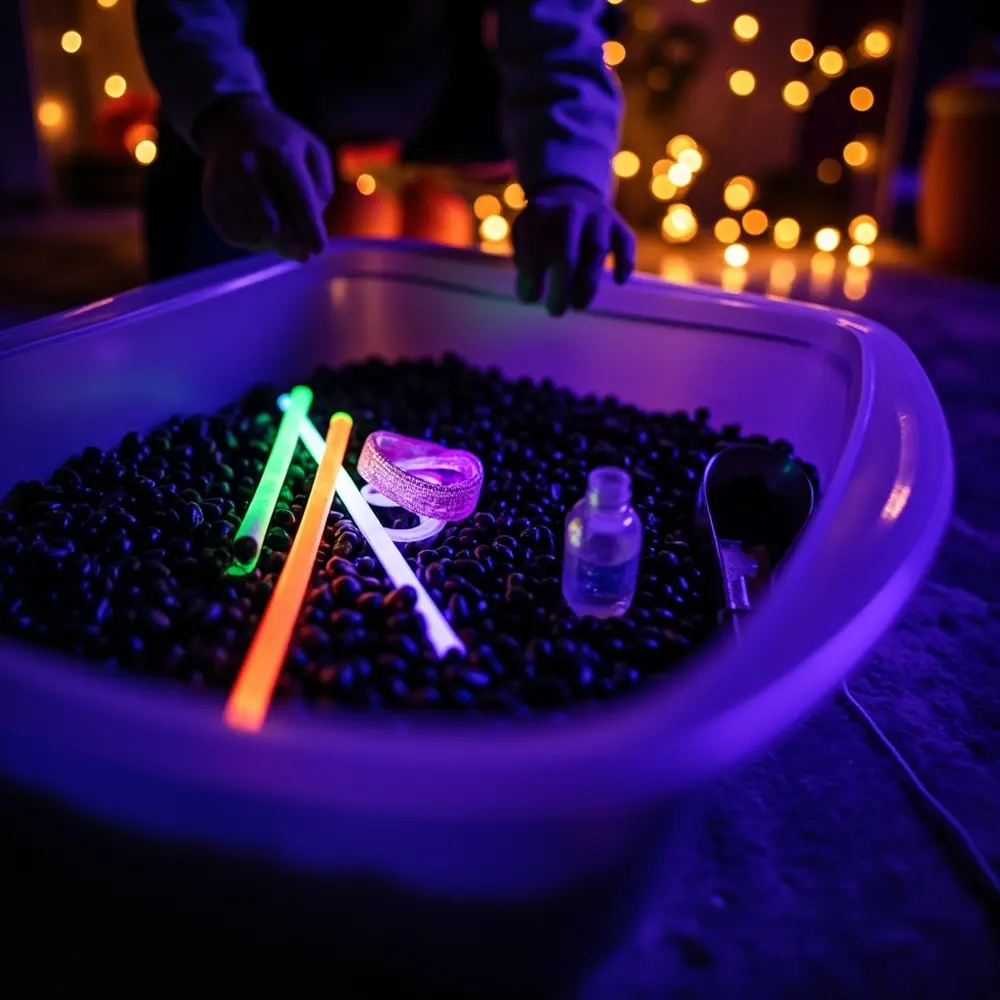
This is where the artistry comes in! Start tucking your glowing items into the sensory filler. Submerge a few glow sticks completely so your child can enjoy digging for them. Lay some bracelets on top like glowing rings. Place your plastic spiders and stars around the bin. If you made glow water, seal the bottle tightly and lay it in the bin as a “magic potion.” Create little pockets of light and mystery!
Image-3: A close-up shot of hands gently pushing an activated green glow stick down into the black beans, partially burying it.
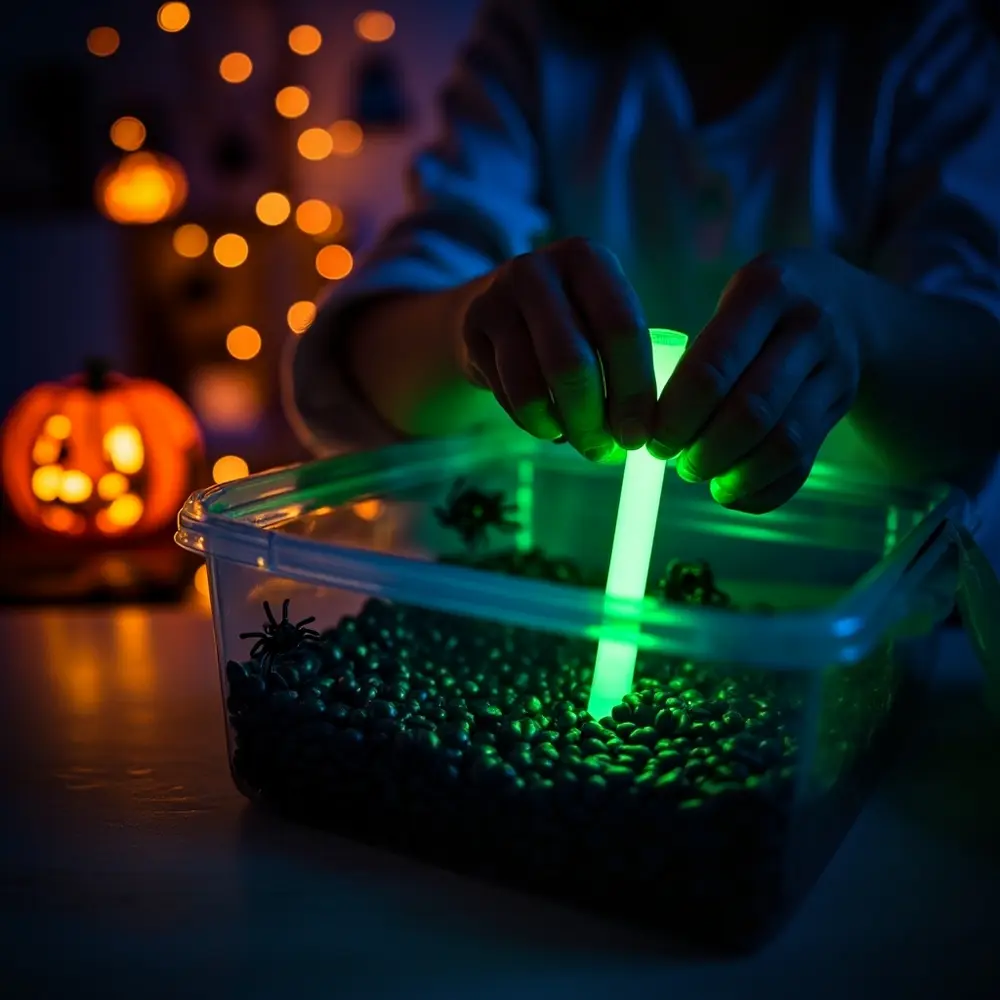
Image-4: An angled view of the bin, now with several glowing items nestled inside. A purple glow bracelet sits on top, and a small plastic bottle of glowing green water is on its side.
Step 4: Dim the Lights and Ignite the Fun!
It’s time for the grand reveal! Turn off the room lights and switch on your blacklight if you’re using one. The effect will be immediate and mesmerizing. Bring your little one over to the bin and let them see the magical scene you’ve created. Encourage them to reach in and explore with their hands, scoops, and tongs. The look on their face will be pure magic!
Image-5: A dimly lit photo focusing on a toddler’s small hands reaching into the sensory bin, which is glowing brightly with neon greens, oranges, and purples against the dark filler.
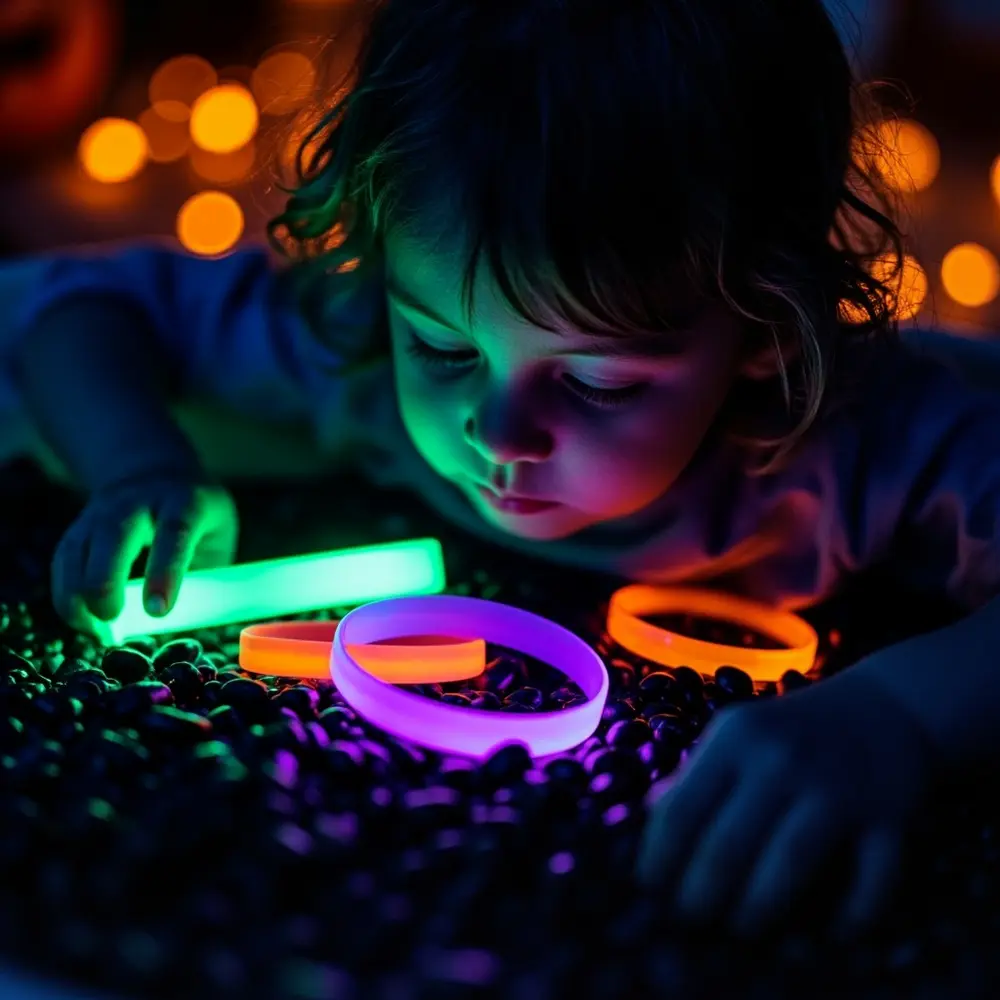
Image-6: A slightly wider shot from the child’s perspective, looking down into the glowing bin. You can see the various tools like a scoop and tongs lying next to the bin, ready for play.
Ensuring Safe & Engaging Play for Little Ones
The number one rule of spooky fun is safe fun! For toddlers and preschoolers, this is extra important.
- Supervise, Supervise, Supervise: I can’t say this enough. Stay with your child during the entire playtime. This ensures they don’t put small items in their mouth and helps you guide their play if they get stuck.
- Choose Non-Toxic Always: Double-check that all your paints and glow sticks are certified non-toxic. While we don’t want them tasting things, it provides peace of mind in case a little paint gets on their hands and then into their mouth.
- Set Gentle Boundaries: It’s helpful to have a simple rule like, “The beans stay in the bin.” If things start flying, it’s a calm reminder that the fun stops if we make a huge mess. The tarp helps enforce this!
- Focus on Exploration, Not Instruction: Instead of saying “Find the spider,” try asking questions like, “Ooh, what does that feel like?” or “I wonder what’s hiding under there?” This encourages their natural curiosity and makes the experience their own.
Image-7: A heartwarming shot of a parent sitting on the floor next to their child, both smiling as the child lifts a scoop filled with glowing beans from the bin.
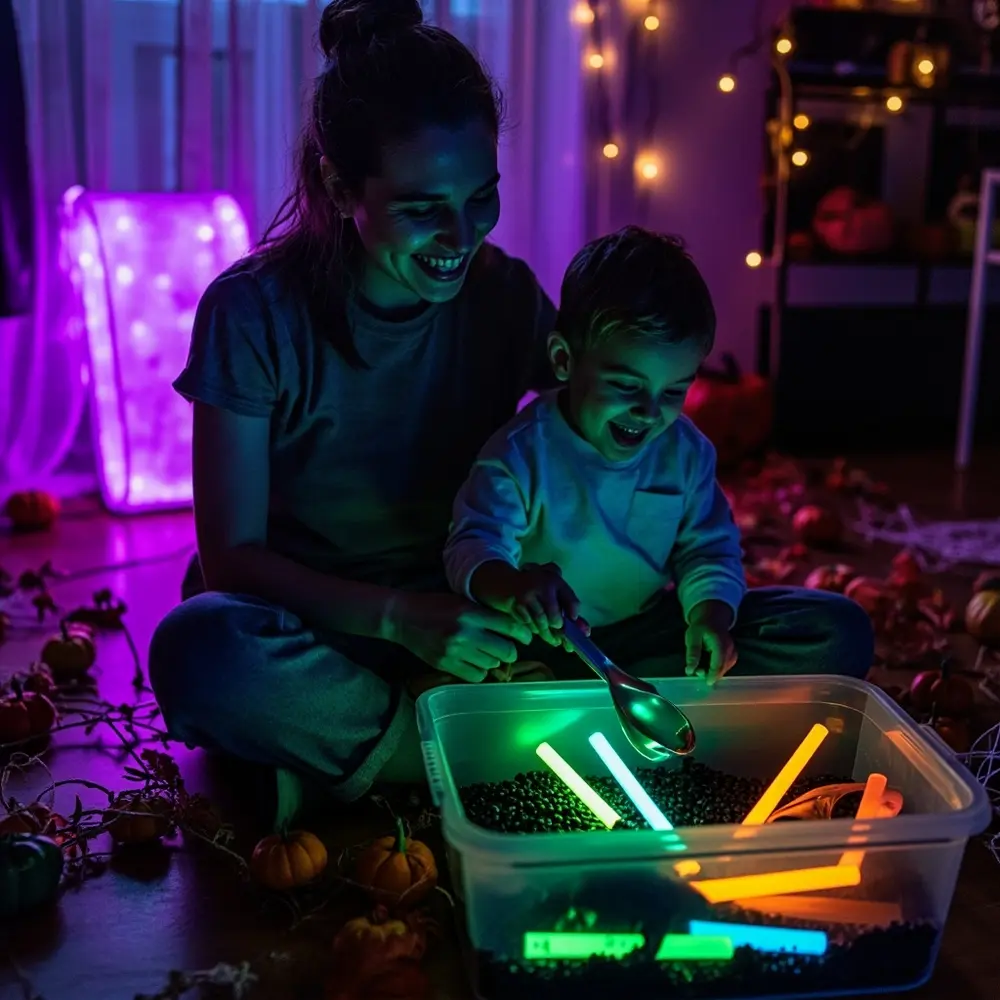
Image-8: A beautiful, slightly zoomed-out shot of the finished activity in its element. The child is happily engaged, playing with the glowing sensory bin in a darkened room. The blacklight casts a magical purple hue, and the entire scene feels wondrous and captivating.
Variations & Customizations to Haunt Your House 👻
Once you master the basics, you can switch things up for endless fun!
- Witch’s Potion Lab 🧪: Use water as your base and add plastic eyeballs, spiders, and different colors of “glow water” in sealed test tubes. Kids can use funnels and ladles to mix their bubbly brews.
- Alien Planet Exploration 👽: Use black beans or dyed rice as “space dirt” and add glow-in-the-dark stars, alien figures, and smooth, round “moon rocks” (marbles or stones for older kids).
- Haunted Swamp Adventure 🐊: Use clear hair gel or slime as a swampy base. Add plastic snakes, frogs, and green and yellow glow sticks to create a gooey, glowing wetland.
- Scent-sational Fun: Add a few drops of a child-safe essential oil like lavender (for calm) or orange (for energy) to your dry filler for an extra sensory layer.
Note 📝: A blacklight seriously elevates this activity. It makes anything white or fluorescent POP with an otherworldly glow. Even white-painted pasta or cotton ball ghosts will light up like magic under a blacklight!
Halloween Activity FAQs ❓
#### Q1: How long will the glow-in-the-dark elements last?
Glow sticks typically last for about 8-12 hours after you activate them. The glow-in-the-dark toys and paint, however, are rechargeable! Just expose them to a bright light source (a lamp or sunlight) for a few minutes, and they’ll be ready to glow again.
#### Q2: What are some taste-safe alternatives for very young toddlers?
For little ones who still mouth everything, safety is key! You can create a taste-safe base using things like cooked (and cooled) spaghetti dyed with food coloring, or a large bin of plain yogurt with a few drops of food coloring. For the “glow,” use only large, sealed items like glow sticks that cannot be broken open, or place the entire bin under a blacklight to make the yogurt or other fluorescent-safe foods glow. Always supervise closely.
#### Q3: How do I clean up the sensory bin contents effectively?
Easy peasy! If you used a dry filler like beans or rice, scoop out the big toys, then use a dustpan to sweep the filler back into a storage container to reuse. For wet fillers like water beads or water, pour the contents through a large colander over a sink. And remember that tarp I mentioned? Just fold it up and shake any escapees into the trash or back into the bin!
Let the Magical Memories Glow!
Creating this glow-in-the-dark sensory bin is more than just a fun way to pass an afternoon—it’s about building a little pocket of magic for your family. It’s the squeals of delight when the lights go out, the focused silence as they dig for treasure, and the spooky, glowing memories you’ll make together. From my haunted house to yours, I hope you have an absolute blast with this.
What’s your favorite go-to Halloween activity for little kids? I’m always looking for new ideas to try! Let me know in the comments below! 🎃👇
