It’s that time of year again, ghouls and goblins! The air is getting crisp, pumpkin spice is flowing, and you’re looking for the perfect activity to get the kids screaming… with delight, of course! 🎃
You want something hands-on and creative that doesn’t break the bank, but every Halloween craft seems either too complicated or over in five minutes. You need an activity that captures that spooky-fun vibe, creates lasting memories, and maybe even a few giggles. ✨
Well, you’ve come to the right place! My name is Roshan Sharma, your friendly neighborhood Halloween fanatic, and I’ve spent years perfecting the art of spooky fun. I’m here to show you how to brew up a batch of Eerie DIY Monster Slime that your little monsters will go absolutely wild for! 👻
Activity At-a-Glance
- Best For 👨👩👧👦: Family Halloween craft, playdate activity, sensory play for kids aged 5-10
- Time ⏳: Approx. 30-45 minutes (plus optional drying time for add-ins)
- Budget Level 💰: Low-Cost
- Spookiness Level 👻: Medium
What You’ll Need for Your DIY Monster Slime 📋
- Elmer’s PVA white school glue (PVA glue) 🧴
- Liquid starch (e.g., Sta-Flo) OR baking soda and saline solution (with boric acid) 🧪
- Water 💧
- Food coloring (green, purple, black, orange) 🎨
- Glitter (Halloween colors: black, purple, orange, green) ✨
- Small plastic googly eyes 👀
- Plastic spiders, small rubber bats, or other creepy-crawly mini toys 🕷️🦇
- Optional: Glow-in-the-dark paint (non-toxic, washable) 💡
- Mixing bowls (2-3) 🥣
- Spoons or craft sticks for mixing 🥄
- Measuring cups and spoons 📏
- A container with a lid for storage 🥡
Preparation & Setup: Creating the Spooky Scene 🕯️
Before we dive into the goo, let’s set the mood! I always find that a little atmosphere makes any activity ten times more fun. Dim the lights and maybe string up some orange or purple Halloween lights. Put on a spooky-fun playlist—think “Monster Mash” and the Ghostbusters theme song. Set out all your ingredients on the table like a mad scientist’s lab. This gets the kids excited and makes the whole process feel like a real Halloween event!
Pro Tip 💡: Lay down old newspapers or a cheap plastic tablecloth before you begin. Trust me on this one. It makes cleanup a breeze and protects your surfaces from any accidental monster-slime spills!
How to Lead the DIY Monster Slime: Step-by-Step Guide 🚀
Step 1: Gather Your Monster Materials & Prep Your Station
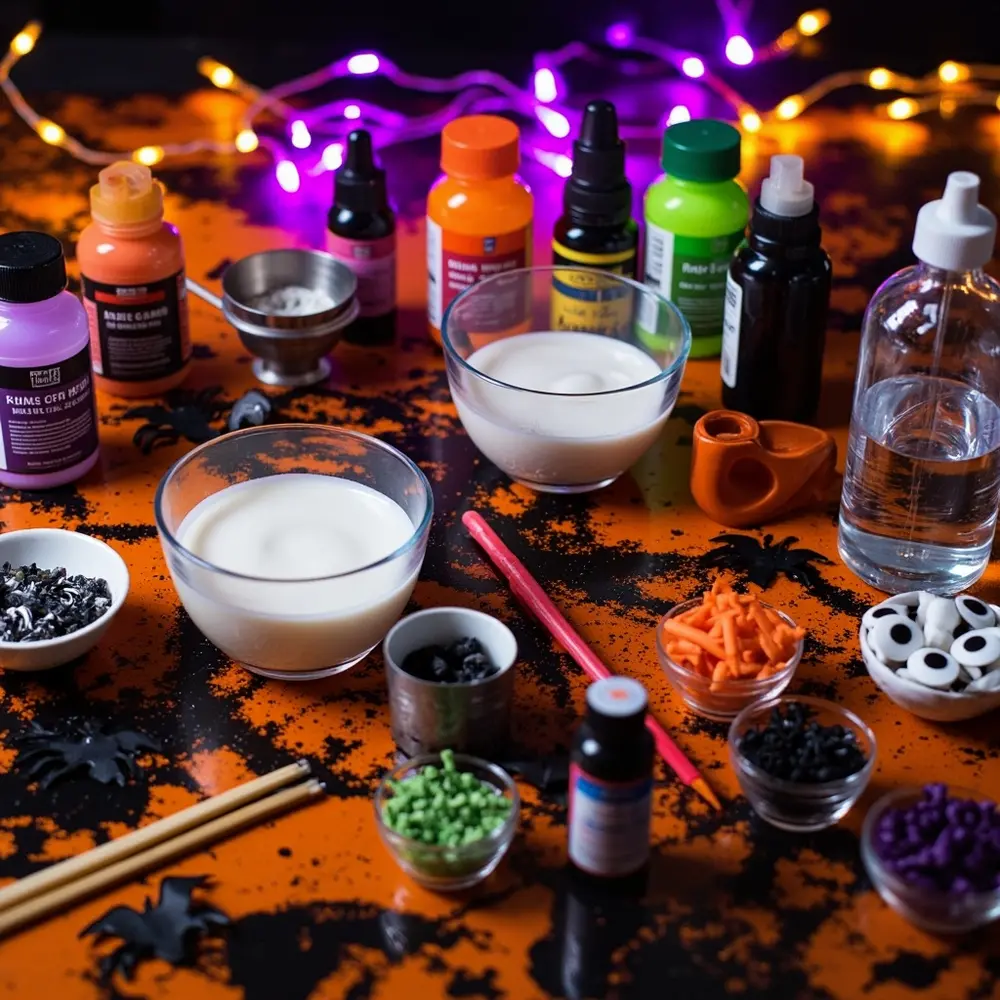
First things first, let’s get organized. Gather all your slime ingredients, bowls, and mixing tools. Having everything within arm’s reach means you won’t have to scramble for anything with sticky fingers later. Make sure your protected workspace is clean and ready for some spooky science!
Image-1: A bright, top-down shot of all the slime ingredients and tools neatly arranged on a table covered with a black and orange plastic tablecloth. Googly eyes and plastic spiders are in small, separate bowls.
Step 2: Mix Your Base & Add Eerie Hues
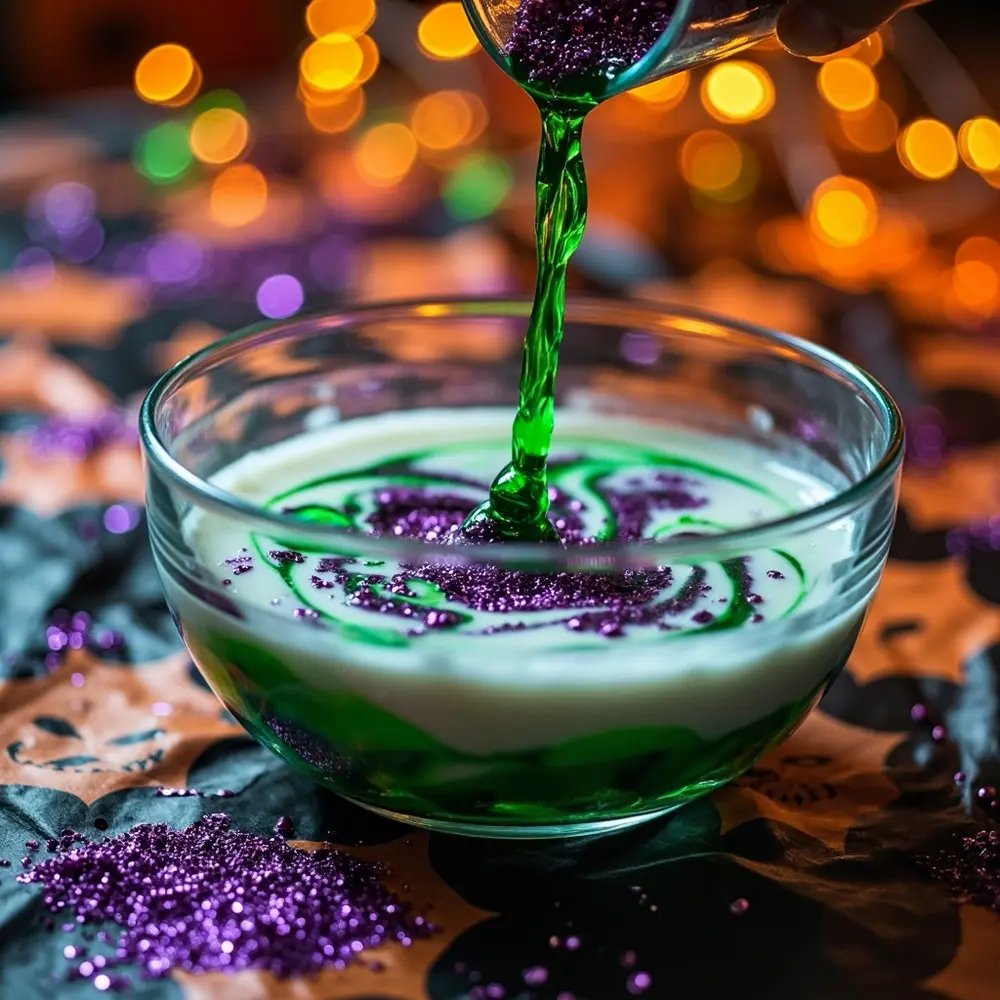
Now for the fun part! In a mixing bowl, pour in 1/2 cup of PVA glue and 1/2 cup of water. Stir them together with a craft stick until they’re completely combined. Next, pick your monster’s color! Add 3-5 drops of food coloring (I love a classic monster green or a spooky purple) and a generous sprinkle of Halloween glitter. Mix it all up until you have a shimmering, spooky brew.
Caution ⚠️: An adult should always handle the food coloring, as it can stain clothes and little hands! Always choose washable and non-toxic ingredients to keep the fun safe for everyone.
Image-2: A close-up shot of hands stirring the glue and water mixture in a clear bowl. The liquid is a uniform, milky white.
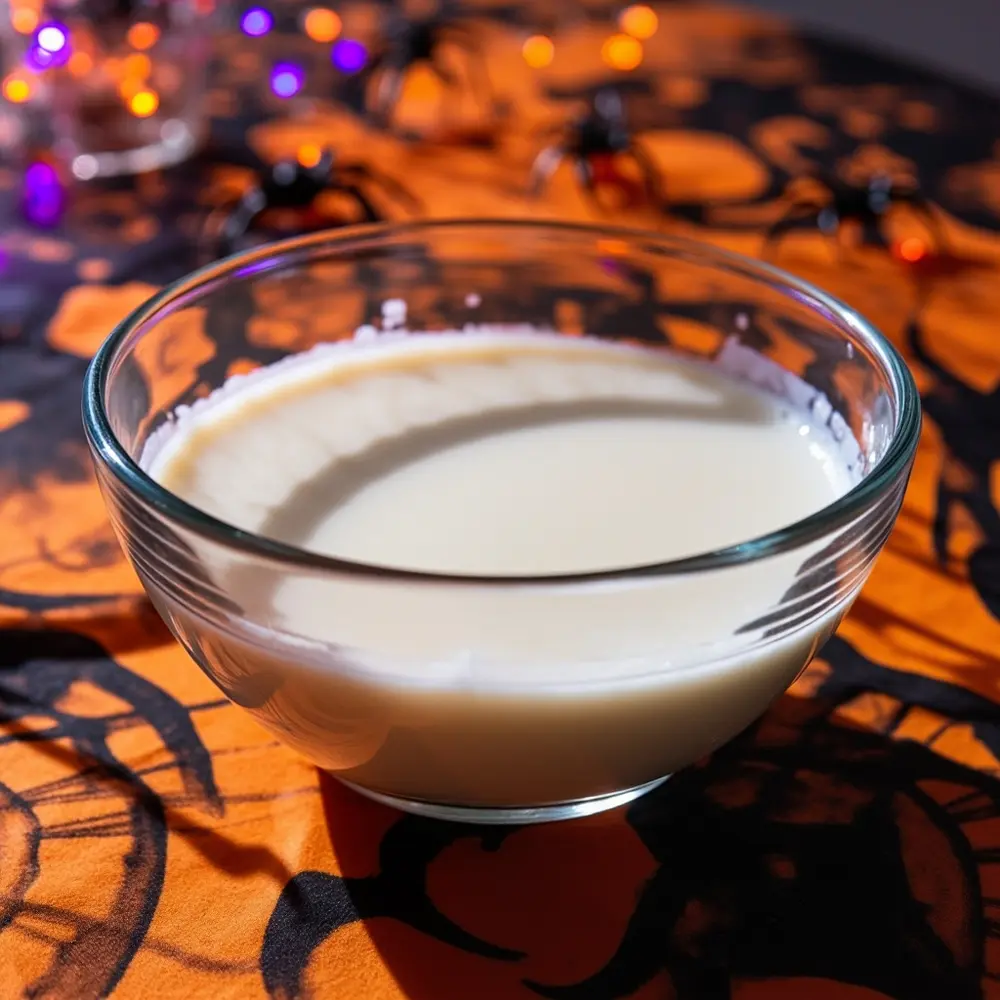
Image-3: A photo showing a few drops of vibrant green food coloring and a dash of purple glitter being added to the glue mixture. The colors are just beginning to swirl into the white base.
Step 3: Activate the Monster!
This is where the magic happens! It’s time to turn our colorful goo into real, stretchy slime. Slowly start adding your activator while stirring continuously.
- If using liquid starch: Add 1/4 cup slowly, a little at a time, while stirring.
- If using baking soda/saline: First, mix 1/2 teaspoon of baking soda into your glue mixture. Then, add 1 tablespoon of saline solution and stir.
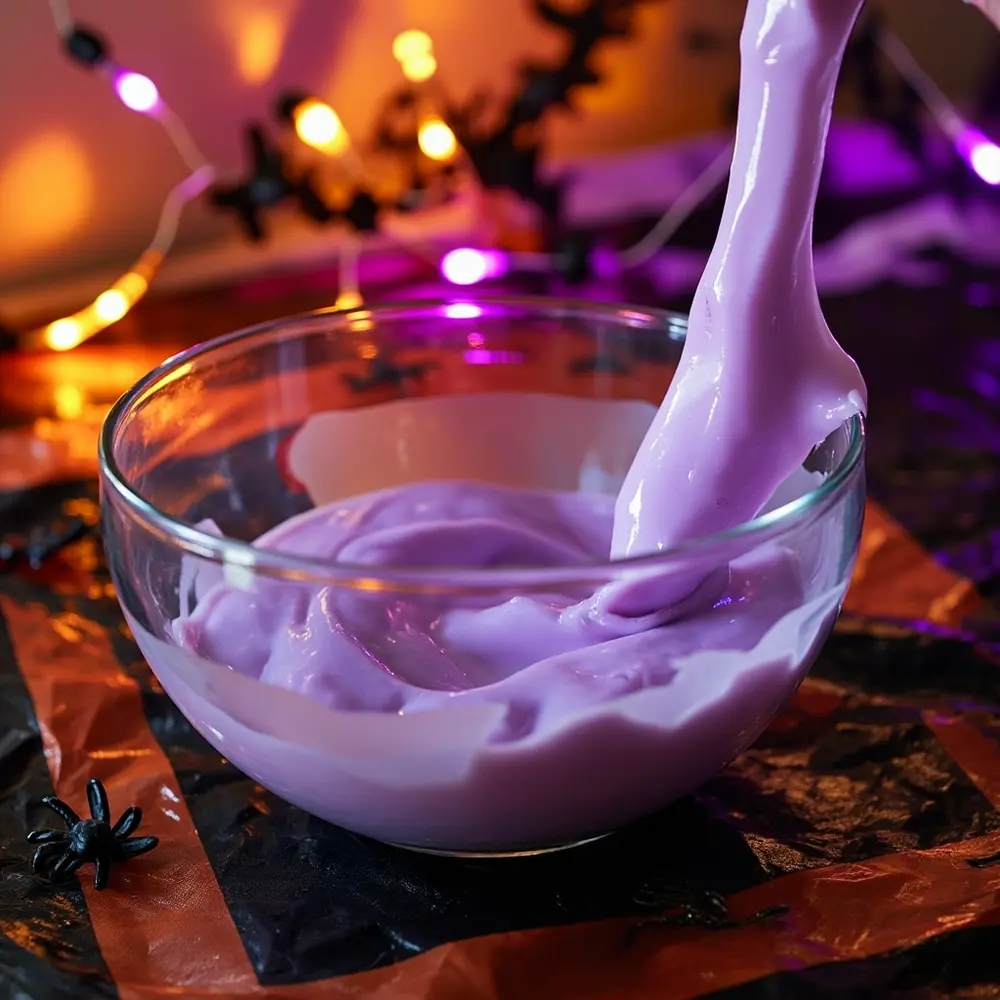
You’ll see the mixture start to thicken and pull away from the sides of the bowl. It’s coming to life! Keep stirring until it forms a gooey blob.
Image-4: An action shot from the side, showing the slime mixture beginning to thicken and pull away from the bowl’s edges as the activator is stirred in with a craft stick.
Step 4: Knead Your Gooey Creation & Add Monster Bits
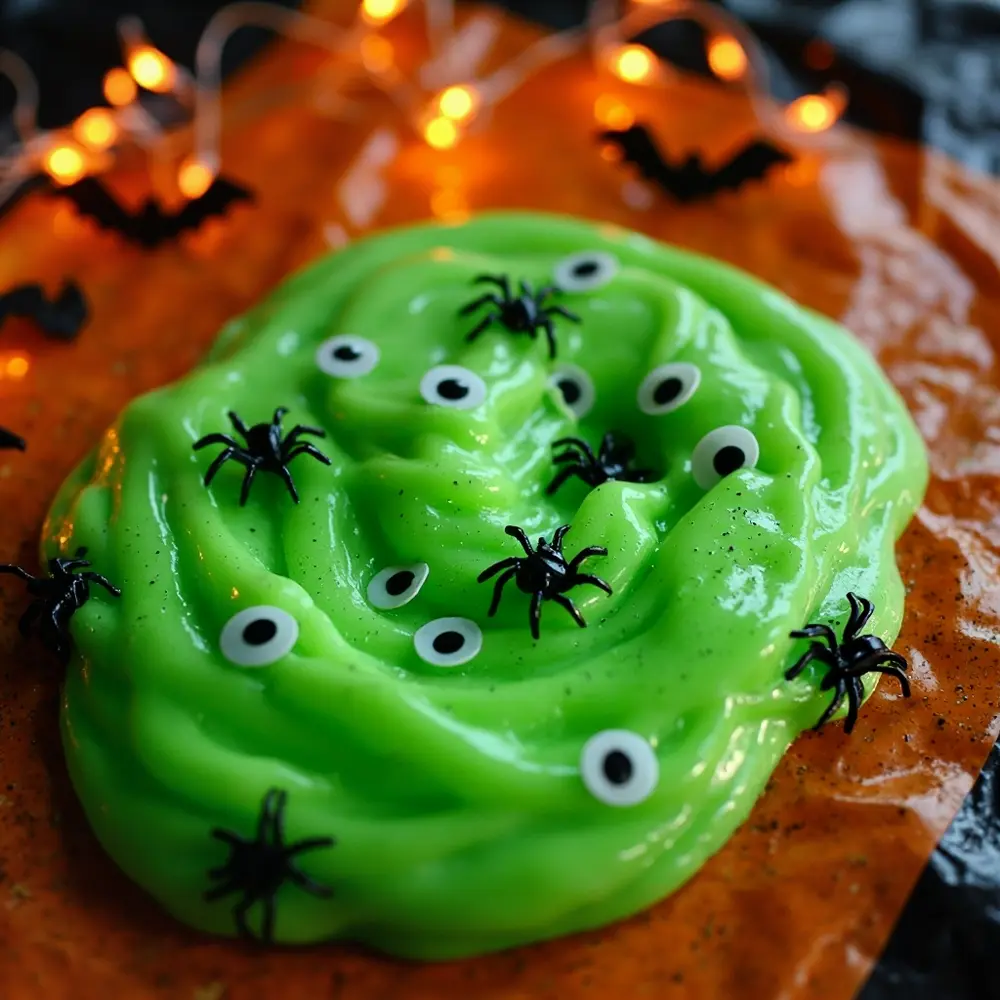
Once the slime is mostly holding its shape, take it out of the bowl. It will be sticky at first, but don’t worry! Knead it with your hands for a few minutes. The warmth and motion will make it less sticky and perfectly stretchy. Now, it’s time to create your monster! Flatten the slime out and press in the googly eyes, plastic spiders, bats, and any other creepy crawlies you have. Fold the slime over and knead them in until your monster is complete!
Theme Twist 🎃: For an extra sensory kick, add a few drops of a non-toxic essential oil. My niece loves adding a candy corn scent, but frankincense gives it a wonderfully creepy “old tomb” smell that’s perfect for Halloween!
Image-5: A close-up shot of a pair of hands kneading a ball of bright green, glittery slime on the protected tabletop.
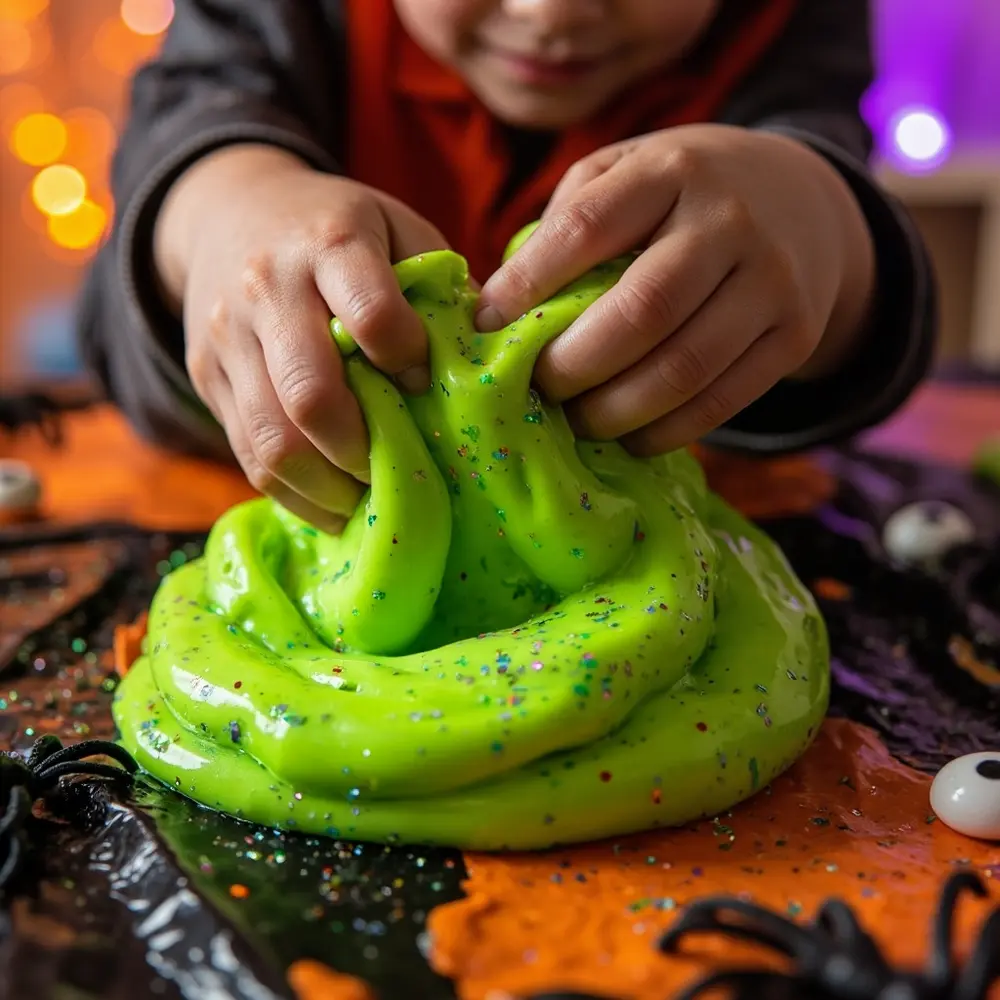
Image-6: A photo showing the green slime flattened out, with small plastic googly eyes and black spiders being pressed into its surface.
Step 5: Play & Store Your Spooky Slime
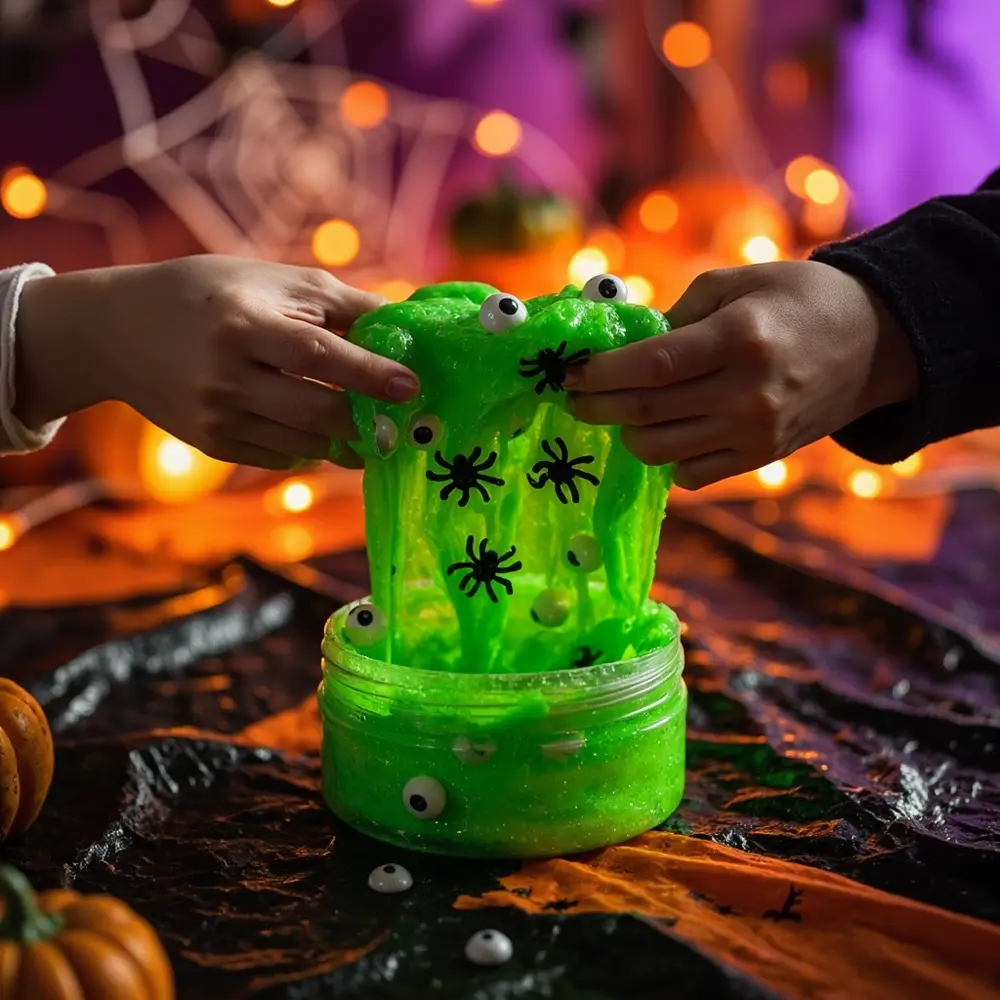
Your monster slime is alive! Stretch it, squish it, and watch the googly eyes and spiders peek out from the goo. This is the best part, so let the kids have a blast with their new creation. When playtime is over, store your slime in an airtight container or a zip-top bag. This will keep it fresh and gooey for many more spooky play sessions to come.
Image-7: A joyful, eye-level shot of a child (aged 6-8) laughing as they stretch the finished monster slime between their hands. Several googly eyes are visible within the slime, looking in different directions.
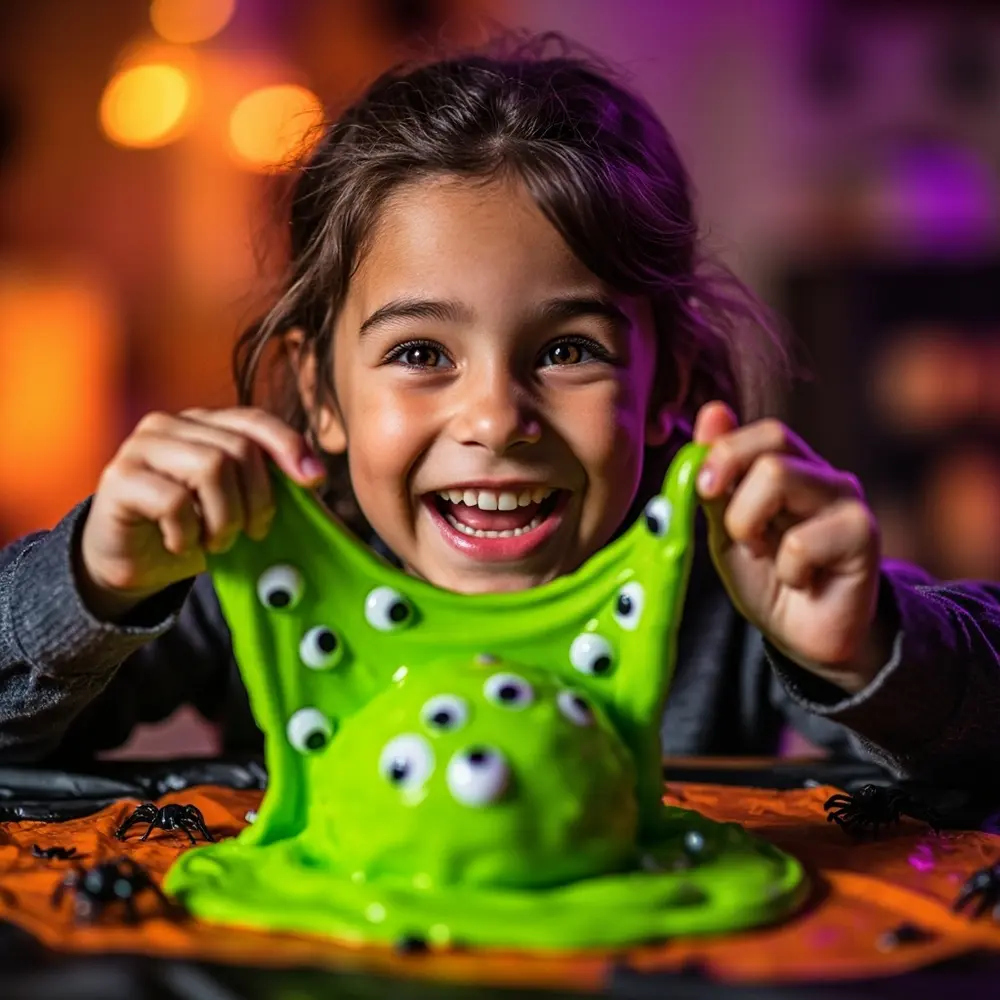
Image-8: A beautiful, slightly zoomed-out shot of the finished monster slime. The slime is being held in two hands over its storage container, which sits on the Halloween-themed table. The spooky decorations and mood lighting in the background capture the complete, fun effect of the activity.
Troubleshooting Your Eerie Slime & Top Safety Tips ✅
Even the best mad scientists run into problems. From my experience, here’s how to fix the most common slime issues:
- Slime is too sticky? It probably needs a tiny bit more activator. Add just a drop or two of liquid starch or saline solution and knead it in. A little goes a long way!
- Slime is too stiff or rubbery? You’ve added too much activator. To soften it, try kneading in a small amount of lotion or a bit of warm water until it reaches the right consistency.
- Top Safety Tip: The most important rule of slime club is supervision! An adult should always be present, especially with younger kids. Ensure all ingredients are non-toxic and washable. And, of course, remind your little monsters that slime is for playing with, not for eating!
Variations & Customizations to Haunt Your House 🧟
Once you master the basic monster, why stop there? Here are a few of my favorite twists:
- “Witch’s Brew” Slime 🧙♀️: Use purple and green food coloring with iridescent glitter. Mix in tiny plastic cauldrons or broomstick confetti for a magical brew.
- “Zombie Guts” Slime 🧟♂️: Use red food coloring with a drop of brown to get a gruesome color. Add small pieces of red yarn to look like guts for a truly gross (and fun!) effect.
- Glow-in-the-Dark Slime 💡: Mix in a tablespoon of non-toxic, washable glow-in-the-dark paint in Step 2. “Charge” it under a light and then play in the dark for an extra spooky surprise!
- Textured Monster Slime 👹: Add small foam beads, rice, or tiny plastic beads for a bumpy, lumpy texture. Just be sure the add-ins are safe for your child’s age group.
- Scented Slime 🍬: A few drops of skin-safe essential oils can make a huge difference. Peppermint, cinnamon, or even a “grape” scent for purple monster goo are fantastic options.
Halloween Activity FAQs ❓
#### Q1: How long does homemade slime last?
If you store it properly in an airtight container, your homemade slime should last for at least a week, sometimes longer! If it gets dirty or starts to smell off, it’s time to toss it and make a new batch.
#### Q2: What should I do if my slime is too sticky/too stiff?
See my troubleshooting section above! For sticky slime, add a tiny bit more activator. For stiff slime, knead in some lotion or a little warm water.
#### Q3: Is homemade slime safe for young children?
Yes, as long as you use non-toxic, washable ingredients (like school glue) and provide adult supervision. It’s a sensory activity, so it’s important to make sure children don’t put the slime or any of the small add-ins in their mouths.
#### Q4: How do I clean up slime messes from surfaces or clothes?
For most hard surfaces, you can just wipe it up. If it gets on clothing or carpet, white vinegar is your best friend! Apply a little vinegar to the spot, let it sit for a few minutes to break down the slime, and then scrub gently with a brush and warm, soapy water. Always test on a small, hidden spot first!
Get Ready to Get Slimy! 🎉
There you have it—your complete guide to creating the most spooktacular DIY Monster Slime this side of Transylvania! This activity is more than just a craft; it’s a chance to bond with your family, get creative, and make some fantastically gooey Halloween memories. I’ve made this with kids at over a dozen parties, and it’s a guaranteed hit every single time. The laughter and “ewwws” of delight are what the season is all about!
I can’t wait to see the monsters you create. Be sure to share your creepy, gooey masterpieces!
What’s your go-to Halloween craft? I’m always looking for new ideas to try! 🎃
