It’s that time of year again, ghouls and goblins! The air is crisp, the pumpkins are grinning, and the age-old question echoes through every home: “What’s for dinner on Halloween night?” 🎃
You’re trying to wrangle kids buzzing with excitement, juggling costumes and candy bowls, and you need a meal that’s more than just fuel—it needs to be part of the magic. The last thing you want is a complicated recipe that adds stress to the fun. 👻
I’m Roshan Sharma, your friendly neighborhood Halloween fanatic, and I’m here to solve your spooky dinner dilemma! This Monster Eye Pizza isn’t just a recipe; it’s a full-blown creative activity that brings the whole family together. It’s easy, delicious, and lets your little monsters unleash their inner artist. Let’s make a memory! 🎉
Activity At-a-Glance
- Best For 👨👩👧👦: Family Halloween Dinner, Kid-Friendly Party Activity
- Time Required ⏳: Approx. 30-45 minutes (15 min prep, 15-20 min bake)
- Budget Level 💵: Low-Cost
- Spookiness Level 💀: Medium
What You’ll Need for Your Creepy Monster Eye Pizza 📋
Gather your magical ingredients! Most of these should be easy to find at your local grocery store. I always grab mine a few days before Halloween to avoid the mad rush.
- Pre-made pizza dough (or homemade, if you’re feeling adventurous!) 🍕
- Pizza sauce (your favorite jarred kind works perfectly) 🥫
- Shredded mozzarella cheese 🧀
- Black olives, sliced (for the pupils) ⚫
- Green olives with pimento, sliced (for a creepy iris) 🟢 OR large pepperoni/salami slices
- Optional: Red bell pepper, cut into thin strips (for bloodshot veins) 🌶️
- Optional: Small brush or ketchup bottle (for adding sauce veins) 🖌️
- Baking sheet
- Parchment paper
- Rolling pin (if using a dough ball)
- Pizza cutter or a big knife
Preparation & Setup: Creating the Spooky Scene 🦇
Before you summon your little chefs, let’s set the mood! This is more than just cooking; it’s an event. Dim the lights and maybe switch on some orange string lights for a ghoulish glow. I have a go-to Halloween playlist on repeat all October long—it works wonders for getting everyone in the spirit!
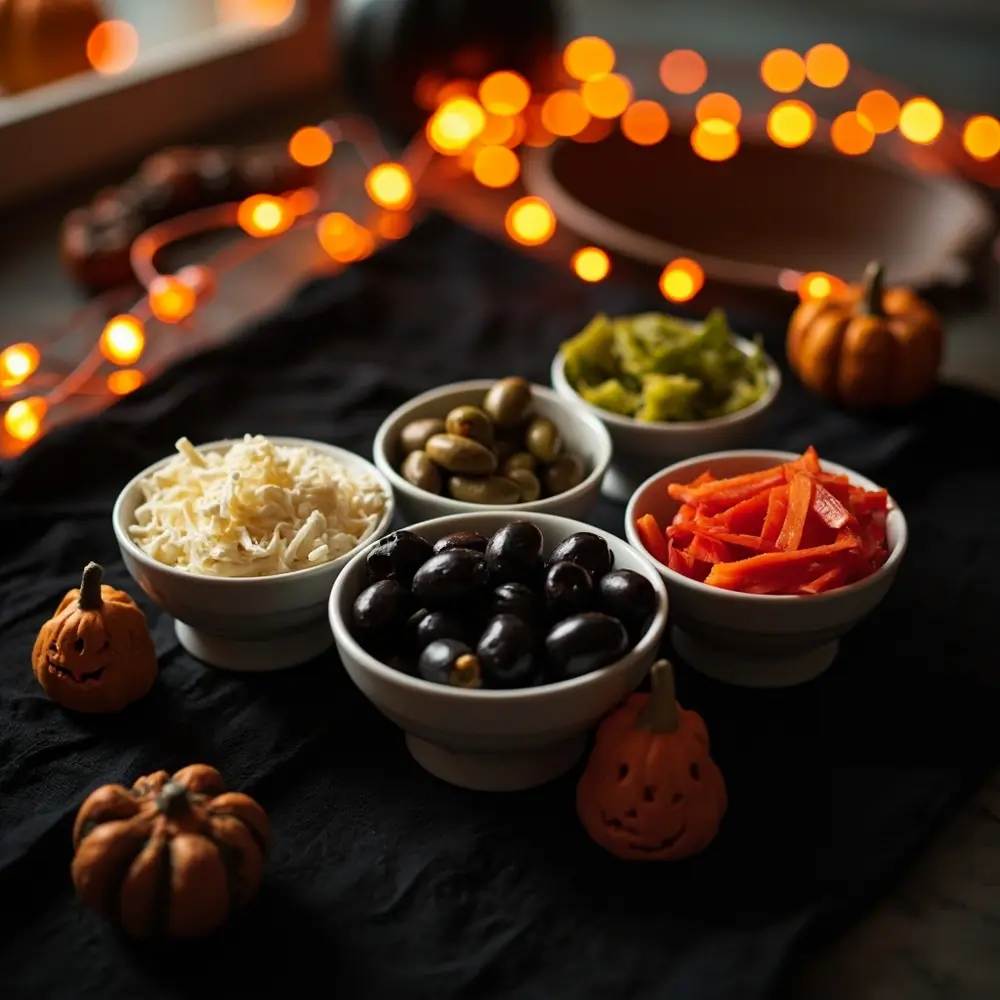
Arrange all your toppings in separate bowls on the counter. This makes it easy for little hands to grab what they need and keeps things (relatively) tidy.
Pro Tip 💡: Use a black tablecloth or some black craft paper to cover your workspace. Then, arrange your bowls of ingredients and call it your “Monster Lab.” It’s a simple touch, but my niece absolutely loves it and it makes her feel like a real mad scientist!
Image-1: A wide-angle shot of a kitchen counter decorated for Halloween. A black tablecloth is spread out, with small bowls containing mozzarella cheese, black olives, green olives, and red pepper strips, all neatly arranged like a “monster lab.”
How to Make Your Monster Eye Pizza: Step-by-Step 🚀
Alright, team! Aprons on? Spooky music playing? Let’s get building.
Step 1: Roll Out Your Canvas
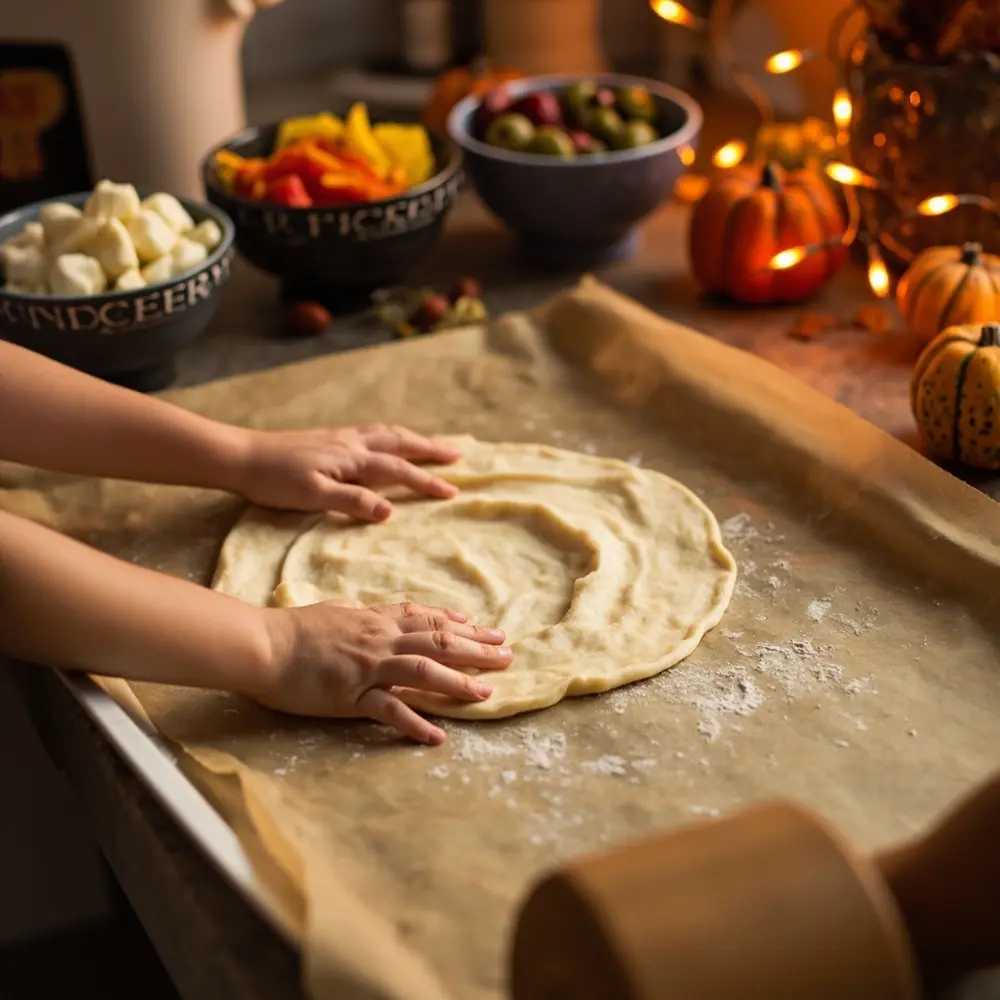
First, preheat your oven to 400°F (200°C). While it heats up, prepare your pizza base. If you’re using a pre-made crust, just unroll it onto a baking sheet lined with parchment paper. If you have a ball of dough, lightly flour your surface and let the kids help you roll it out into a spooky, not-so-perfect circle or rectangle. The shape is part of the fun!
Image-2: A top-down shot of a child’s hands pressing a pre-made pizza crust onto a parchment-lined baking sheet. The “monster lab” bowls are visible in the background.
Step 2: Sauce It Up & Lay the Cheesy Base
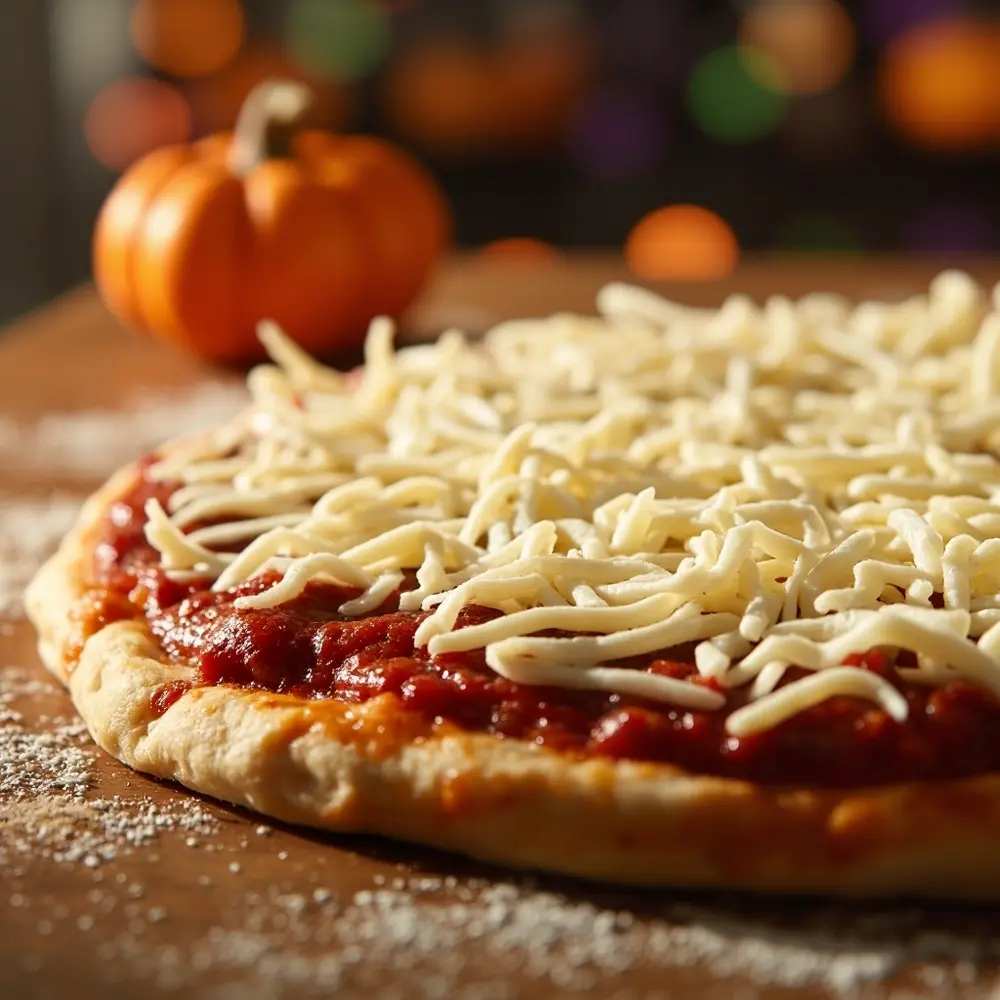
Now for the gooey good stuff. Spoon a nice layer of pizza sauce onto the dough, leaving about a half-inch border for the crust. Let your older kids help spread it around with the back of a spoon. Then, it’s time for a cheese blizzard! Sprinkle that mozzarella all over the sauce, covering it completely. This is the perfect job for even the youngest helpers.
Caution ⚠️: Remember to wash your hands before and after handling raw dough! Good hygiene is the first rule of any monster lab.
Image-3: A close-up shot of the pizza base, now evenly covered with red sauce and a thick layer of shredded mozzarella cheese, ready for the toppings.
Step 3: Create the Creepy Eyeballs
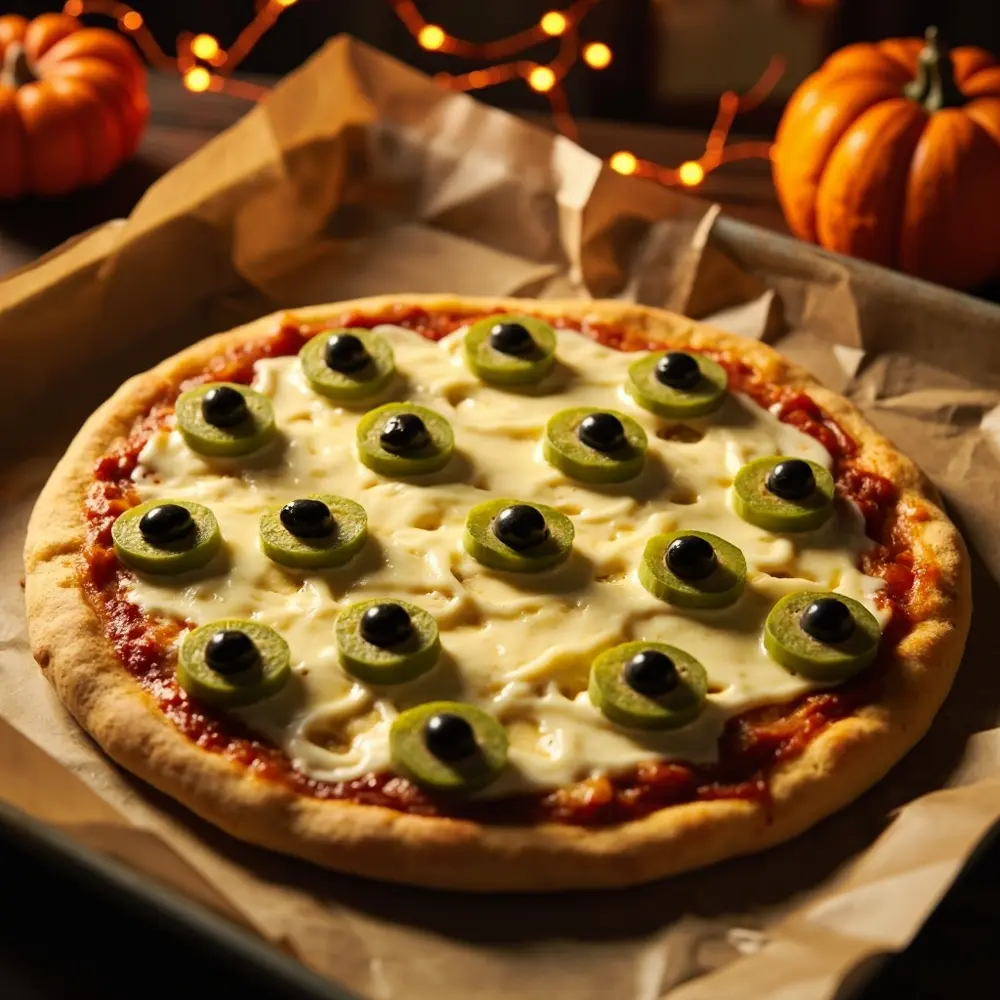
This is where the magic happens! Take your green olive slices or pepperoni and arrange them all over the cheese—these will be the irises of your monster eyes. Don’t be afraid to make some big and some small. Once they are in place, have your little artist carefully place a black olive slice in the center of each one to create the pupil. Voilà, you have creepy, staring eyes!
Image-4: A close-up photo showing a child’s small hands carefully placing a black olive slice into the center of a green olive slice on the cheesy pizza, forming a perfect monster “eye.”
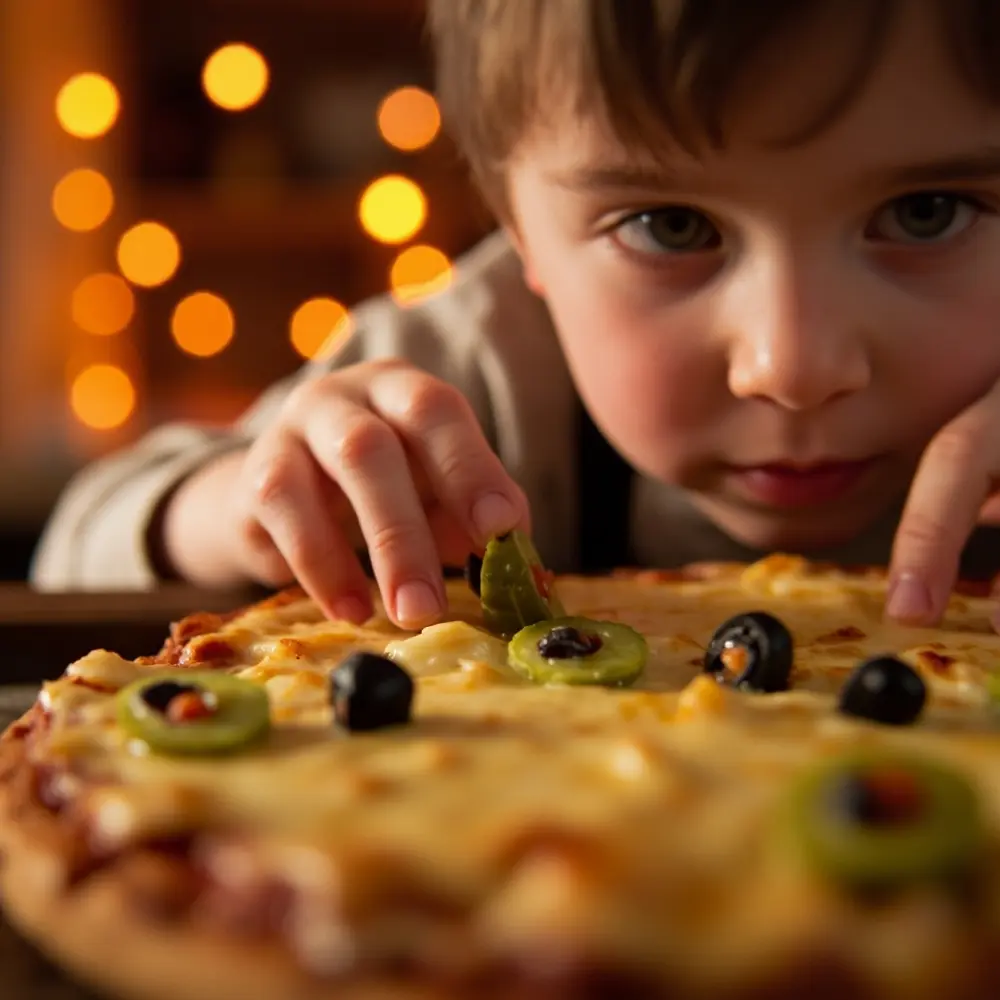
Image-5: A top-down shot of the entire pizza, now covered with about 8-10 “monster eyes” of varying sizes, staring up from the cheesy surface.
Step 4: Add Spooky Veins & Details (Optional)
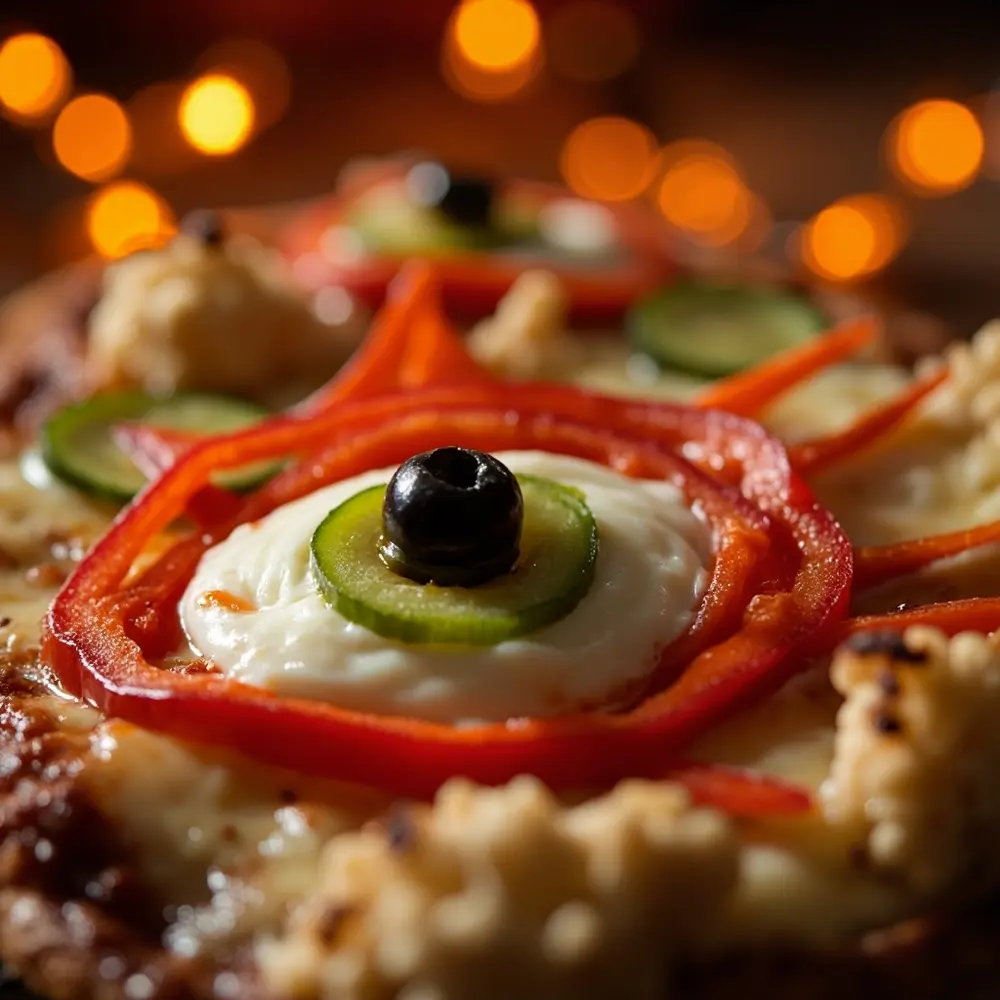
Want to dial up the spook-factor? Use those thin strips of red bell pepper to create “bloodshot” veins. Arrange them so they radiate outward from a few of the biggest eyes. Alternatively, you can put a little extra pizza sauce in a squeeze bottle (or a plastic bag with the corner snipped off) and draw thin, squiggly red lines. It looks disgustingly cool!
Image-6: A detailed close-up shot focusing on one large monster eye, showing thin red bell pepper strips being placed around it to look like bloodshot veins.
Step 5: Bake Your Monster Masterpiece
Time for the final transformation! An adult should handle this part. Carefully slide your pizza into the preheated oven. Bake for 15-20 minutes, or until the crust is golden brown and the cheese is bubbly and melted. The smell alone will have every monster in your house drooling!
Caution ⚠️: Ovens are hot! An adult should always be in charge of putting the pizza in and taking it out. Use oven mitts and be careful with the hot tray.
Image-7: A shot from a slightly low angle showing an adult wearing oven mitts carefully pulling the perfectly baked, golden-brown Monster Eye Pizza out of a glowing oven.
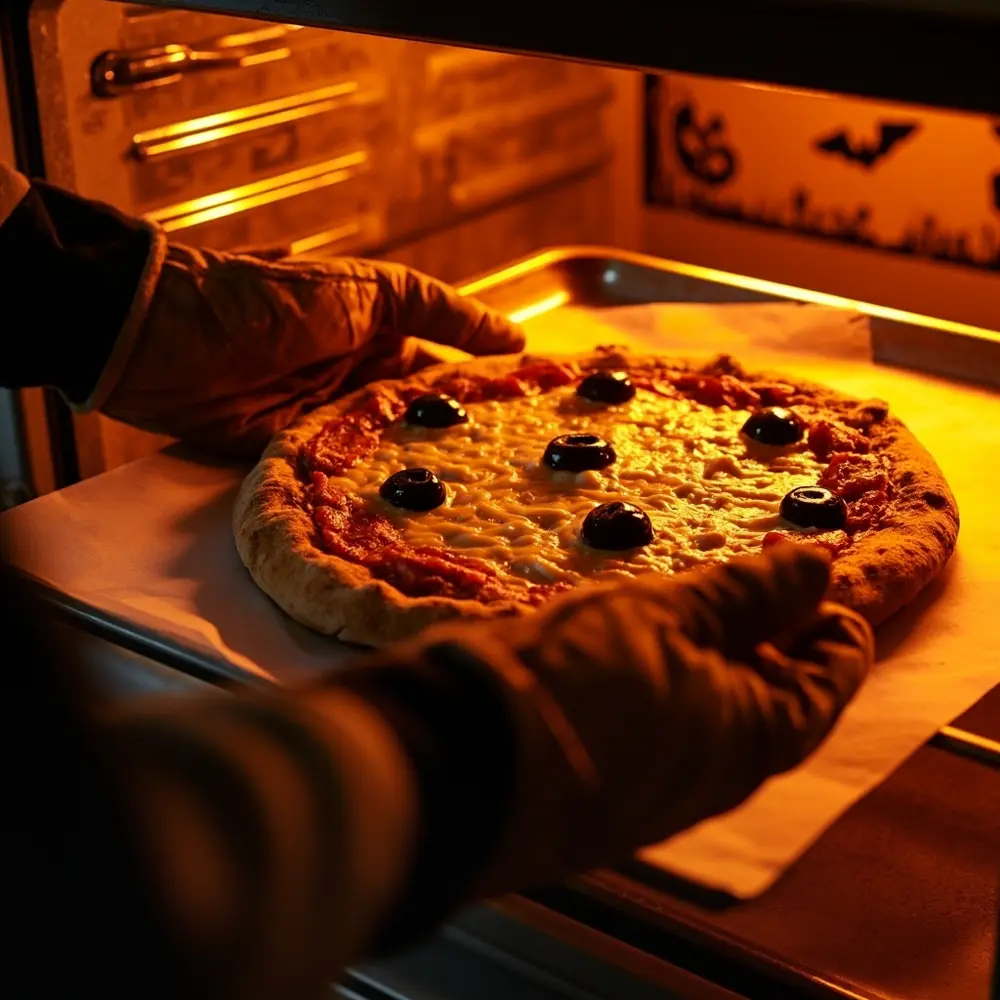
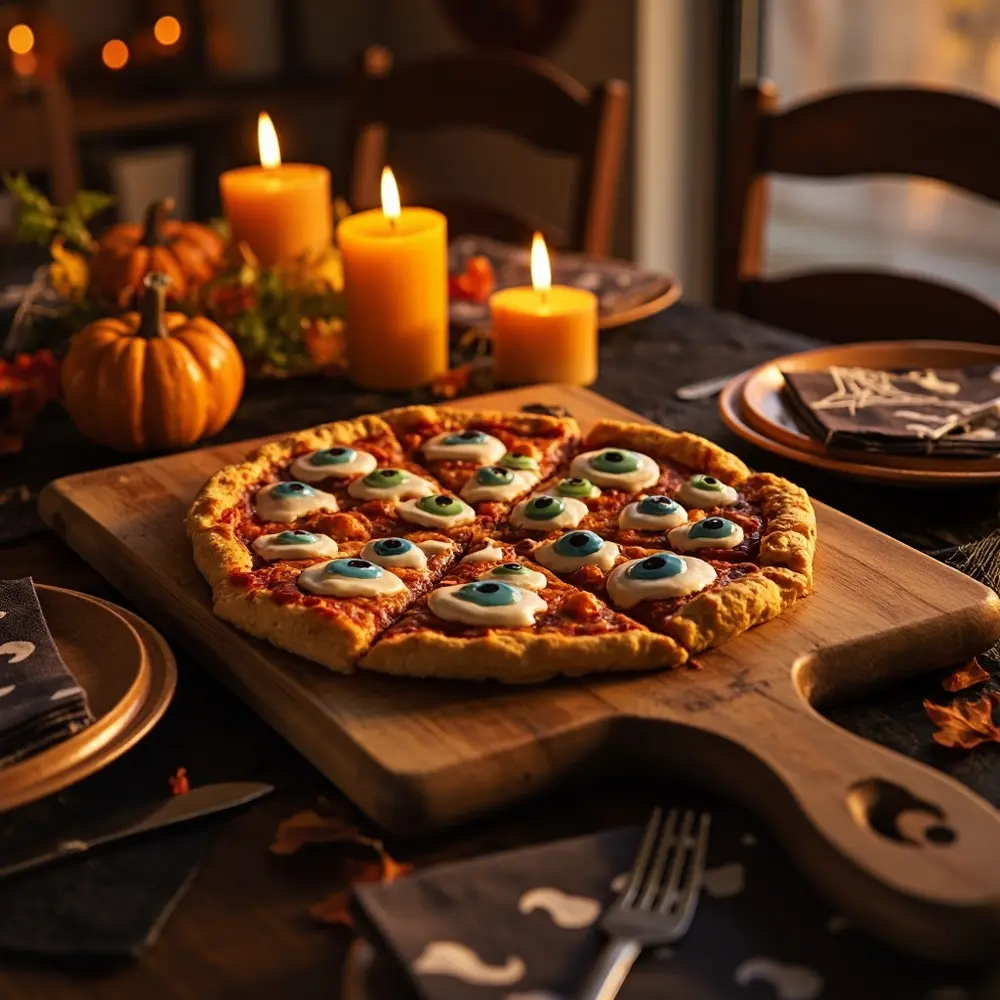
Image-8: A beautiful, slightly zoomed-out shot of the finished Monster Eye Pizza sitting on a wooden cutting board in the center of a Halloween-themed dinner table. It has been sliced, and two plates with spooky napkins are next to it, ready for serving.
Kid-Friendly Decoration Tips & Safety ✅
When I taught safe pumpkin carving workshops, the number one rule was always “the right tool for the right job.” The same goes for pizza making! Here’s how to involve kids of all ages safely:
- Toddlers (2-4): They are fantastic sprinklers! Let them sprinkle the cheese and place the soft olive toppings. They might not be precise, but they’ll be so proud.
- Little Kids (5-7): They can help spread the sauce with a plastic knife or the back of a spoon and can be very creative with placing the “eyeball” components.
- Big Kids (8+): They can help with more complex tasks like arranging the bell pepper veins and, with supervision, maybe even help roll out the dough.
Always supervise, especially around the oven. Keep the focus on fun and creativity, not perfection. A lopsided eye is a happy, spooky eye!
Variations & Customizations to Haunt Your House 👻
One of the best things about this activity is how easy it is to change up. Over the years planning parties, I’ve seen some amazing twists!
- Mini Monster Pizzas: 🥯 Use English muffins, bagels, or pita bread as a base for personal-sized pizzas. This is great for parties!
- Veggie Eye Variety: 🥒 Don’t like olives? Use sliced cucumbers or bell pepper rings for the iris and a smaller piece of black olive or even a caper for the pupil.
- Ghoulish Green Pizza: 💚 Swap the red pizza sauce for a pesto base. The green background makes the monster eyes look extra sickly and spooky!
- Spiderweb Cheese: 🕸️ Drizzle thinned sour cream or ricotta in circles over the mozzarella, then drag a toothpick from the center to the edge to create a web effect before adding your eyes.
- Theme Twist – Vampire Bite Pizzas: 🧛 Instead of eyes, make a regular cheese pizza and add two small, strategically placed “bite marks” using small pieces of red bell pepper or dots of red sauce.
Halloween Activity FAQs ❓
Q1: How can I make this pizza truly creepy and realistic?
To make it extra creepy, use a mix of green and white cheeses (like mozzarella and provolone) for a more “undead” skin tone. Also, when you place the red pepper veins, make them a little crooked and squiggly for a more realistic bloodshot look!
Q2: Can I prepare parts of the pizza ahead of time for a party?
Absolutely! This is a great party hack. You can slice all your olives and peppers and portion out the cheese into individual bowls hours ahead of time. When it’s party time, just set out the pre-made bases and let the kids go wild with their pre-portioned “monster lab” kits.
Q3: What are good alternatives if my child doesn’t like olives?
No problem! Slices of pepperoni or salami make a fantastic red “iris.” For the pupil, you can use a small piece of a mushroom, a caper, or even a tiny circle cut from a red or green bell pepper.
Q4: What’s the best type of pizza dough to use for this recipe?
Honestly, the best dough is the one that’s easiest for you! The pre-made, refrigerated dough in a tube is super convenient and bakes up nicely. A pre-baked crust (like a Boboli) is even faster. If you have a favorite homemade recipe, that works great too!
Q5: Can this recipe be adapted for dietary restrictions (e.g., gluten-free, dairy-free)?
For sure! Simply swap the regular pizza crust for a gluten-free version and use your favorite brand of dairy-free shredded mozzarella. The spooky, delicious results will be the same!
*
There you have it—a meal and a memory all rolled into one! Making this Monster Eye Pizza is one of our family’s favorite traditions, and I hope it becomes one of yours, too. Seeing the pride on your kids’ faces when they pull their creepy creation out of the oven is pure Halloween magic.
Happy Haunting!
What’s your go-to Halloween dinner tradition? I’m always looking for new ideas to try! Let me know in the comments below. 👇
