It’s that time of year again, ghouls and goblins! The air is getting crisp, pumpkin spice is in everything (no regrets here!), and the spooky season is upon us. Planning a Halloween party for toddlers and preschoolers can be a real head-scratcher—you want all the fun without any of the fright. 👻
You’re probably looking for a game that’s easy to set up, won’t break the bank, and is guaranteed to get giggles instead of tears. You need something that’s more silly than spooky and perfect for those little hands and short attention spans. 😥
Well, you’ve come to the right place! I’m Roshan Sharma, your friendly neighborhood Halloween fanatic, and I’ve hosted more kids’ Halloween parties than I can count. I’m here to show you how to take a classic party game and give it a toddler-friendly twist that creates pure Halloween magic and memories you’ll treasure. Let’s get this party started! 🎉
Activity At-a-Glance
- Best For: 👨👩👧👦 Toddler & Preschooler Halloween Parties, Family Game Night, Classroom Activities
- Time Required: ⏳ Approx. 30 minutes (15 min setup, 15 min play)
- Budget Level: 💵 Low-Cost
- Spookiness Level: 🎃 Low (more silly than spooky)
What You’ll Need for Your Silly Witch Game 📋
- 🧙♀️ Large picture or poster of a friendly witch (without a tail)
- 🐈⬛ Several “tails” (e.g., broomsticks, black cat tails, cauldron handles) cut from paper or cardstock, one for each player
- 🩹 Sticky tack, painter’s tape, or low-tack adhesive dots (my top choice for little ones!)
- 🧣 A soft blindfold (like a scarf or bandana)
- 🏆 Optional: Non-breakable prizes for participation (stickers, bubbles, small toys)
- 🎶 Optional: Spooky, kid-friendly Halloween music (think “Monster Mash”!)
Preparation & Setup: Creating the Spooky Scene
Before the little monsters arrive, let’s set the stage! Your goal is to create a safe, open space where the magic can happen. Choose a wall with plenty of room around it, free from any furniture or toys that could cause a trip. You want your little players to be able to wander a few steps without bumping into anything. Securely hang your witch picture at a height that’s just right for your toddlers and preschoolers to reach easily. Lay out your prepared “tails” and the blindfold nearby so you’re ready for action!
> Pro Tip 💡: Don’t have a witch poster? Grab a large piece of butcher paper or a flattened cardboard box and draw your own! It’s a fantastic way to get creative, and it makes the game feel extra special and personalized. Plus, it’s a great eco-friendly option!
How to Lead the “Pin the Tail on the Witch” Game: Step-by-Step 🚀
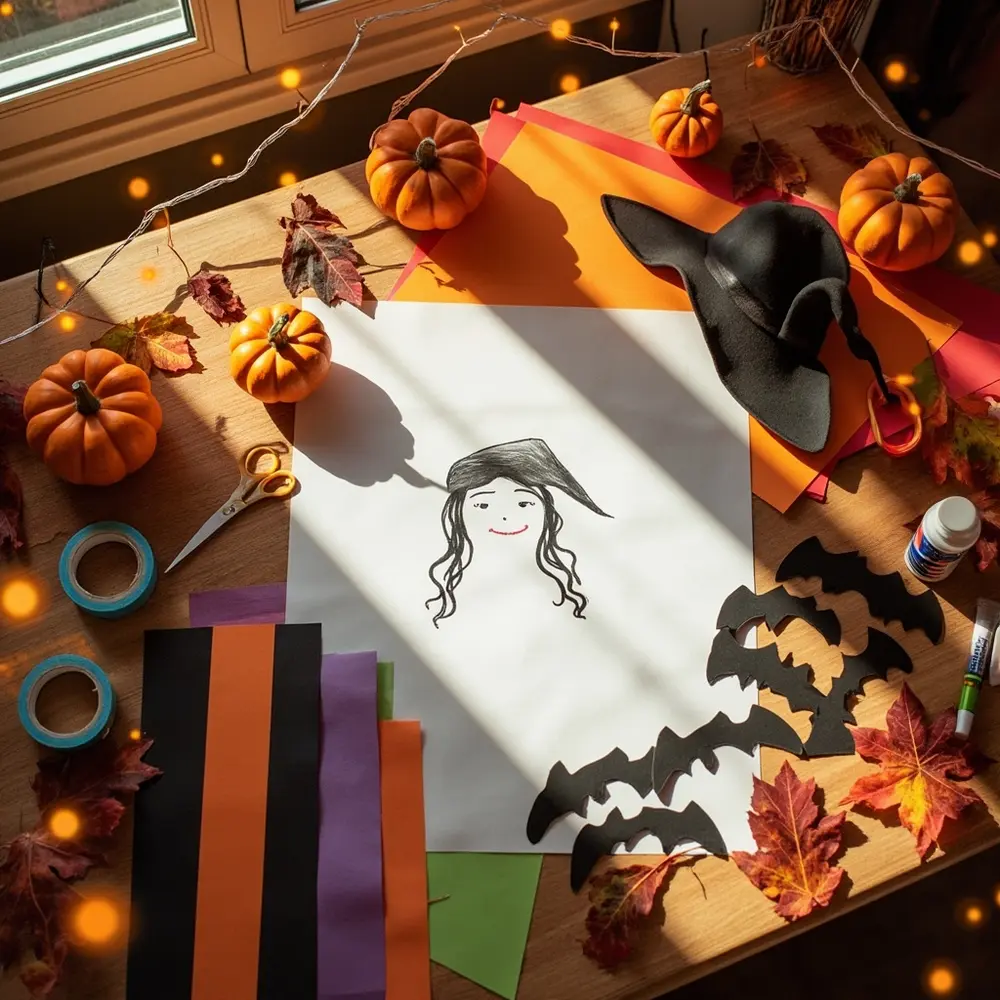
Step 1: Craft Your Witch & Her Tails
First things first, you need your star of the show! You can print a friendly-looking witch from online or, as I mentioned, draw your own. The sillier her face, the better! For the “tails,” get creative. Cut out simple shapes like broomsticks, pointy black cat tails, or even silly bat wings from colorful construction paper. I always make them a bit oversized so they are easy for tiny hands to hold. The most important part: stick a piece of sticky tack or a double-sided tape dot on the back of each tail before the game starts. This makes each turn go smoothly.
Image-1: A top-down shot of a colorful craft table with supplies laid out: a large sheet of paper with a friendly witch drawn on it, colorful construction paper, safety scissors, and a roll of sticky tack.
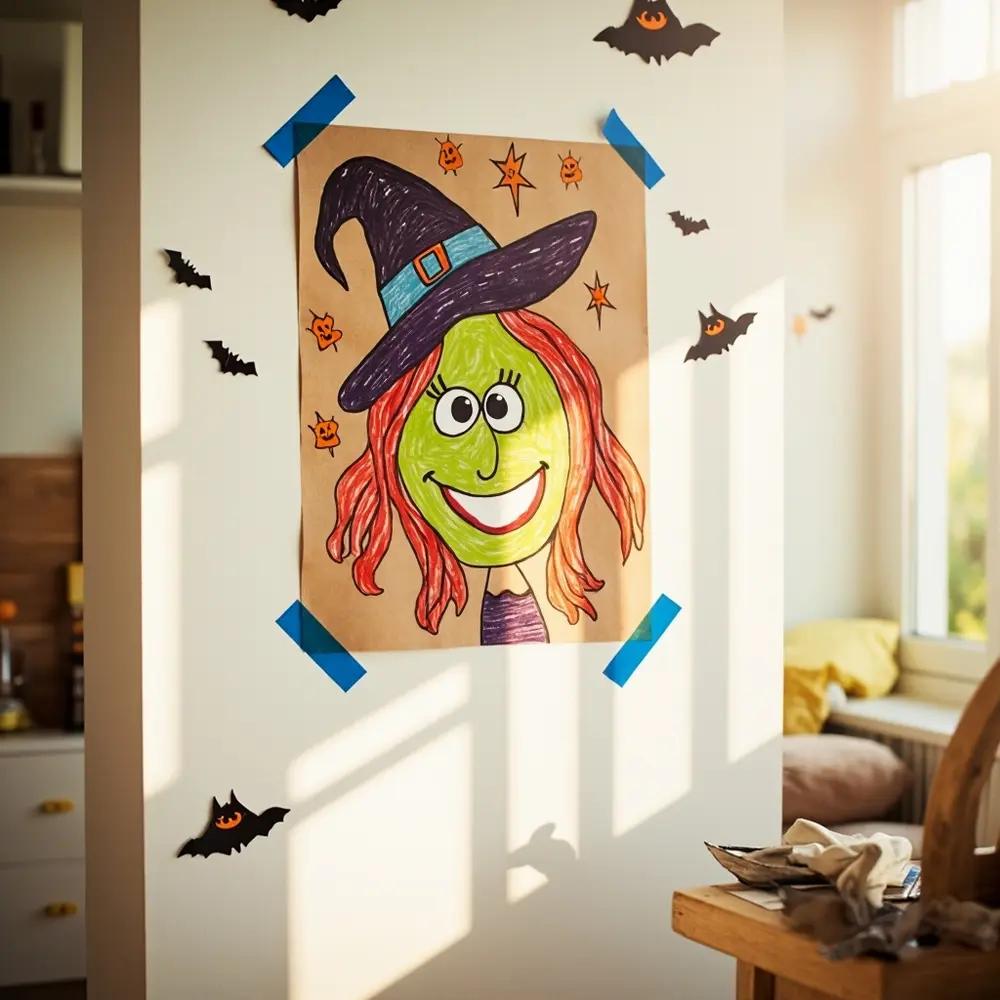
Step 2: Set Up the Play Area Safely
Safety is always the number one rule at my Halloween parties. Pick a wall in a room with lots of floor space. Use painter’s tape to hang your witch poster so it doesn’t damage your walls. The key is to place the spot where the tail should go right at your little guests’ eye level. Double-check the area one last time to make sure there are no stray toys, rug corners, or sharp furniture edges nearby.
> Caution ⚠️: Never, ever use pushpins or tacks for this game with young children. Stick to safe alternatives like sticky tack, painter’s tape, or adhesive dots to keep little fingers safe and sound.
Image-2: A close-up shot of a cheerful, hand-drawn witch poster being securely attached to a plain wall with blue painter’s tape at a child’s height.
Step 3: Explain the Silly Rules
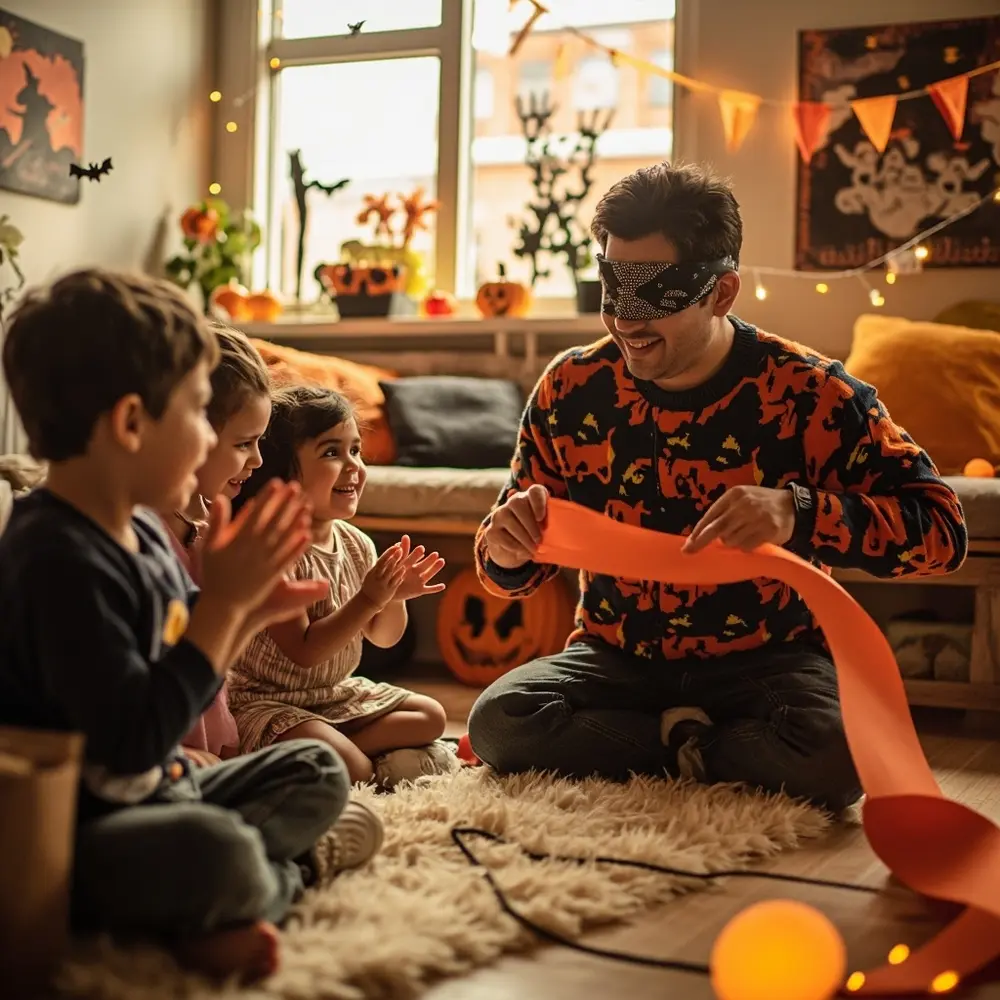
Gather your little pumpkins and sit them down in front of the witch. In a super excited voice, explain the game. I usually say something like, “Our silly witch lost her tail! Your job is to close your eyes and help her find it!” Keep it simple: put on the blindfold, take the tail, and try to stick it on the witch. I always do a quick, funny demonstration myself, maybe sticking the tail on her nose to get a round of giggles. This shows them it’s all about having fun.
Image-3: A photo of a friendly adult, wearing a silly expression and a bandana blindfold, holding a paper “tail” and gesturing towards the witch poster as three toddlers watch with excited faces.
Step 4: Time to Play! One By One
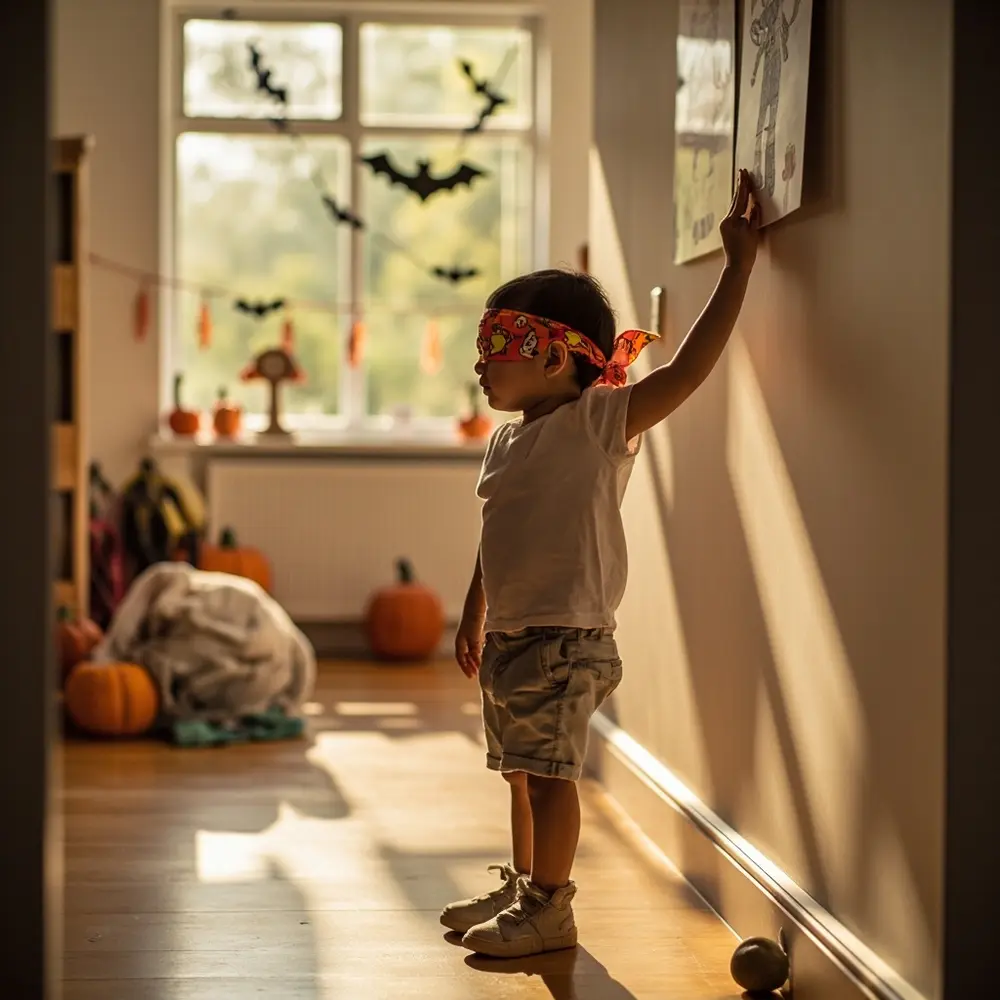
Now for the main event! Call up one child at a time. Gently tie the soft blindfold over their eyes, making sure it’s not too tight. Hand them their special “tail.” For older preschoolers, you can give them one or two slow, gentle spins. For the littlest toddlers, I recommend skipping the spinning altogether to avoid any dizziness. Gently guide them a few steps toward the witch and let them reach out and stick their tail wherever it lands.
Image-4: A photo taken from behind a young child wearing a soft blindfold. An adult’s hand is gently resting on their shoulder, guiding them towards the witch poster on the wall a few feet away.
Step 5: Reveal the Funny Placements & Celebrate!
After each child takes their turn, have them take off the blindfold to see the hilarious result! This is my favorite part. The tails will end up on her hat, her chin, maybe even floating in the air next to her. The key is to celebrate every single attempt. Clap, cheer, and laugh together at all the silly spots. Forget about who was “closest”—in this game, everyone’s a winner. If you have them, this is the perfect time to hand out small participation prizes like stickers.
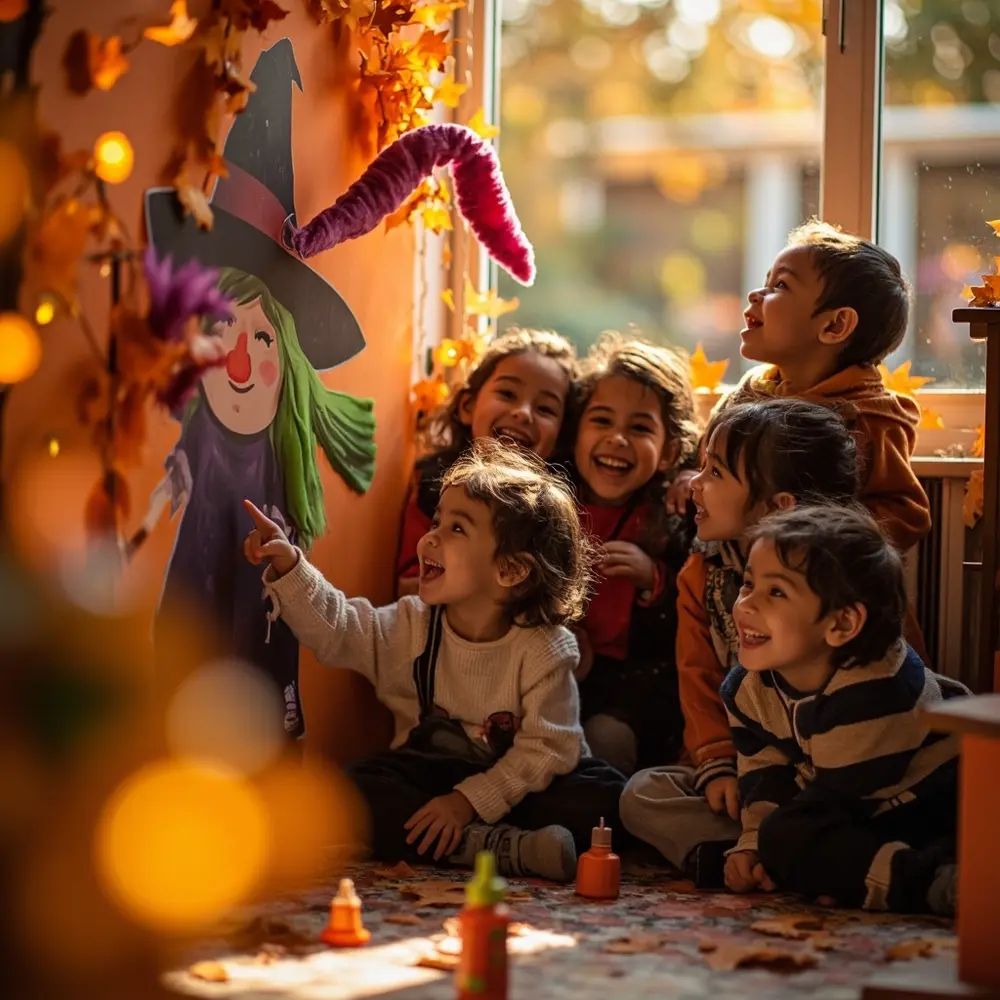
Image-5: A beautiful, slightly zoomed-out shot of the finished game. The witch poster is covered in colorful “tails” stuck in funny, random places—on her hat, nose, and broom. A group of happy, laughing toddlers is gathered around, pointing at the silly results.
Making it Silly & Toddler-Friendly
The secret to making this game a hit with the 2-5 age group is to lean into the silliness and forget about perfection. Here are my go-to tips:
- No Pins, All Fun: As I mentioned, only use sticky tack or tape. Safety first!
- Skip the Spins: For very young children, dizziness can lead to tears. Just blindfold and point them in the right direction.
- Embrace Imperfection: Cheer loudest for the silliest placements! When a tail lands on the witch’s hat, declare it the “funniest hat accessory ever!”
- Everyone Wins: This is non-competitive play. Every child who participates gets a cheer and a small prize. The goal is shared laughter, not winning.
- Bigger is Better: Use larger, sturdier “tails” cut from cardstock. They’re easier for small, developing hands to grip.
- Focus on the Fun: The real point of the game isn’t accuracy; it’s the funny reveal, the group laughter, and the joy of participating.
Variations & Customizations to Haunt Your House
Once you master the witch, why stop there? Here are a few fun twists:
- 🎃 Pin the Nose on the Pumpkin: Use a big pumpkin poster and have kids pin on funny-shaped paper noses.
- 👹 Pin the Eye on the Monster: Draw a silly, one-eyed monster and have kids try to pin on a giant googly eye.
- ✨ Glow-in-the-Dark Fun: Use glow-in-the-dark paint or tape to outline your witch and tails, then play in a dimly lit room for extra spooky fun!
- 🎵 Spooky Music Challenge: Play a fun Halloween song during each turn. When the music stops, they have to stick their tail on!
- ✋ Sensory Witch: Glue different textured materials onto the witch poster (like felt for her hat or yarn for her hair) for a fun sensory element.
> Theme Twist 🧛: Try creating a “Pin the Fang on the Vampire” game! Draw a friendly vampire and have kids pin on oversized, silly white fangs. It’s always a huge hit!
Halloween Activity FAQs ❓
Q1: How can I ensure the blindfold is comfortable and doesn’t scare my child?
This is a great question! The key is to use something soft and familiar, like a scarf or a bandana, instead of a traditional mask. Let your child see it and touch it first. You can even make a game out of it, playing “peek-a-boo” with the blindfold before their turn so they associate it with fun.
Q2: What if my toddler is too young for the blindfold?
No problem at all! If a child is hesitant, don’t force it. You can simply ask them to close their eyes very tightly while you lead them to the poster. Another option is to have them face away from the witch, do one little spin, and then walk forward. The goal is just to add a little bit of silly disorientation, not to make them uncomfortable.
Q3: How can I make sure everyone feels like a winner, even if they aren’t closest?
This is the most important part! Ditch the idea of a single “winner.” Instead, create different fun “awards” for everyone. You can have an award for the “Silliest Placement,” the “Highest Tail,” the “Fastest Turn,” etc. But honestly, the best way is to give every single participant a high-five and a small prize like a Halloween sticker just for playing. Celebrate the group’s collective fun!
It’s a Wrap on a Spooky, Silly Time!
There you have it—a simple, budget-friendly, and ridiculously fun game that will be the highlight of your Halloween celebration for the little ones. I’ve run this activity more times than I can count, and the sound of toddlers giggling at a tail stuck to a witch’s nose is pure spooky season joy. It’s a fantastic way to build happy memories, encourage creative fun, and get everyone involved in the Halloween spirit.
So go ahead, draw that witch, cut out those tails, and get ready for some serious fun. Embrace the chaos, celebrate the silly placements, and enjoy the magical moments with your favorite little monsters.
What’s your go-to Halloween game for toddlers? I’m always looking for new ideas to try out! Let me know in the comments below! 🎃
