It’s that time of year again, ghouls and goblins! The air is crisp, the leaves are turning, and my pumpkin spice coffee consumption is officially off the charts. But with all this amazing fall energy, what do we do with the kids who are bouncing off the walls? 🎃
You’re looking for a fun, active game that doesn’t involve a screen or a million complicated pieces. You need something that gets them moving, laughing, and burning off that pre-Halloween excitement, but the thought of a huge setup is just exhausting. I’ve been there! 😫
That’s why I’m here to share one of my all-time favorite, low-prep activities: Pumpkin Bowling! It’s the perfect, simple game to help your little monsters develop motor skills, learn about taking turns, and create some hilarious family memories. Let’s get rolling! 🎉
Activity At-a-Glance
- Best For 👨👩👧👦: Family game night, playdates, outdoor play, and rainy day indoor fun.
- Time Required ⏳: Approx. 15-30 minutes (for setup and a few rounds of play).
- Budget Level 💰: Low-Cost (if pumpkins are purchased) / Free (if you already have them).
- Spookiness Level 👻: Low (definitely more fun than scary!).
H2: What You’ll Need for Your Pumpkin Bowling Game 📋
The best part about this game is that you probably have most of the supplies already! Here’s what you’ll need to grab:
- 🎃 Small, round pumpkins: One for each player is great, but you can easily share. Pie pumpkins (about 4-6 inches wide) are the perfect size and weight for little hands.
- 🎳 Bowling “Pins”: You’ll need 6-10 of these. Get creative! Empty plastic bottles, tin cans (with safe, non-sharp edges), or even toilet paper rolls work perfectly.
- 📏 Marking Material: A roll of masking tape for indoor alleys or some sidewalk chalk for outdoor fun to mark your starting line.
H2: Preparation & Setup: Creating Your Pumpkin Alley
Before the bowling chaos begins, you’ll want to prep your space. Whether you’re indoors or out, the goal is to create a clear, straight path for your pumpkin to roll.
If you’re inside, a hallway is your best friend! It provides natural barriers to keep the pumpkins from rolling all over the house. If you’re playing in the backyard or on a patio, just find the flattest, most level spot you can. Clear the area of any toys, sticks, or other obstacles to create a smooth runway for your pumpkin bowling balls. Set up your pins at one end, and you’re ready for action!
Pro Tip 💡: Keep a basket or a cardboard box nearby. After each player’s turn, it makes it super easy to collect the pumpkin and reset the pins. This little trick keeps the game flowing and the kids engaged!
H2: How to Play Pumpkin Bowling: Step-by-Step Guide 🚀

H3: Step 1: Gather Your Gourds & Pins
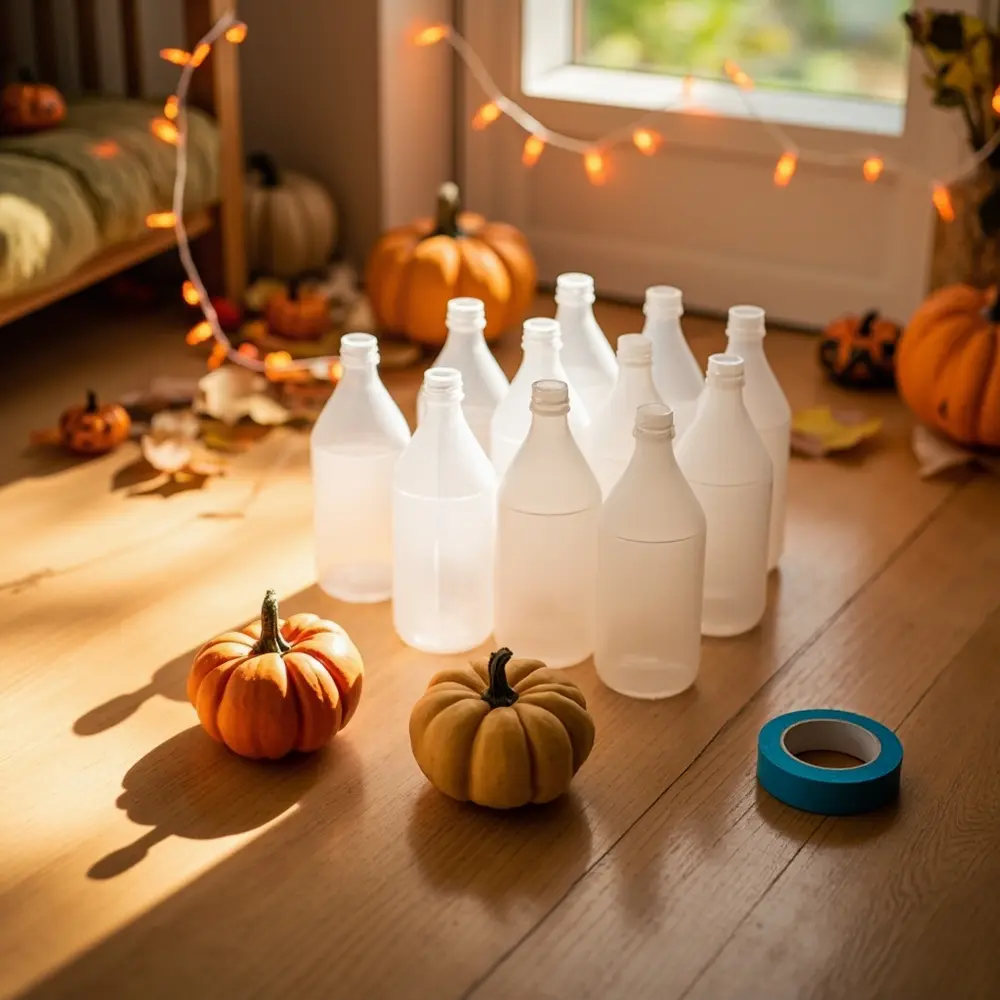
First things first, let’s get our equipment ready! Grab those perfect little pumpkins—make sure to remove any long, poky stems that might make them wobbly. Then, gather up your chosen “pins.” We love using empty soda bottles because they make such a satisfying crashing sound!
Image-1: A bright, top-down shot showing all the game materials neatly arranged on a wooden floor: three small pie pumpkins, ten empty plastic water bottles, and a roll of blue painter’s tape.

H3: Step 2: Choose Your Alley & Mark the Line
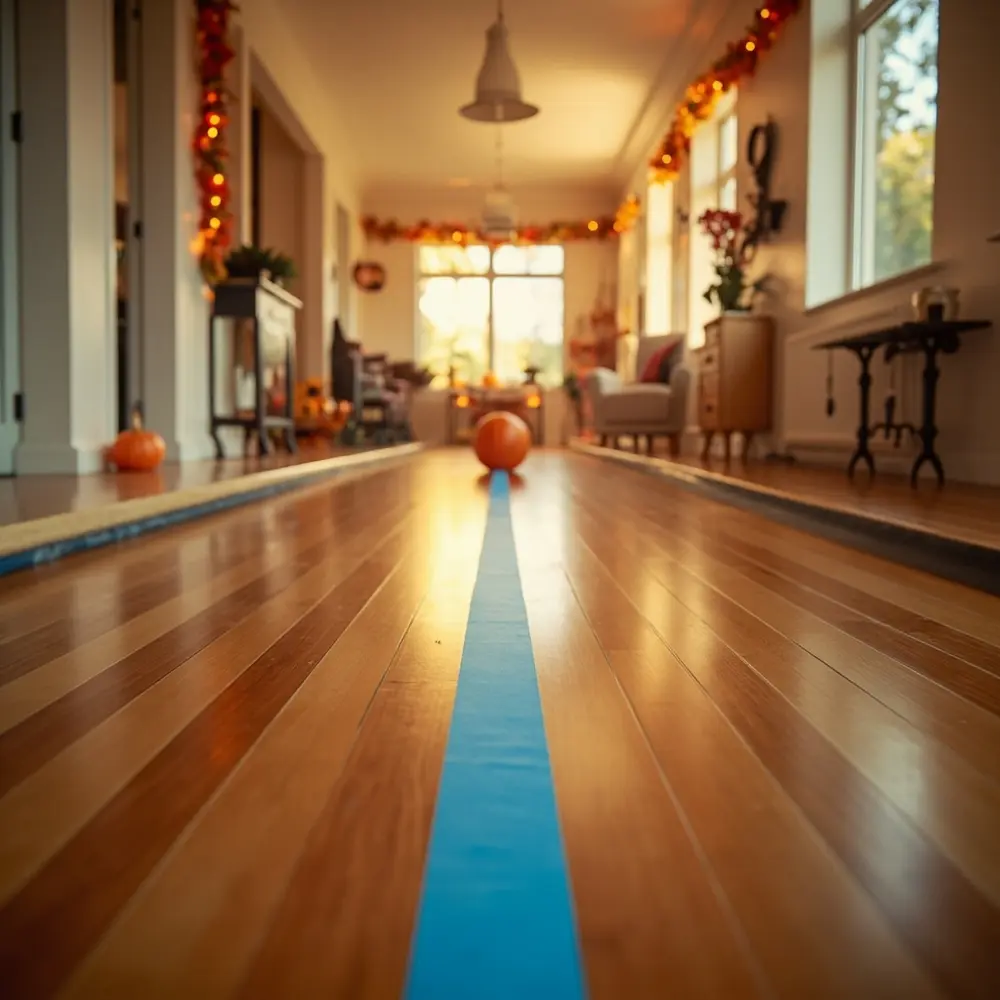
Now, pick your play zone. A long, clear hallway is fantastic for an indoor game. If the weather is nice, a flat patch of grass or a driveway works wonders. Once you’ve chosen your spot, use your masking tape or chalk to draw a straight line on the ground. This is the “foul line”—all bowlers have to stand behind it to roll their pumpkins!
Caution ⚠️: Safety first, always! Before you start, do a quick sweep of the area. Make sure there are no tripping hazards (like rugs or toys) and move any breakable items far away from the bowling alley, especially if you’re playing indoors.
Image-2: A wide-angle photo of a clean, empty hallway. A clear starting line made of blue painter’s tape is visible on the floor at the near end of the hall.

H3: Step 3: Set Up Your Spooky Pins

Head to the far end of your bowling alley. It’s time to set up your pins! Arrange your 6 or 10 bottles, cans, or rolls in a classic triangle formation, just like in a real bowling alley. Make sure they’re stable enough to stand on their own but not so heavy that a rolling pumpkin can’t knock them over.
Image-3: A close-up, low-angle shot focusing on ten plastic bottles arranged in a perfect triangle at the end of the hallway, ready to be knocked down.
H3: Step 4: Roll Your Pumpkin!
Let the games begin! The first player stands behind the foul line, takes their pumpkin, and gives it a good roll down the alley. The goal is simple: knock down as many pins as you can! I absolutely love the wobbly, unpredictable way a pumpkin rolls—it adds to the fun. Don’t forget to cheer each other on with high-fives and lots of encouragement!
Image-4: An action shot from behind a young child who is in the middle of rolling a small orange pumpkin down the hallway toward the distant pins.

H3: Step 5: Tally the Fun (Optional Scoring)
For older kids, you can make it a competition by giving one point for every pin they knock down. You can even keep a simple scorecard! But for my niece and other younger kiddos, we usually skip the points and just focus on the pure joy of sending pins flying. After each turn, have a designated “pin-setter” put them back up for the next player.
Image-5: A photo of two happy children laughing and high-fiving after one of them successfully knocked over most of the bottle pins with a pumpkin.

Image-6: The final result shot. A wide, slightly zoomed-out photo capturing the entire pumpkin bowling setup in a backyard. The chalk start line is visible, a pumpkin is mid-roll, and the plastic bottle pins are flying in the air at the end of the grassy “alley.” The overall scene is filled with action and family fun.
H2: Benefits for Young Kids & Safety Tips ✅
This isn’t just a fun game—it’s secretly a fantastic developmental activity! As a Halloween fanatic who has planned dozens of kids’ parties, I can tell you this one is a winner. Pumpkin bowling helps little ones practice:
- Gross Motor Skills: Lifting, carrying, and rolling the pumpkin builds strength in their arms and core.
- Hand-Eye Coordination: They have to aim their pumpkin to hit the pins, which is a great challenge for their developing coordination.
- Balance: Squatting down to roll the pumpkin without falling over is a sneaky way to work on their balance.
- Turn-Taking: This is a perfect, low-stakes way to practice patience and learn how to wait for their turn.
A few extra safety tips: always supervise young children during play, choose pumpkins that are light enough for them to handle safely, and remind them that the pumpkins are for rolling, not throwing!
H2: Variations & Customizations to Haunt Your House 🦇
Want to mix things up? I’ve tried a few twists over the years that have been huge hits!
- Toddler Mode: Use very small gourds or even apples for the tiniest bowlers who can’t handle a pumpkin yet.
- Ghostly Pins: Decorate your plastic bottles before you play! Just use a black marker to draw spooky ghost faces on them. 👻
- Glow-in-the-Dark Bowling: Crack a few glow sticks and drop them into clear plastic water bottles to make glowing pins. Turn down the lights for an extra spooky challenge!
- Target Practice: For older kids, write different point values on each pin with a marker. The harder-to-hit pins in the back are worth more points!
Theme Twist 🎨: Before you even start the game, have a mini-craft session! Get some washable paint and let the kids paint their pumpkins to look like spooky monster eyeballs or their favorite characters. Bowling with a Mike Wazowski pumpkin is a guaranteed laugh.
H2: Halloween Activity FAQs ❓
Q1: What size pumpkin works best for pumpkin bowling?
From my experience, small pie pumpkins are the gold standard. They are typically 4-6 inches in diameter and weigh just a few pounds, making them the perfect size and weight for kids to roll without too much effort. Avoid the giant carving pumpkins—they’re way too heavy and bumpy!
Q2: Can we play this game indoors and outdoors?
Absolutely! That’s the beauty of it. Hallways are perfect for containing the chaos on a rainy day. On a sunny afternoon, a flat driveway, patio, or grassy area in the backyard works just as well. Just make sure the outdoor surface is relatively smooth so the pumpkin can roll properly.
Q3: How can I make this game more challenging for older kids?
Great question! To level up the difficulty, have them stand further back from the pins. You can also use heavier pins (like half-filled water bottles) that are harder to knock over, or even set up a few small obstacles (like a pool noodle) that they have to roll the pumpkin around.
—
And there you have it—a simple, active, and hilariously fun game that will be a smash hit this Halloween season. I hope you and your family have a blast sending those pumpkins rolling and pins flying. It’s these easy, joyful moments that make the spooky season so unforgettable.
What’s your family’s go-to simple Halloween game? Let me know in the comments—I’m always looking for new ideas! Happy haunting! 🎃
