H1: How to Engineer a Halloween Candy Catapult with Popsicle Sticks
It’s that time of year again, ghouls and goblins! The air is getting crisp, the pumpkins are grinning, and you’re looking for the perfect Halloween activity that goes beyond just carving and costumes. 🎃
You want something hands-on and exciting that gets the whole family involved, something that secretly sneaks in a little learning while everyone is having a blast. I’m Roshan Sharma, your friendly neighborhood Halloween fanatic, and I know the struggle of finding a craft that’s both spooky and smart. ✨
That’s why I’m so excited to show you how to engineer a Halloween candy catapult! It’s a low-cost, high-fun project that blends creative construction with a dash of physics, making it the ultimate STEM activity for a memorable October afternoon. Let’s get building! 🛠️
Activity At-a-Glance
Best For 👨👩👧👦: Trick-or-treat night, classroom party, family STEM activity, Halloween game night
Time Required ⏳: Approx. 45-60 minutes (build time) + drying time
Budget Level 💰: Low-Cost
Spookiness Level 👻: Low
H2: What You’ll Need for Your Halloween Candy Catapult 📋

Before we dive into our spooky engineering lab, let’s gather our supplies. Most of these are probably already in your craft drawer!
- Popsicle sticks (approx. 100-150 regular and jumbo sizes) 🪵
- Rubber bands (various sizes for adjusting tension) 🎗️
- Hot glue gun and glue sticks (adult supervision required!) OR strong craft glue 🔥
- Plastic spoon or small bottle cap (for the candy launcher) 🥄
- Small candies (e.g., candy corn, mini chocolates, gummy bears) 🍬
- Optional: Craft paint, glitter, googly eyes, spooky stickers for decoration 🎨
- Ruler 📏
- Pencil ✏️
- Scissors ✂️
H2: Preparation & Setup: Creating the Spooky Scene 🕸️
Let’s turn your kitchen table into the ultimate mad scientist’s laboratory! First, find a clear, flat workspace. I always recommend laying down some old newspaper or a plastic tablecloth to protect your surfaces from any rogue glue or paint.
Organize all your supplies so they’re within easy reach. To really get into the spirit, why not put on a spooky Halloween playlist? When I taught a pumpkin carving workshop, we had the Monster Mash on repeat, and the kids loved it! A little atmosphere goes a long way.
Pro Tip 💡: For an instant spooky lab feel, drape some fake cobwebs over your building area and a few plastic spiders around your supplies. It takes two minutes and looks amazing!
H2: How to Engineer Your Candy Catapult: Step-by-Step 🚀
Alright, engineers, it’s time to bring our candy-flinging creation to life! Follow these steps carefully.
H3: Step 1: Gather Your Engineering Supplies
First things first! Let’s get organized. Lay out all of your materials so you can see everything you have. I like to make little piles: a pile for regular popsicle sticks, one for jumbo sticks, a collection of rubber bands, and so on. Having everything ready means you can focus on the fun part—building!
Image-1: A bright, top-down shot of all the necessary materials neatly arranged on a craft table. There are organized piles of popsicle sticks, a variety of rubber bands, a glue gun, a plastic spoon, and a small bowl of colorful candy corn.
H3: Step 2: Construct the Base Towers
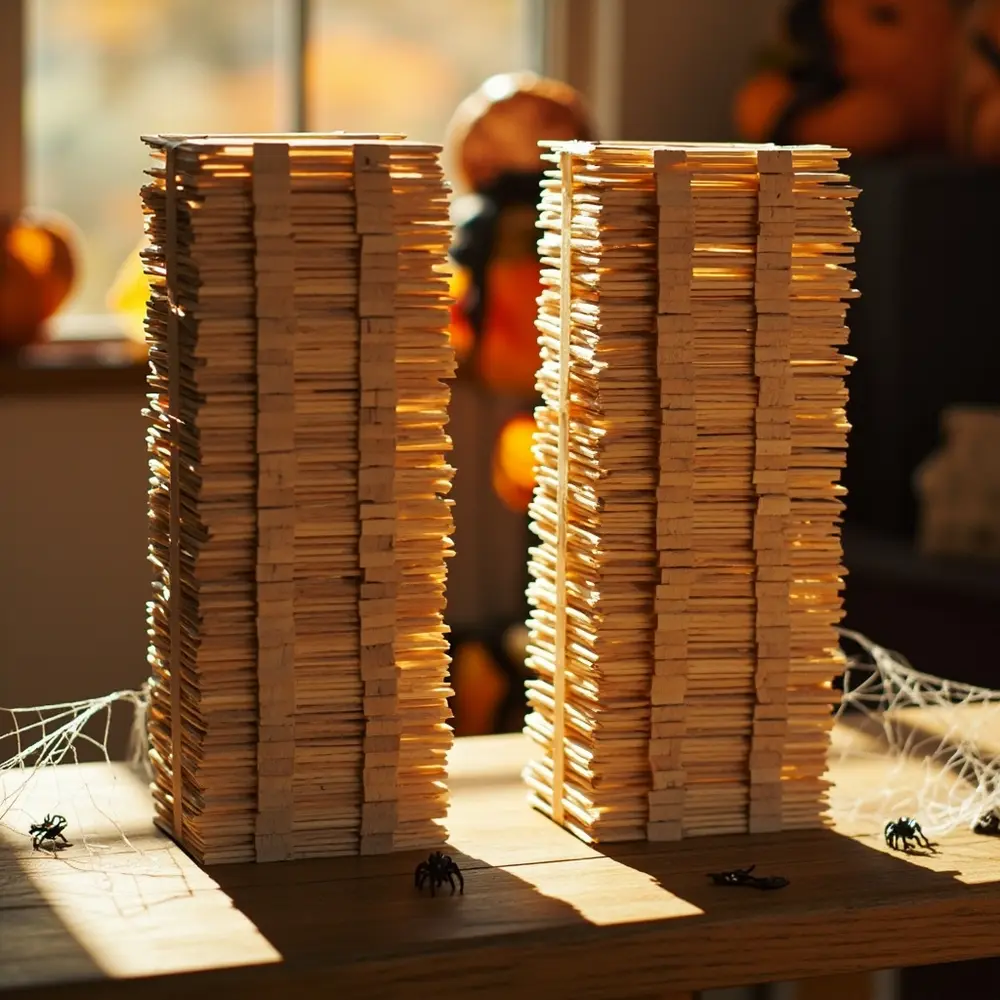
The foundation is the most important part of any great structure! We’re going to build two identical, sturdy towers that will support our catapult arm.
- 1. Take 5-7 regular popsicle sticks and stack them perfectly on top of each other.
- 2. Using your hot glue gun or craft glue, run a line of glue between each stick to create a solid, thick plank.
- 3. Repeat this process to create about 10 of these planks.
- 4. Now, stack these planks on top of each other like building blocks to form two towers of equal height. Glue each layer securely. Make sure they are straight and stable!
Image-2: A close-up, angled shot showing two completed popsicle stick towers standing side-by-side. The layers of glued sticks are clearly visible, emphasizing their sturdy construction.
H3: Step 3: Assemble the Catapult Arm
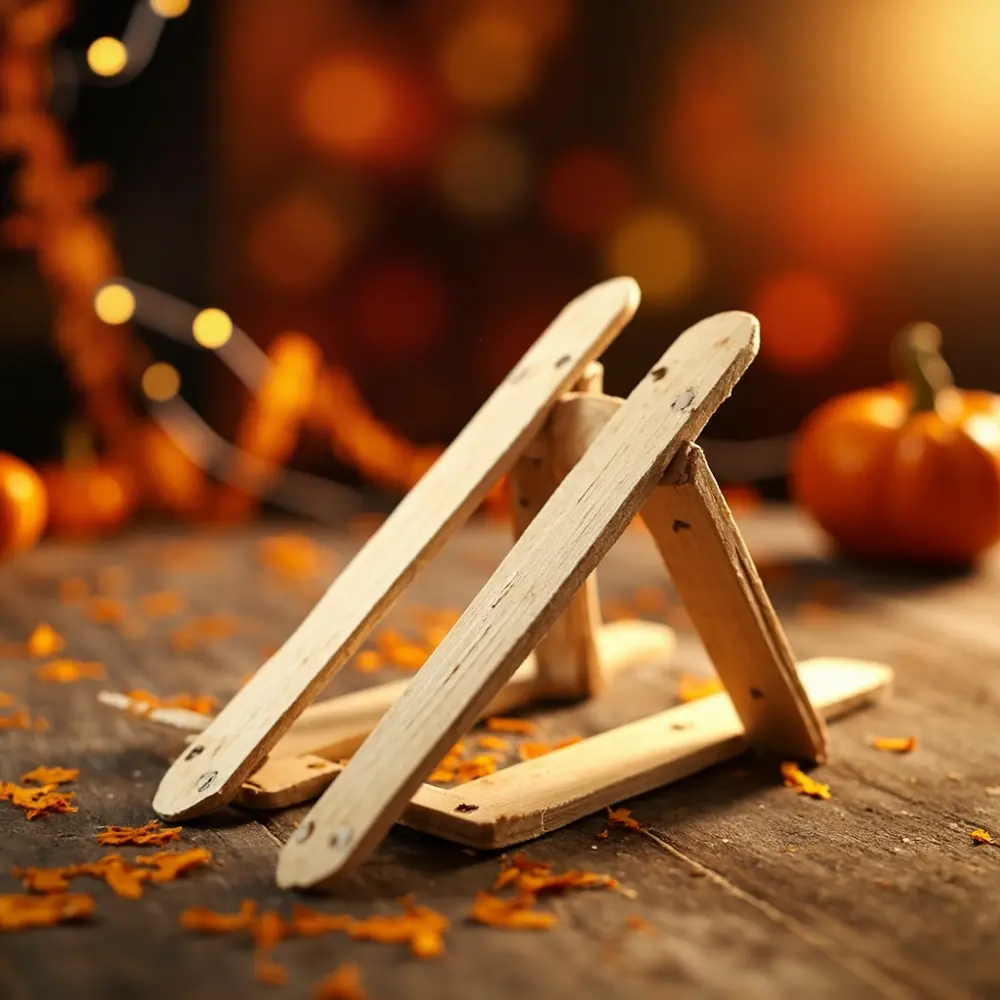
Next up is the lever arm—the part that does all the work! This needs to be long and strong. Simply stack and glue 4-5 jumbo popsicle sticks together lengthwise. This creates one super-strong arm that won’t bend when you launch your candy.
Image-3: A photo showing a completed catapult arm made of several jumbo popsicle sticks glued together lengthwise. A hand is holding it to show its length and sturdiness.
H3: Step 4: Attach the Candy Launcher
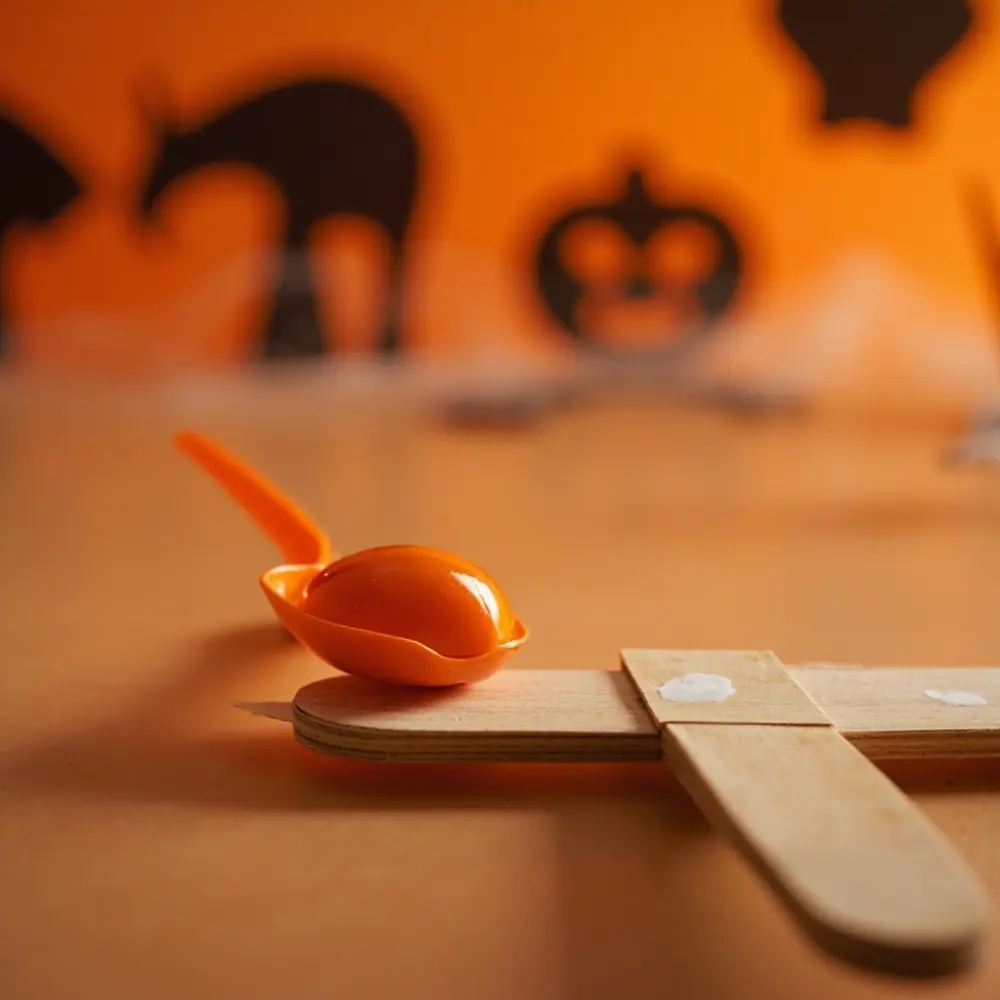
Now, your catapult needs a bucket to hold its precious cargo. Take your plastic spoon or bottle cap and attach it to one end of the catapult arm. A generous amount of hot glue is your best friend here—you want to make sure it’s attached firmly so it doesn’t fly off during a launch!
🚨 CAUTION 🚨: Hot glue guns get extremely hot! This step requires adult supervision. Please be careful not to touch the metal tip or the hot glue.
Image-4: A detailed close-up shot focusing on a hand carefully applying hot glue to secure a plastic spoon onto the end of the popsicle stick catapult arm.
H3: Step 5: Connect and Stabilize the Arm to the Base
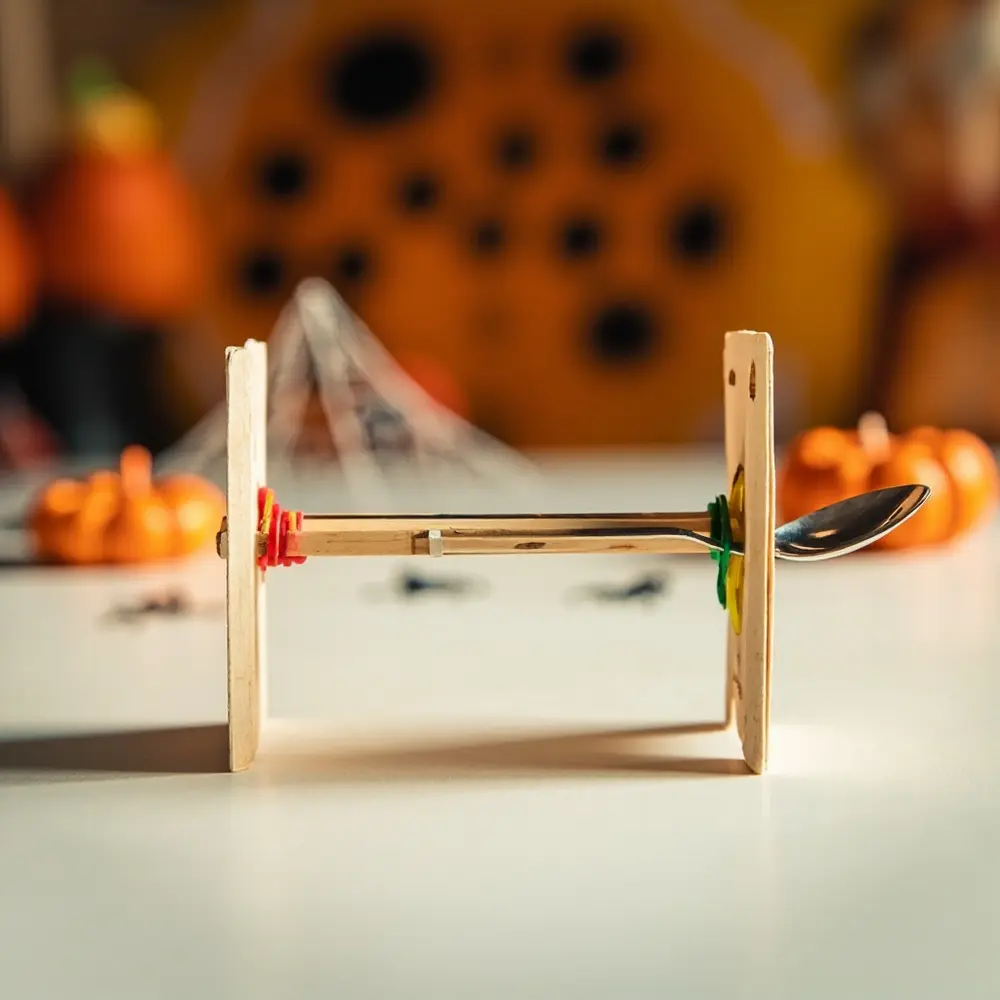
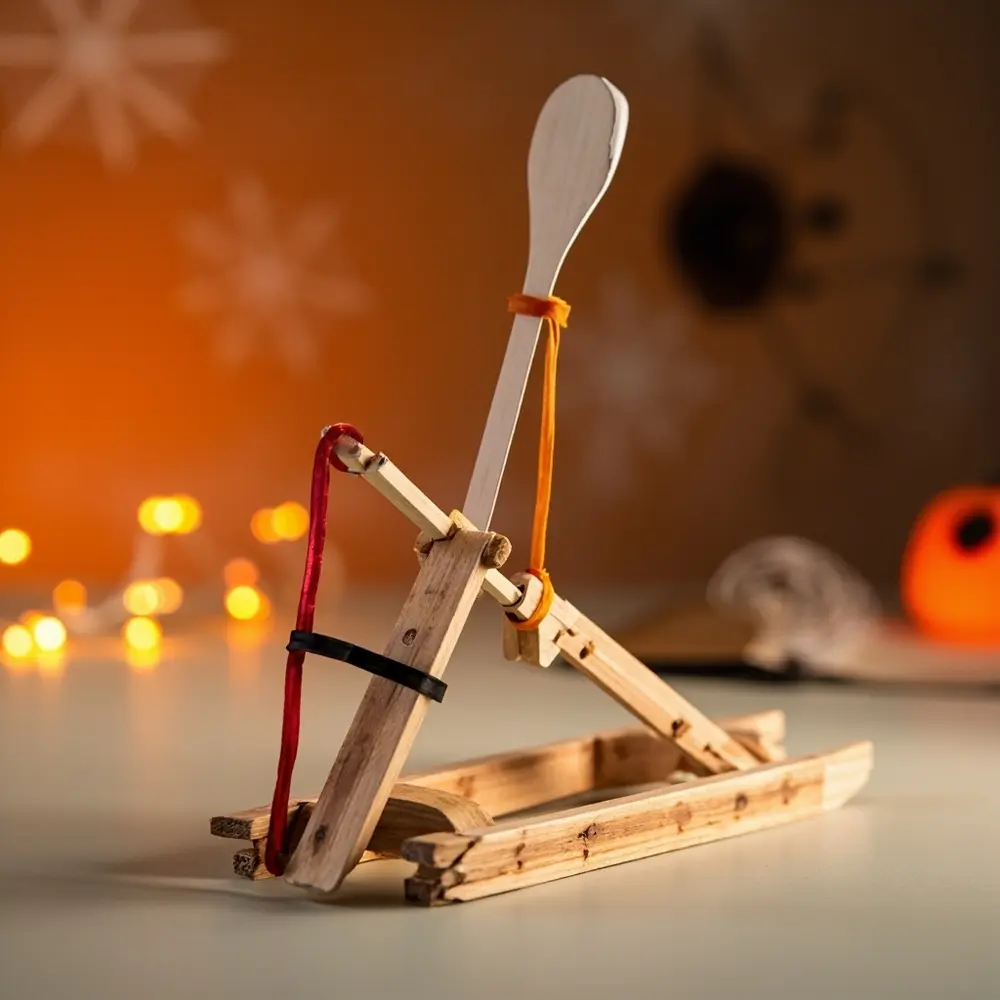
It’s time for assembly! Place your catapult arm between the two base towers, about a third of the way from the end without the spoon. Now, loop several rubber bands around the arm and the towers to create a pivot point. You want it to be snug enough to hold the arm in place but loose enough that the arm can pivot up and down smoothly.
Image-5: A clear, eye-level shot of the catapult arm positioned between the two base towers. Brightly colored rubber bands are visibly wrapped around the arm and towers, creating the pivot point.
H3: Step 6: Add the Power Source (Tension)
This is where the magic happens! We need to add the rubber bands that will give our catapult its launching power. Stretch one or two strong rubber bands from the top of the spoon-end of the catapult arm down to the bottom of the base structure. When you pull the arm down, this band should stretch, storing up all that awesome launching energy!
Image-6: A side-view photo of the catapult, highlighting the main tension rubber band stretched from the tip of the launching arm down to the base, showing how it creates the launching mechanism.
H3: Step 7: Test and Calibrate Your Catapult
The moment of truth! Place a small piece of candy, like a candy corn, into the launcher. Hold the base steady with one hand, pull the arm down with the other, and… let it fly! Watch where it lands. Does it fly far? Is it accurate? You can adjust the tension by adding or removing rubber bands to change the power of your launch. This is what real engineers do!
Image-7: A dynamic action shot of a hand placing a single piece of candy corn into the catapult’s spoon, with the arm pulled back slightly, ready for launch. The focus is on the candy and the spoon.

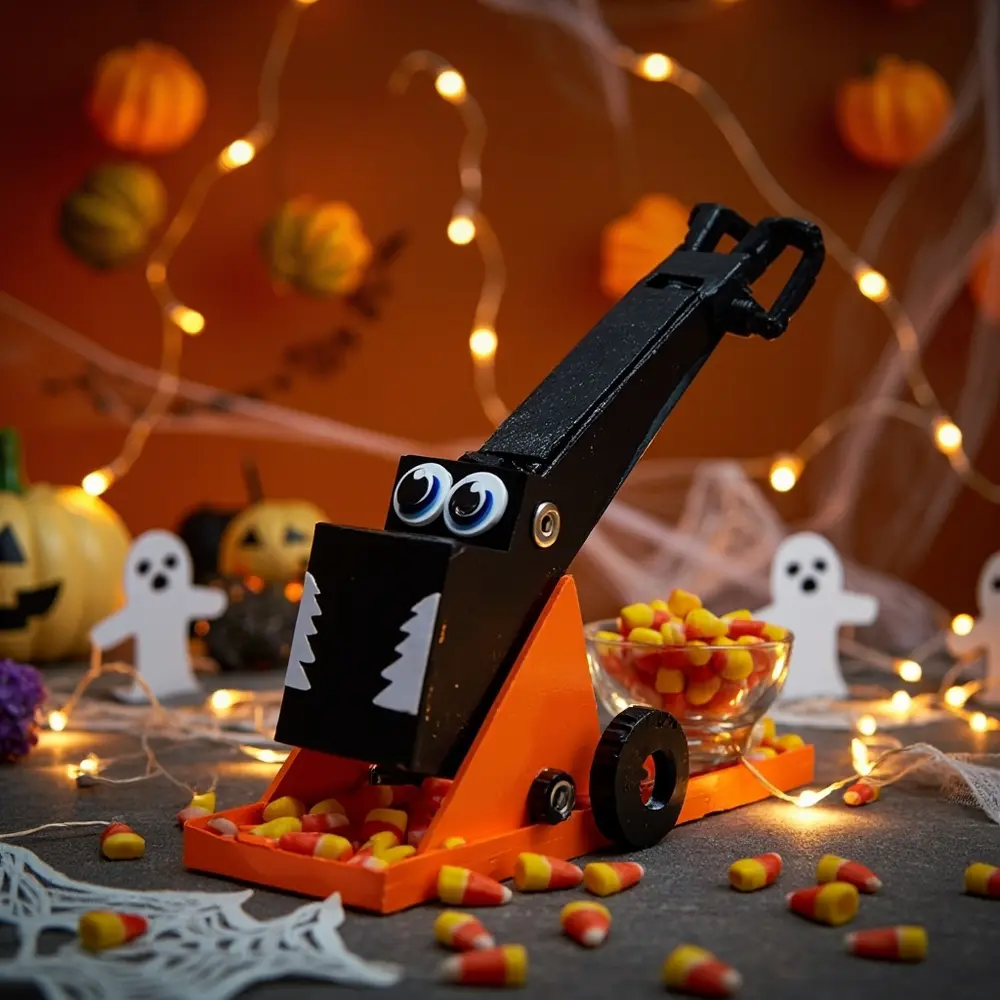
Image-8: A beautiful, slightly zoomed-out shot of the finished, fully-decorated Halloween candy catapult. It’s painted black and orange with googly eyes, sitting on a table next to a bowl of candy and some paper ghost targets in the background, showcasing the complete, fun project.
H2: The Physics & Engineering Behind Your Candy Catapult 🔬
Believe it or not, you just became a junior physicist! My niece was so excited when I explained that we weren’t just flinging candy—we were using science! Here’s the simple science behind your awesome creation:
- Leverage: Your catapult arm is a lever. The point where it pivots on the base is called the fulcrum. By pushing down on one end of the lever, you can create a powerful upward swing on the other end.
- Potential Energy: When you pull the catapult arm down and stretch the rubber band, you are storing energy inside it. This is called potential energy. The more you stretch it, the more potential energy you build up!
- Kinetic Energy: When you release the arm, that stored potential energy is instantly converted into kinetic energy, or the energy of motion. This is what sends your candy flying through the air!
- Trajectory: The curved path your candy takes through the air is its trajectory. By changing the launch angle or the amount of tension (energy), you can change the trajectory to hit different targets.
H2: Variations & Customizations to Haunt Your House 👻
One of the best parts of any DIY project is making it your own. Here are a few ideas I love:
- Themed Catapult 🎨: Get out the paint! Create a spooky black-and-orange design, add some googly eyes to make it look like a monster, or cover it in ghost stickers.
- Target Practice 🎯: Don’t just launch candy into the air! Set up small Halloween-themed targets like paper ghosts or monster cutouts and turn it into a fun game.
- Different Projectiles 🕷️: Experiment with launching other lightweight Halloween items. Cotton ball “ghosts” or miniature plastic spiders are great, but always make sure they are soft and safe to launch!
- Competitive Launch 🏆: If you’ve built more than one, hold a family contest! See whose catapult can launch candy the farthest or who has the best aim.
- Advanced Engineering ⚙️: For older kids, encourage them to experiment. What happens if you move the pivot point? What if you use two rubber bands for power instead of one?
Theme Twist 🎃: Transform your catapult into a “Pumpkin Flinger”! Use it to launch mini decorative pumpkins (the super lightweight craft kind) or orange pom-poms at a castle made of cardboard boxes.
H2: Halloween Activity FAQs ❓
Q1: What kind of candy works best in the catapult?
From my experience, lightweight and somewhat aerodynamic candies work best. Candy corn, M&Ms, Skittles, and small gummy bears are perfect. Avoid anything too heavy or oddly shaped, as it might not fly well.
Q2: My catapult isn’t launching very far. What can I do?
This is a classic engineering problem! First, check your tension. Try adding another rubber band to the power source for more oomph. You can also try adjusting the pivot point—moving it closer to the launcher can sometimes increase the launch distance. Experiment and see what works!
Q3: Is it safe to launch things other than candy?
Safety first, always! Only launch items that are soft, lightweight, and won’t break anything or hurt anyone. Cotton balls, small pom-poms, and mini marshmallows are great alternatives. Never, ever launch sharp, hard, or heavy objects.
Conclusion
You did it! You’ve successfully engineered a candy catapult, learned a bit about physics, and created a fantastic new Halloween tradition. I hope you and your family have an absolute blast launching treats and competing in spooky target practice. Building something with your own hands is one of the best parts of the Halloween season, and this project is a perfect blend of creativity, learning, and fun.
Happy haunting and happy launching!
What’s your favorite candy to launch with your catapult? Let me know in the comments below! 🍬
