It’s that time of year again, ghouls and goblins! Are you looking for a Halloween activity that’s more magical than messy and more wondrous than wasteful? 🎉
I’m Roshan Sharma, your friendly neighborhood Halloween fanatic, and I know the struggle of finding a quick, low-budget activity that actually wows the crowd. You want that perfect mix of spooky and scientific, something that makes the kids’ eyes go wide without requiring a trip to three different craft stores. 🎃
Well, you’re in luck! I’m here to show you how to conjure up some real magic with the flying ghosts tea bag experiment. It’s the perfect, jaw-dropping trick that’s actually a super cool science lesson in disguise. Let’s get brewing! 👻
Activity At-a-Glance
- Best For 👨👩👧👦: Family fun, classroom demonstration, science fair project, quick Halloween party activity
- Time Required ⏳: Approx. 5-10 minutes
- Budget Level 💰: Low-Cost
- Spookiness Level 😱: Low (more “magical” than spooky)
What You’ll Need for Your Flying Ghosts 📋
You probably have everything you need for this spooky spectacle right in your kitchen! I love activities that don’t require a special shopping list.
- Empty tea bags (pyramid or square-shaped bags work best) 🍵
- Scissors ✂️
- Lighter or matches (for adult use ONLY) 🔥
- A heat-resistant surface (like a ceramic plate, metal tray, or large bowl) 🍽️
- Optional: Markers or pens to draw ghost faces ✍️
Preparation & Setup: Creating the Spooky Scene 🕯️
Before we start summoning our spirits, let’s set the stage. Safety is the most important part of any Halloween fun, especially when there’s a little bit of fire involved. First, find a good spot indoors, away from any drafts. A closed room is perfect because a sudden breeze can ruin the effect.
Next, clear your launch area of any flammable materials. That means moving paper decorations, curtains, and any other clutter far away. Place your ceramic plate or metal tray on a sturdy table. This is your official launchpad! Remember, an adult should be in charge of this entire process from start to finish.
Pro Tip 💡: For maximum ghostly effect, dim the lights! A dark backdrop makes the glowing ember of your flying ghost look extra eerie and magical as it floats up to the ceiling. Last year at my family party, we did this, and my niece was absolutely mesmerized.
How to Lead the Flying Ghosts Experiment: Step-by-Step 🚀
Alright, team! It’s time to bring our ghosts to life. Follow these simple steps, and you’ll have spirits soaring in no time.
Step 1: Prepare Your Tea Bag Ghost
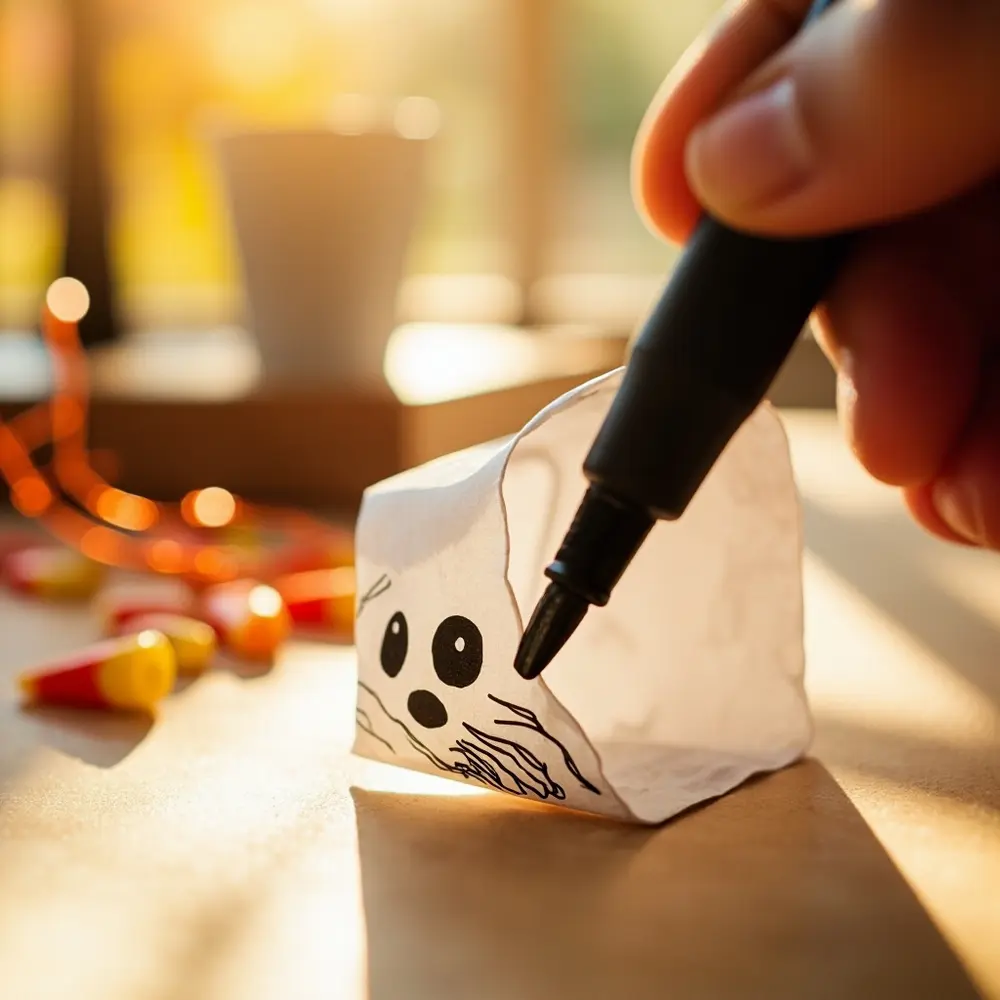
First, you need to prep your tea bag. If you have a standard rectangular bag, carefully cut off the top end where it’s stapled or sealed. Unfold the bag and gently empty out all the tea leaves. You should be left with a small, lightweight paper tube. This is the body of your ghost! For extra fun, take a marker and draw a simple ghost face on the side. Two dots for eyes and a little “o” for a mouth is all you need.
Image-1: A close-up shot of hands carefully using scissors to snip the top off a tea bag over a small bowl, with loose tea leaves visible inside.
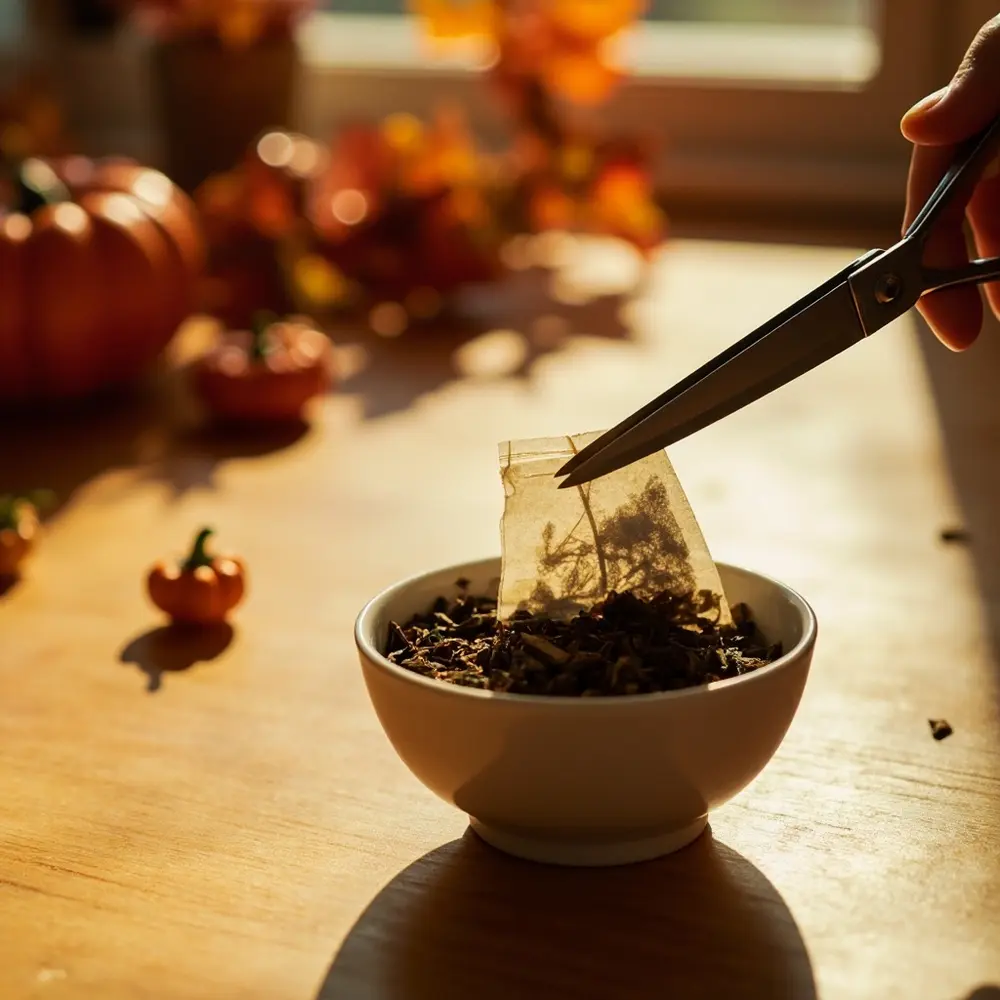
Image-2: A photo showing the now-empty tea bag being gently unfolded and shaped into a hollow paper cylinder on a flat surface.
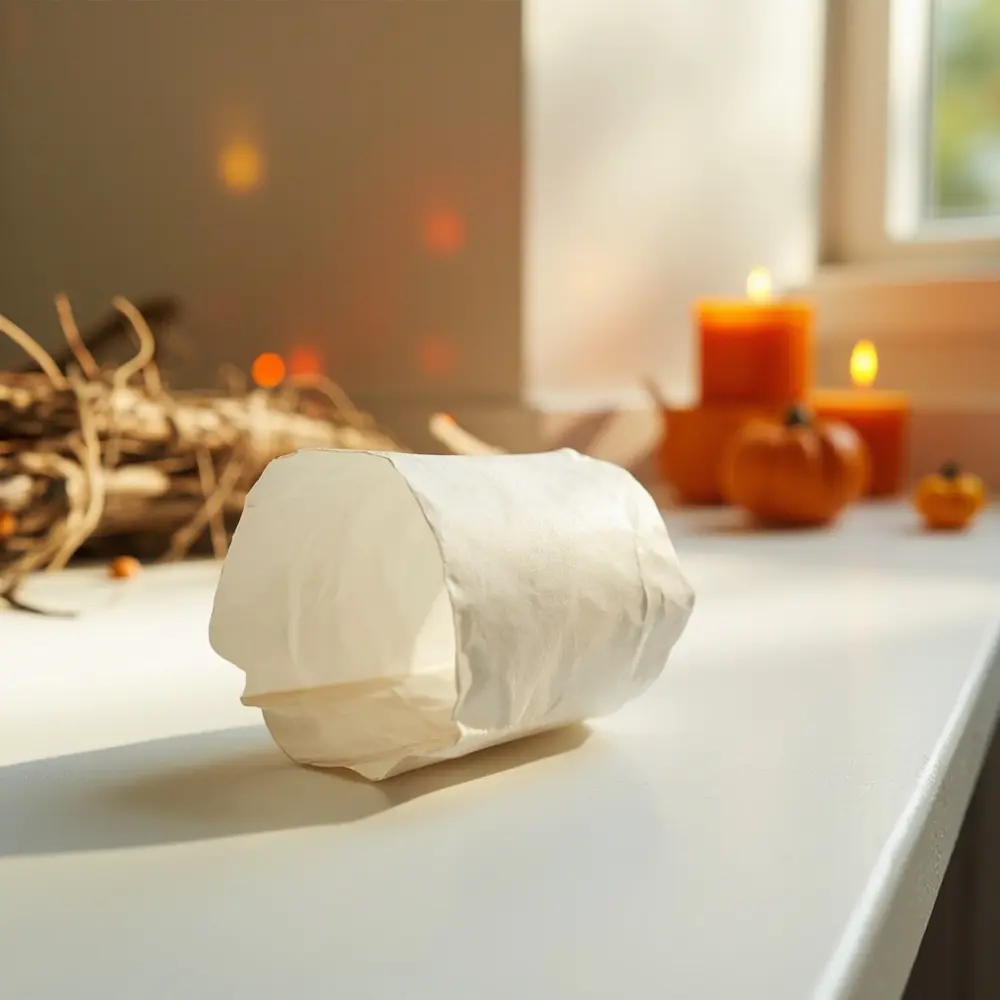
Image-3: A fun shot of a hand using a black marker to draw a simple, cute ghost face onto the side of the white tea bag cylinder.
Step 2: Position for Takeoff
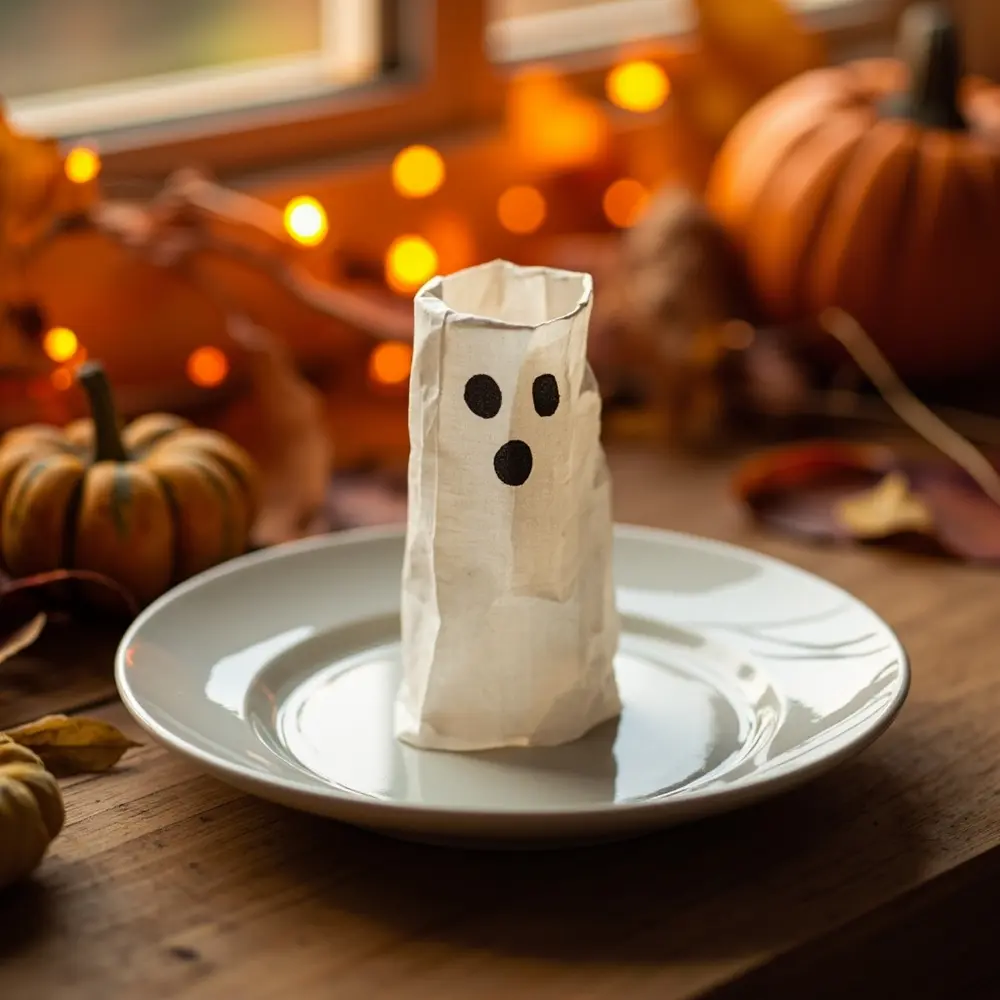
Now, take your little paper ghost and stand it upright on the center of your heat-resistant plate. Make sure it’s standing straight and is stable. You want it to look like a tiny tower, ready for its ghostly mission.
Image-4: A close-up, eye-level shot of the tea bag ghost cylinder standing perfectly upright in the middle of a clean, white ceramic plate.
Step 3: Ignite and Watch the Magic!
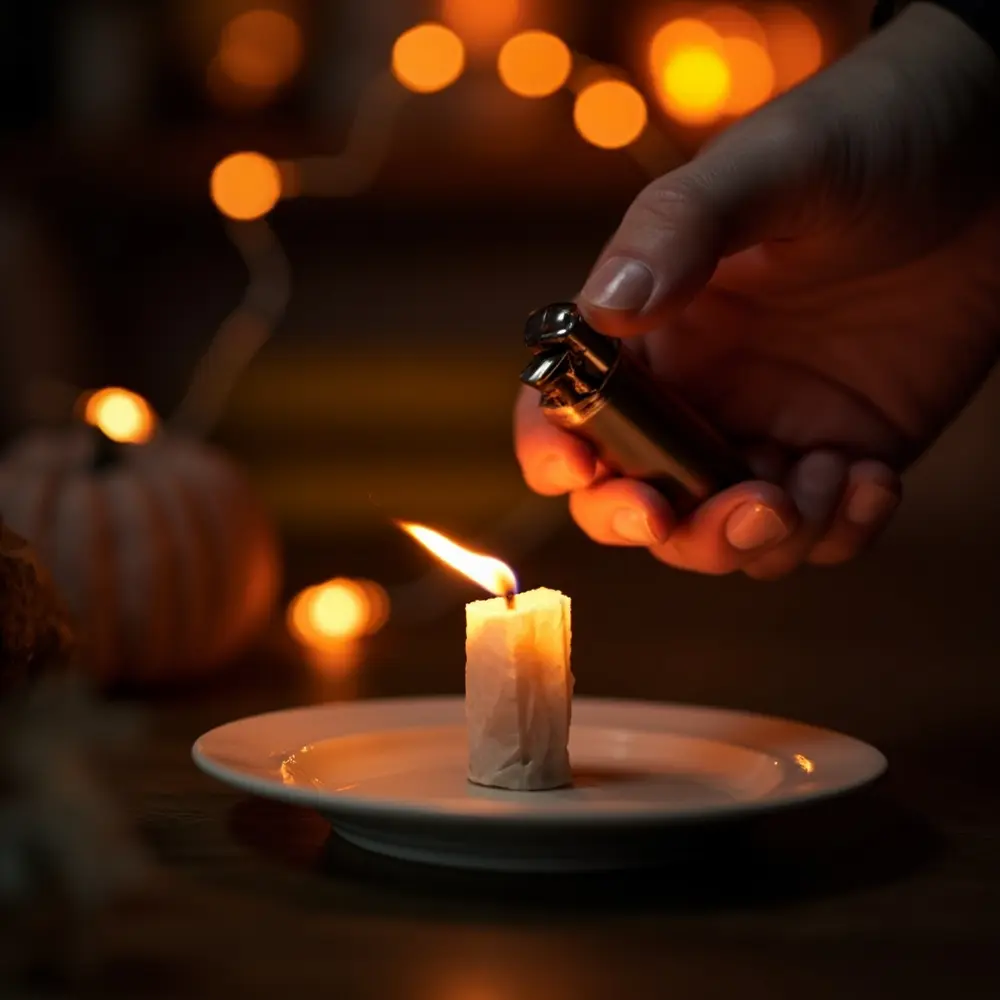
This is the most important—and adult-only—step. An adult should take the lighter or match and carefully light the very top edge of the tea bag cylinder. Light it evenly all the way around the top rim if you can. Now, stand back and watch the flame work its magic.
> ⚠️ CAUTION: SAFETY FIRST! ⚠️
>
> Only an adult should ever handle the lighter or matches.
> Keep long hair and loose clothing tied back and away from the flame.
> Ensure your launchpad is clear of any and all flammable materials. Supervise closely at all times!
Image-5: A dramatic close-up shot of an adult’s hand holding a lighter to the top rim of the tea bag cylinder, with a small, bright flame just beginning to catch.
Step 4: The Ghostly Ascent
You’ll see the flame burn steadily down the paper cylinder. It might seem like nothing is happening at first, but be patient! As the flame reaches the very bottom, the lightweight ash of the tea bag will suddenly lift off the plate and float silently up towards the ceiling, glowing like a real phantom. It’s pure magic!
Image-6: A photo capturing the tea bag as it’s nearly burned down, with the base just starting to lift a few inches off the plate.
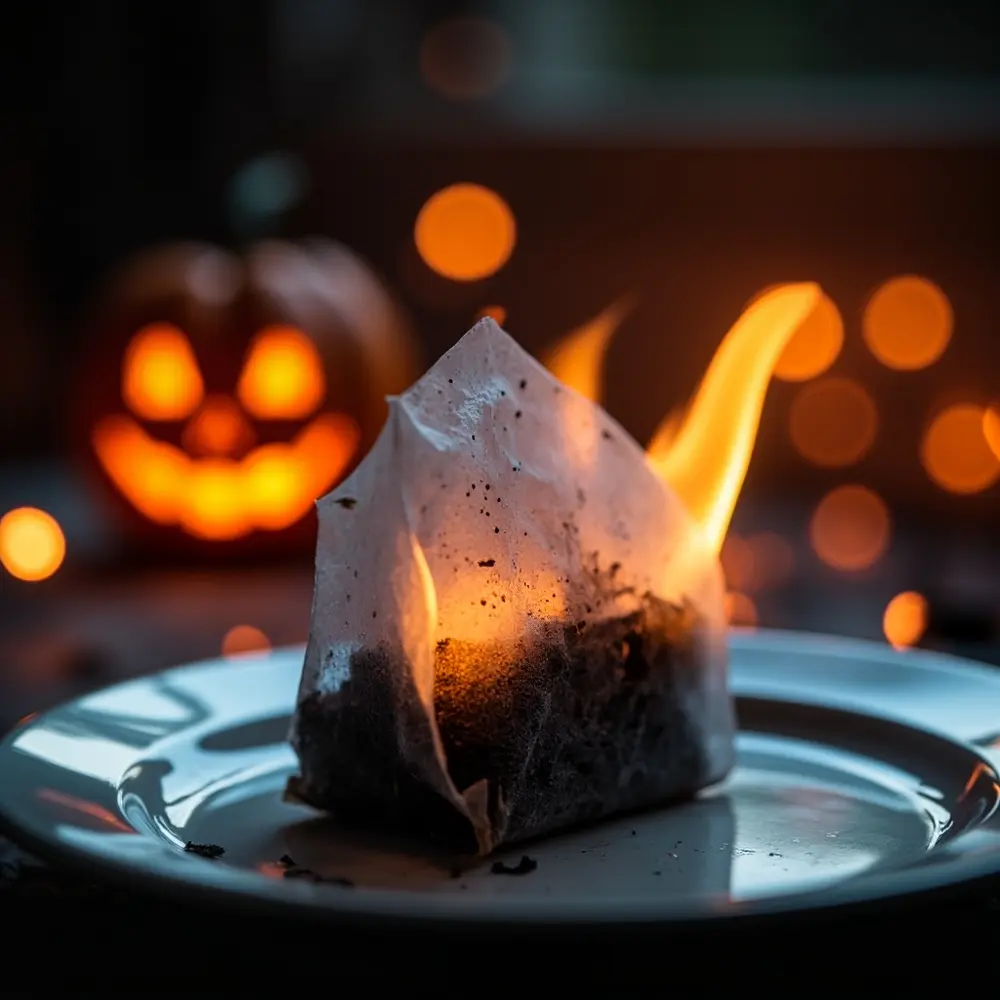
Image-7: An action shot of the glowing ember of the tea bag ash floating gracefully upwards against a dimly lit, dark background.
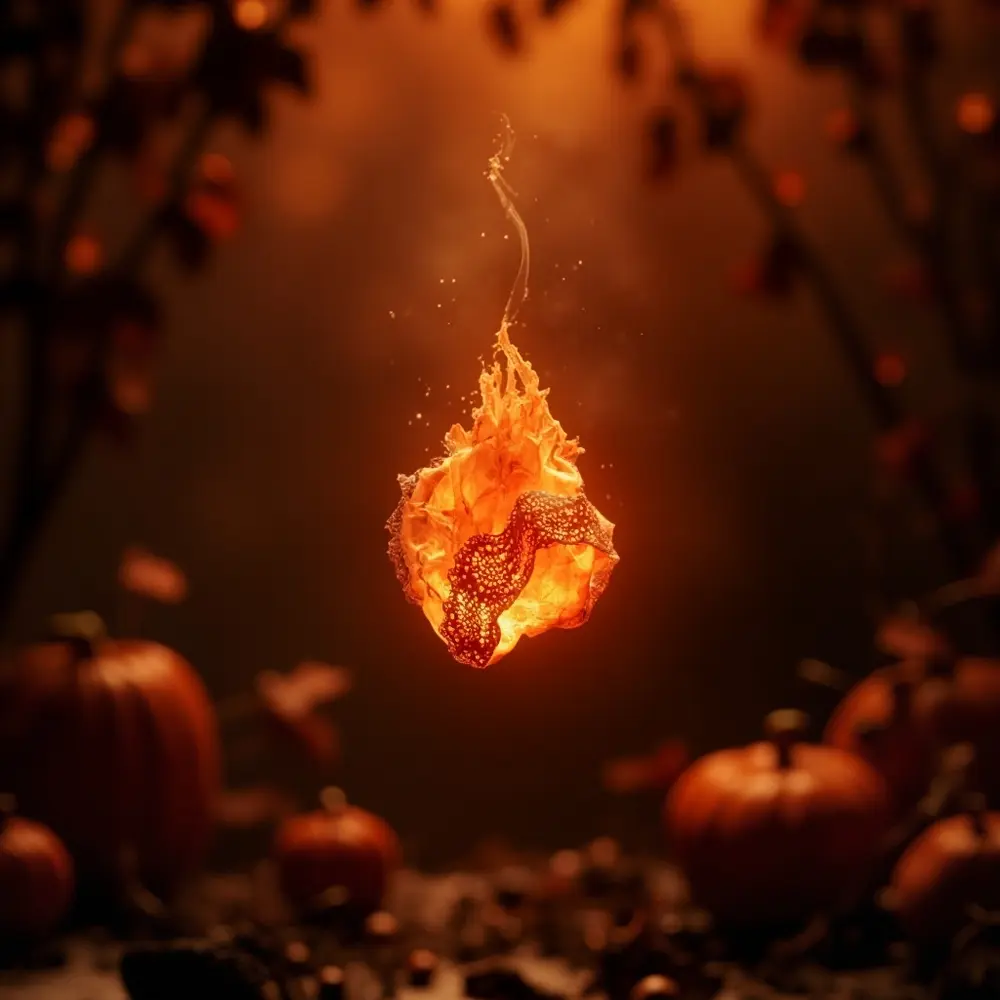
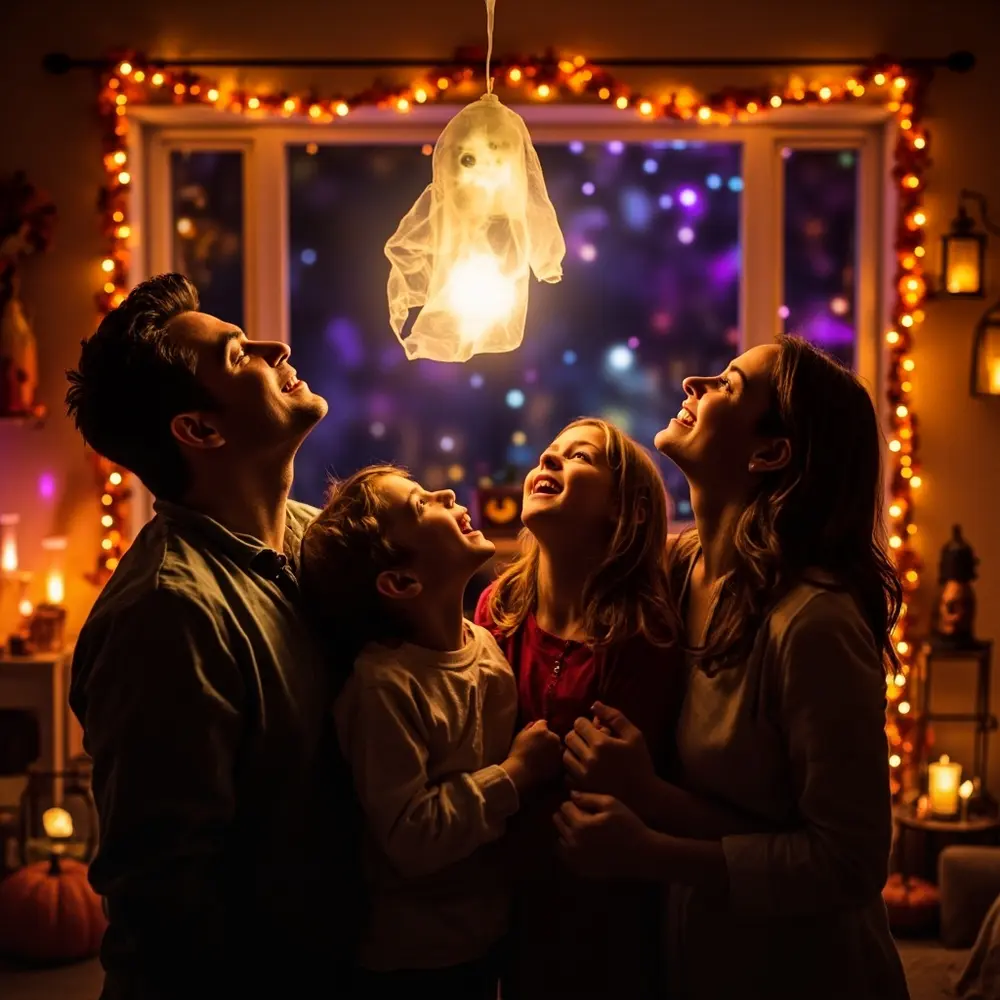
Image-8: A beautiful, slightly zoomed-out shot of the finished experiment. The glowing ash ghost is seen floating high in the air in a dimly lit room, with the amazed faces of a family watching from below, capturing the complete, magical effect.
The Spooky Science Behind Your Flying Ghost! 🔬
So, was that a ghost or just some really cool science? As much as I love a good haunting, this is a fantastic example of a scientific principle called convection.
When you light the tea bag, the fire heats the air trapped inside the paper cylinder. Hot air is less dense (or lighter) than the cooler air around it. Because it’s lighter, this pocket of hot air wants to rise. As the tea bag burns, it becomes incredibly lightweight—basically just a fragile shell of ash. By the time the flame reaches the bottom, the upward-pushing force of the hot air is strong enough to lift the super-light ash and carry it upwards. It’s the exact same principle that makes a giant hot air balloon fly! Pretty neat, right?
Variations & Customizations to Haunt Your House 👻
Want to take this experiment to the next level? I’ve tried a few things over the years, and here are my favorites:
- Different Sizes: Try to find larger or smaller tea bags. Does the size of the “ghost” affect how high or fast it flies?
- Ghostly Effects: As I mentioned in my pro tip, do this in a very dark room. The glowing ember looks absolutely incredible as it floats through the darkness.
- Scientific Inquiry: Test the effect of air currents. Try it once in a sealed room, then try it near a (safely distant) cracked window. Observe how a draft changes the ghost’s flight path.
- Group Activity: At your next Halloween party, give each guest their own tea bag to prepare (with adult supervision for each station, of course). Do a synchronized “ghost launch” for a truly spectacular show!
Theme Twist 🧙♀️: Who says they have to be ghosts? Before you stand them up, try gently shaping the top of the tea bag cylinder into a point to make a “witch’s hat,” or pinch the sides to look like a “vampire’s cloak.”
Halloween Activity FAQs ❓
Q1: Why did my tea bag not fly?
This is a common issue! The most likely culprit is a draft, which can blow the hot air away before it has a chance to lift the ash. Another reason could be that the tea bag wasn’t completely hollow or that it didn’t burn all the way to the bottom. Make sure it’s a lightweight, hollow tube and the room is still.
Q2: What is the primary scientific principle at play here?
The star of the show is convection! Hot air is less dense than cool air, which causes it to rise. This rising hot air carries the lightweight tea bag ash with it, making it fly.
Q3: Is this experiment safe for young children to perform on their own?
Absolutely not. This experiment involves fire and must be performed and supervised by an adult at all times. Kids can help prepare the tea bags by emptying them and drawing faces, but an adult must be the only one to handle the lighter or matches and oversee the burning process.
There you have it—a simple, stunning, and secretly educational activity that will make your Halloween unforgettable. I absolutely love how this experiment combines a little bit of spooky ambiance with a big “wow” moment of scientific discovery. It’s the perfect way to create lasting memories with your family and friends.
Now go on, give it a try, and watch those ghosts fly! 🚀
What’s your favorite quick-and-easy Halloween activity? Let me know in the comments—I’m always looking for new ideas to add to my spooky repertoire
