It’s that time of year again, ghouls and goblins! 👻 Are you tired of the same old Halloween routine and looking for an activity that’s more than just a sugar rush?
You want to create some real, hands-on spooky fun that your family will remember for years, but finding something unique that isn’t a huge hassle can feel like a monster of a task. 🧟
Well, you’ve come to the right haunted corner of the internet! I’m Roshan Sharma, your friendly neighborhood Halloween fanatic, and I’ve got the perfect project that blends creative construction, spooky season vibes, and a sneaky dash of science. Let’s build a pumpkin race track! 🎉
Activity At-a-Glance
- Best For 👨👩👧👦: Family STEM activity, classroom science project, Halloween party entertainment
- Time Required ⏳: Approx. 1.5 – 2 hours (building + experimentation)
- Budget Level 💸: Low-Cost
- Spookiness Level 🎃: Low (but easily customizable!)
What You’ll Need for Your Pumpkin Race Track 📋
- Cardboard Tubes or PVC Pipes: Halved PVC pipes or long cardboard tubes (like from wrapping paper) make for perfect track lanes. 📏
- Cardboard Boxes: A variety of sizes to create the starting ramp and other elevations. 📦
- Small Pumpkins or Gourds: These are your racers! Look for ones that are relatively round and smooth. 🎃
- Craft Knife or Box Cutter: For adult use only! 🔪
- Scissors: For safer cutting tasks. ✂️
- Strong Tape: Duct tape or packing tape works best.
- Hot Glue Gun: For extra-sturdy connections (adults only!).
- Measuring Tape: To plan your track’s length and height.
- Markers or Paint: For decorating your track. 🎨
- Optional Decorations: Faux spiderwebs, plastic spiders, tiny skeletons, glow-in-the-dark paint, and anything else that screams Halloween! 🕷️
Preparation & Setup: Creating the Spooky Scene
Before we start building, let’s set the mood! I always say that a great project needs a great atmosphere. Find a space with enough room to build, like a living room floor or a backyard patio. Dim the lights and throw on some spooky Halloween mood lighting—I use a few of those cheap color-changing LED bulbs.
Crank up a Halloween playlist (the Monster Mash is a non-negotiable classic in my house). Lay out all your tools and materials so they’re easy to grab. You’re not just building a track; you’re creating a championship racing venue for possessed pumpkins!
Pro Tip 💡: Cover your work area with old bedsheets or newspaper to catch any stray paint or glue. Use some spooky-themed masking tape or chalk to create a clear “starting line” at the top and a “finish line” at the bottom to make it feel official!
How to Build Your Pumpkin Race Track: Step-by-Step Guide 🚀
Step 1: Gather Your Materials & Plan Your Course
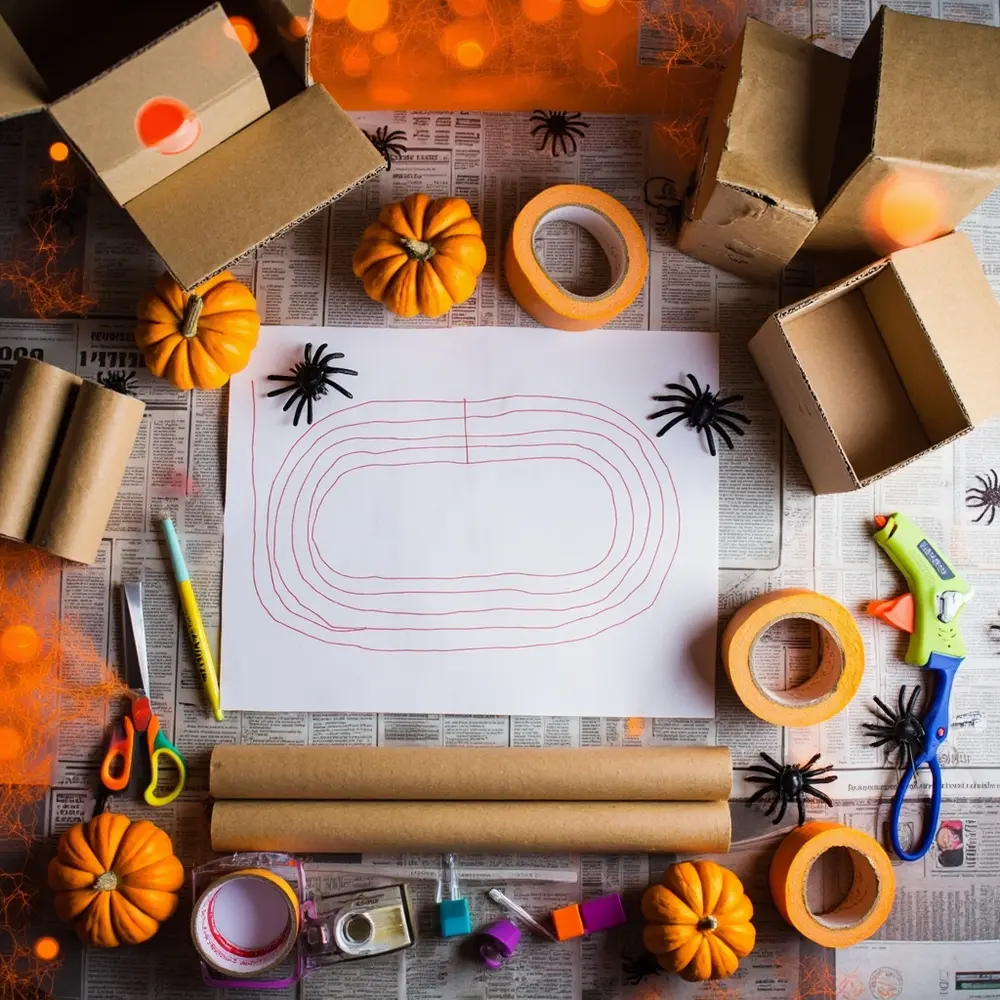
First things first, let’s get organized. Gather every single item from your “What You’ll Need” list and lay it out. Seeing everything in one place helps get the creative juices flowing! Now, grab a piece of paper and a marker. Sketch out a simple design for your track. Will it be a straight shot down a hallway? Or will it have a spooky curve around a couch leg? Planning your course now saves you a lot of headaches later.
Image-1: A top-down shot of a clean floor space with all the materials—cardboard boxes, tubes, tape, small pumpkins, and craft supplies—neatly arranged. Next to the materials is a simple, hand-drawn sketch of a race track design on a piece of paper.
Step 2: Construct the Base and Initial Slope
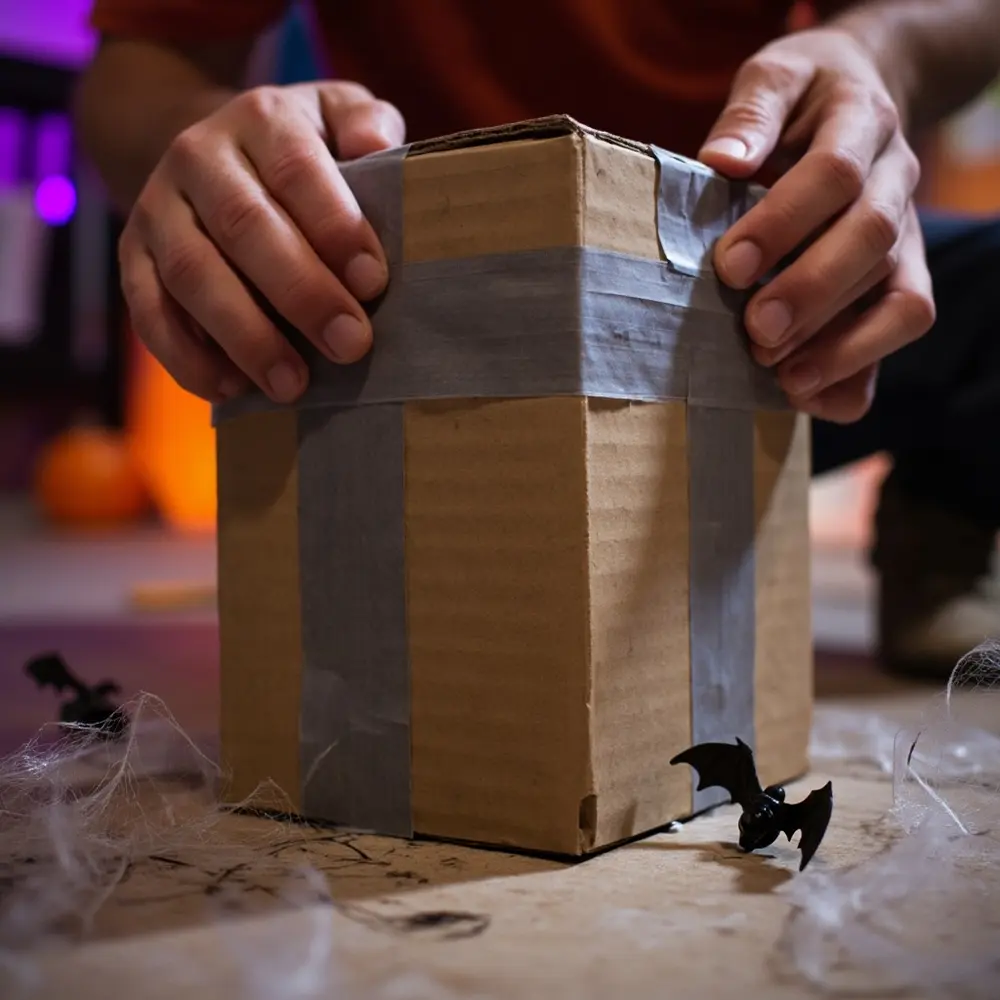
Every great race starts with a thrilling drop! Use your sturdy cardboard boxes to build the elevated starting point. Stack a few boxes and tape them together securely to create a stable platform. This is where your pumpkin racers will begin their journey. The higher you make the starting point, the more speed they’ll pick up right from the get-go!
CAUTION ⚠️: This step often requires a craft knife or box cutter to modify the cardboard boxes. This tool is extremely sharp and should only be used by an adult. Always cut away from your body and keep little hands at a safe distance.
Image-2: A close-up, eye-level shot showing hands stacking and taping two cardboard boxes together to create a sturdy, elevated starting platform for the race track.
Step 3: Build the Track Walls and Sections
Now, let’s create the raceway. If you’re using cardboard tubes, have an adult carefully cut them in half lengthwise to create two U-shaped track pieces. These will serve as perfect lanes to guide your pumpkins. Lay the first section of your track, positioning one end on your starting platform and the other on the floor, creating a downward slope. Use strong tape or a hot glue gun to secure it. If you want a longer track, connect multiple sections together.
Image-3: A photo showing a halved cardboard tube being attached to the starting platform with duct tape. The tube slopes downwards, forming the first section of the track.
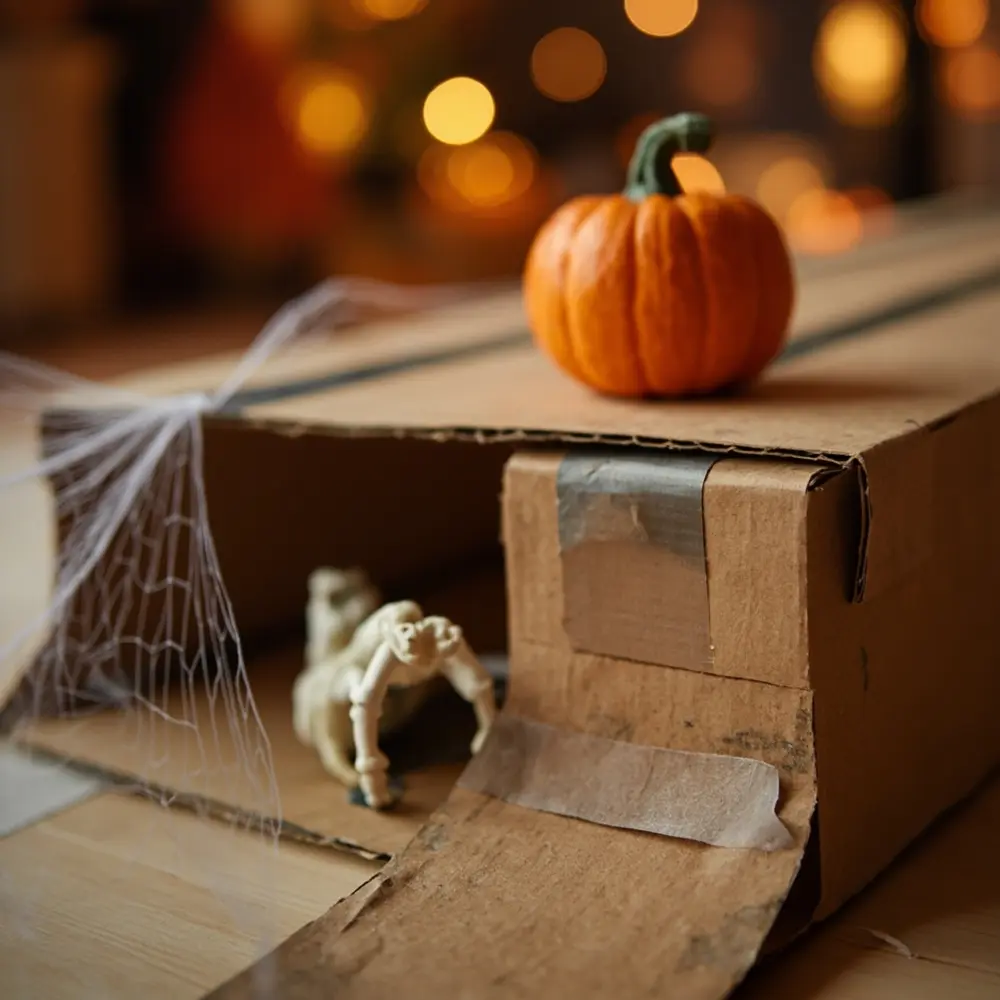
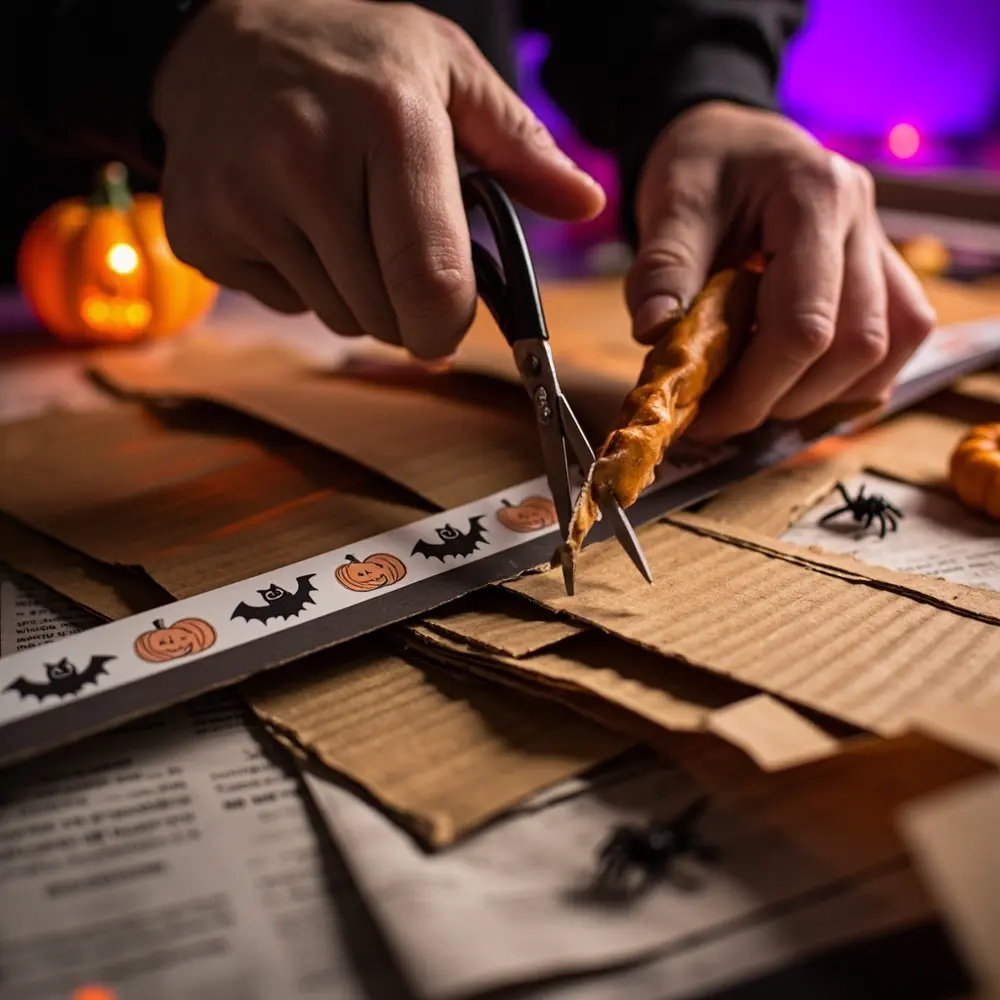
Image-4: A close-up shot of hands using scissors to cut long, 2-inch-wide strips from a flattened cardboard box. These strips will become the track walls.
Step 4: Test Your Track and Fine-Tune the Physics
This is my favorite part—the test run! Gently place one of your small pumpkins at the starting line and let it go. Watch it carefully. Does it fly off at a curve? Does it slow down and get stuck somewhere? This is where the real engineering begins! If it’s too slow, make the slope steeper. If it falls off, you might need to build up the track walls higher or bank the turns. Make small adjustments and test again and again until your pumpkin has a smooth, fast ride to the finish line.
Image-5: An action shot of a small, round pumpkin rolling down the partially built cardboard track. A child’s hand is visible at the top, having just released it.
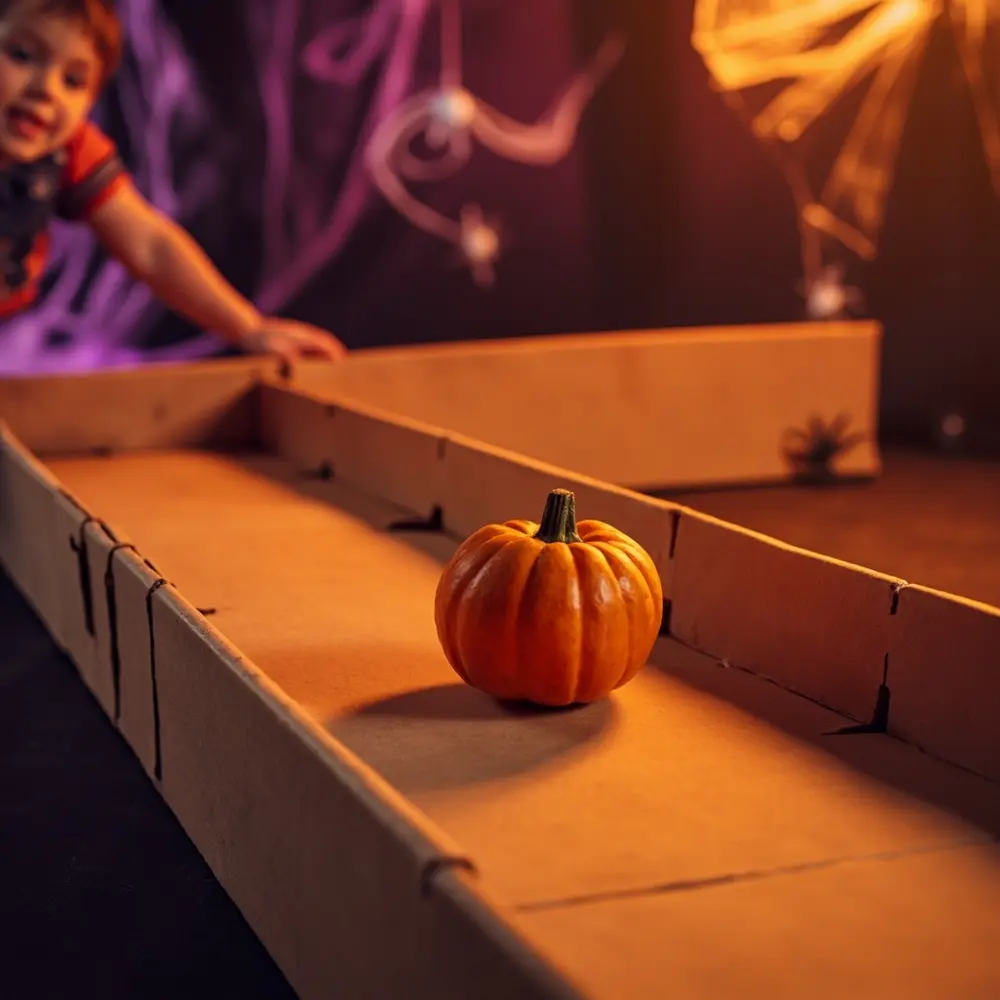
Image-6: A close-up shot focusing on hands making an adjustment to the track. A small book is being slid under a section of the track to slightly increase its slope.
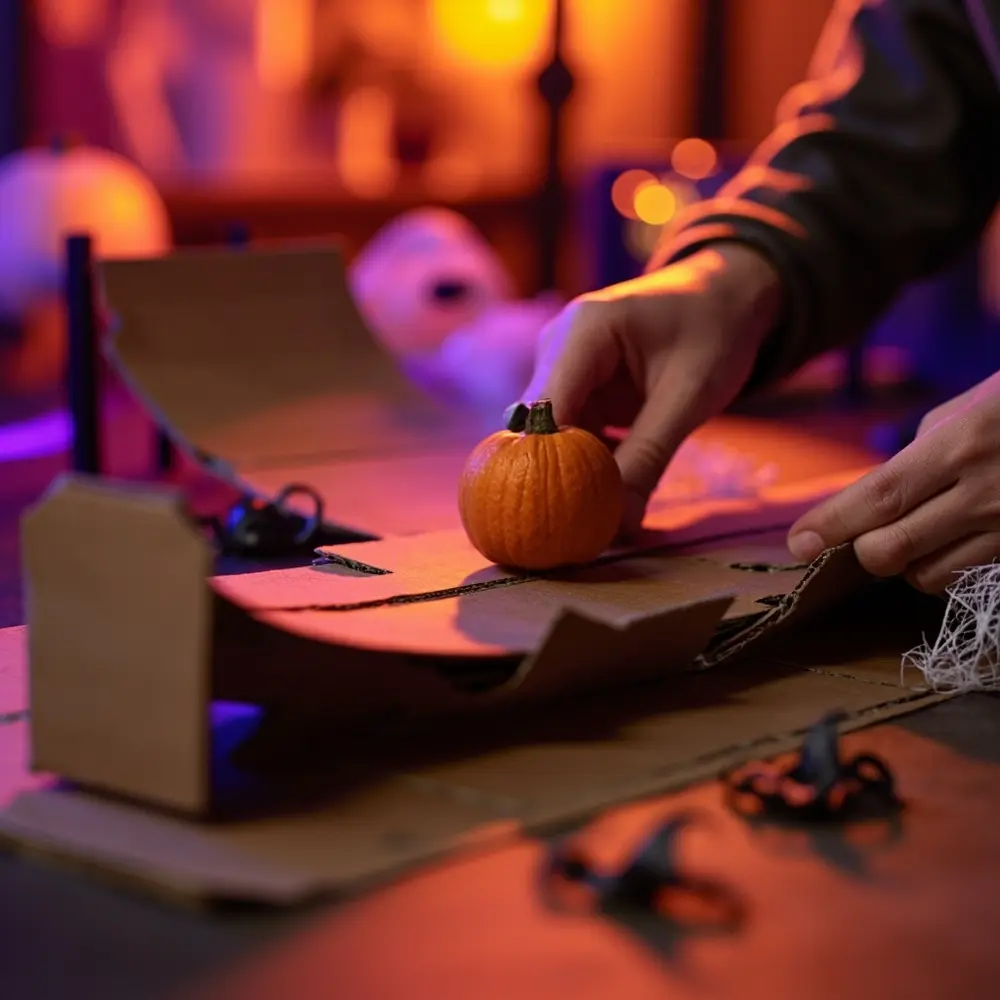
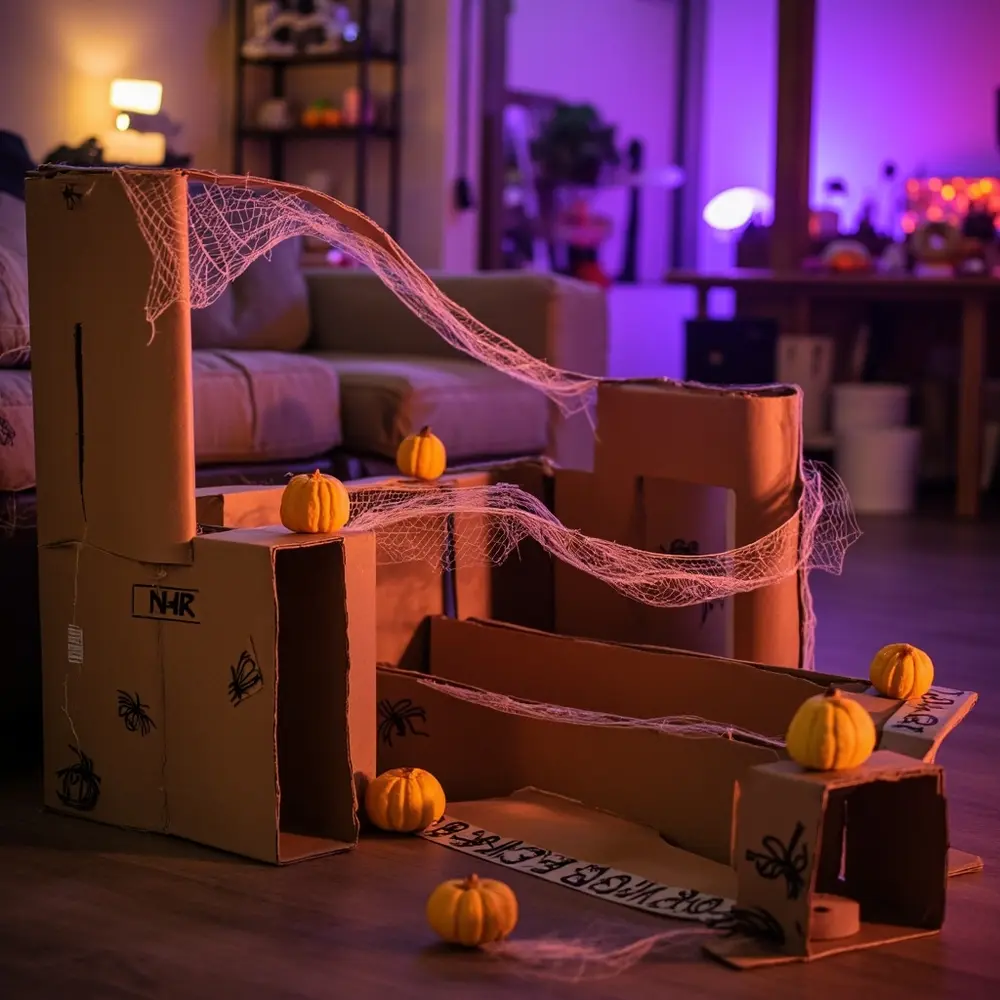
Image-7: A wide, slightly zoomed-out shot showing the finished pumpkin race track fully assembled and decorated with faux spiderwebs and plastic spiders. Two small gourds are sitting at the starting line, ready to race.
The Science of the Spooky Race: Gravity, Friction, & Momentum 🔬
Believe it or not, you’ve just created a fantastic physics experiment! When I taught pumpkin carving workshops, the kids were always amazed at how much science is involved in simple Halloween fun. Here’s the spooky science behind your race:
- Gravity 🍎: This is the invisible force that pulls everything towards the center of the Earth. When you put your pumpkin on the elevated track, gravity is what pulls it downwards, causing it to roll and pick up speed. A steeper track means gravity can pull on it more directly, making it go faster!
- Friction 🔥: Ever notice how the pumpkin slows down a little as it rolls? That’s friction! It’s a force that happens when two surfaces rub against each other (in this case, the pumpkin and the cardboard track). A rougher track creates more friction and slows the pumpkin down, while a smoother track reduces friction and lets it go faster.
- Momentum 💨: Once your pumpkin starts rolling, it wants to keep rolling. That’s momentum! It’s the energy of an object in motion. A heavier pumpkin will have more momentum and might be harder to stop at the finish line.
Variations & Customizations to Haunt Your House 👻
Once you’ve mastered the basic track, it’s time to get extra creative!
- Obstacle Course: Add some spooky challenges! Create a small tunnel out of a toilet paper roll, add a small “speed bump” with a strip of cardboard, or make a section of the track a bit wobbly.
- Themed Tracks: Last year, my niece helped me design a “haunted forest” track using twigs and fake leaves. You could also do a “mad scientist lab” theme with foil and glowing liquids (just water and a highlighter stick under a blacklight!).
- Change the Racers: See what rolls best! Try different sizes of pumpkins, oddly shaped gourds, or even apples. You could even race some Halloween-themed toy cars to see how they compare.
Theme Twist 🦇: Decorate your track for a nighttime race! Use glow-in-the-dark paint to create racing stripes, line the sides with plastic spiders, and hang faux bats overhead. Turn off the lights for an extra spooky championship race!
Halloween Activity FAQs ❓
#### Q1: What kind of pumpkins or gourds work best for racing?
For best results, look for small, round, and smooth pumpkins, often called “pie pumpkins” or “sugar pumpkins.” Their symmetrical shape helps them roll straight, and their smooth skin reduces friction. Avoid pumpkins with long, crooked stems that might get snagged.
#### Q2: How can I make my pumpkin race track steeper or longer?
To make it steeper, simply increase the height of your starting platform by adding more boxes or using a taller piece of furniture (with permission, of course!). To make it longer, connect more cardboard tubes or track sections end-to-end, using smaller boxes or books to support the track in the middle so it doesn’t sag.
#### Q3: What if my pumpkin keeps falling off the track or getting stuck?
If your pumpkin is falling off, your track walls are likely too low or the curves are too sharp. Try adding higher cardboard walls, especially around turns. If it’s getting stuck, the slope in that section is probably too shallow. Prop that part of the track up slightly with a book or a small piece of folded cardboard to increase the angle.
*
You did it! You’ve built an amazing, action-packed Halloween activity that’s equal parts spooky fun and brainy science. I am so excited for you to hear the cheers and laughter as your family races their pumpkin creations down the track you built together. It’s projects like these that make the season truly unforgettable.
Now go get racing! I’d love to see what you create.
What’s your all-time favorite DIY Halloween project? Let me know in the comments! 🎃
