It’s that time of year again, ghouls and goblins! The air is getting crisp, the leaves are turning, and my pumpkin spice coffee intake has reached alarming levels. 🎃 You’re probably looking for that perfect Halloween project—something more memorable than just buying another plastic skeleton, right?
The problem is, creating truly unique Halloween magic can feel daunting or expensive, and a lot of store-bought decor just ends up in a landfill. It agitates the eco-conscious monster in all of us! 🧟
That’s where I come in! I’m Roshan Sharma, your friendly neighborhood Halloween fanatic, and I’ve been designing haunted displays since I was 15. We’re going to solve this problem by engineering an incredible haunted house using materials you already have. It’s a fantastic way to bond with family, unleash creativity, and save the planet one spooky mansion at a time. Let’s get building! 🎉
Activity At-a-Glance
- Best For: Eco-conscious families, creative kids (ages 6+ with adult supervision), school projects, unique Halloween decor. 👨👩👧👦
- Time Required: Approx. 4-8 hours (spread over several days for material collection and drying time). ⏳
- Budget Level: Low-Cost 💰
- Spookiness Level: Medium (adaptable to preference) 👻
What You’ll Need for Your Recycled Haunted House Engineering Project 📋
- Cardboard boxes (various sizes from cereal boxes to shipping boxes) 📦
- Plastic bottles and milk jugs 🍼
- Newspaper and paper towel/toilet paper rolls 🗞️
- Strong tape (packing or duct tape) and craft glue
- Hot glue gun (with adult supervision!) 🔥
- Scissors and a utility knife (for adults only!) ✂️
- Paint (black, grey, white, and other spooky colors) and brushes 🎨
- String or yarn 🧶
- Various “junk drawer” treasures (bottle caps, old CDs, fabric scraps, twigs from the yard) ✨
Preparation & Setup: Creating the Spooky Scene
Before we start conjuring our creation, let’s set the stage. Find a good workspace, like a garage, basement, or a room where you can get a little messy. Lay down some old newspaper or a tarp to protect your surfaces.
Organize your collected materials into categories: large boxes for the structure, smaller items for details, and fabrics/papers for texture. This will make the engineering process so much smoother! To really get into the spirit, I always put on a spooky Halloween soundtrack. It makes everything more fun! 🎶
Pro Tip 💡: Create a dedicated “Haunted Materials Collection Zone” in your home a week or two before the build. Put a large box in a corner and encourage everyone in the family to toss in clean, usable recyclables. It turns the hunt for materials into part of the adventure!
How to Lead the Haunted House Engineering Project: Step-by-Step Guide 🚀
H3: Step 1: Ideation & Material Collection
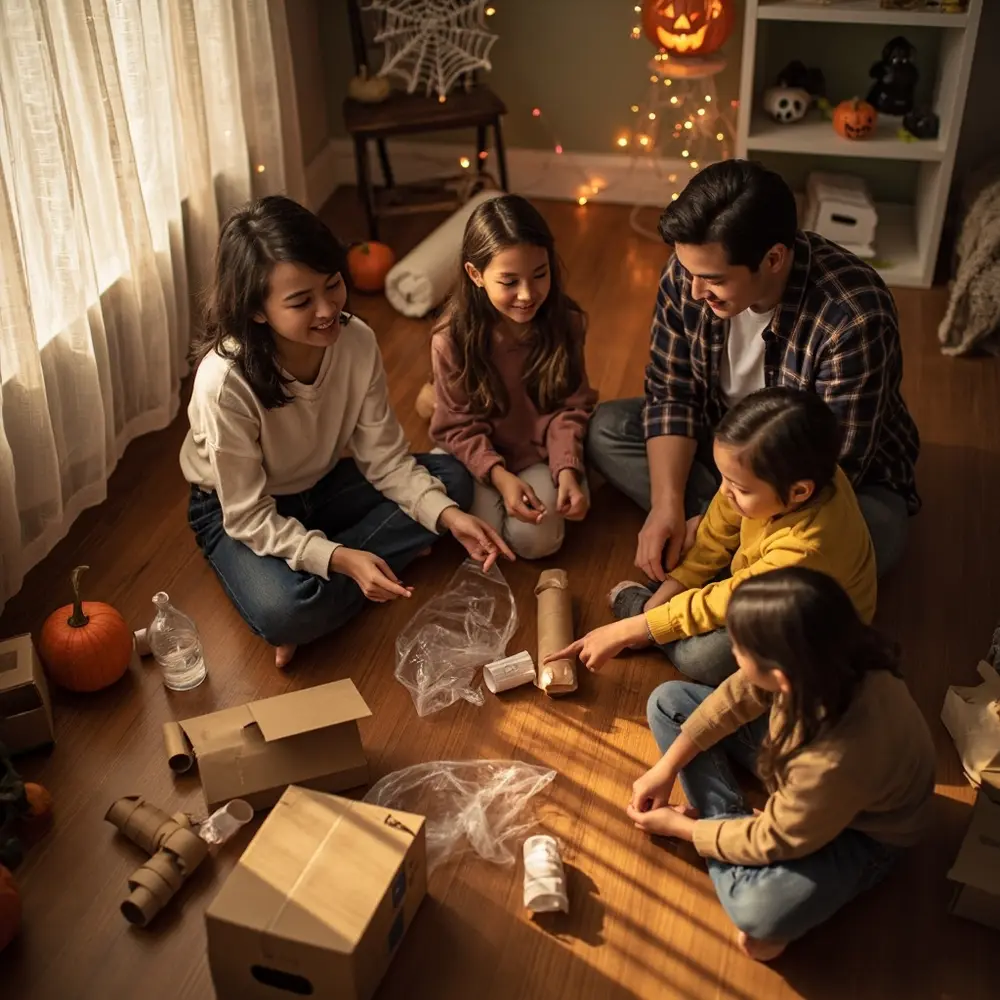
First, huddle up with your little monsters and brainstorm! What kind of haunted house will you build? A towering, creepy castle? A rickety old shack in the woods? A grand, ghostly mansion? Let everyone throw out ideas and sketch them on a piece of paper. As you collect materials, think about their purpose. Larger, sturdier boxes will be your walls and foundation, while toilet paper rolls and plastic bottles can become towers, turrets, and chimneys.
Image-1: An overhead shot of a family sitting on the floor around a large pile of clean recycled materials—cardboard boxes, plastic jugs, and paper rolls. Kids are excitedly pointing at different items, brainstorming ideas.
H3: Step 2: Planning & Blueprinting Your Design
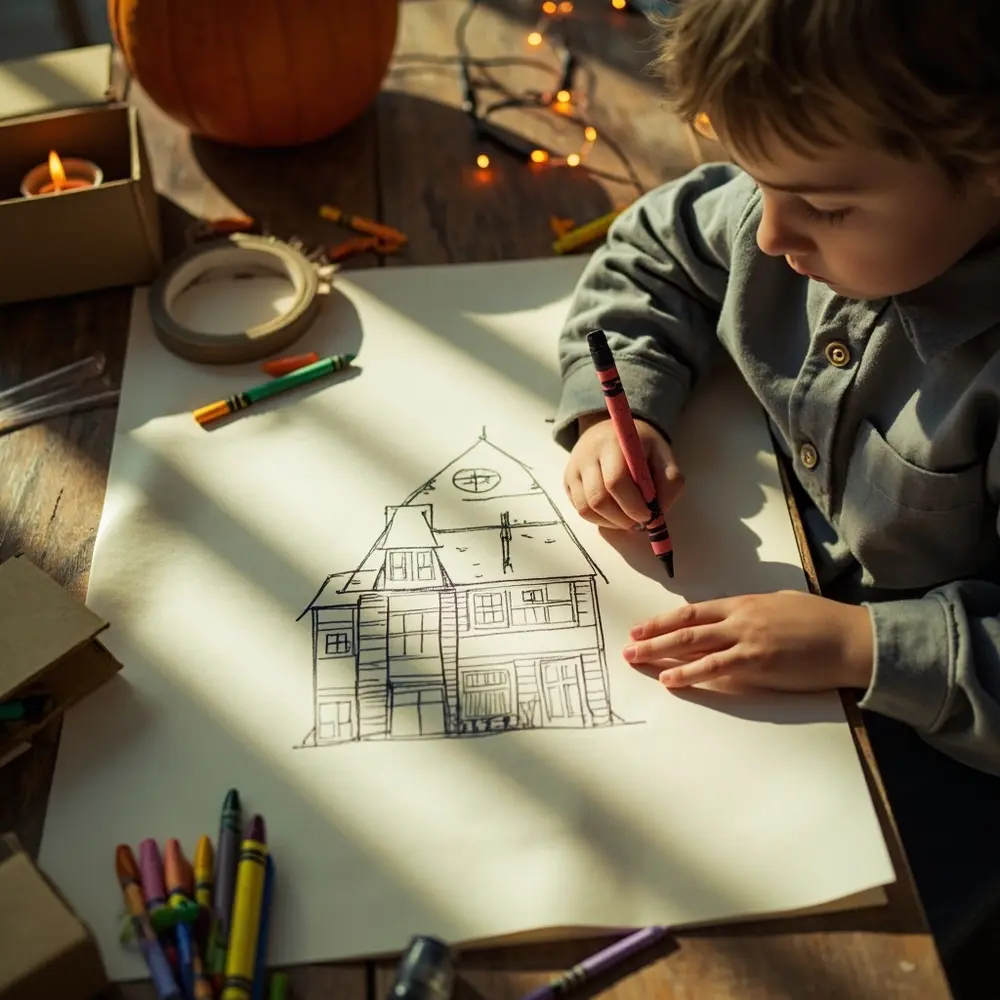
Now it’s time to be an architect of the abyss! Grab a piece of paper and draw a simple blueprint. It doesn’t have to be perfect—this is just your spooky roadmap. Plan out the basic shape, where the main rooms will be, and key features like a crooked porch or a pointy roof. Thinking this through helps you figure out which big boxes you’ll need for the base. My niece always insists on adding a “dragon’s lair” to our blueprints, which usually becomes a cool-looking garage made from a shoebox.
Caution ⚠️: This is the stage where you might need to cut cardboard. This step is for adults only. Always use a sharp utility knife with a fresh blade and cut away from your body on a protected surface. Supervise kids closely if they are using safety scissors.
Image-2: A close-up, top-down shot of a child’s hands holding a crayon, drawing a simple, charmingly crooked haunted house blueprint on a large sheet of paper. A few cardboard boxes and a roll of tape are visible in the background.
H3: Step 3: Constructing the Structural Foundation
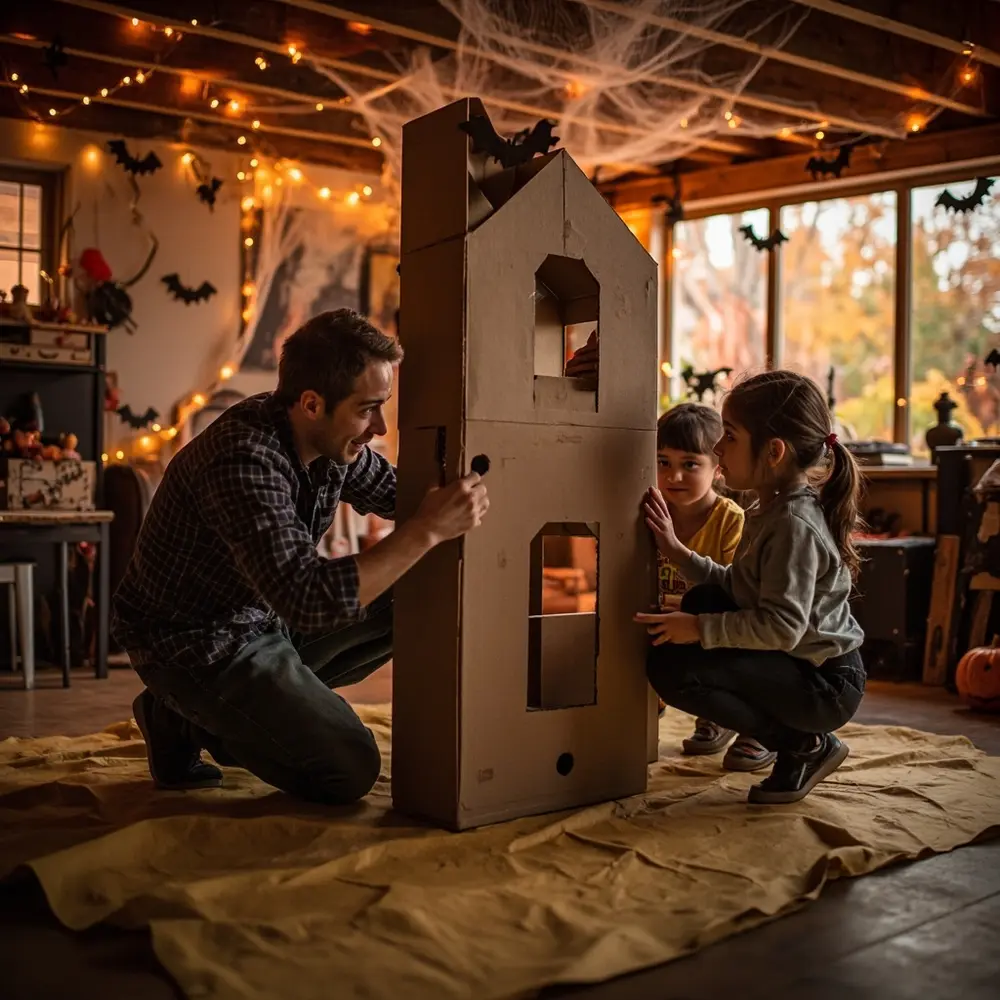
Let the construction begin! Grab your largest and strongest cardboard boxes and arrange them according to your blueprint. This will form the main body of your house. Use plenty of strong packing tape or a hot glue gun (adults only!) to connect the boxes securely. Make sure the base is stable and solid. You can overlap flaps and tape them down on the inside and outside for extra strength. This is the skeleton of your haunted house—make it strong enough to hold all the spooky stuff to come!
Image-3: A wide shot showing two kids and an adult working together on the floor, taping two large cardboard boxes together to form the main structure of the house. The atmosphere is collaborative and fun.
H3: Step 4: Adding Architectural Details & Features
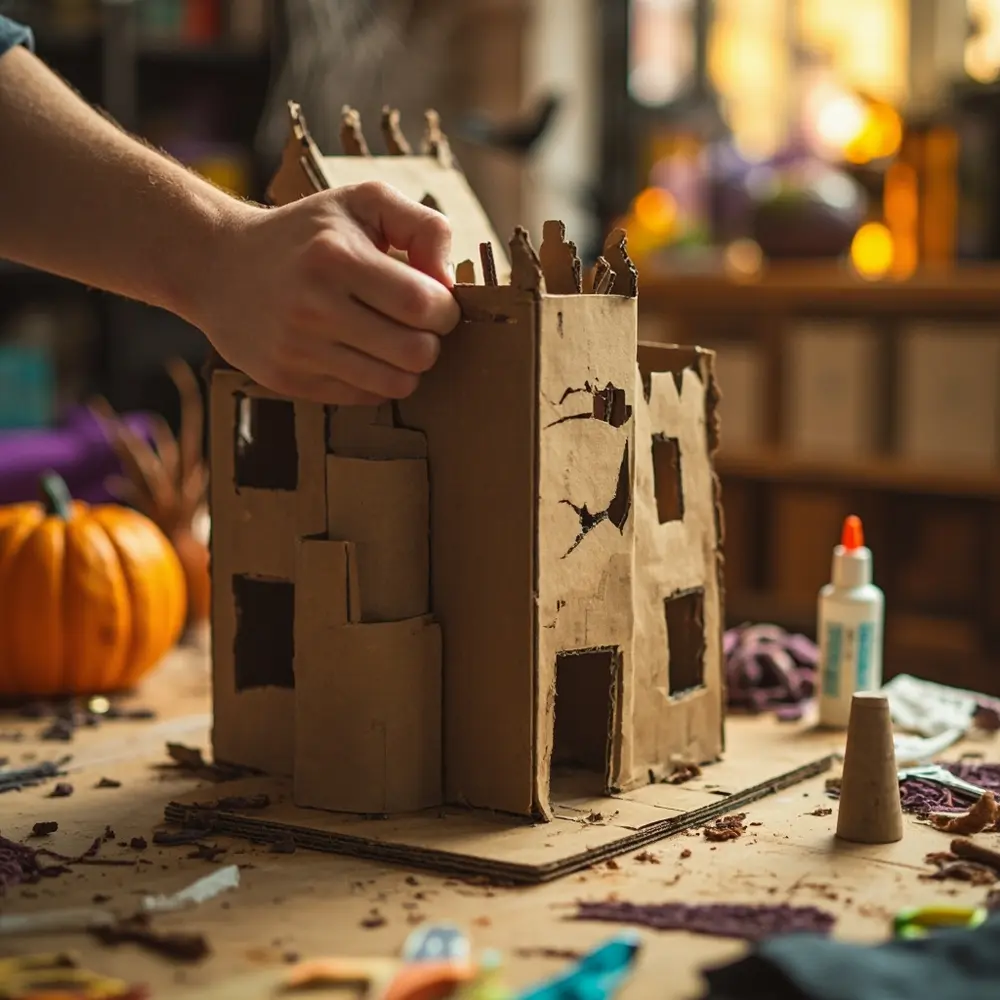
With your foundation built, it’s time for the fun architectural details. Use smaller boxes to create a chimney, and glue on paper towel rolls to make spooky turrets. Carefully (adults only!) cut out windows and a front door. Will your windows be jagged and broken or arched like a cathedral? This is where your house gets its personality. We once used the bottom of a plastic milk jug to create a cool bay window! Get creative and use your recycled treasures to add porches, balconies, or rickety stairs.
Image-4: A medium shot of the project, now clearly resembling a house. A hand is shown carefully gluing a paper towel roll “turret” onto the corner of the cardboard structure. Windows have been cut out.
H3: Step 5: Spookifying the Exterior & Interior
This is my favorite part—unleashing the spooky decor! Start by painting the entire structure. A base coat of black or grey works wonders. Once it’s dry, you can dry-brush white or light grey paint to create an aged, ghostly effect. Glue on crumpled newspaper for a stucco texture or drape fabric scraps to look like overgrown vines. Now, add the final touches: draw on bricks or siding, attach plastic spiders, hang tiny ghosts made from tissues, and maybe even use some glow-in-the-dark paint for a final eerie touch.
Image-5: A close-up shot focusing on a section of the haunted house being painted. A paintbrush is adding spooky black details around a cut-out window, and some cotton “cobwebs” are already in place.
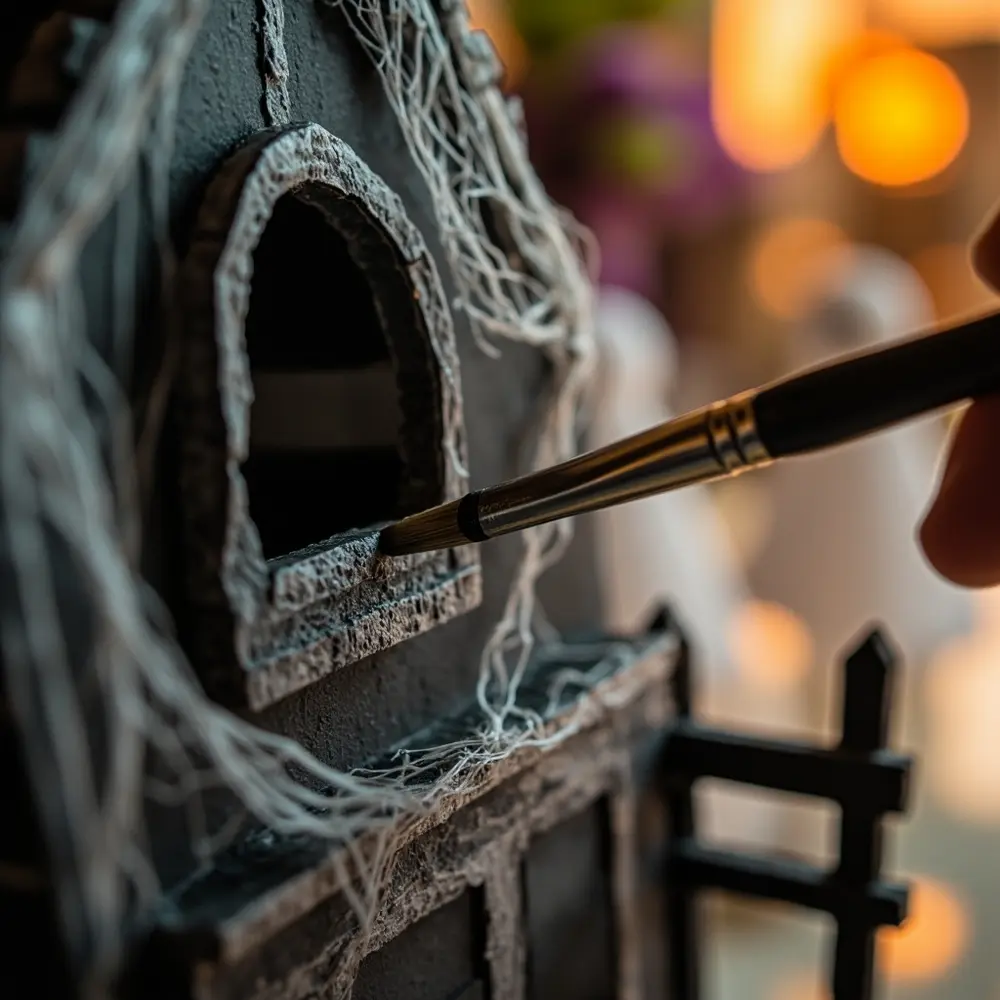
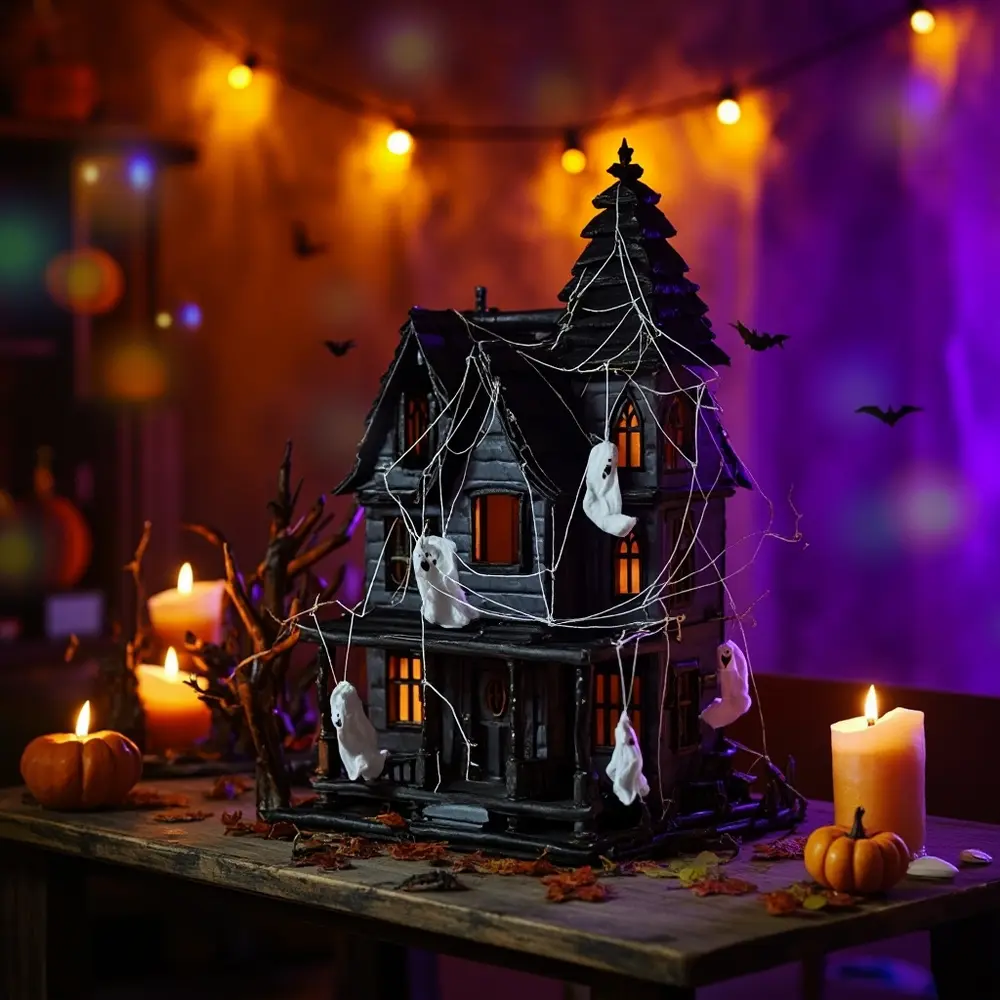
Image-6: The final result! A beautiful, slightly zoomed-out shot of the finished recycled haunted house sitting on a table. It’s fully painted and decorated with cotton cobwebs, tiny paper ghosts, and twig “trees” around it. The lighting is dim and moody, making the house look genuinely spooky and impressive.
Scale & Scope: Model vs. Playhouse – Tailoring Your Build
This project can be adapted for any ambition level!
- For a Tabletop Model: Focus on the tiny, intricate details. Use smaller boxes (cereal, tissue boxes) and challenge yourselves to add tiny furniture inside that can be seen through the windows. Use bottle caps for cobblestones and twigs for dead trees in the yard. This version is all about fine motor skills and detailed artistry.
- For a Kid-Sized Playhouse: Safety and stability are key! You’ll need very large, sturdy appliance boxes (ask at local stores!). Reinforce all the seams with extra layers of duct tape. Make sure any doors or windows are large enough for kids to crawl through safely, with no sharp cardboard edges. Keep the interior simple and open for imaginative play.
Variations & Customizations to Haunt Your House
- For Younger Kids (Ages 4-6): Have an adult pre-assemble and paint the main structure. Let the little ones go wild with the decorating—gluing on cotton ball ghosts, sticking on spooky stickers, and finger-painting eerie designs. 🎨
- For Older Kids (Ages 10+): Challenge them with more complex engineering. Can they build a working drawbridge from cardboard and string? Or design a multi-story mansion with separate, detailed rooms?
- Incorporate Electronics: For a true engineering twist, safely add a string of battery-powered LED lights inside to make the windows glow. You can even hide a small Bluetooth speaker inside playing spooky sound effects! 🔊
Theme Twist 💡: Go for an “Eco-Horror Green House”! Instead of a traditional haunted mansion, design a creepy, abandoned greenhouse. Use clear plastic bottles for glass panes, drape everything in fake (or real!) vines, and create monstrous-looking plants from recycled materials.
Halloween Activity FAQs ❓
#### Q1: What kind of recycled materials are best for structural integrity?
Corrugated cardboard from shipping boxes is your best friend for the main structure. It’s strong and rigid. For extra stability, you can even double up the walls by gluing two pieces together. Always tape along both the inside and outside of your seams!
#### Q2: How can I make my recycled haunted house waterproof or durable for outdoor display?
If you want to display your masterpiece on the porch, you’ll need to protect it. A few coats of a clear, waterproof sealant spray (like Mod Podge Outdoor) can work wonders. You can also “laminate” it by covering the entire surface with clear packing tape, though this is time-consuming. For best results, keep it in a covered area, safe from heavy rain.
#### Q3: What are some safe ways to add lights or sound effects to my recycled haunted house?
Safety first! Never use real candles or plug-in lights that get hot. The best and safest options are battery-powered LED lights, like fairy lights or flameless tea candles. They stay cool to the touch and provide a fantastic eerie glow. For sound, a small, portable Bluetooth speaker hidden inside is perfect for playing a loop of ghost sounds or creepy music.
Conclusion
You did it! You’ve not only created a one-of-a-kind Halloween decoration but also made fantastic memories, taught valuable lessons about recycling, and engineered something truly special. Seeing that spooky, handmade creation sitting in your home is so much more rewarding than anything you could buy at a store. From my years of running Halloween workshops, I can tell you that the pride on a kid’s face after finishing a big project like this is pure magic. ✨
This project is all about creativity, problem-solving, and celebrating the season in a sustainable way. I hope you and your family have an absolute blast bringing your haunted house to life. Be sure to share photos of your creations—I’d love to see them!
What’s your go-to recycled material for crafting? I’m always looking for new ideas! ♻️
