Hey there, ghouls and goblins! Roshan Sharma here, your friendly neighborhood Halloween fanatic. 🎃 It’s that magical time of year when the air gets crisp and our imaginations run wild. Are you looking for a unique craft that goes beyond the usual paper bats and cotton-ball ghosts? 👻
Maybe you’ve tried making costume props before, but they always felt like they were missing a certain sparkle. You want something that feels truly magical, a project that’s not just fun to make but also teaches you something super cool along the way. ✨
Well, you’ve stumbled into the right crypt! Today, I’m going to show you how to build your very own light-up LED magic wand. This isn’t just a craft; it’s your first step into the electrifying world of circuits, all wrapped up in a spooky, fun, and totally awesome project. Let’s make some magic! 🧙♀️
Activity At-a-Glance
- Best For 👨👩👧👦: Halloween crafts, educational projects, pre-trick-or-treat activities, and fantasy play.
- Time ⏳: Approx. 1-2 hours
- Budget Level 💰: Low-Cost
- Spookiness Level 👻: Low (more magical/fantasy than scary)
What You’ll Need for Your Light-Up Magic Wand 📋
Before we start casting spells, we need to gather our enchanted ingredients. I’ve put together a simple checklist for you. Most of these items can be found at a craft or electronics store.
- Wand Base: A wooden dowel, sturdy stick from the yard, or even a cardboard paper towel roll will work perfectly. 🪄
- LEDs: Any color you like! 3mm or 5mm are the easiest to work with. 🌈
- Coin Cell Battery: A CR2032 battery is the perfect little power source. 🔋
- Coin Cell Battery Holder: Get one with a built-in ON/OFF switch and two wire leads. This is our magic button! 🔘
- Thin Gauge Wire: A small amount of 22-26 AWG wire. You might not even need this if your battery holder wires are long enough. ⚡
- Wire Strippers: To carefully remove the plastic coating from the wires.
- Small Pliers: For twisting wires together.
- Electrical Tape or Heat Shrink Tubing: To keep our connections safe and secure.
- Hot Glue Gun & Glue Sticks: The trusty tool of every great maker! 🔥
- Scissors: For all your cutting needs. ✂️
- Decorative Elements: This is where you let your creativity shine! Think glitter, paint, ribbons, craft foam, beads, or anything else you can dream up. 🎨
Preparation & Setup: Creating Your Magical Workspace 🏰
Every wizard needs a good workshop! Find a clean, well-lit table to work on. If you’re planning to paint or use glitter (and I highly recommend glitter!), lay down some old newspaper or a plastic tablecloth to keep things tidy. Arrange all your tools and components so you can see them clearly.
Pro Tip 💡: To really get in the spirit, dim the lights in the room and turn on a string of fairy lights. When I taught pumpkin carving workshops, a little bit of spooky music and a cool atmosphere made everyone feel more creative. It totally works!
How to Make Your LED Magic Wand: Step-by-Step 🚀
Alright, let’s bring this wand to life! Follow these steps, and you’ll be illuminating the night in no time.
Step 1: Gather Your Magical Supplies
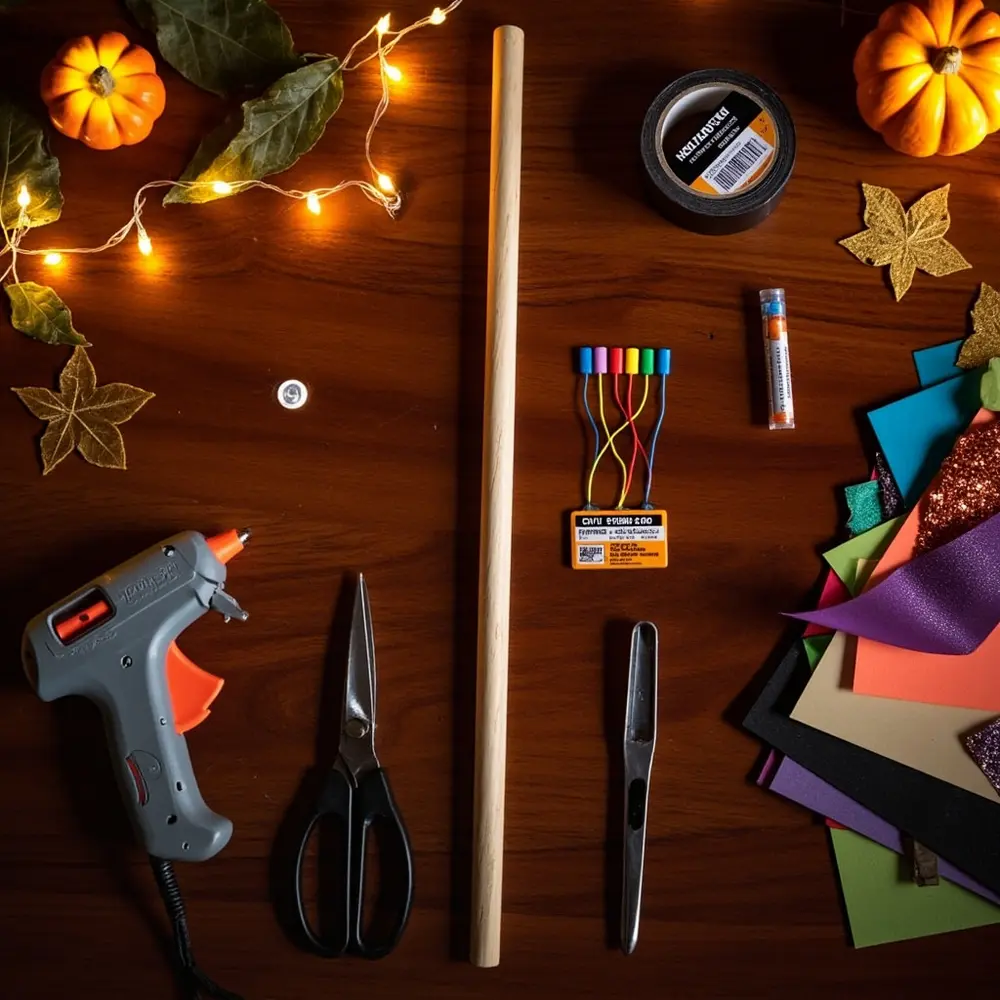
Having everything organized is the first secret to a successful project. Lay out all your tools and materials on your workspace. This way, you won’t have to scramble to find something later. A tidy wizard is a powerful wizard!
Image-1: A top-down shot of all the materials for the wand—dowel, LED, battery, holder, glue gun, and decorations—neatly arranged on a crafting mat.
Step 2: Prepare Your Wand Base
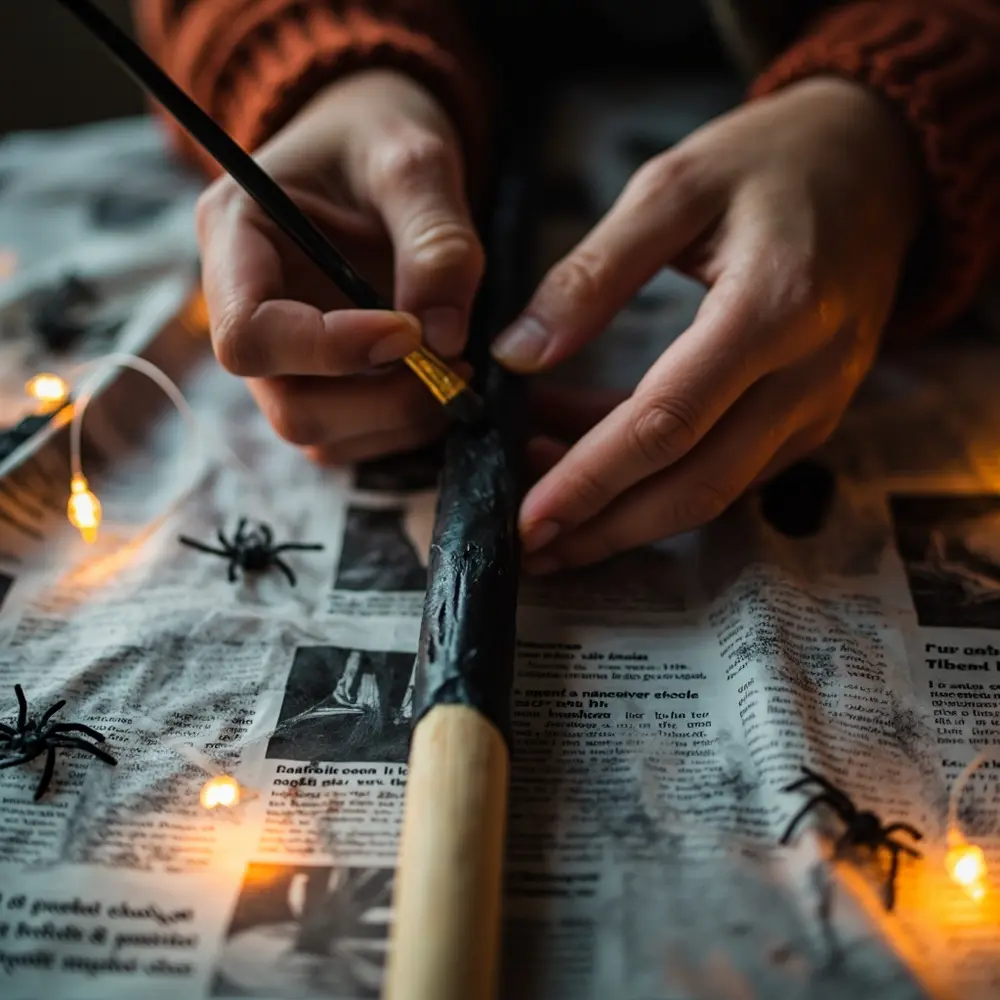
Your wand needs a solid foundation. If you’re using a wooden dowel, you might want to give it a light sanding to make it smooth. If you’re using a paper towel roll, make sure it’s sturdy. Now is the perfect time to paint your base color. A coat of black, silver, or brown paint makes a great starting point. Let it dry completely.
Image-2: A close-up shot of a hand holding a paintbrush, applying a coat of black paint to a wooden dowel.
Step 3: Connect the LED Light
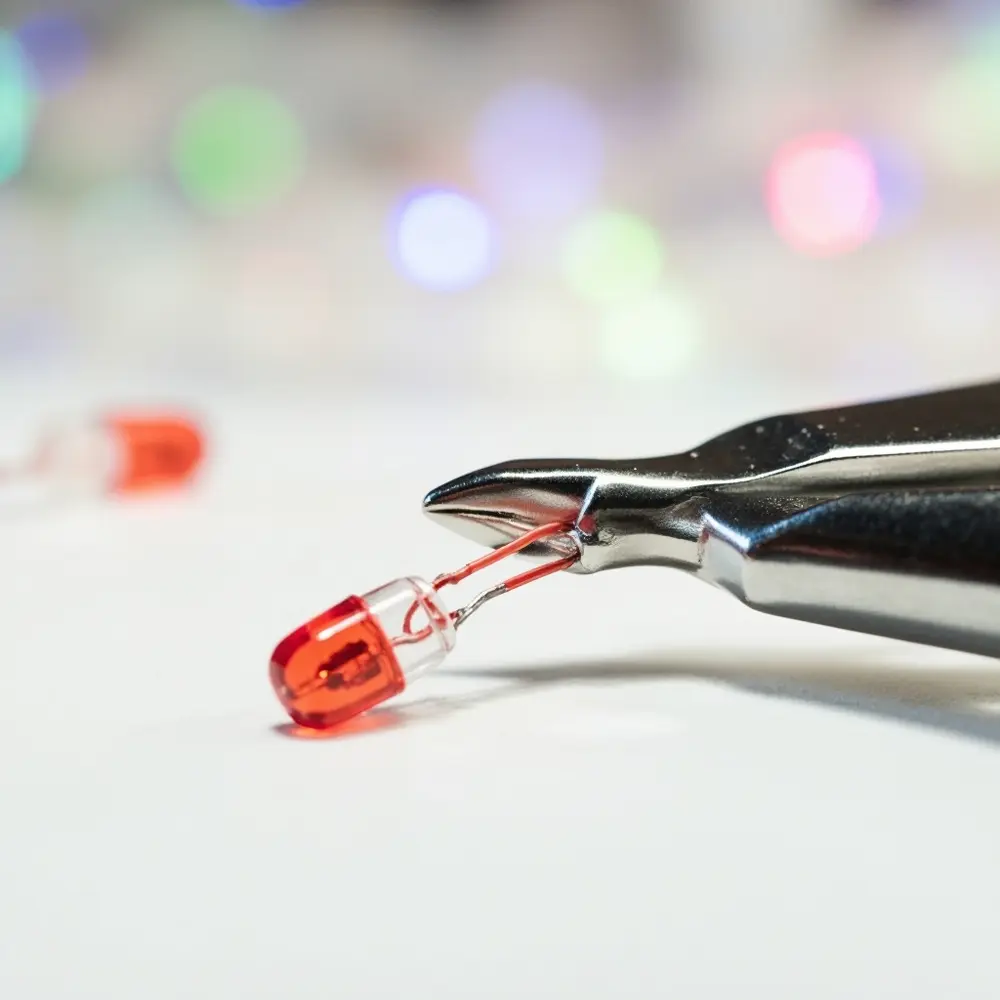
This is where the real magic begins! Take a look at your LED. You’ll notice one leg is slightly longer than the other.
- The long leg is the positive (+) side.
- The short leg is the negative (-) side.
Your battery holder should have a red wire (positive) and a black wire (negative). Gently twist the red wire to the long leg of the LED. Then, twist the black wire to the short leg. Use your small pliers to make the connection nice and tight.
Caution ⚠️: Getting the polarity right is key! Positive must connect to positive, and negative to negative. Ask an adult for help when using wire strippers or pliers. Safety first, always!
Image-3: A macro close-up shot showing the long leg of an LED being twisted together with the red wire from the battery holder. The pliers are visible nearby.
Step 4: Secure the Connections
Once the wires are twisted, we need to protect them. Wrap a small piece of electrical tape around each connection separately. Make sure the two connections don’t touch each other! This prevents a “short circuit,” which would stop your wand from working.
Step 5: Secure the Battery Holder and Battery
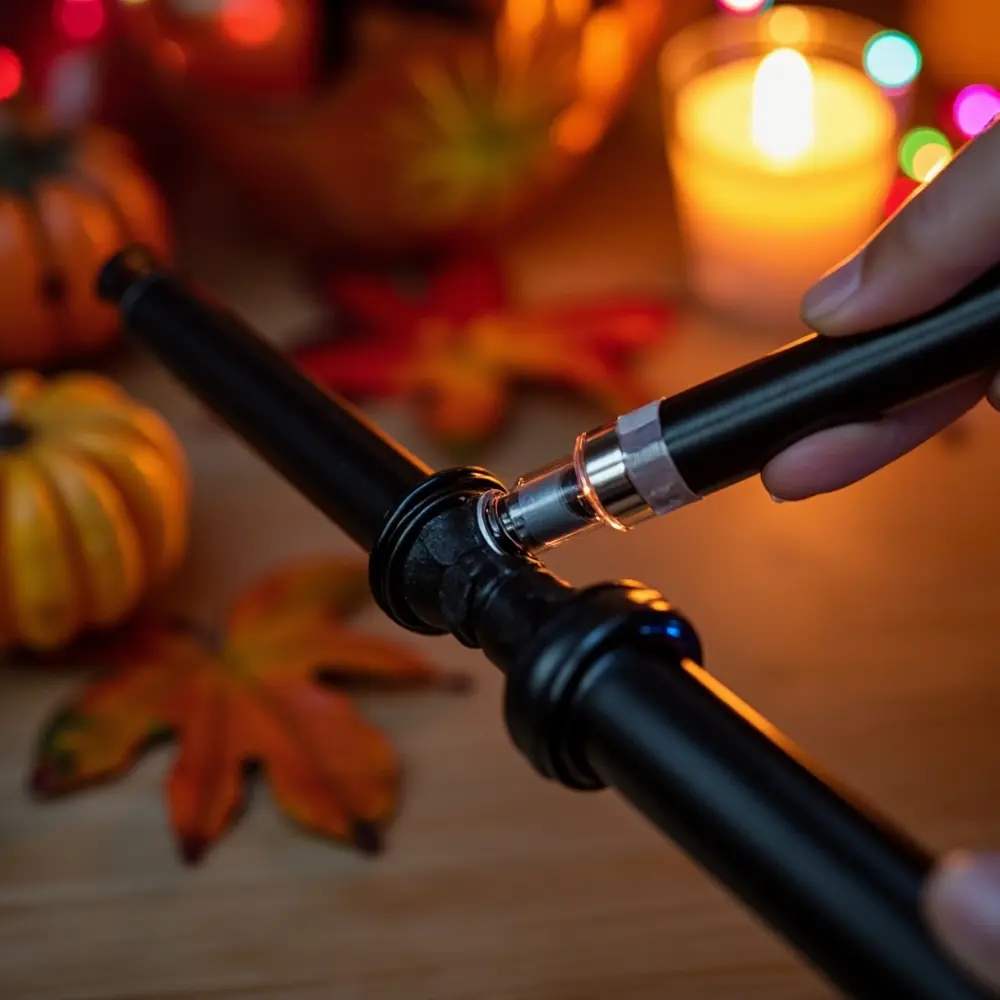
Time to add the power source! Pop your coin cell battery into the holder. Make sure the side with the “+” on it is facing up, matching the “+” symbol inside the holder. Now, decide where you want the ON/OFF switch to be. I like to place it near the handle for easy access. Use your hot glue gun to attach the battery holder securely to your wand base.
Image-4: A side-view shot of the battery holder, with the coin cell battery partially inserted, being hot-glued onto the handle area of the painted wand.
Step 6: Test Your Circuit
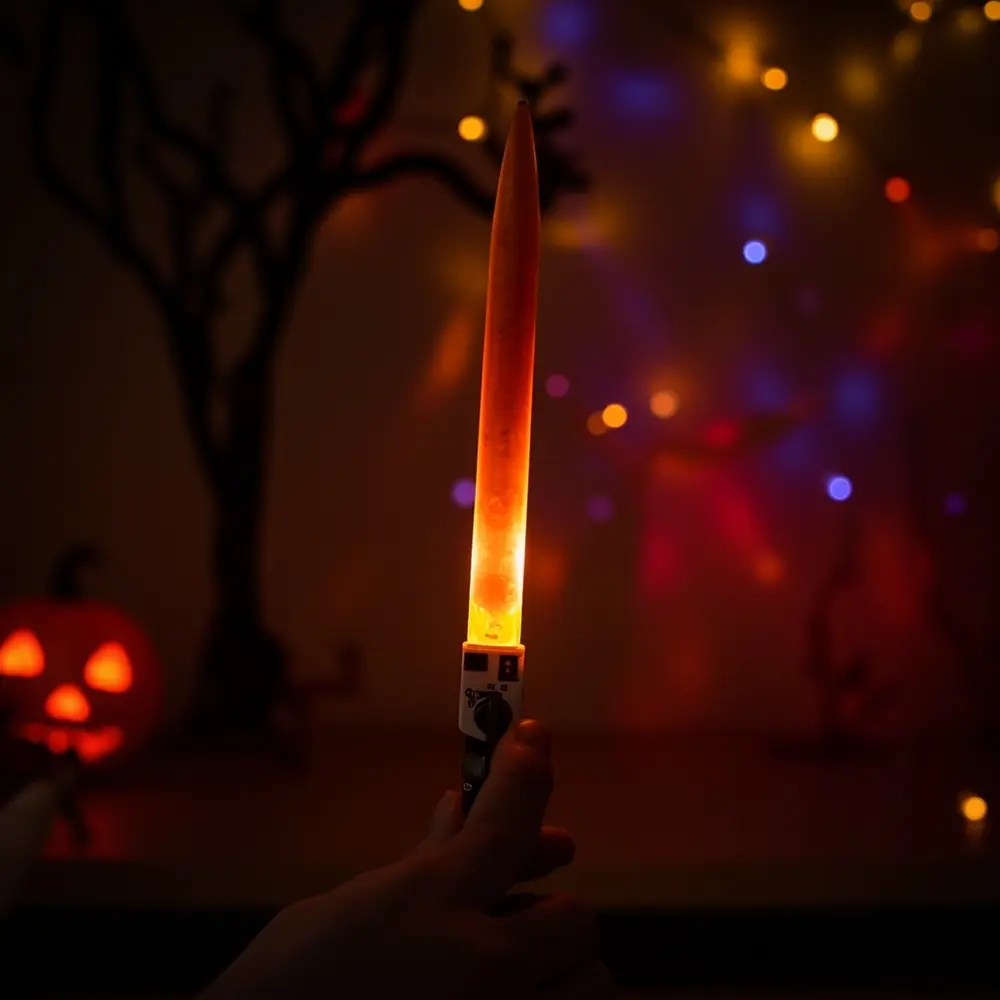
This is the moment of truth! Flip the switch on your battery holder. Did the LED light up? Hooray! You’ve created a closed circuit and brought your wand to life! If it doesn’t light up, don’t worry. Flip the switch off and double-check your connections. Is the battery in the right way? Are the wires securely attached to the correct LED legs?
Image-5: A dramatic shot of the wand in a slightly dim room, with the LED glowing brightly for the first time. A finger is shown on the “on” switch.
Step 7: Decorate Your Magic Wand
Now that the electronics are working, it’s time to unleash your inner artist! Use hot glue to attach the LED and its wires to the tip of the wand. Then, go wild with your decorations. Wrap it in ribbon, add swirls of glitter glue, or attach some cool beads. Just be careful not to cover up the LED bulb or the switch.
Image-6: An over-the-shoulder shot showing hands carefully wrapping a sparkly purple ribbon around the wand’s handle, with glitter and paint nearby.

Step 8: Final Magical Touch
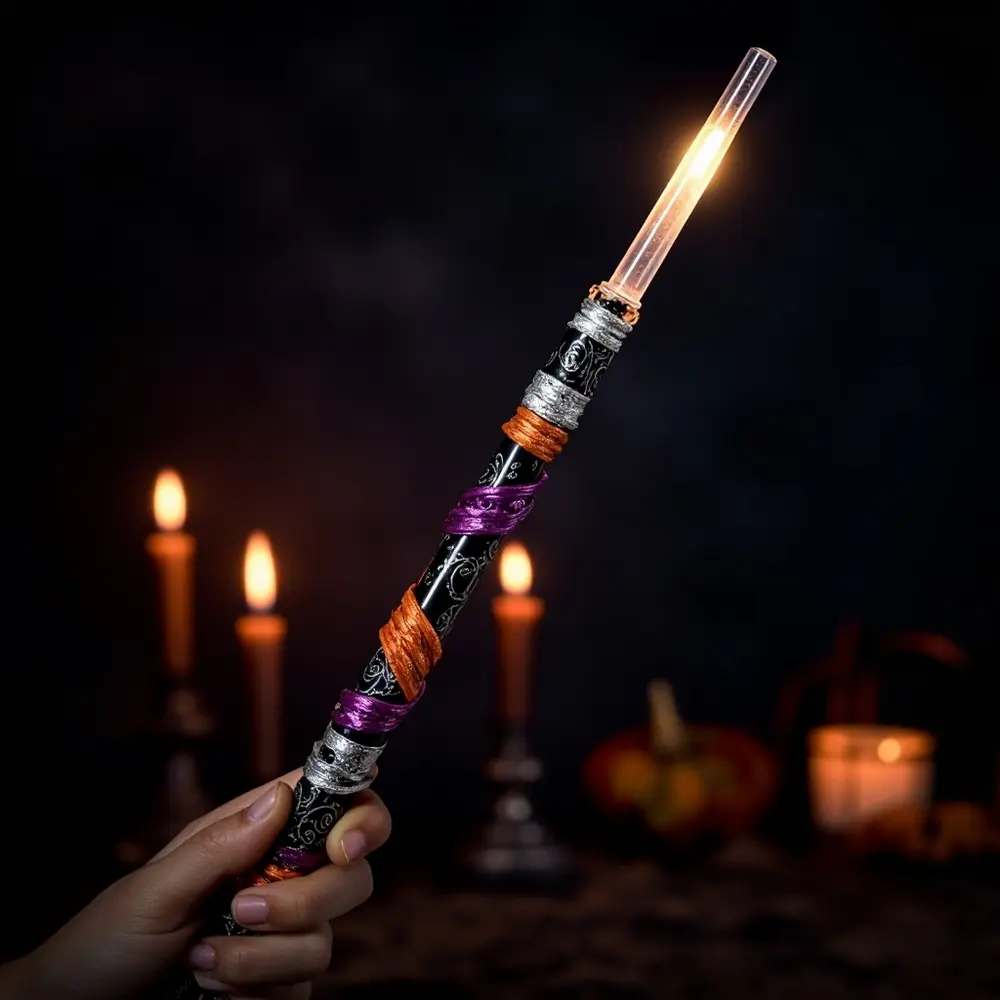
Once all your decorations are in place and the glue is dry, give your wand one final test. Flip the switch and watch it glow! You did it! You’ve successfully blended science and magic into one amazing creation.
Image-7: A beautiful, slightly zoomed-out shot of the finished light-up magic wand. It’s held up against a dark background, glowing brilliantly, showcasing all the glitter and ribbon decorations. The full, magical effect is captured.
The Science Behind the Spark: Understanding Your Magic Wand Circuit 🔬
You didn’t just make a craft; you built a real working circuit! But what even is a circuit?
Think of it like a racetrack. The battery is the starting line, full of energy (electricity). This energy wants to race around the track. The wires are the track itself, giving the electricity a path to follow. The LED is like a super cool checkpoint that lights up when the racers pass through it. Finally, the switch is the gatekeeper. When the switch is ON, the gate is open, the track is complete, and the electricity can flow in a full circle—this is called a closed circuit. When the switch is OFF, the gate is closed, creating a gap in the track, and the electricity stops. Simple, right? You’re officially an electronics wizard!
Variations & Customizations to Haunt Your House 🦇
One of my favorite things about being a maker is putting my own spin on projects. Here are a few ideas to level up your wand:
- Multiple LEDs 💡: For older kids, try connecting two or three LEDs for an extra-bright wand! You’ll need to connect them in parallel (all the long legs twisted together to the red wire, and all the short legs twisted together to the black wire).
- Different Wand Bases 🌳: Don’t limit yourself! A gnarled branch from the backyard can make for a rustic, spooky wand. A length of PVC pipe could be the base for a futuristic sci-fi wand.
- Sound Effects 🔊: Add a tiny sound module that plays a “zap” or “twinkle” noise when you press a button.
- Glow-in-the-Dark Elements ✨: Use glow-in-the-dark paint for swirls and symbols that will charge up under a light and keep glowing even when the LED is off!
Theme Twist 🧟: Instead of a magic wand, how about a “Monster Detector”? Use a green LED, paint the wand with spooky colors, and add some googly eyes. My niece did this last year and had a blast scanning the yard for creatures before trick-or-treating!
Halloween Activity FAQs ❓
#### Q1: What should I do if my LED doesn’t light up?
Don’t panic! This is the most common issue and usually an easy fix. Go through this checklist:
- 1. Is the switch in the “ON” position?
- 2. Is the battery inserted correctly? (The “+” side should face up).
- 3. Are you sure the long leg (+) of the LED is connected to the red wire and the short leg (-) is connected to the black wire?
- 4. Are the wire connections tight? Give them a gentle wiggle to make sure nothing is loose.
#### Q2: What’s the best way to make my wand durable for trick-or-treating?
A great question! For maximum durability, use a solid wooden dowel as your base. Be generous with the hot glue when securing the battery pack and the LED. Finally, wrapping the entire length of the wires in electrical tape will protect them from getting snagged.
#### Q3: Can I use different types of batteries for this project?
For this simple project, it’s best to stick with the 3V coin cell battery (like the CR2032). It provides the perfect amount of power for a single LED without any other parts. Using bigger batteries like AAs would require adding another component called a resistor to protect the LED, which makes things a bit more complex. Let’s save that for our next project!
—
Congratulations on creating your incredible light-up magic wand! You’ve learned a new skill, made a one-of-a-kind Halloween accessory, and are ready to light up the night. I’m so proud of what you’ve built! When I was a kid designing my first haunted yard displays, a project like this would have felt like real magic. Now you have a piece of that magic to carry with you.
Now go on, show off your creation and have a spook-tacular time!
What color did you choose for your LED? Let me know in the comments below! ⬇️
