It’s that time of year again, ghouls and goblins, when the air gets crisp and our creative spirits get a little… spooky! 🎃
Are you tired of the same old pumpkin carving and looking for a Halloween activity that truly wows? You want something that feels like real magic, gets the whole family huddled together, and maybe even sneaks in a little learning without anyone noticing. ✨
I’m Roshan Sharma, your friendly neighborhood Halloween fanatic, and I live for this stuff! That’s why I’m so excited to share one of my all-time favorite projects: a bubbling, layered, and totally mesmerizing Density Tower Potion. It’s the perfect blend of mad science and spooky magic! 🧪
Activity At-a-Glance
- Best For 👨👩👧👦: Family activity, Halloween party station, classroom science demo
- Time Required ⏳: Approx. 30-45 minutes (including gathering materials)
- Budget Level 💸: Low-Cost (uses mostly household items!)
- Spookiness Level 👻: Low-Medium (easily amped up with your spooky flair!)
What You’ll Need for Your Density Tower Potion 📋
- A clear, tall container (a vase, glass bottle, or even a science-y graduated cylinder works great) 🏺
- Various liquids of different densities (honey, corn syrup, dish soap, water, vegetable oil, rubbing alcohol are perfect starters) 💧
- Food coloring (grab your favorite spooky shades like purple, green, orange, or black!) 🎨
- Small measuring cups or pourers with spouts 🧪
- A spoon or a dropper for careful pouring 🥄
- Optional: Small, non-soluble spooky objects (plastic spiders, googly eyes, sequins, tiny plastic bones) 🕷️
- A tray or newspapers for super easy cleanup ✔️
Preparation & Setup: Creating the Spooky Scene 🦇
Before we start concocting, let’s set the mood! A true potion master needs a proper laboratory. Find a clear, flat workspace and cover it with newspaper or a plastic tablecloth—things can get a little sticky, and I want your cleanup to be a breeze.
Dim the lights and gather your materials. This is your chance to really go for it! I love turning this into a full-blown experience.
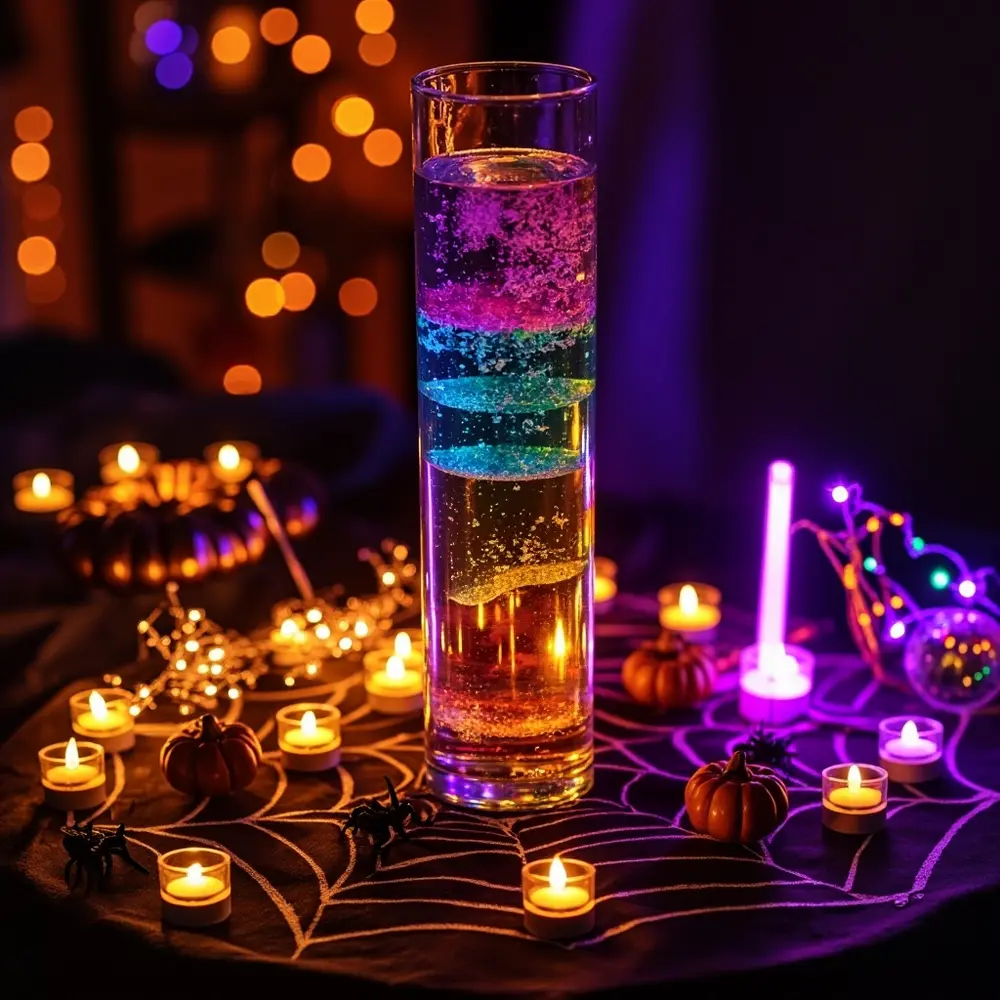
Pro Tip 💡: Drape a dark cloth or some faux spiderwebs over your table. Then, add a few battery-operated tea lights or crack a couple of glow sticks for an eerie, glowing “mad scientist” lab feel. It takes two minutes and looks amazing!
How to Make Your Density Tower Potion: Step-by-Step 🚀
Step 1: Gather Your Ghastly Ingredients
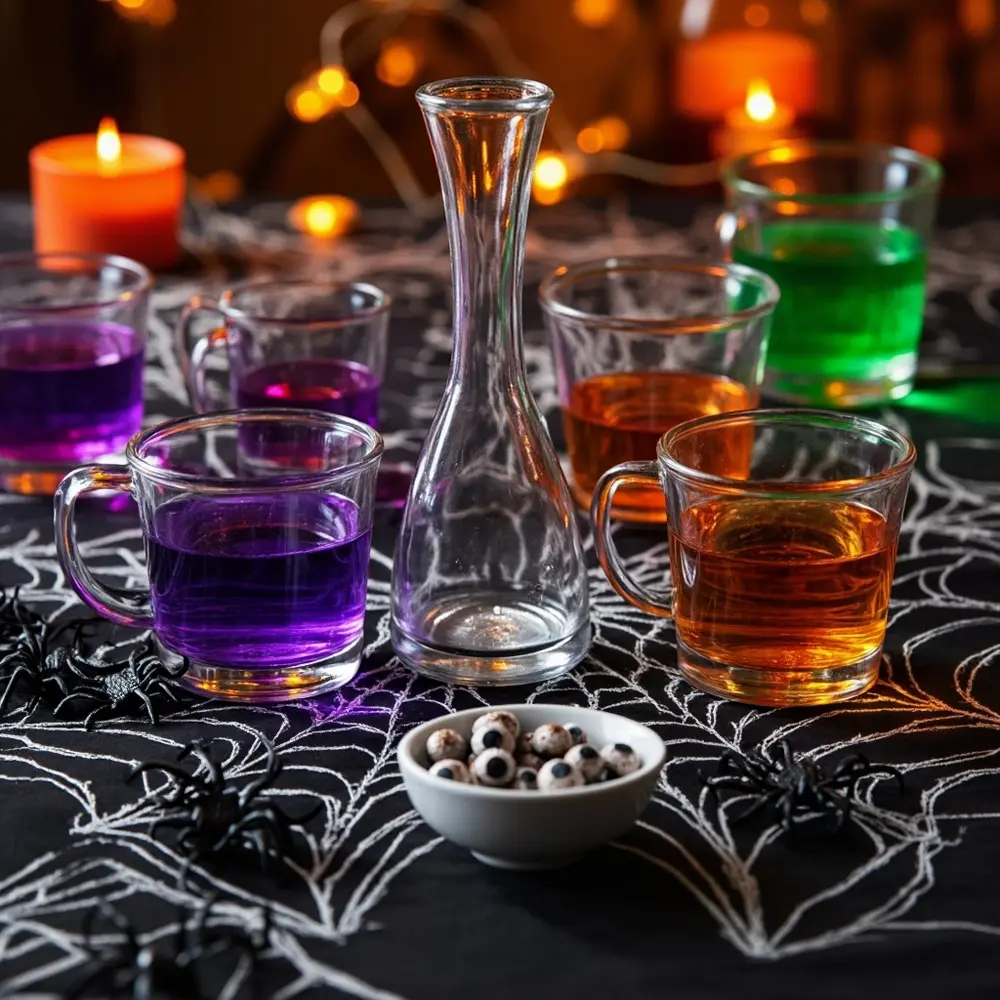
First things first! Let’s get organized like a proper scientist. Arrange all your chosen liquids, food coloring, and your tall container on your protected workspace. I find it’s easiest to line them up in the order you plan to pour them (we’ll get to that next!). For liquids like water or rubbing alcohol, go ahead and add a few drops of food coloring and give them a gentle stir now.
Image-1: An overhead shot of all the materials neatly arranged on a dark, spiderweb-covered tablecloth. Various liquids are visible in clear cups, some already colored green and purple, alongside a tall glass vase, a spoon, and a small bowl of plastic spiders.
Step 2: Concoct the Densest Draught First
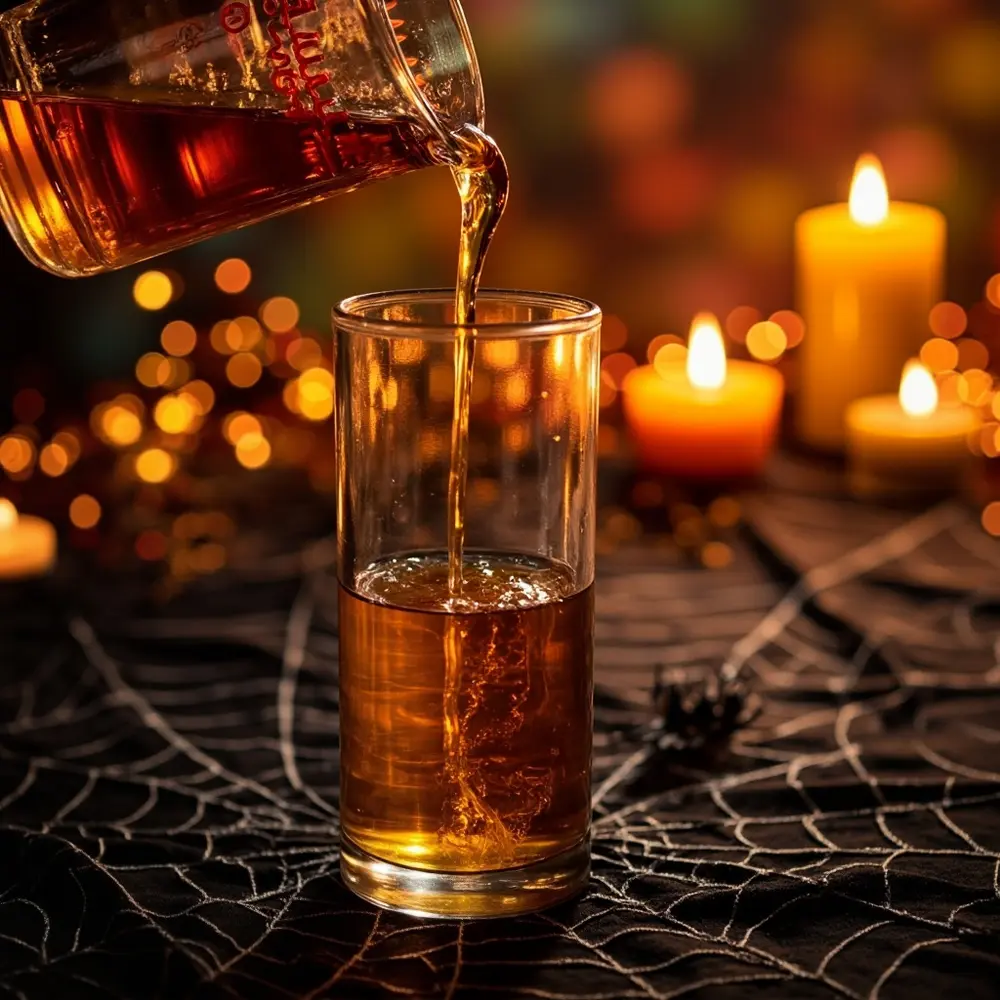
Alright, potion masters, it’s time for the first and most important step! We’re going to start with your heaviest, or densest, liquid. This is usually honey or corn syrup. Why first? Because this dense layer will form a strong foundation for all the other liquids to float on top of. Pour it carefully and directly into the center of the container.
Caution ⚠️: Honey and syrup are super sticky! If you have a funnel, it can help guide the liquid right to the bottom without coating the sides of your container. Wipe up any spills right away!
Image-2: A close-up side-view shot of a hand carefully pouring golden honey into the bottom of a clear glass vase, showing the first thick layer forming at the base.
Step 3: Mysteriously Layer Your Liquids
Here comes the magic! Grab your next liquid in line—something less dense, like dish soap. The secret to creating those perfect, crisp layers is to pour slowly. Tilt the container slightly and pour the liquid down the inside wall, or even more gently, pour it over the back of a spoon. This stops it from splashing and mixing with the layer below. It’s so satisfying to watch it settle!
Image-3: A detailed shot showing the layering technique. A hand is holding a spoon just above the honey layer, while green dish soap is slowly being poured over the back of the spoon and down the side of the glass.
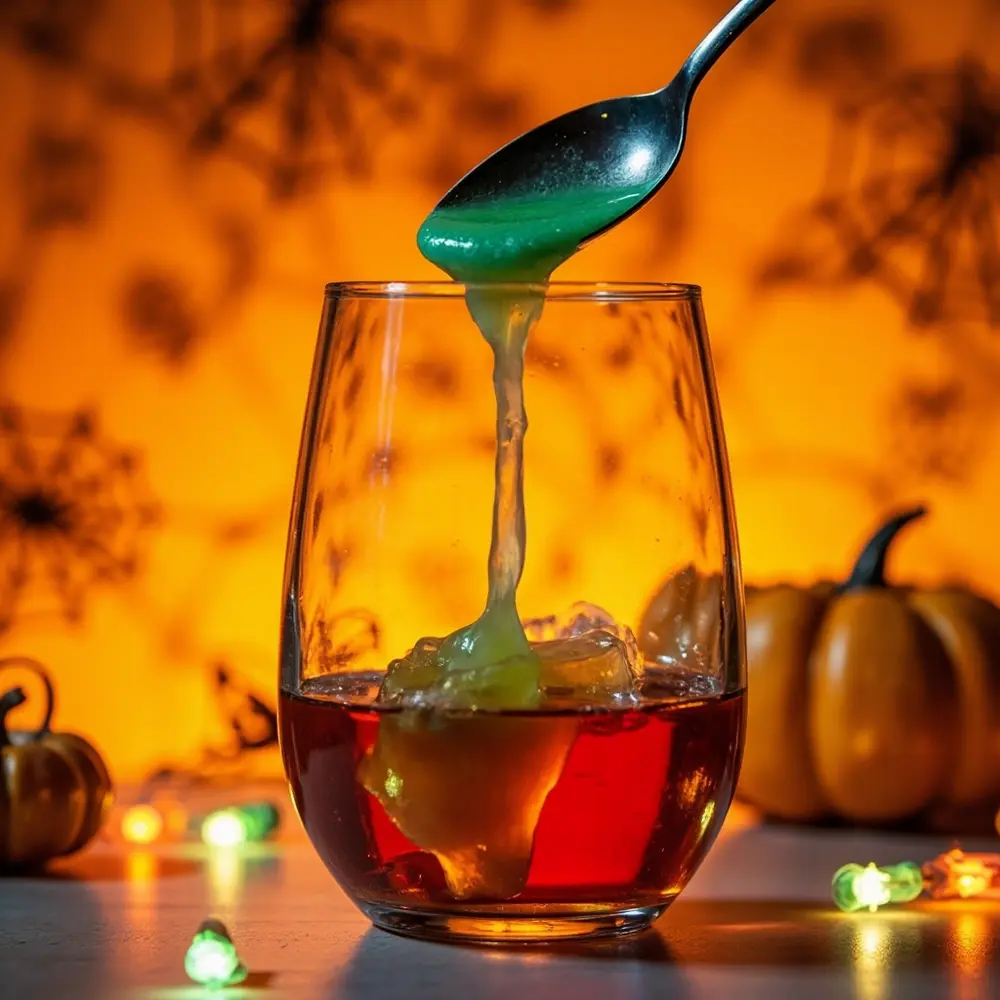
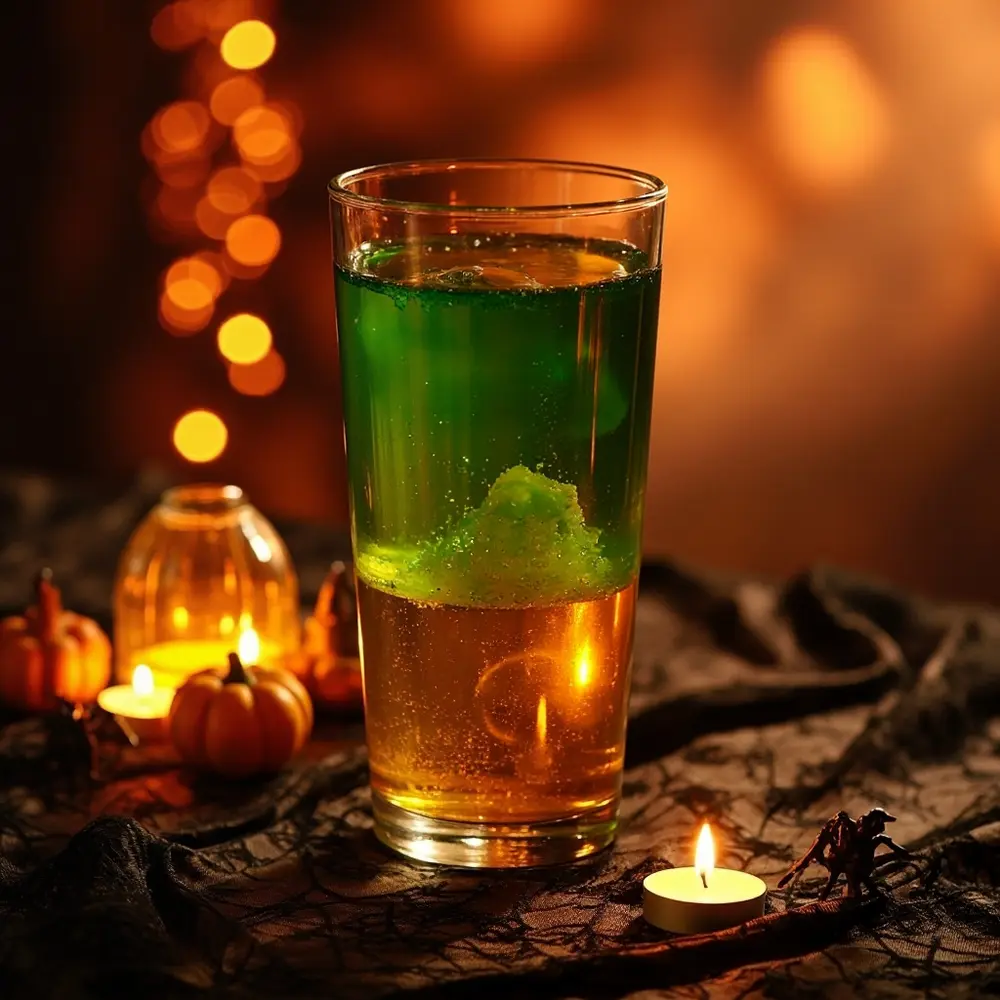
Image-4: A mid-shot of the vase, now showing two distinct, separate layers: the golden honey on the bottom and a vibrant green dish soap layer floating perfectly on top.
Step 4: Continue the Eerie Elixir
You’ve got the technique down! Now, just keep going. Continue adding your liquids one by one, always going from the most dense to the least dense (a typical order would be honey, corn syrup, dish soap, water, vegetable oil, and finally, rubbing alcohol). Remember to pour slowly and gently every single time. The different colors will make your potion look extra spooky and spectacular.
Image-5: A photo of the density tower project about halfway to completion. The vase now contains four beautiful layers: honey, green dish soap, purple water, and a layer of clear vegetable oil being slowly added.
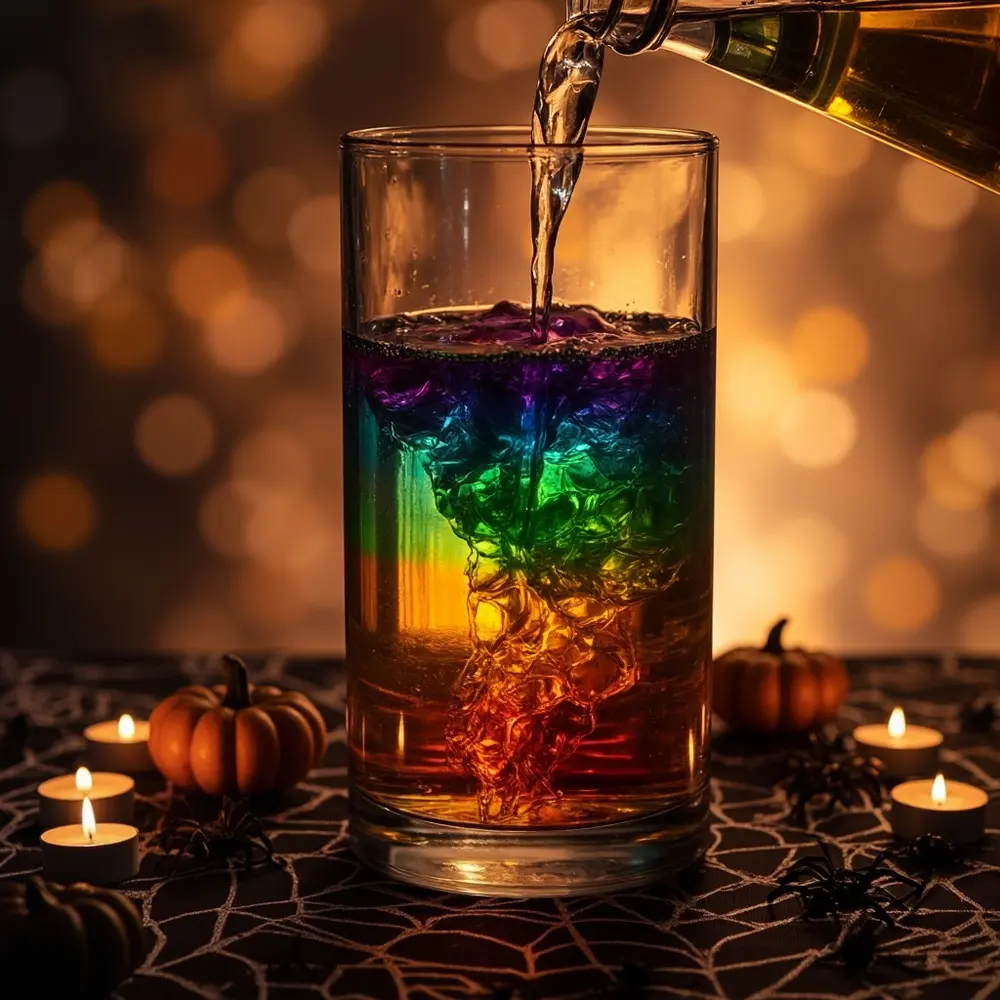
Step 5: Add Spooky Specimens (Optional)
Once all your liquid layers are in place, it’s time to add your spooky specimens! This is my niece’s favorite part. Gently drop in your plastic spiders, googly eyes, or glitter. Watch closely! You’ll see them sink through some layers but float on top of others. This is a fantastic visual of how different objects also have their own density. A plastic spider might float on the water layer, while a small bead might sink down to the dish soap!
Image-6: A close-up of a hand gently dropping a small black plastic spider into the top of the completed, multi-layered liquid tower.
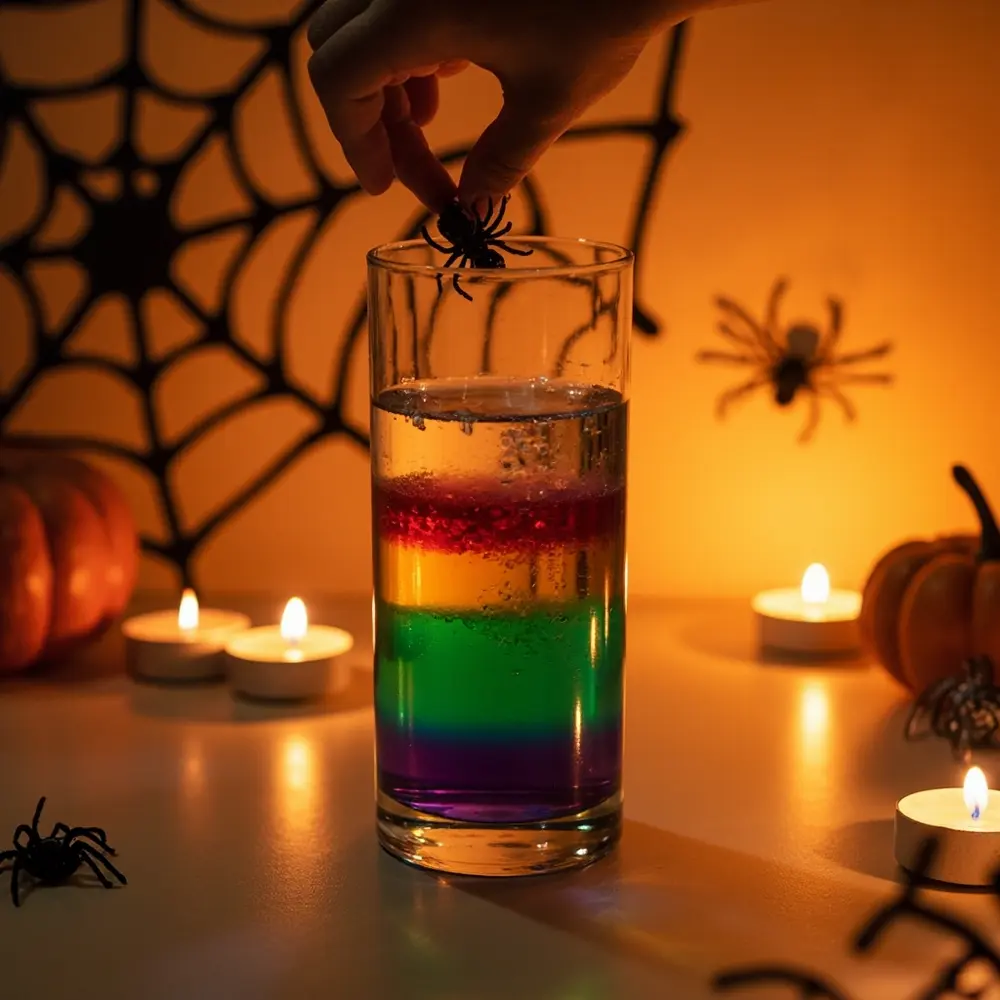
Image-7: A side-view of the density tower showing the plastic spider has come to rest, magically suspended between the oil and water layers. A googly eye is also visible, floating on a lower layer.
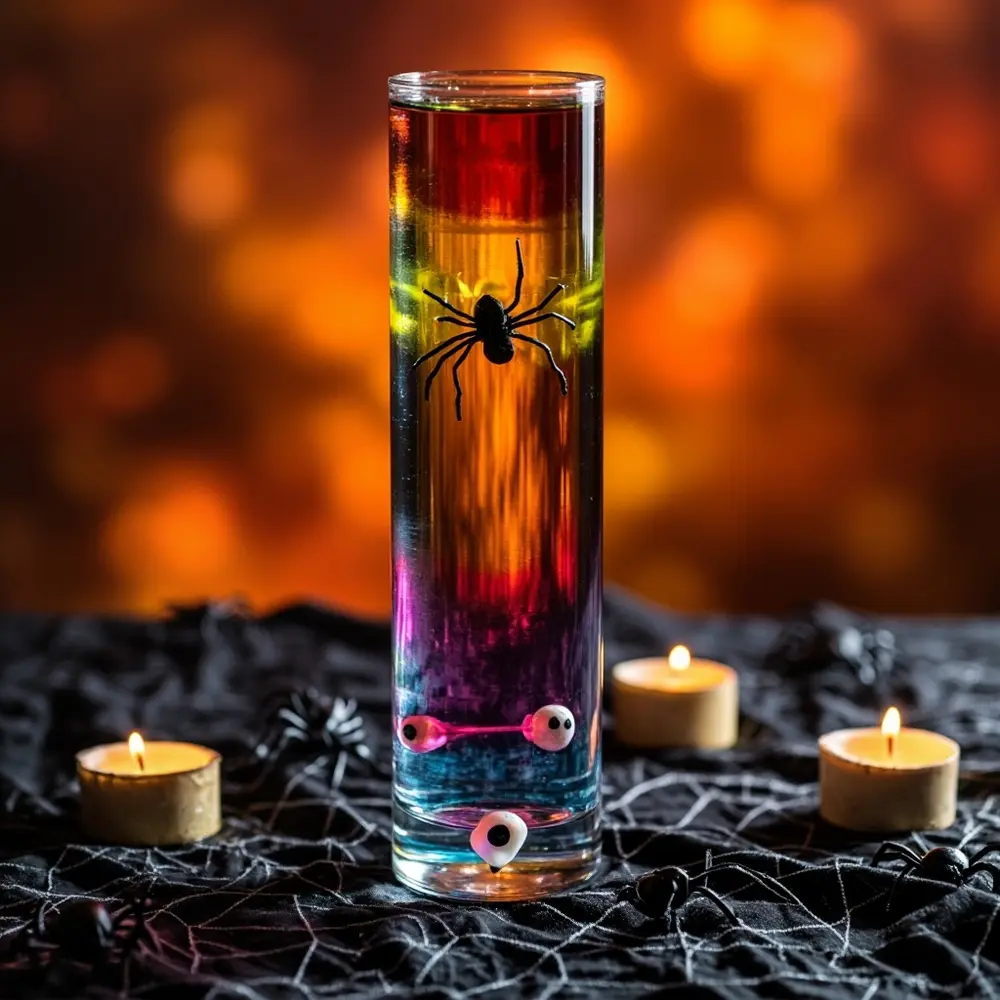
Image-8: A beautiful, slightly zoomed-out shot of the finished density tower potion. The tall glass vase is filled with 5-6 distinct, colorful layers and sits on the spooky-themed table next to a few glow sticks, casting an eerie and enchanting glow on the magnificent creation.
The Science Behind Your Spooky Potion 🔬
So, what’s the secret sorcery here? It’s not magic—it’s science! The “magic” behind your potion is a cool concept called density.
Think of it this way: if you had two boxes of the same size, and you filled one with feathers and the other with rocks, which one would be heavier? The box of rocks, of course! That’s because rocks are denser than feathers.
The same rule applies to liquids. Each liquid in your potion has a different density. The honey is packed with lots of heavy stuff (sugar!), making it very dense, so it sinks to the bottom. Rubbing alcohol is much lighter and less dense, so it happily floats on top. By pouring carefully from most dense to least dense, you allow each liquid to find its proper place, creating those amazing spooky layers!
Variations & Customizations to Haunt Your House 🧛
- Age-Appropriate Liquids 🧒: For younger kids, keep it simple and non-toxic! A three-layer potion with corn syrup, water, and oil is just as impressive.
- Theme Expansion 🧙♀️: Create a “Witch’s Brew” with green, black, and purple layers. Or try a “Fiery Dragon’s Breath” potion with red, orange, and yellow!
- Container Creativity 🧪: Don’t have a tall vase? Try an old-fashioned mason jar or a cool, curvy bottle to see how the layers settle in different shapes.
- Sensory Additions ✨: Add some fine Halloween glitter! It will sparkle and catch the light as it slowly drifts down through the layers.
- Observation Journal 📓: Turn it into a real experiment! Have your little scientists write down or draw their predictions. Which liquid will be on the bottom? Where will the plastic bat float?
Theme Twist 🧛♂️: Create a “Vampire Blood Bank” potion! Use only red-colored water, clear oil, and dark corn syrup (or molasses) for a blood-red, black, and clear effect. Drop in a few plastic fangs or tiny plastic eyeballs to complete the creepy theme!
Halloween Activity FAQs ❓
#### Q1: Why are my layers mixing instead of separating?
This usually happens for one of two reasons: either the liquids were poured too quickly, or the liquids you chose have very similar densities. Always pour slowly down the side of the glass, and try using liquids with very different properties, like honey and oil.
#### Q2: What if I don’t have all the suggested liquids? Can I substitute them?
Absolutely! The fun is in experimenting. You can try things like maple syrup, lamp oil (with adult supervision!), or even melted liquid wax (again, adults only!). Just do a quick search online for a “liquid density chart” to see where your new ingredient might fit in your tower.
#### Q3: How long will my density tower potion last?
If left undisturbed, your potion can look great for several days to a week! Over time, the colors might start to bleed into each other, especially at the water-based layers, and the lines won’t be as crisp. But that just gives it a new, murky, and even spookier look!
Time to Brew Up Some Fun!
There you have it—a perfectly spooky, wonderfully scientific, and incredibly fun activity that’s guaranteed to be a hit this Halloween season. I’ve made these at family parties and in classroom demos, and the look of wonder on kids’ faces when they see the layers separate is just priceless. It’s a fantastic way to bond with your family, create something amazing, and make memories that will last long after the last piece of candy is gone.
Now go get your mad scientist on! What spooky color combinations will you try in your potion? Let me know in the comments below! 🎃
