It’s that time of year again, ghouls and goblins! The air is getting crisp, the leaves are turning a ghoulish orange, and I’m already on my fifth pumpkin spice latte of the week (no regrets!). Are you looking for a killer Halloween activity that goes beyond just candy and costumes? 🎃
You’ve probably tried the usual pumpkin carving and spooky movie marathons, but after a while, you need something new to keep the little monsters entertained. You want an activity that’s hands-on, sparks their imagination, and maybe even sneaks in a little learning without them realizing it. It’s a tall order for any Halloween party or family night! 👻
Well, you’ve come to the right haunted house! I’m Roshan Sharma, your friendly neighborhood Halloween fanatic, and I’ve designed the perfect project that combines crafting, science, and a bit of friendly competition. Get ready to build and race your very own balloon-powered spooky cars for an unforgettable afternoon of creative chaos and high-speed thrills! 🎉
Activity At-a-Glance
- Best For 👨👩👧👦: Family Halloween parties, classroom activities, spooky playdates, rainy day fun
- Time Required ⏳: Approx. 1.5 – 2 hours (building + decorating + racing)
- Budget Level 💰: Low-Cost
- Spookiness Level 🦇: Medium
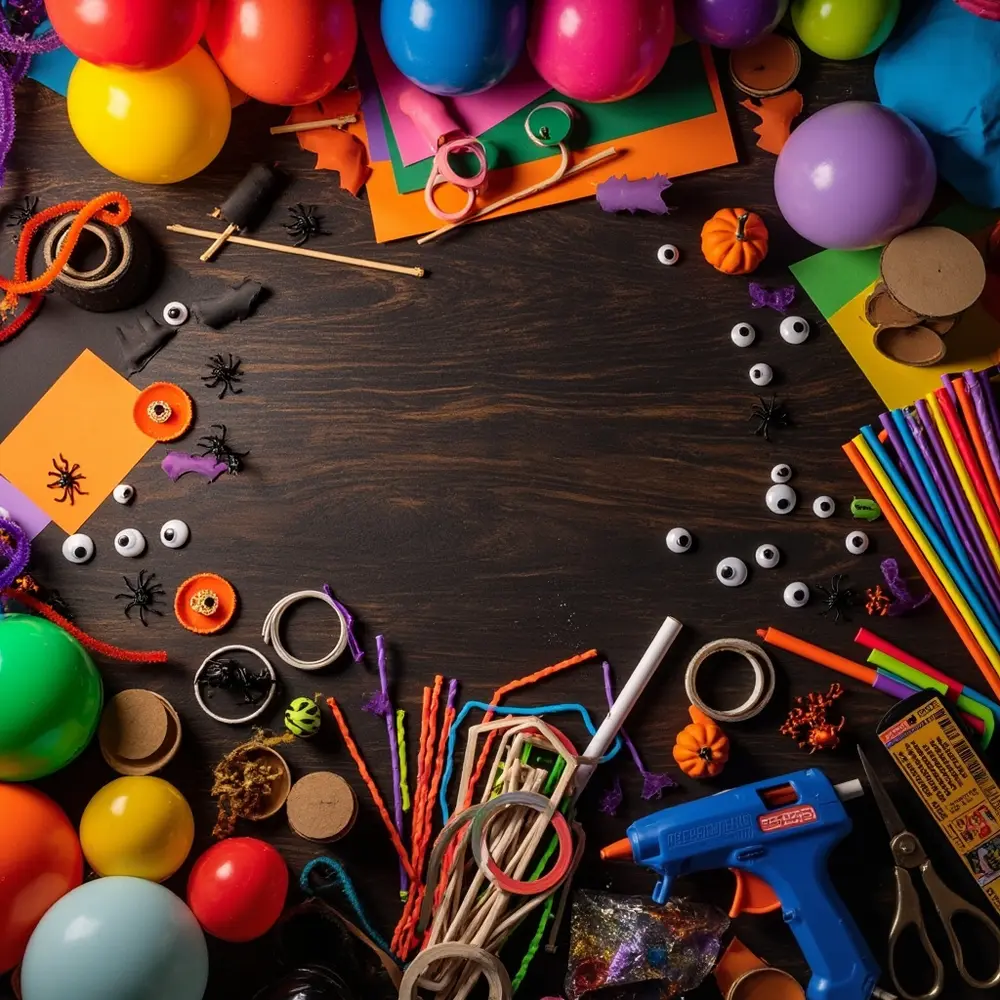
What You’ll Need for Your Spooky Race Car 📋
The best part about this project is that you probably have most of these things lurking around your house already!
- Cardboard (cereal boxes, shoebox lids) or a lightweight plastic bottle for the car body 📦
- Straws (drinking or bendy straws work great) 🥤
- Balloons (various sizes are perfect for experimentation!) 🎈
- Bottle caps, plastic wheels, or sturdy cardboard circles for wheels (4 per car) ⚫
- Wooden skewers or dowel rods for axles 🥢
- Strong tape (duct tape or masking tape)
- Scissors ✂️
- Hot glue gun (adult supervision required!) or strong craft glue
- Optional: Craft knife (for adult use only)
- For Spooky Decoration: Construction paper (black, orange, purple, green), googly eyes, pipe cleaners, felt, markers, paint, glitter, Halloween stickers, and glow-in-the-dark elements ✨
- For the Race Track: Masking tape, string, markers, and props for obstacles (small pumpkins, toy spiders, cotton ball “ghosts”) 🎃🕷️
Image-1: A flat-lay, top-down shot of all the materials neatly arranged on a dark-colored table. The craft supplies—like googly eyes, colorful paper, and balloons—are scattered playfully to create a vibrant, inviting scene.
Preparation & Setup: Creating the Spooky Scene 👻
Before your little mechanics arrive, it’s time to set the mood. I always find that a little atmosphere goes a long way! Dim the lights, put on a spooky Halloween playlist (the “Monster Mash” is a must-have, obviously), and clear a long, flat area for your racetrack—a hallway or a living room floor is perfect. Lay out all the materials on a table so everyone can see their creative potential.
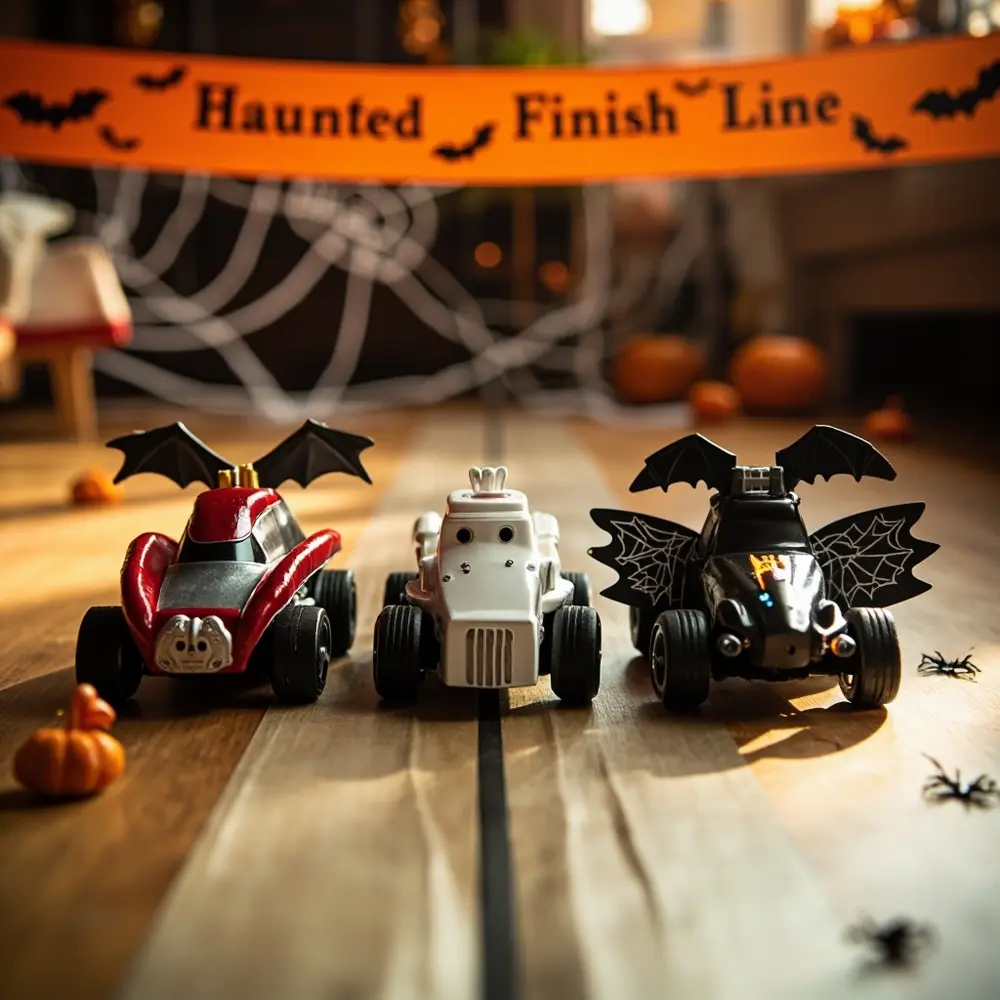
Pro Tip 💡: Create a “Haunted Finish Line” banner from a long piece of butcher paper. Let the kids decorate it with spooky drawings, cobwebs, and bats before the race begins. It makes the final moment of the race feel so much more epic!
How to Lead the Spooky Race Car Build: Step-by-Step Guide 🚀
Alright, team! It’s time to bring these phantom racers to life. I’ll walk you through every step.
Step 1: Design Your Ghastly Chassis
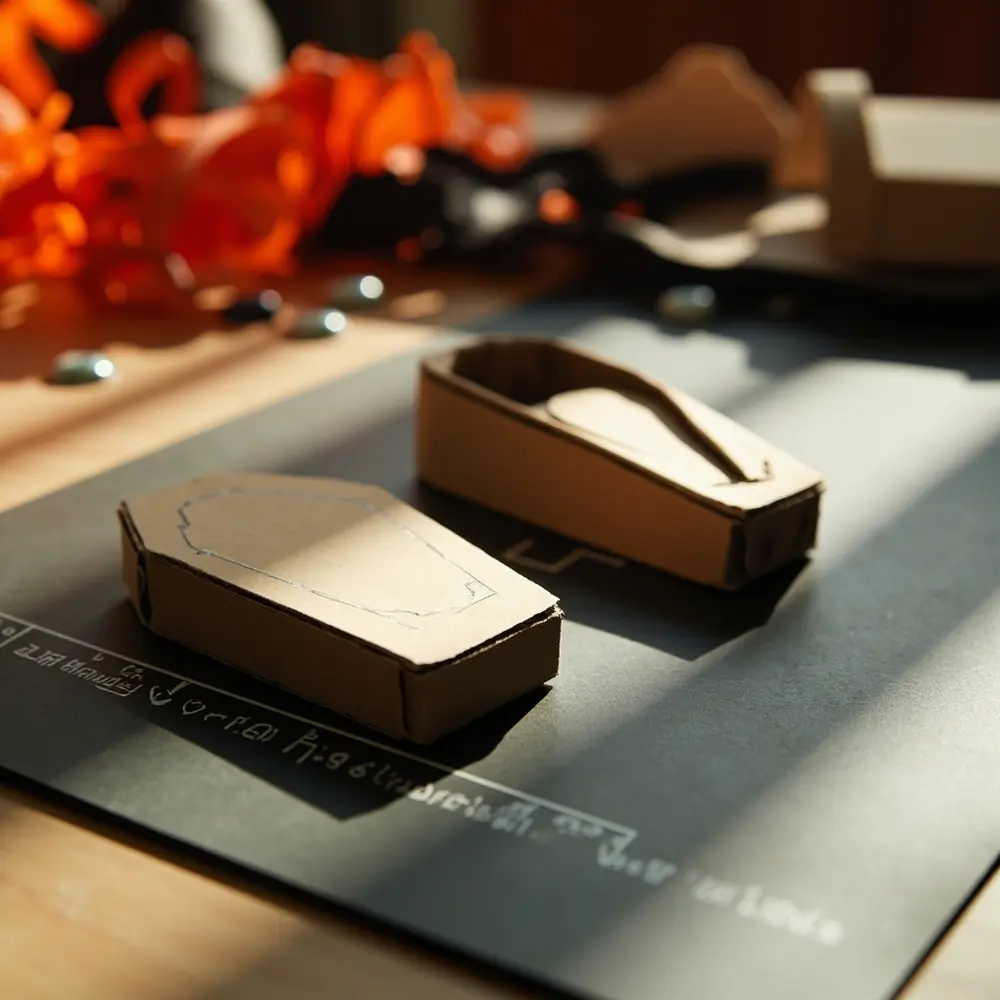
First, we need a body for our car. This is the chassis. Grab your cardboard or a plastic bottle. The key here is to keep it lightweight but sturdy. A simple rectangle cut from a cereal box (about 4 inches by 6 inches) is a fantastic starting point. You could also try a spooky coffin shape or a more rounded ghost-like oval. Let the kids sketch out their ideas first!
Image-2: A shot showing a child’s hands holding a freshly cut rectangular piece of cardboard. Next to it on the craft table are a plastic bottle and another piece of cardboard with a coffin shape drawn on it, showing the different options.
Step 2: Assemble Your Wheels of Fortune
Now for the wheels! This is the trickiest part, so take your time.
- 1. Cut two pieces of a drinking straw that are slightly wider than your car’s chassis.
- 2. Using a hot glue gun (adults only!) or strong tape, attach these two straws across the bottom of the chassis, one near the front and one near the back. These will hold your axles.
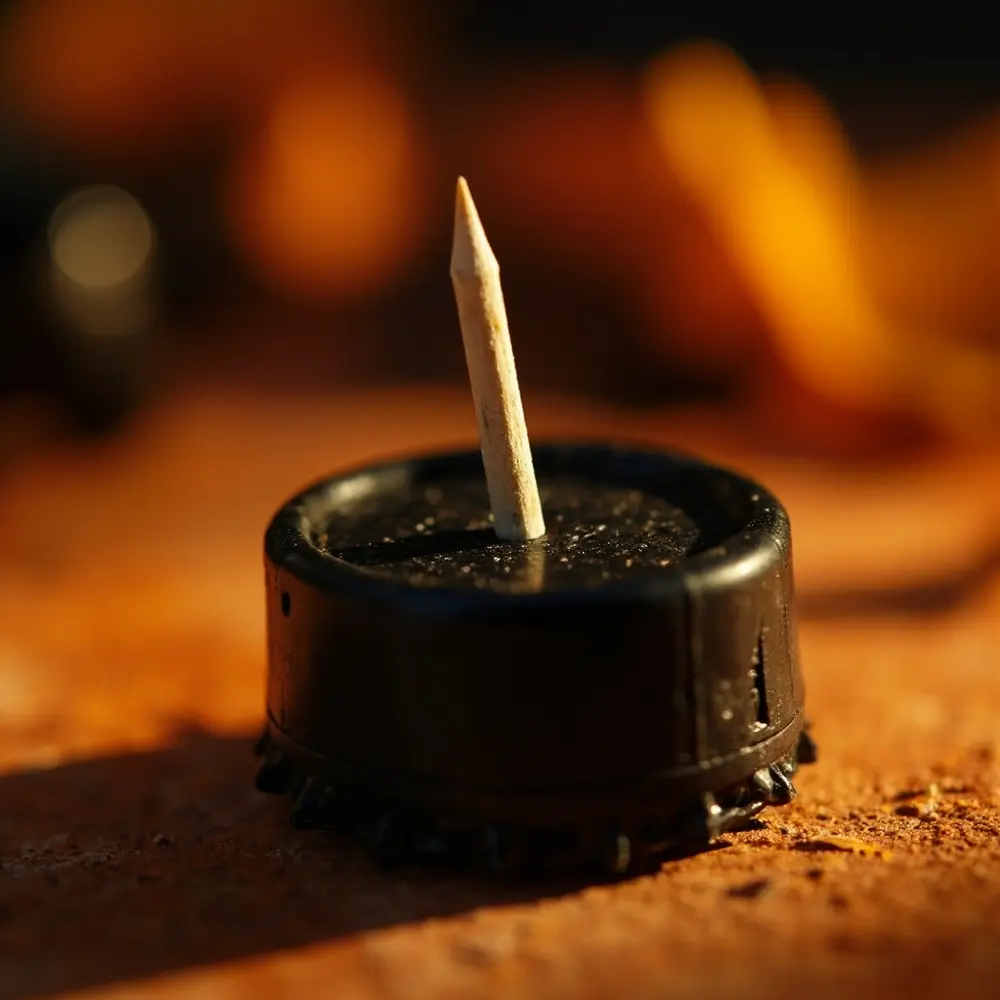
- 3. Carefully poke a hole in the center of four bottle caps.
- 4. Slide a wooden skewer through one of the straws. Push a bottle cap wheel onto each end of the skewer. Secure the wheels with a small dab of hot glue so they don’t fall off, but make sure they can still spin freely! Repeat for the second axle.
⚠️ Caution: An adult should always handle the hot glue gun and any sharp tools like skewers or scissors to keep little fingers safe!
Image-3: A close-up, angled shot focusing on the underside of a cardboard chassis. One straw is already glued in place, and hands are shown carefully taping the second straw parallel to it.
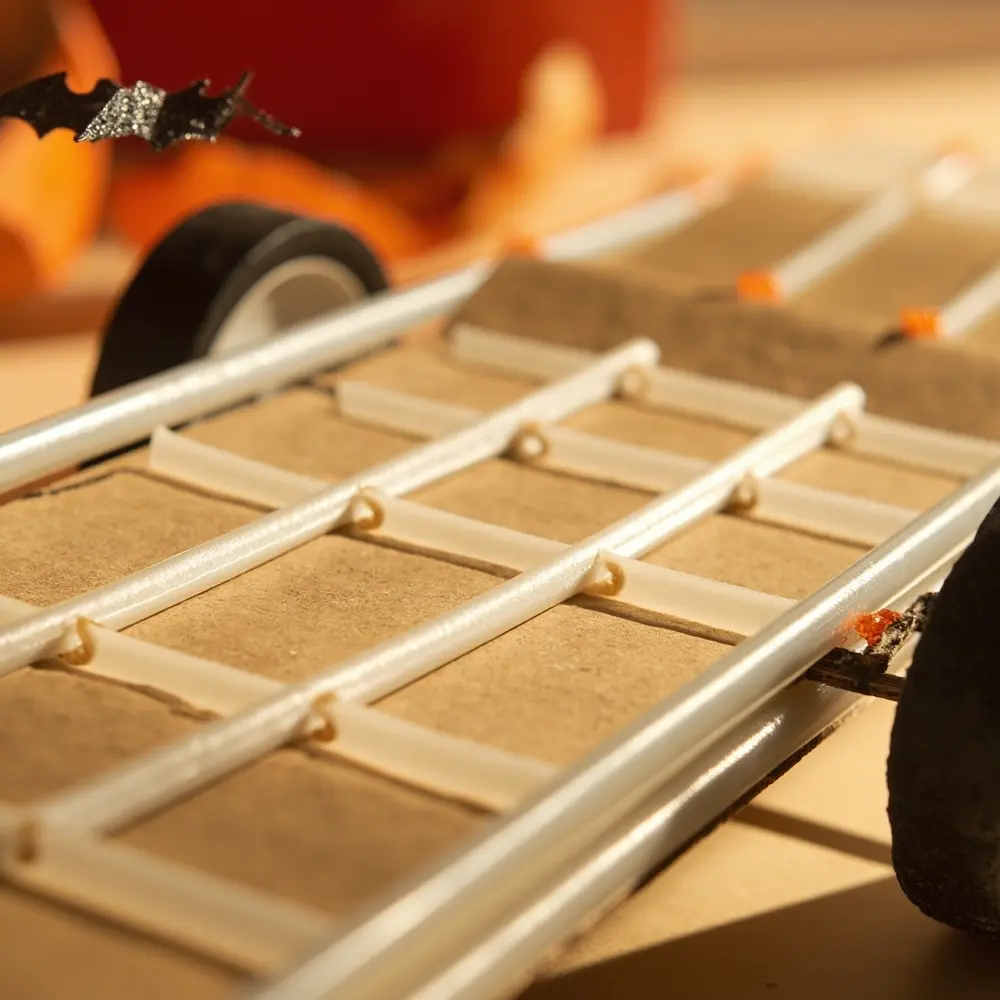
Image-4: A detailed macro shot of a wooden skewer being threaded through a bottle cap wheel. You can see the small hole in the cap and the tip of the skewer poking through, clearly demonstrating the assembly.
Step 3: Powering Your Phantom Ride
Every spooky speedster needs an engine! Ours will be powered by air.
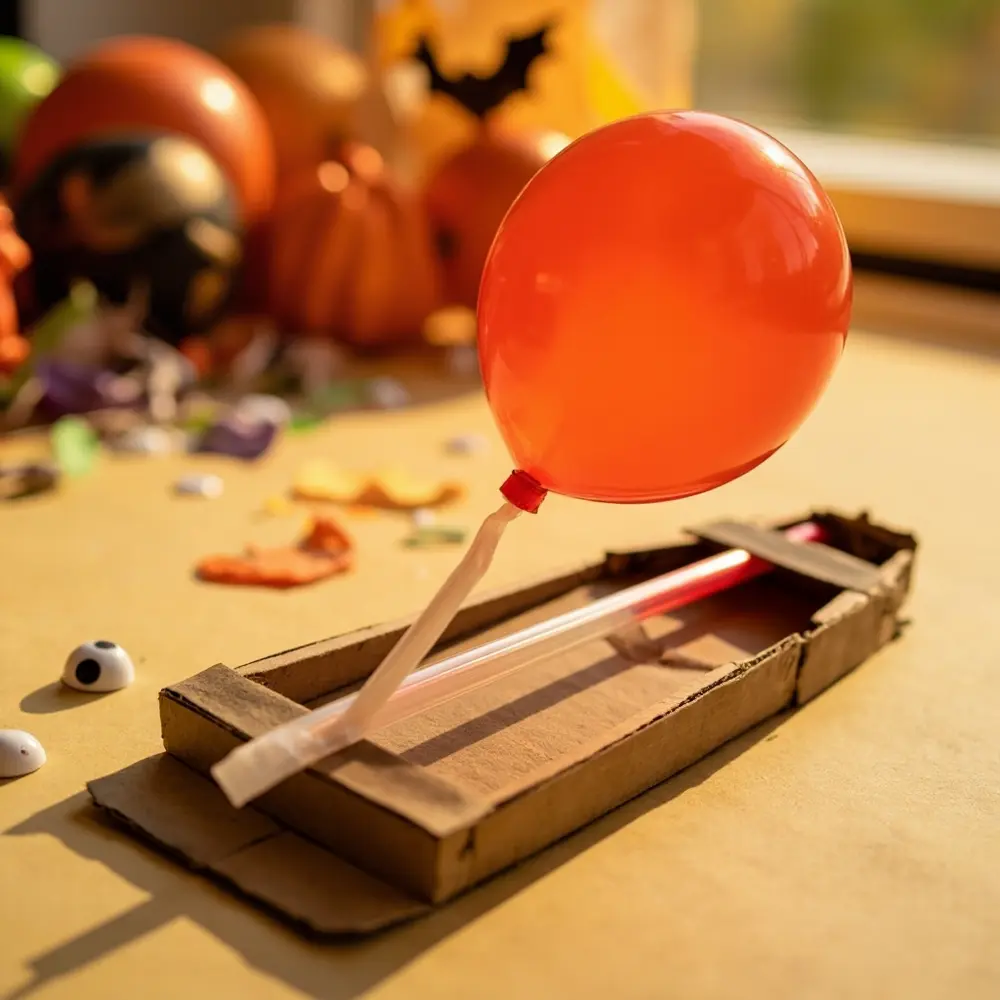
- 1. Take a new straw and a balloon. Carefully slide the opening of the balloon over one end of the straw by about an inch.
- 2. Wrap a piece of tape tightly around the balloon opening to create an airtight seal with the straw. This is super important—we don’t want any air escaping!
- 3. Lay the straw along the top of your car chassis, with the balloon end hanging off the back. Tape the straw firmly in place. Your engine is now installed!
Image-5: A clear shot showing the balloon-and-straw “engine.” The balloon is securely taped to the straw, and the entire assembly is being taped down onto the top of the car’s cardboard body.
Step 4: Spookify Your Speedster
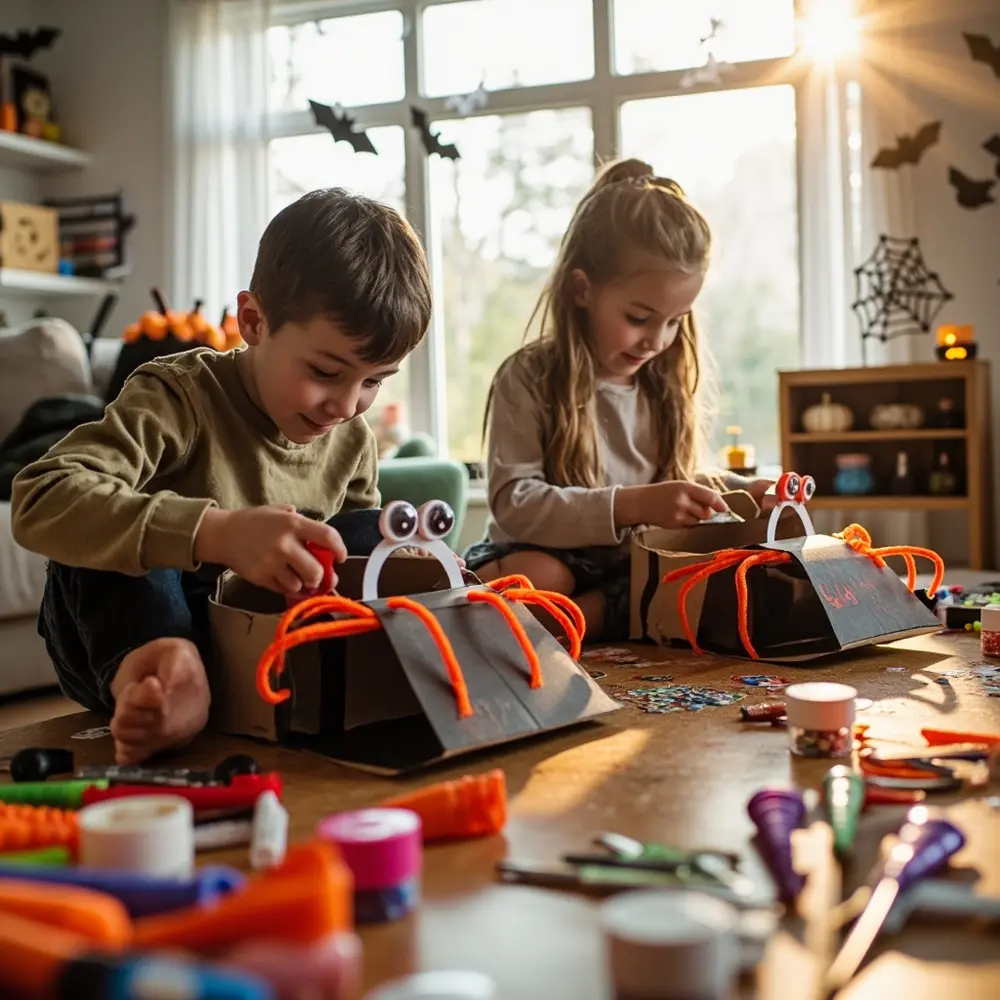
This is where the real magic happens! Unleash the craft supplies and let the kids’ imaginations run wild. Encourage them to give their car a personality. Is it a Ghost Rider? A Pumpkin Racer? A Vampire’s getaway vehicle? Use construction paper to add fins, pipe cleaners to make spider legs, and plenty of googly eyes for a monstrous look. The spookier, the better!
Last year, my niece made a car that looked like a bat, using black paper for wings. It didn’t win the race, but it definitely won for style!
Image-6: A vibrant, slightly messy action shot of two kids decorating their completed car chassis. One is gluing on googly eyes while the other is drawing flames with a marker. Piles of craft supplies surround them.
Step 5: Test Your Terrifying Traveler & Race!
The moment of truth!
To launch your car, pinch the straw closed, blow through it to inflate the balloon, and then place the car on the starting line. Let go of the straw and watch it zoom!
Do a few test runs. Does the car go straight? If not, you might need to adjust the axles. Is it slow? Check for air leaks around the balloon. Once everyone is ready, count it down: “Three… Two… One… GO!”
Image-7: An eye-level action shot of a child’s face, cheeks puffed out, blowing into the straw to inflate the balloon on their decorated car. The car is on the floor, ready for launch.
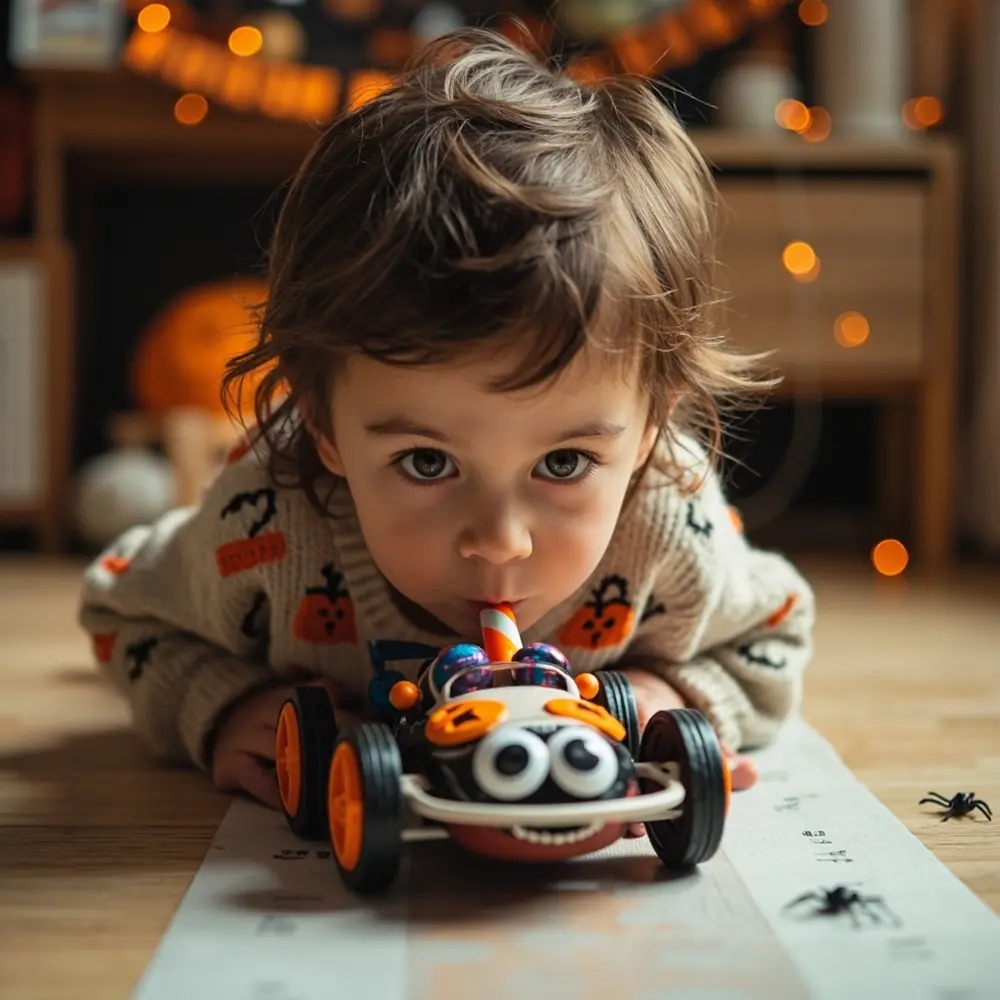
Image-8: A beautiful, slightly zoomed-out shot showing three finished, decorated spooky cars lined up at a masking-tape “starting line.” The “Haunted Finish Line” banner is visible in the background, and small toy spiders act as obstacles along the track. The full view captures the exciting, pre-race atmosphere.
The Science Behind Your Spooky Race Car 🔬
Believe it or not, you just did a super cool science experiment! The magic behind your car is all thanks to a famous scientist named Isaac Newton and his Third Law of Motion.
In simple terms, his law says: For every action, there is an equal and opposite reaction.
- The Action: When you let go of the balloon, the air rushes out backward.
- The Opposite Reaction: That escaping air pushes the car forward!
This push is called thrust. The more air you have in your balloon (more air pressure!), the stronger the thrust, and the faster your spooky car will go. How cool is that? You’ve created your own little jet-propelled phantom!
Variations & Customizations to Haunt Your House 🧛
Want to take the spooky fun to the next level? Try these ideas:
- Age Adaptations 👶: For younger kids, pre-cut the cardboard shapes and have the axle straws already attached. For older kids, challenge them to design more aerodynamic bodies or see if two balloons make the car go faster or just spin out!
- Themed Cars 🧙♀️: Go all-in on a theme! Design a fleet of witches’ broom cars, vampire coffins on wheels, or a ghost-train with multiple cars linked together.
- Race Track Challenges 🚧: Make the race more interesting by adding ramps made from books, tunnels from paper towel tubes, or a “graveyard” of obstacles (like gummy worms) that cars have to navigate around.
- Team Challenge 🤝: Divide into teams! Each team works together to build the fastest, spookiest car. It’s a great way to practice teamwork.
- Performance Metrics ⏱️: Turn it into a real science fair. Use a measuring tape to see which car traveled the farthest and a stopwatch to time the speed.
Theme Twist 🧪: Rebrand the activity as a “Mad Scientist’s Lab.” Everyone wears lab coats (old white shirts work great!), and the cars are “monstrous experiments.” The goal is to create the most powerful creation to escape the lab!
Halloween Activity FAQs ❓
#### Q1: What if my balloon car doesn’t move or only moves a short distance?
This is a classic problem! First, check for air leaks where the balloon is taped to the straw. Make sure it’s completely sealed. Second, make sure your wheels spin freely. If they are wobbly or tight against the car body, they’ll create too much friction. Finally, try a bigger balloon for more power!
#### Q2: What materials work best for the wheels and axles?
Lightweight wheels are key! Plastic bottle caps are my go-to because they are light, uniform, and durable. For axles, smooth wooden skewers or thin dowel rods work best because they have less friction than something like a pipe cleaner.
#### Q3: Can we reuse the car after the race?
Absolutely! That’s the beauty of it. You can keep the cars for more races later or display them as spooky decorations. The balloons might wear out, but they are easy to replace for another round of racing fun.
—
I hope you and your little ghouls have an absolute blast with this project! It’s one of my all-time favorite ways to blend creative fun with a little bit of sneaky science. Seeing those spooky cars zoom across the floor for the first time is a moment of pure Halloween joy.
Don’t forget to share your creations! I’d love to see photos of your spooky race cars and hear about your race day.
What’s your all-time favorite DIY Halloween craft? Let me know in the comments—I’m always looking for new ideas! 🎃
