DIY Glow-in-the-Dark Halloween Birthday Party: Decorations, Favors & Games
✨ From countless haunted party planning spreadsheets to testing hundreds of DIY hacks, I’ve mastered the art of creating unforgettable Halloween experiences. As an event planner, I’ve seen it all, and I’ve discovered the secrets to making a theme truly magical.
😅 But I know the struggle. How do you make a glow party look cool and not tacky? Will the decorations actually glow? I’ve spent years figuring this out, sometimes with my family as my guinea pigs, and I’ve been there too.
👑 That’s why in this post, I’ll show you exactly how to solve these challenges with tips I’ve tested myself. Stick with me, and you’ll learn how to throw the ultimate glow-in-the-dark Halloween birthday bash while creating magical memories with your loved ones! 🎃
Tutorial At-a-Glance
Time Required: Approx. 2-3 hours (depending on number of items made)
Budget Level: Moderate (can be low with smart shopping)
Skill Level: Beginner to Intermediate
What You’ll Need for Your Glow-in-the-Dark Halloween Birthday Bash 🎃
Here’s a checklist of the essential supplies to get your neon party started. My go-to trick is to buy more glow sticks than you think you need—they’re inexpensive and you’ll find a million uses for them!
✅ Blacklight(s) (UV LED strips or bulbs)
✅ Glow sticks (various sizes and colors)
✅ Neon or UV-reactive craft paint (👑 Nancy’s Pick: I swear by Tulip Dimensional Fabric Paint in “Neon.” It comes in easy-to-use squeeze bottles, the colors are incredibly vibrant under a blacklight, and it works on almost any surface, from paper to fabric!)
✅ Balloons (white, clear, or neon colors)
✅ White or neon cardstock/paper
✅ Fabric glue or hot glue gun
✅ Scissors
✅ Paintbrushes
✅ Clear jars or bottles
✅ Crafting tape or string
✅ Small party favor bags
DIY Glow-in-the-Dark Decorations: Setting the Spooky Scene 👻
A question I get all the time from my community is how to make party decorations feel immersive. Let’s kick off the party planning by bringing everyone together! Crafting these decorations is a fantastic way to bond and build excitement for the big day.
Step 1: Crafting Glowing Balloons

This is one of the easiest ways to make a huge impact. Before inflating your balloons, carefully “activate” a few mini glow sticks by bending them and drop them inside. For a different look, inflate white or neon balloons first, then use your UV-reactive paint to draw spooky faces, spiderwebs, or birthday messages on the outside. Under the blacklight, they’ll float like eerie orbs.
[image-1: A cluster of inflated balloons, some with glow sticks inside, others with painted designs, glowing under a blacklight in a darkened room.]
Step 2: Spooky Neon Banners & Signs
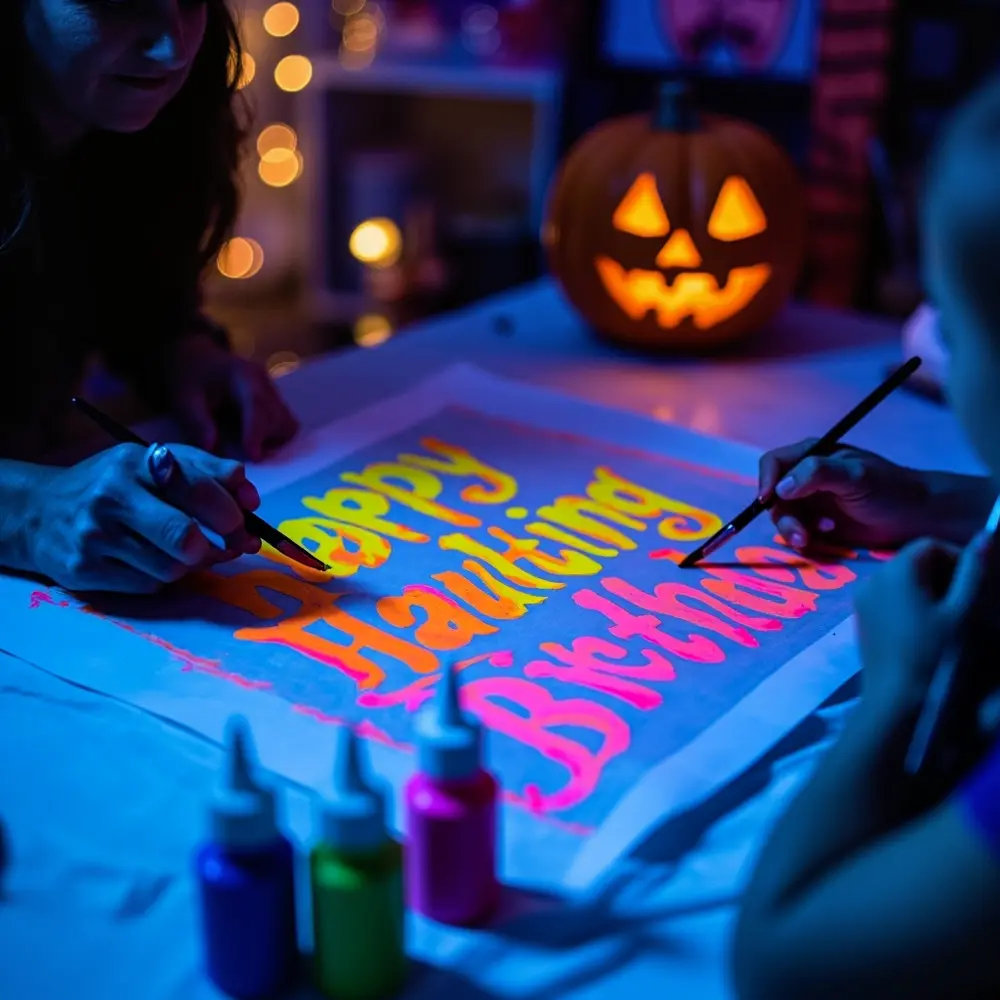
Time to get personal! Cut out letters from neon cardstock to spell “Happy Haunting Birthday” or the birthday ghoul’s name. For a more artistic touch, take a large sheet of white paper and paint your message with the UV-reactive paint. After testing dozens of methods, I’ve found that using a stencil gives you the cleanest, most professional-looking letters that really pop in the dark. Hang your creations using string or tape in a prominent spot.
⚠️ Safety First: If you’re using any spray paints or strong adhesives for your signs, make sure you’re in a well-ventilated area. Also, ensure blacklights are placed securely and away from any flammable materials like paper banners or fabric.
[image-2: Close-up shot of hands painting a “Happy Haunting Birthday” banner with UV-reactive paint, showing the glowing effect.]
Step 3: Eerie Glowing Tablecloths & Centerpieces
Transform your party table into a glowing masterpiece. Start with a plain white or black tablecloth. You can splatter it with neon fabric paint for a cool, abstract look or paint spooky patterns along the edges. For centerpieces, collect clear glass jars or bottles, fill them with water, and drop in an activated glow stick. You can also paint the outside of the jars with UV paint for a stained-glass effect.
💡 Pro-Tip: Want to create glowing drinks that are completely safe to consume? Use tonic water! The quinine in it naturally glows a brilliant blue under UV light. Mix it with lemonade or a clear soda for a spooky, glowing beverage.
[image-3: A decorated party table with a glowing tablecloth, glowing jars as centerpieces, and neon partyware, all illuminated by blacklight.]

Spooktacular Glow Party Favors: Send Guests Home Shining ✨
A great party favor is a little memory your guests can take home. These glowing goodies are simple to make and will keep the fun going long after the party ends.
Step 1: Personalized Glow Stick Bundles
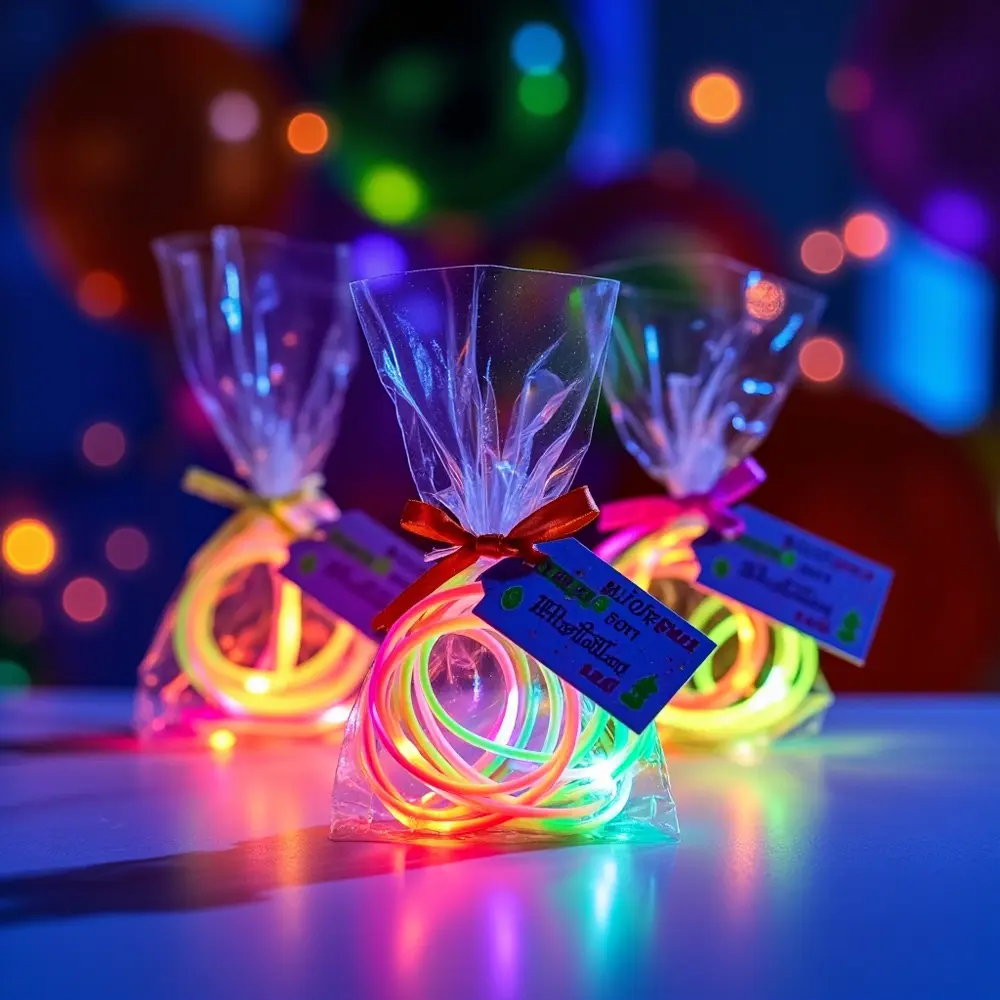
Who doesn’t love glow sticks? Gather an assortment of glow bracelets, necklaces, and wands. Bundle 3-4 different types together with a ribbon or string. Create a small tag out of neon cardstock that says, “Thank You for Glowing!” and attach it to each bundle. It’s a simple, affordable, and exciting favor for all ages.
[image-4: Small, clear party favor bags filled with an assortment of glow sticks and a custom tag.]
Step 2: DIY Glow-in-the-Dark Slime Jars
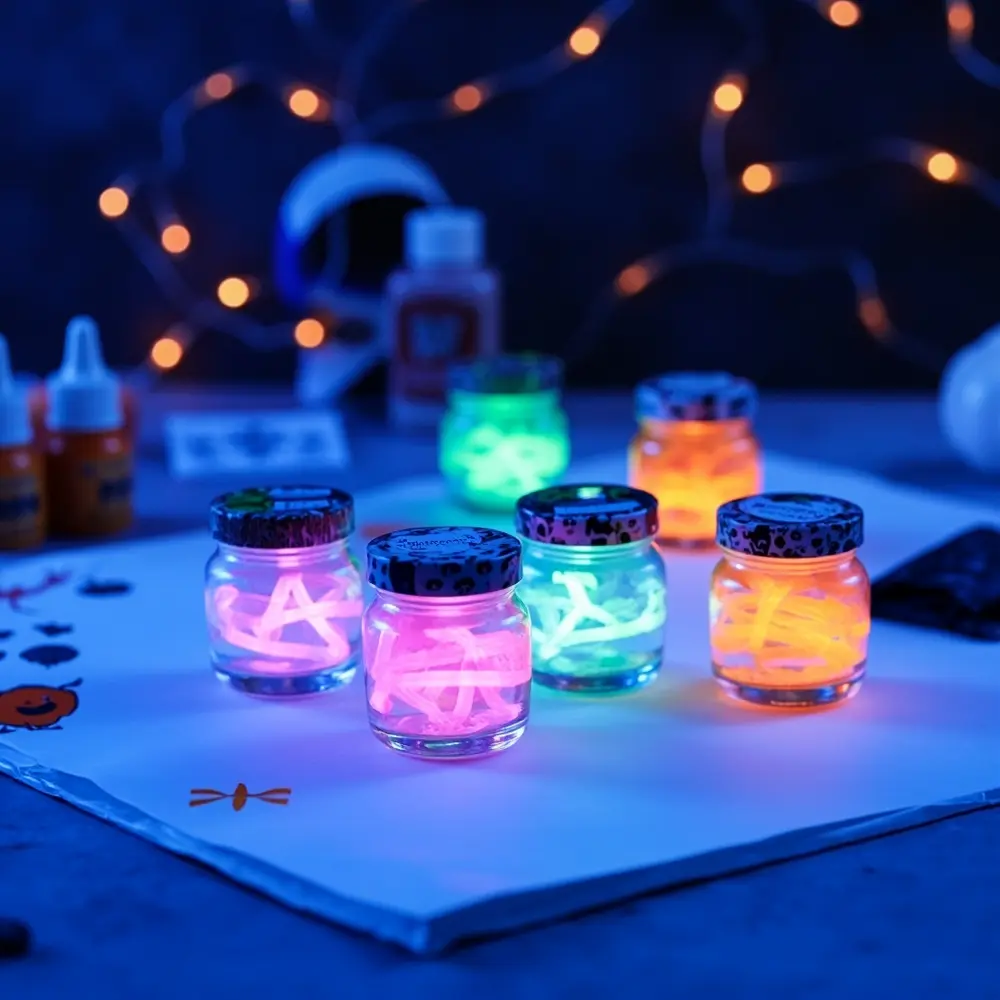
Slime is always a hit! You can make a simple, kid-safe slime using clear school glue, water, and a borax or contact lens solution activator. The secret ingredient is a few squirts of non-toxic, UV-reactive paint mixed in at the end. After testing dozens of slime recipes, I’ve found that adding the glow element last gives the most vibrant result. Portion the slime into small, airtight jars and decorate the lids with a spooky sticker.
⚠️ Safety First: Always supervise children when making slime, especially when handling ingredients like contact lens solution. Ensure all paints and glues used are certified non-toxic and age-appropriate.
[image-5: A close-up of small, decorated jars filled with glowing slime, ready to be given as favors.]
Interactive Glow Games: Fun That Lights Up the Night 🎮
Keep the energy high with games that are even more fun in the dark. These activities are easy to set up and are guaranteed to produce lots of laughter.
Step 1: Glow Ring Toss
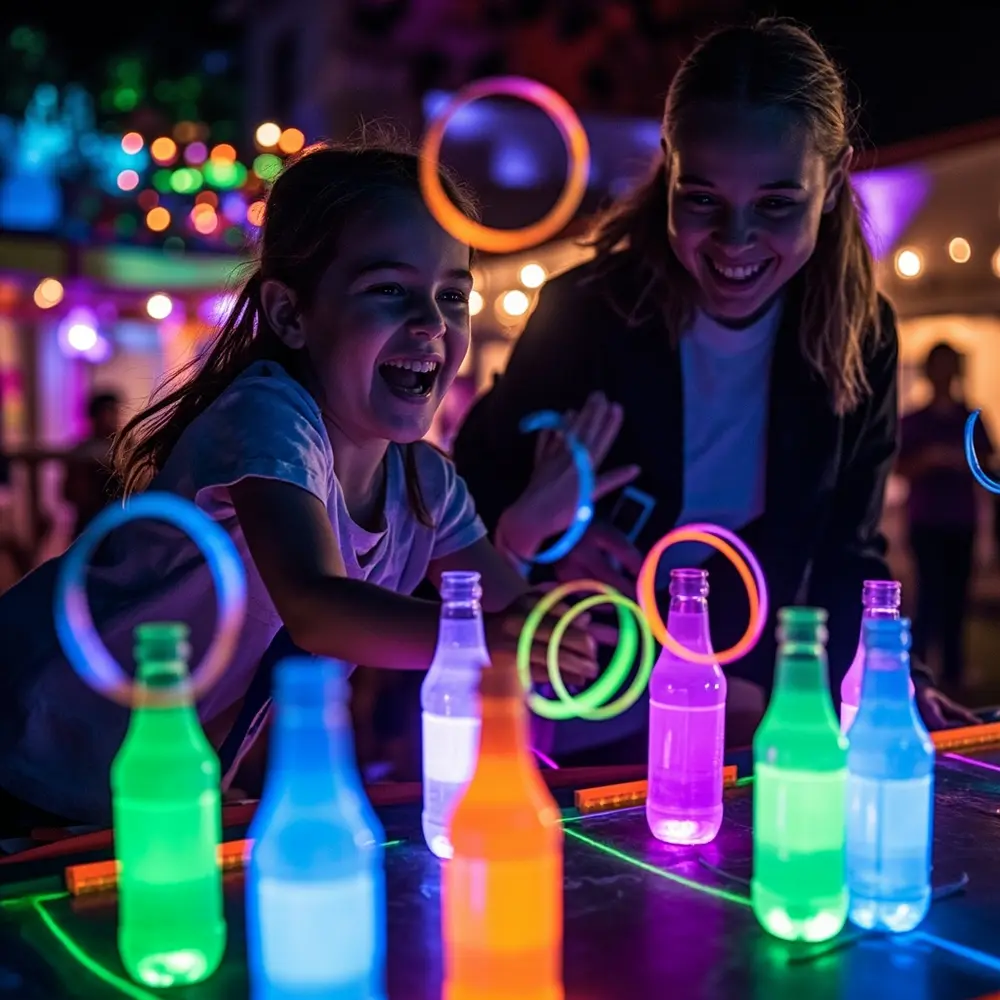
This classic game gets a neon upgrade. Use empty plastic bottles or cones as your targets. You can make them glow by either dropping a glow stick inside or painting them with your UV-reactive paint. Activate several glow stick bracelets to use as the rings. Set up the targets at varying distances and let the glowing games begin!
[image-6: A photo of kids or party-goers actively playing glow ring toss in a dimly lit room with blacklights.]
Step 2: Neon Scavenger Hunt
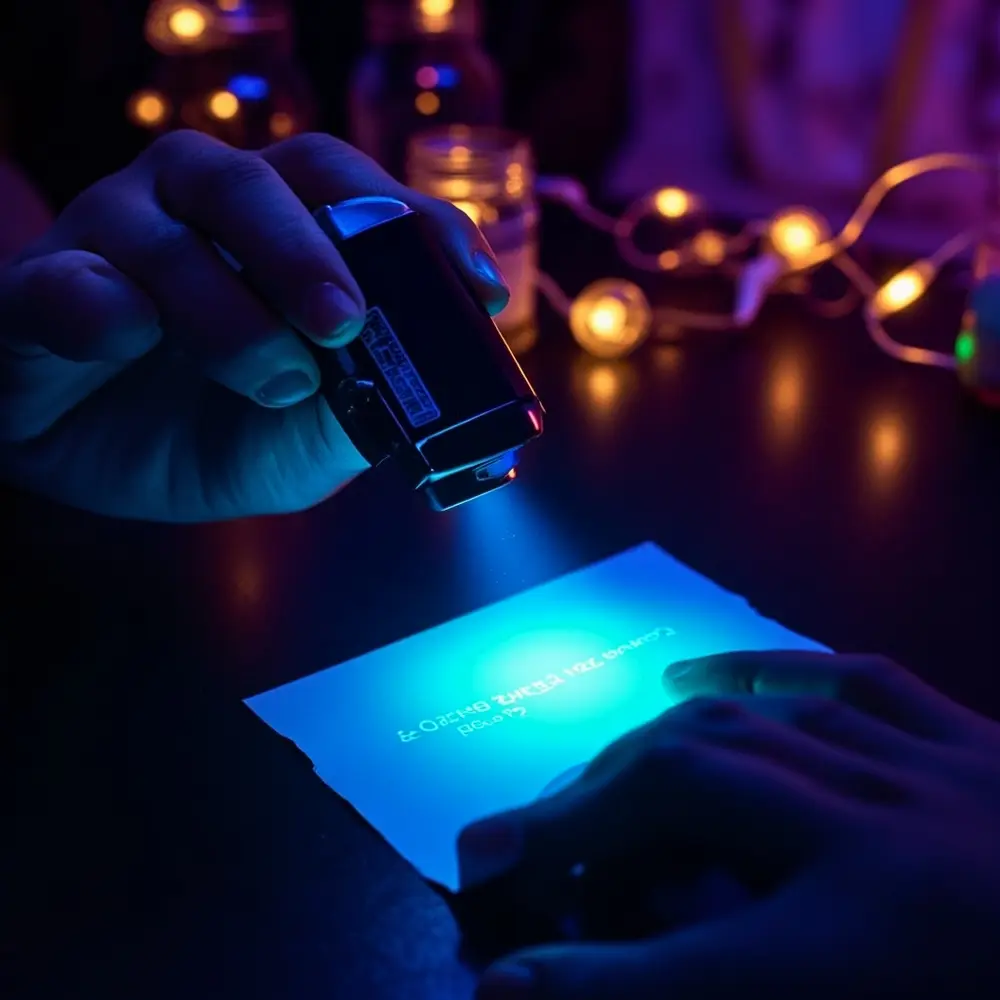
Send your guests on a thrilling hunt in the dark. Write clues on small pieces of paper using a UV-reactive invisible ink pen. When you shine a blacklight on the paper, the message magically appears! Hide the clues around the party space, leading to a final prize like a bucket of candy or a special glowing toy. A mistake I often see is making the clues too hard to find in the dark. My tip is to place them at eye-level for the kids to make it fun, not frustrating!
[image-7: A close-up of a clue written with UV-reactive marker, glowing brightly under a handheld blacklight.]
Glow-in-the-Dark Halloween Birthday FAQs 🤔
Q1: How many blacklights do I need to effectively illuminate my party space?
My rule of thumb is to have at least one good-quality blacklight for every 100-150 square feet of party space. For the best effect, I recommend using UV LED light strips. You can run them along the ceiling edges or behind furniture to create an even, immersive glow throughout the entire room.
Q2: What are some safe and easy ways to make food and drinks glow for a party?
Besides the tonic water trick for drinks, you can make food glow by focusing on presentation. Use neon-colored frosting on cupcakes, which will react brightly under the blacklight. You can also purchase special glowing partyware, like plates, cups, and cutlery, to make everything you serve look like it’s part of the theme. Always avoid adding non-edible glowing materials directly to food.
Q3: Can I use regular craft paint and expect it to glow under blacklight?
No, regular craft paint will not glow. For this effect, you must use paints specifically labeled as “fluorescent,” “neon,” or “UV-reactive.” These paints contain special phosphors that absorb the invisible UV light from the blacklight and re-emit it as visible, vibrant color. Regular paint lacks these phosphors and will just look dark.
I hope this guide helps you create the most spooktacular, glowing Halloween birthday party ever! It’s all about embracing the fun, getting creative, and making memories that shine.
What glowing creation are you most excited to try for your party? Let me know in the comments below
