15 Cute & Creative Halloween Birthday Card Ideas (DIY & Printable!)
After countless hours covered in glitter and surrounded by stacks of paper, I’ve mastered the art of crafting unique Halloween birthday cards—testing, fixing fails, and discovering solutions that actually work.
But I know the struggle: Are you tired of generic birthday cards, especially when your special someone has a Halloween birthday? I’ve spent hours figuring this out, sometimes with family by my side, and I’ve been there too.
That’s why in this post, I’ll show you exactly how to solve these challenges with tips I’ve tested myself. Stick with me, and you’ll learn how to create truly memorable, spooky-cute greetings while creating magical memories with your loved ones! 🎃
My Top 4 Picks From This List 🏆
If you’re short on time, these are the absolute must-try ideas that I personally love and that truly embody “The ‘Aha!’ Moment” when crafting!
- 1. The Friendly Ghost Pop-Up Card 👻: This classic pop-up always brings a smile and is surprisingly easy to master.
- 2. Spooky Spiderweb Shaker Card 🕷️: The interactive element of this card provides a delightful surprise and is incredibly fun to make.
- 12. Haunted House Pop-Up Card 🏚️: For those ready for a challenge, this intricate design truly delivers a show-stopping reveal.
- 14. “Happy Haunting” Printable Card 🖨️: A lifesaver when time is short, offering instant charm without the fuss.
A Few Tools for Your Creative Toolkit 🛠️
As a Creative Crafter, I always start with a well-stocked toolbox. These are the general supplies you’ll likely use across many of these DIY Halloween cards:
✅ Cardstock (various colors, especially black, orange, purple)
✅ Craft Glue (👑 Nancy’s Pick: My go-to is Aleene’s Tacky Glue! It’s essential for secure attachments without warping your paper, giving you a professional finish every time.)
✅ Scissors & Craft Knife
✅ Ruler & Pencil
✅ Double-Sided Tape
✅ Glitter & Embellishments (e.g., googly eyes, sequins)
1. The Friendly Ghost Pop-Up Card 👻
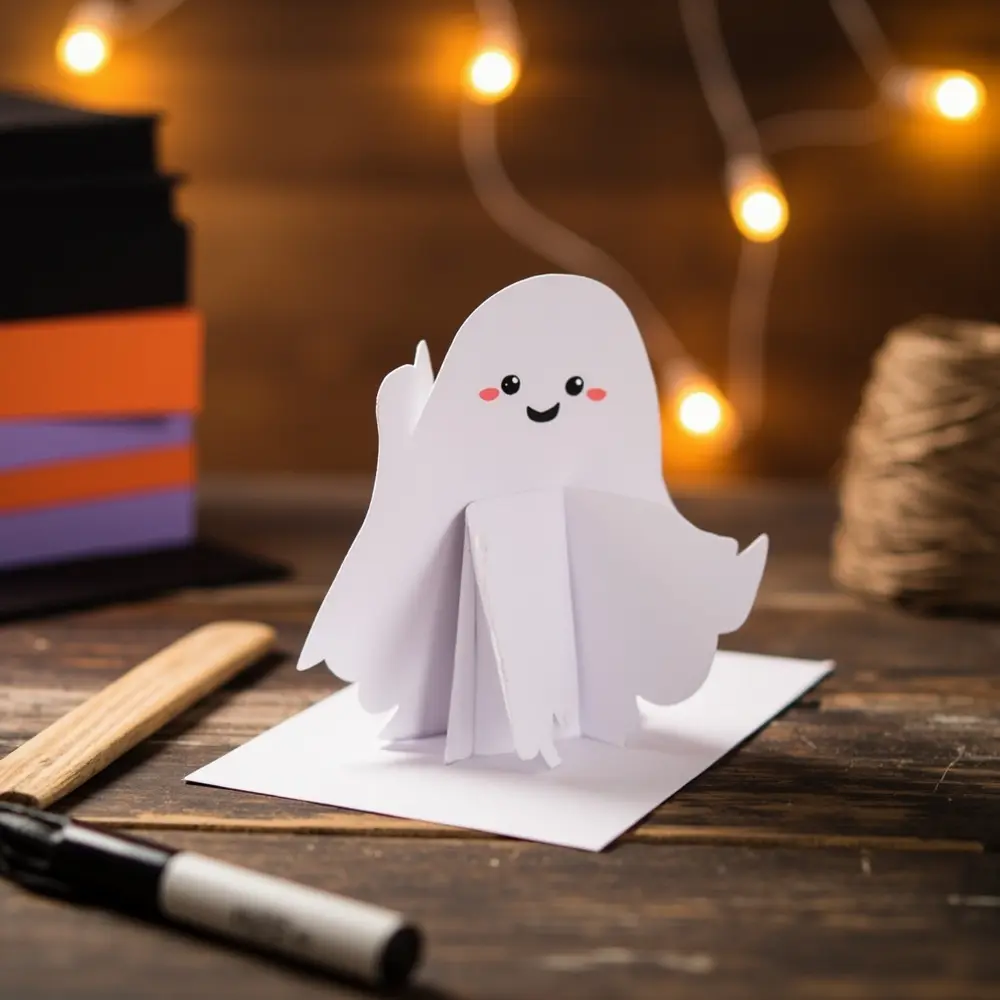
This charming card features a friendly ghost that pops up when opened, adding a delightful surprise that always brings a smile! It’s perfect for all ages and uses basic paper crafting techniques. You’ll need white cardstock, a black marker, and a bit of patience for folding. After testing dozens of pop-up techniques, I’ve found this one to be both effective and surprisingly simple.
💡 Pro-Tip: Use a bone folder to get crisp, clean folds for your pop-up mechanism – it makes all the difference in creating that perfect “Aha!” moment when the card is opened!
image-1: A bright, fun photo of the finished Friendly Ghost Pop-Up Card, partially open.
2. Spooky Spiderweb Shaker Card 🕷️
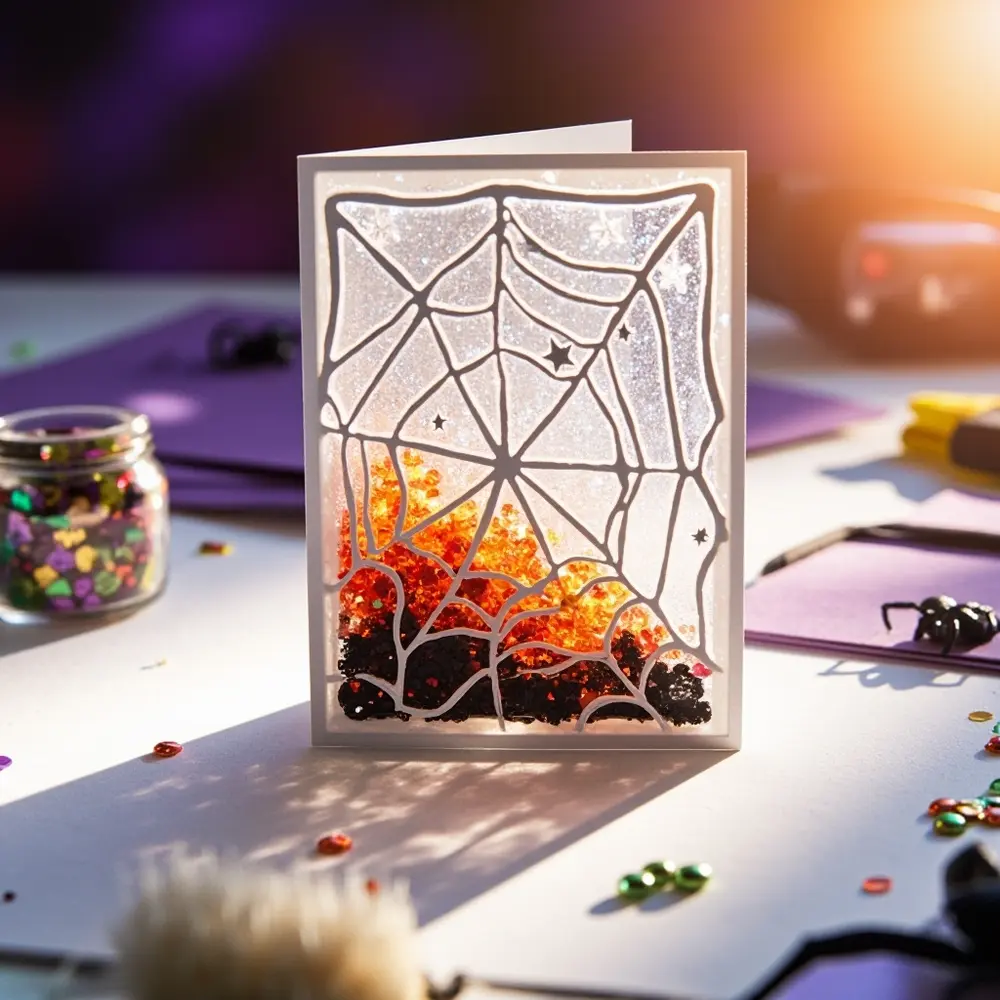
This interactive card has a clear window filled with tiny sequins or glitter that shake around, creating a fun, dynamic effect. A delicate spiderweb design on the front adds to the spooky charm, making for truly unique handmade Halloween greetings. Clear acetate, foam tape, and small embellishments are key to bringing this design to life. My go-to trick for this card is making sure the shaker elements move freely.
👑 Nancy’s Golden Rule: Always use anti-static powder (or a dryer sheet) inside your shaker window before adding glitter to prevent it from sticking to the sides!
image-2: A close-up shot of the Spooky Spiderweb Shaker Card, showing the shaker elements.
3. Little Monster Fingerprint Card 🎨
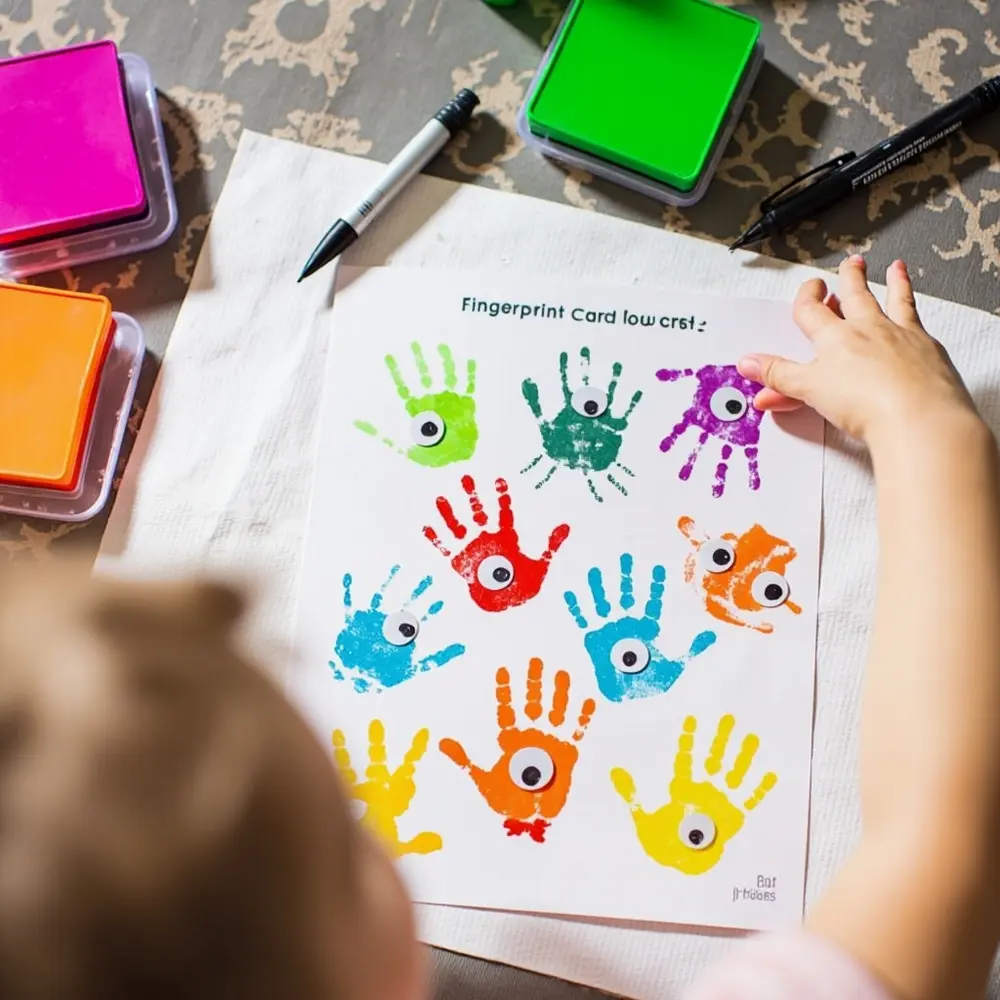
Perfect for kids to help make, this card uses colorful fingerprint “monsters” to create a unique and personal design. It’s simple, adorable, and a wonderful keepsake that captures tiny memories, making it a fantastic kids’ Halloween craft. All you need are washable ink pads and a black fine-tip pen. I love how personal and unique these turn out, truly an “Aha!” moment for parents seeing their child’s art!
💡 Pro-Tip: Have a few wet wipes handy for quick clean-up between different colored fingerprints, especially when working with little ones!
image-3: A photo of a card with various colorful fingerprint monsters, some with drawn-on faces.
4. Batty Birthday Silhouette Card 🦇
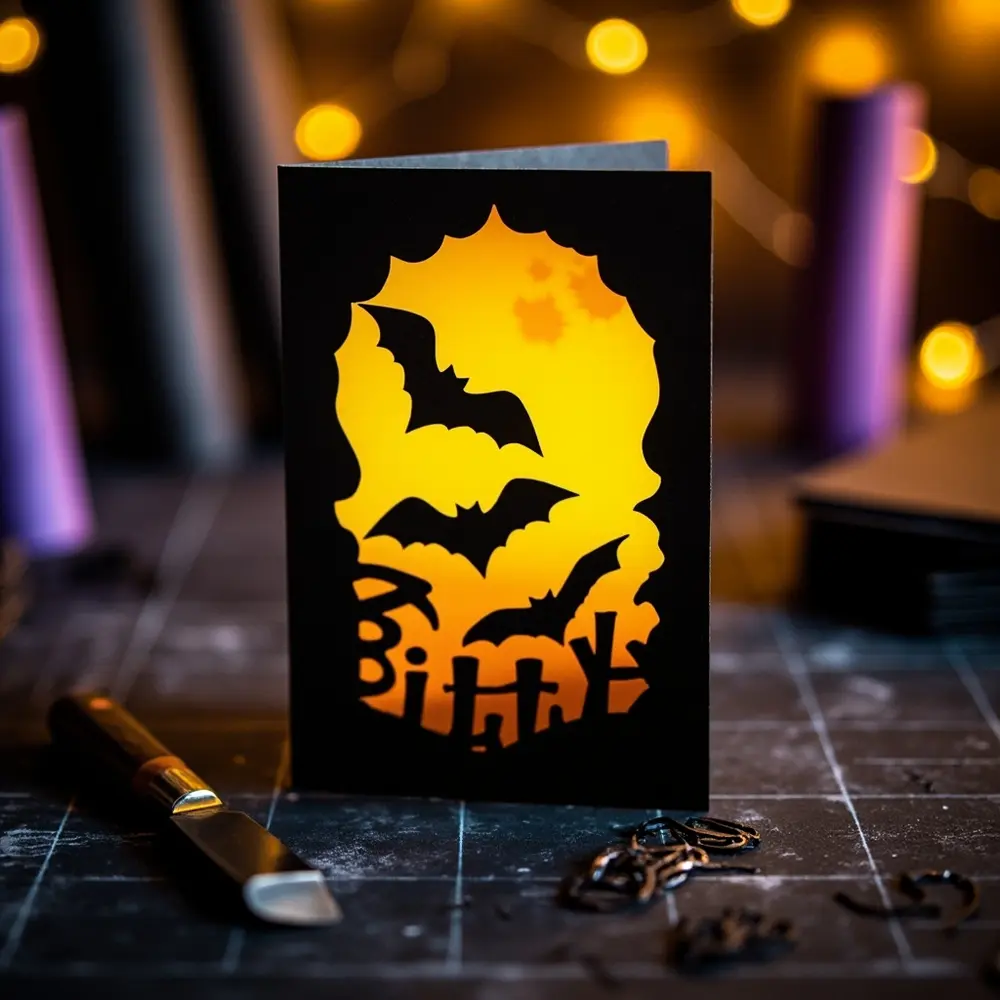
This elegant card features a striking silhouette of flying bats against a contrasting background, often a moonlit sky. It’s simple yet sophisticated, great for older recipients who appreciate a touch of understated Halloween chic. Black cardstock and a lighter background color (yellow or orange) are essential for this design. A mistake I always see is imprecise cutting, which can ruin the silhouette’s impact.
👑 Nancy’s Golden Rule: For crisp silhouettes, use a craft knife on a cutting mat, or a digital cutting machine if you have one. Precision makes all the difference!
image-4: A stylish card with black bat silhouettes against a yellow or orange background.
5. Pumpkin Patch Peek-a-Boo Card 🧡
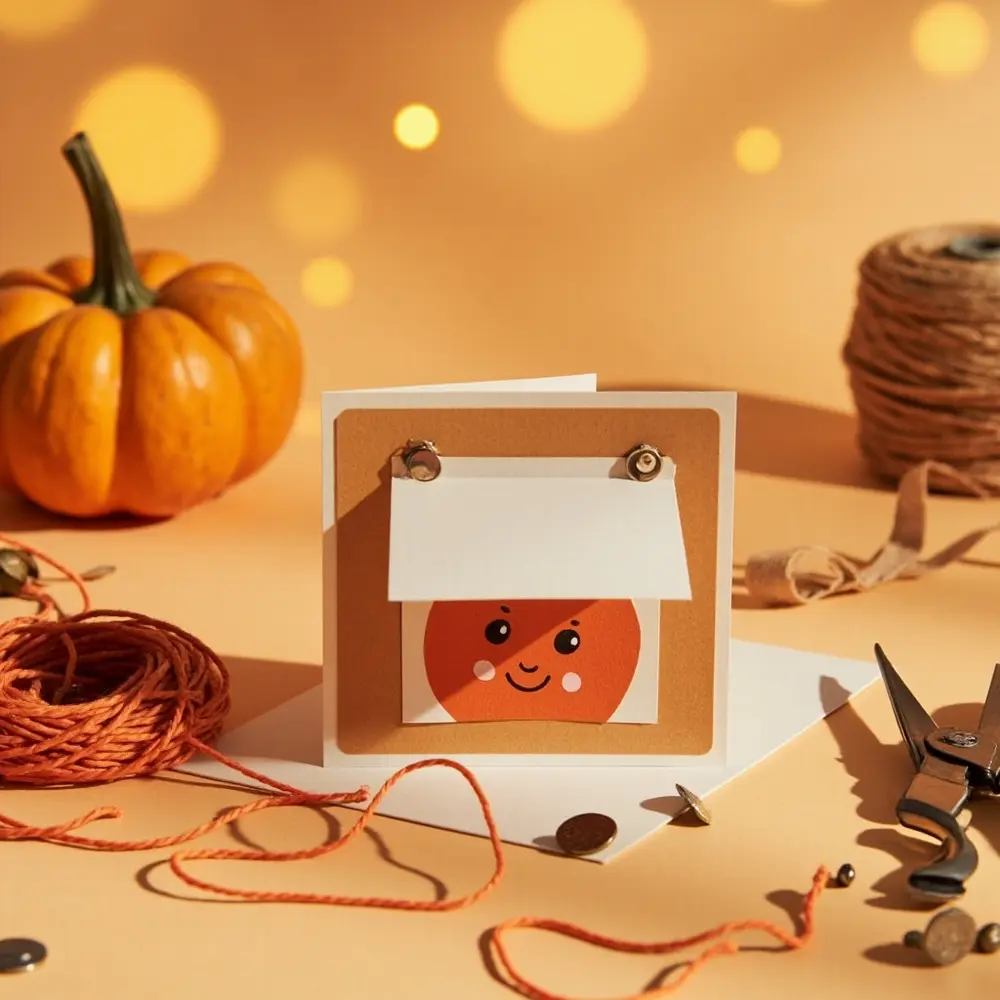
A fun interactive card where a small pumpkin or character “peeks” out from behind a flap or window. It’s playful and engaging, perfect for a child’s birthday and always gets a giggle. You’ll need a small brad for the rotating element or a simple flap to create the surprise. My go-to trick for this design is making sure the “peek-a-boo” element is smooth and easy to operate.
💡 Pro-Tip: Use a small circle punch to create the “peek-a-boo” window for a clean, professional look that elevates the overall design.
image-5: A card showing a pumpkin or character peeking out from behind a flap.
6. Candy Corn Layered Card 💛
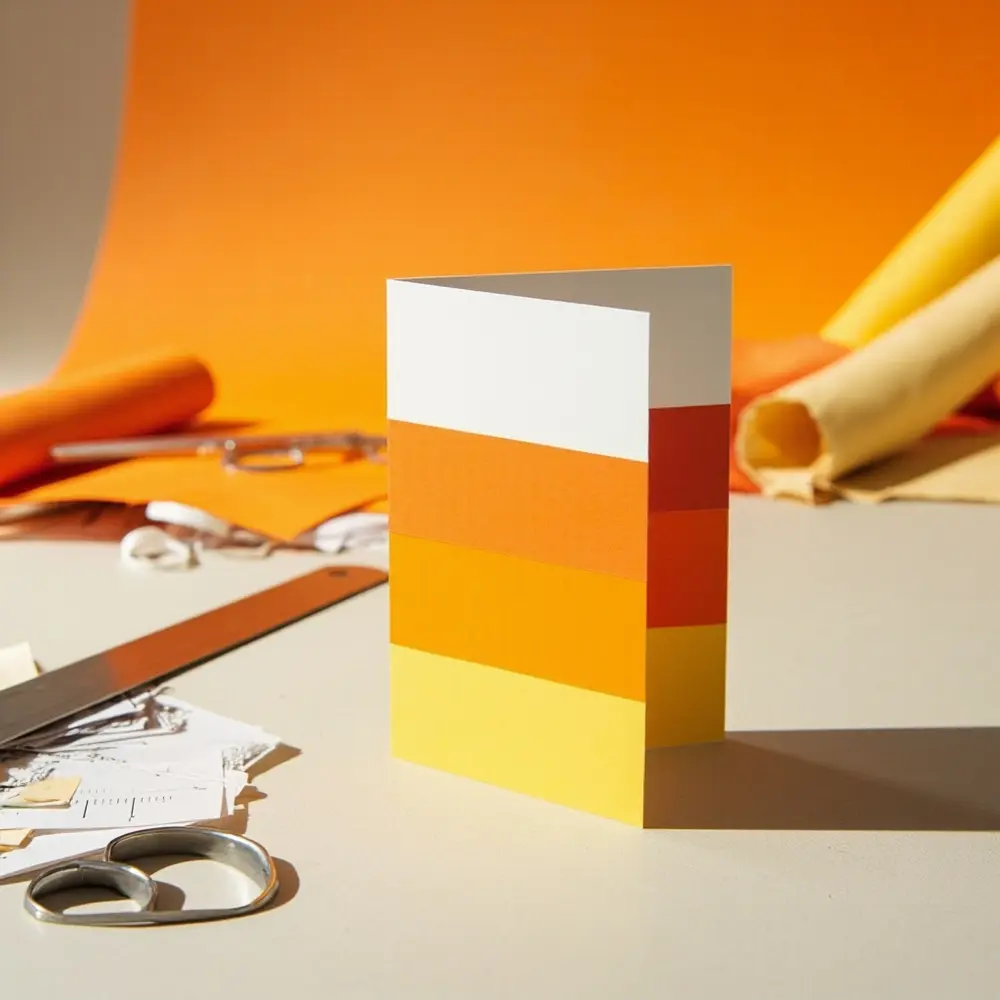
This card uses layers of yellow, orange, and white cardstock to mimic the iconic candy corn, creating a textured and visually appealing design. It’s straightforward but very effective, celebrating a classic Halloween treat. After testing various layering techniques, I found that clean edges are key for this design.
👑 Nancy’s Golden Rule: Ensure your layers are perfectly aligned before gluing to achieve that neat, striped candy corn effect. Any misalignment can detract from the visual impact.
image-6: A card designed with distinct yellow, orange, and white layers resembling candy corn.
7. “Boo-tiful” Ghostly Garland Card 🧵
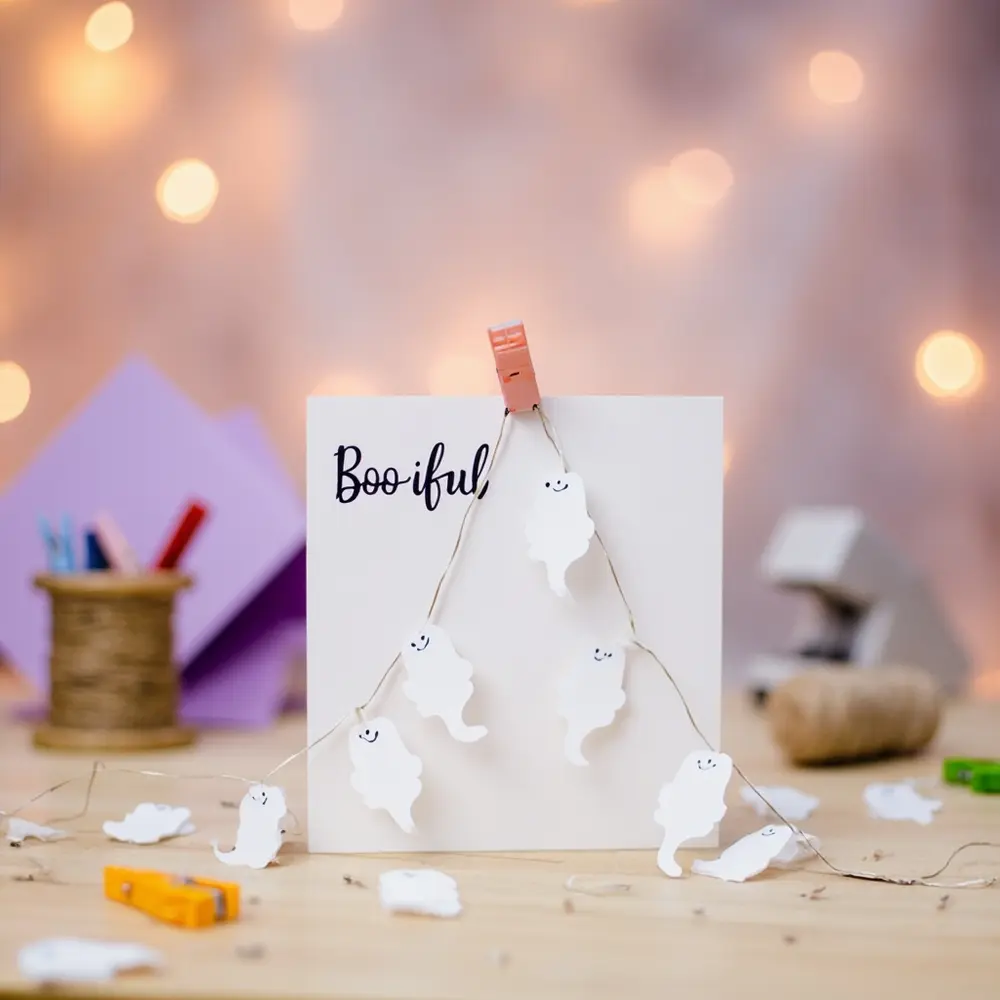
A mini garland of cute ghosts or bats strung across the front of the card adds a festive, dimensional touch. This card feels handmade and special, offering a unique twist on traditional flat designs. Small ghost cutouts, thin string or twine, and tiny adhesive dots are needed to create this charming effect. My go-to trick is to make sure the garland hangs just right.
💡 Pro-Tip: Use foam dots behind the garland ends to give it a slight lift and more dimension, making the tiny ghosts appear to float.
image-7: A card with a small, cute ghost or bat garland strung across the front.
8. Witch’s Brew Cauldron Card 🧙♀️
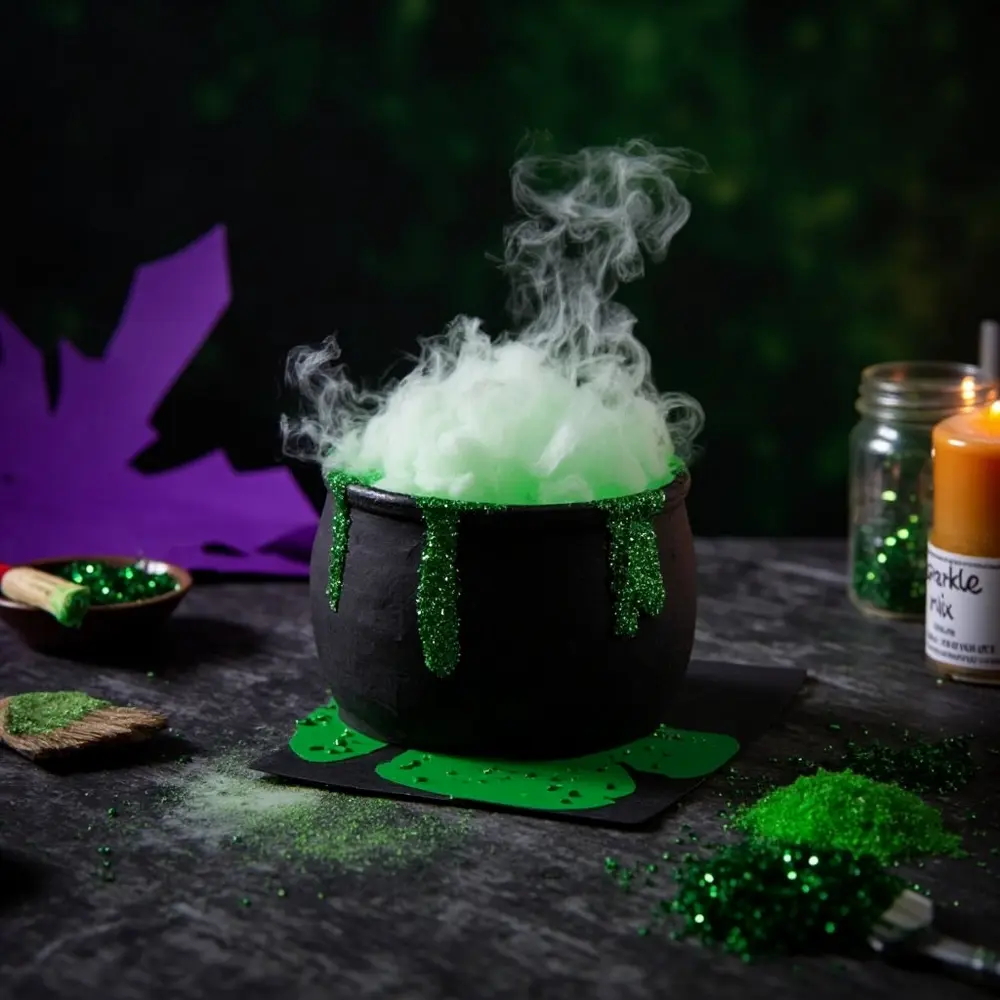
This card features a bubbling cauldron design, often with “steam” made from cotton or green glitter. It’s whimsical and fun, perfect for a magical birthday celebration. Black cardstock for the cauldron, green glitter or cotton for the “brew” are the main ingredients. I’ve found that the “bubbling” effect is where the real “Aha!” moment happens.
👑 Nancy’s Golden Rule: For extra sparkle, mix fine green glitter into your glue before applying it for the “bubbling brew” effect – it gives it a truly magical shimmer!
image-8: A card featuring a cute cauldron with green “bubbling” elements.
9. Mummy Wrap Embossed Card 🩹
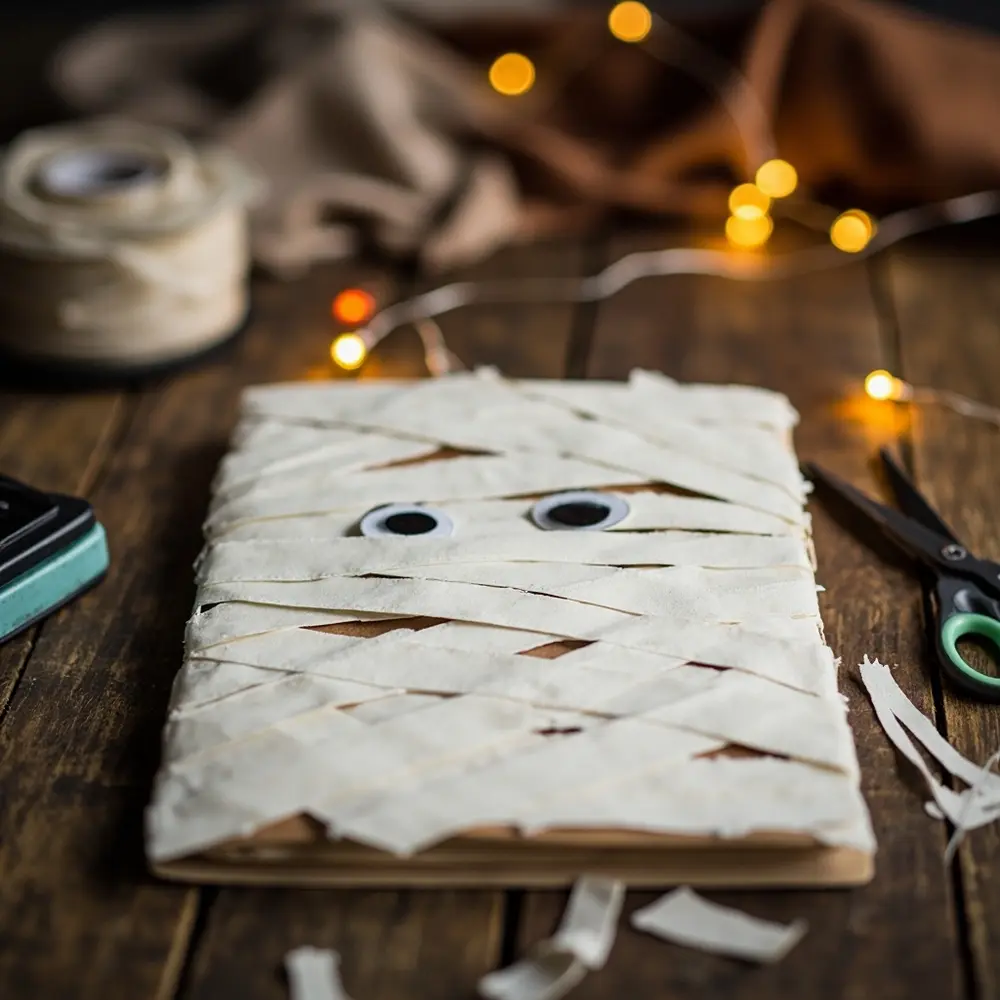
Create a textured mummy effect by wrapping strips of white paper or fabric around the card, leaving a small gap for googly eyes. It’s tactile and visually interesting, offering a fun, slightly spooky design. White paper strips, googly eyes, and a base card are all you need. A mistake I always see is wrapping the strips too tightly, which can warp the card.
💡 Pro-Tip: Lightly distress the edges of your paper strips with a brown ink pad for an aged, authentic mummy look that adds depth and character.
image-9: A card wrapped with white strips, resembling a mummy, with googly eyes peeking out.
10. Black Cat & Moon Die-Cut Card 🐈⬛
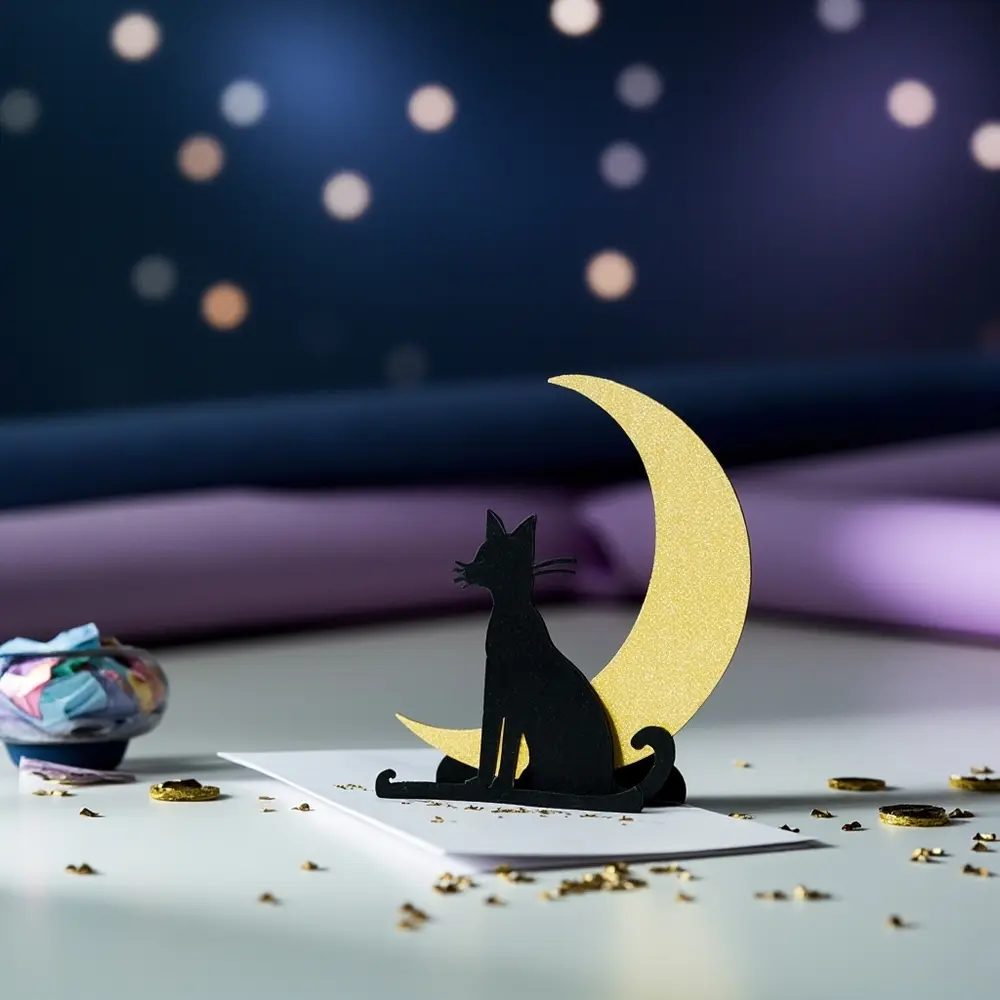
A classic Halloween image, this card uses die-cut shapes of a black cat sitting on a crescent moon. It’s elegant and timeless, suitable for any age, and always a crowd-pleaser. Black cardstock for the cat, yellow or silver for the moon provide a striking contrast. My go-to trick for this design is to give the cat a little lift.
👑 Nancy’s Golden Rule: Use a small piece of foam tape behind the cat to give it a subtle lift, adding depth and making it appear to truly perch on the moon.
image-10: A card with a black cat silhouette perched on a crescent moon.
11. “Trick or Treat” Bag Card 🍬
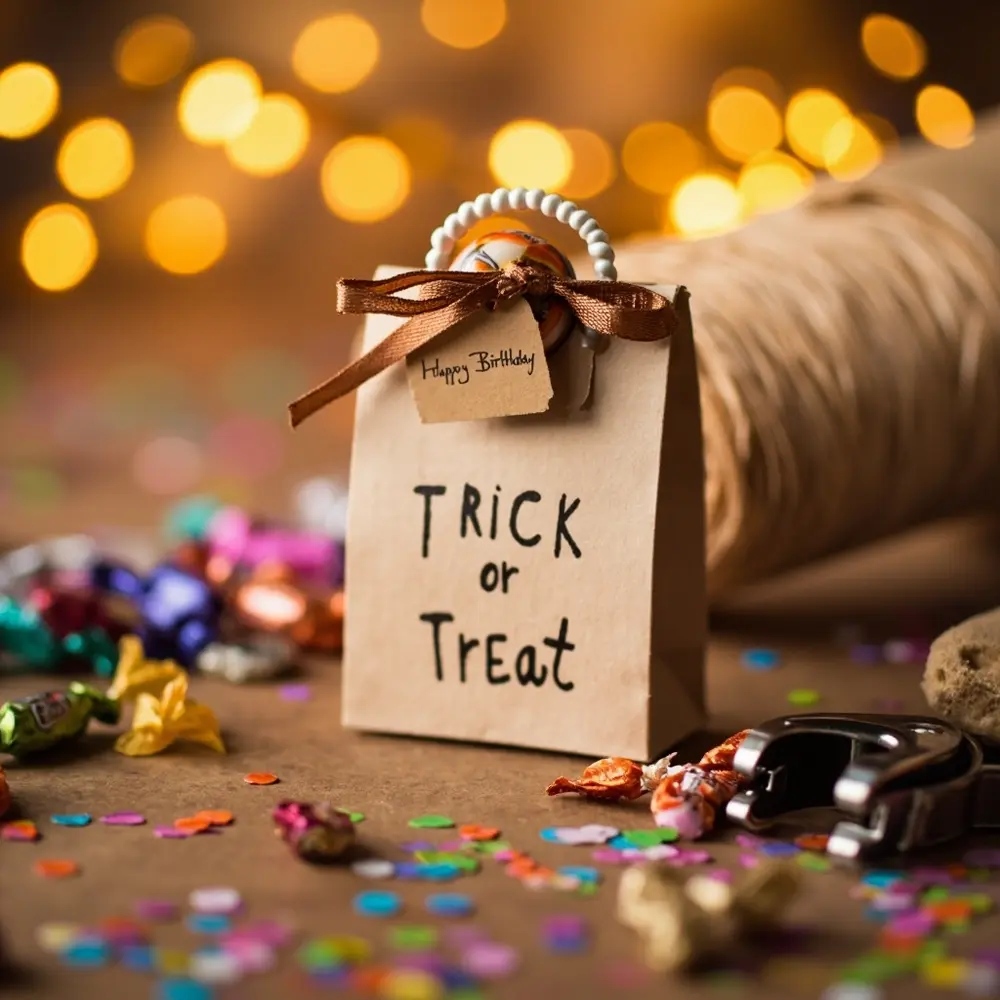
Design the card to look like a miniature trick-or-treat bag, complete with a small handle and perhaps a tiny piece of candy inside. It’s a delightful surprise that truly captures the spirit of Halloween giving! Brown paper, a small handle (ribbon or paper strip), and a tiny treat are needed. After testing various ways to make this, I found that the handle makes all the difference.
💡 Pro-Tip: Print a small “Happy Birthday” message on a tag and tie it to the handle for an extra personal touch that makes the card feel even more special.
image-11: A card shaped like a small trick-or-treat bag, possibly with a tiny candy peeking out.
12. Haunted House Pop-Up Card 🏚️
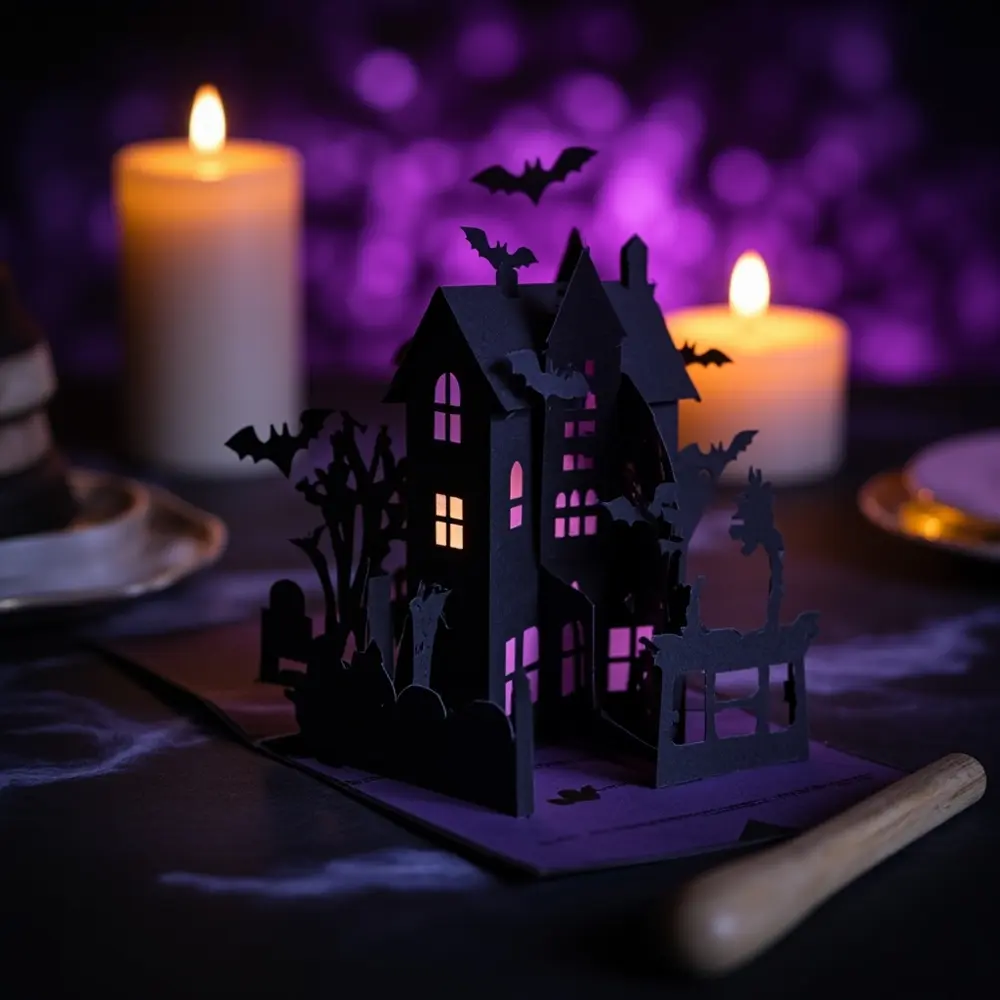
A more intricate pop-up, this card reveals a spooky haunted house scene when opened. It’s impressive and a true “Aha!” moment for the recipient, showcasing your crafting prowess. Black and purple cardstock, and careful cutting/folding are essential for this detailed design. My go-to trick for complex pop-ups is always to pre-score.
👑 Nancy’s Golden Rule: Score all your fold lines before folding to ensure sharp, professional-looking creases for your pop-up structure, critical for a smooth opening.
image-12: An open card revealing a detailed pop-up haunted house scene.
13. Cute Vampire Fangs Card 🧛
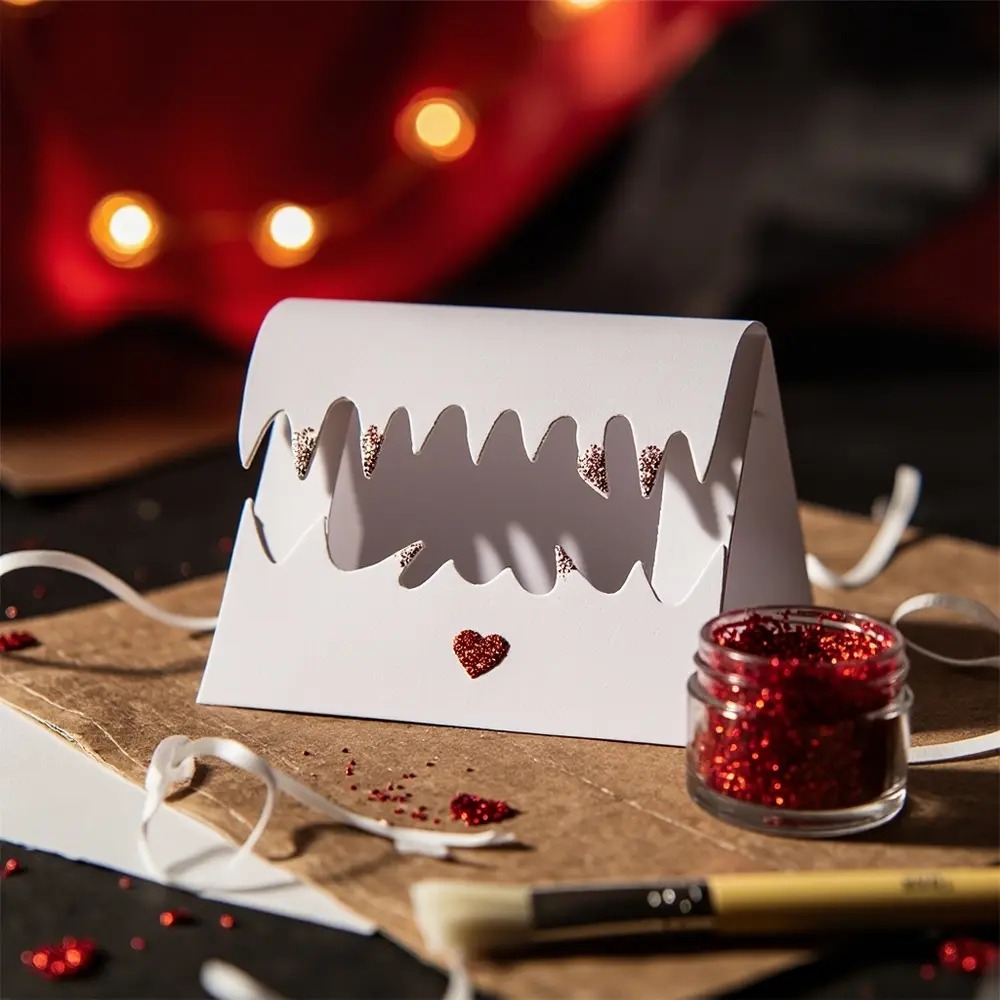
This playful card features a pair of vampire fangs that might even “bite” a small message or a heart. It’s humorous and unexpected, perfect for someone who appreciates a lighthearted spooky twist. White cardstock for fangs, red for a “bloody” accent will make this design pop. I’ve found that a little sparkle goes a long way here.
💡 Pro-Tip: Use a small amount of red glitter glue on the tips of the fangs for a subtle, spooky sparkle that catches the eye.
image-13: A card with cute, cartoonish vampire fangs as the main design element.
14. “Happy Haunting” Printable Card 🖨️
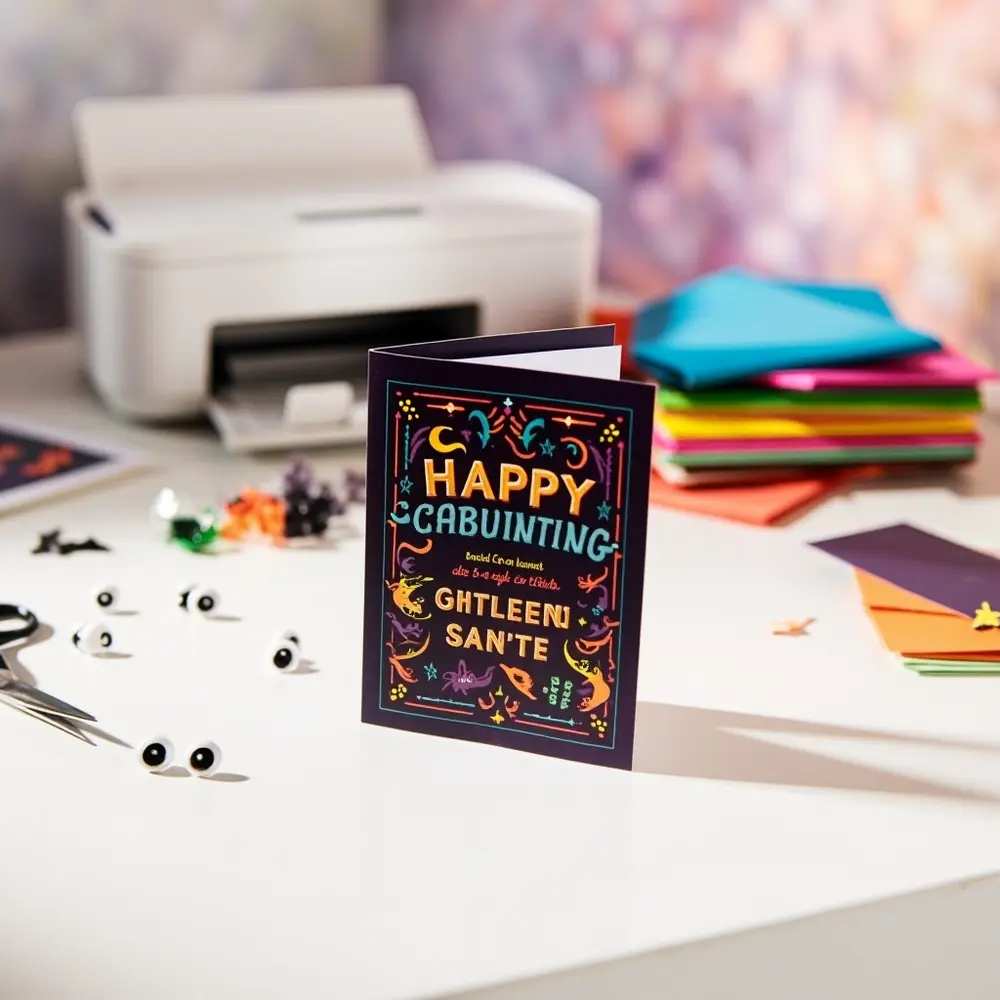
For those short on time, a beautifully designed printable card with a “Happy Haunting Birthday” theme is a lifesaver. Focus on cute, not scary, designs to keep it festive and fun, emphasizing ease of use. This is a brilliant solution when you need a fantastic card without the extensive DIY time, offering adorable spooky cute stationery.
👑 Nancy’s Golden Rule: Always print on good quality cardstock (65-80lb) for the best results and a professional feel – it truly elevates a simple printable.
image-14: A vibrant, professionally designed printable Halloween birthday card.
15. Frankenstein’s Monster Stitched Card 💚
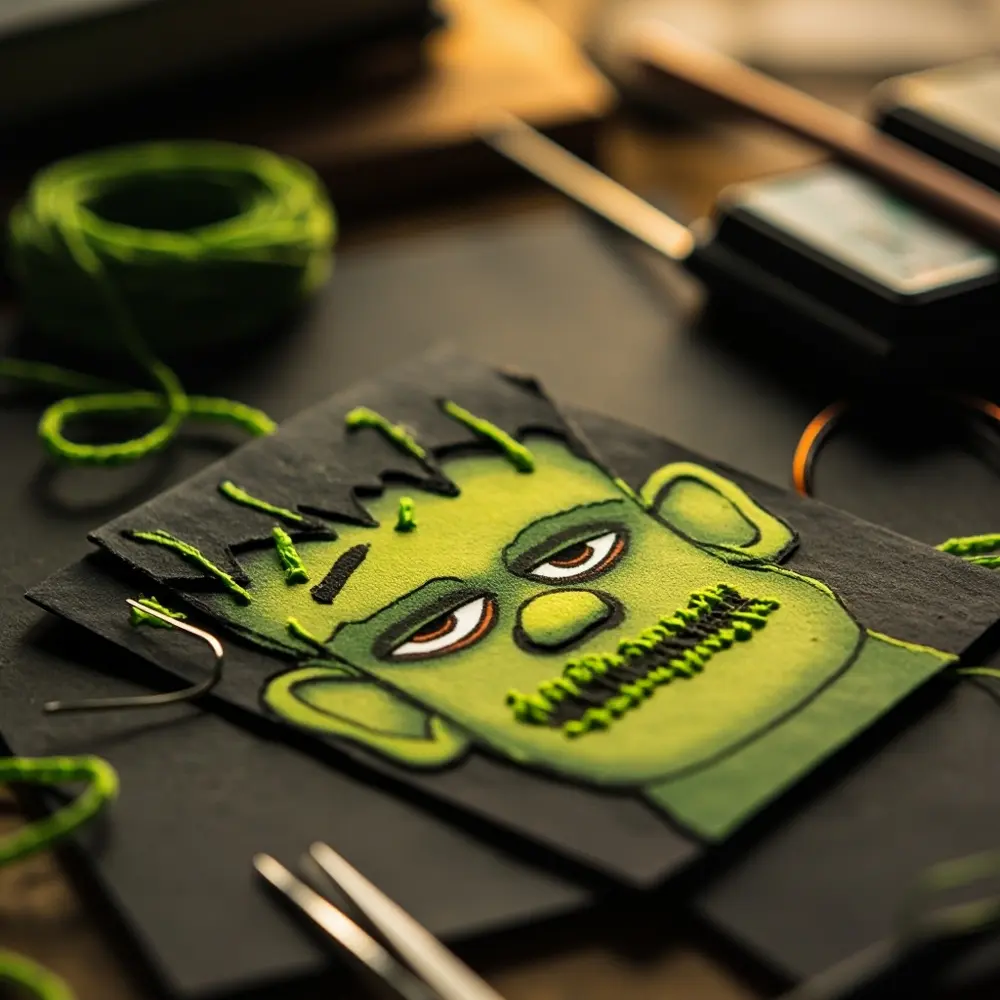
This card features a friendly Frankenstein’s monster face, with “stitches” added using a marker or actual thread. It’s quirky and endearing, perfect for a unique birthday greeting. Green cardstock, a black marker, and optional embroidery floss are the main materials. After testing various ways to do stitches, I found pre-poking holes is best.
💡 Pro-Tip: For real stitches, use a needle to pre-poke holes along your stitch lines before threading to keep your cardstock neat and prevent tearing.
image-15: A cute Frankenstein’s monster face on a card, with visible stitches.
Mix & Match Your Magic ✨
As a Creative Crafter, I love finding new ways to combine techniques! Don’t be afraid to experiment and create your own unique “Aha!” moments by mixing these ideas:
- Combine the “Friendly Ghost Pop-Up” with the “Spooky Spiderweb Shaker” for a multi-sensory card experience.
- Use the “Little Monster Fingerprint” technique to decorate the inside of a “Haunted House Pop-Up” card.
- Add a small “Boo-tiful Ghostly Garland” to the “Trick or Treat Bag Card” for extra festive flair.
- Customize any printable birthday cards by adding glitter, googly eyes, or small embellishments for a personal touch.
Your Spooky Questions Answered 🤔
A question I get all the time on my Instagram is about making crafting accessible and budget-friendly. Here are some solutions to common pain points!
Q1: Where’s the best place to find budget-friendly craft supplies for these card ideas?
A1: My go-to spots are dollar stores, craft store sales flyers, and even repurposing materials from around your home (think old shoeboxes for cardstock, or fabric scraps for embellishments!). Don’t underestimate the power of a good coupon!
Q2: How can I adapt these card ideas to be more suitable for very young children to help make?
A2: For little hands, focus on ideas that involve less cutting and more gluing or stamping. The “Little Monster Fingerprint Card” is perfect, but you could also pre-cut shapes for the “Candy Corn Layered Card” or let them stick googly eyes on the “Mummy Wrap Card.” Safety scissors and washable glue are your best friends!
Q3: What are some quick ways to personalize a store-bought Halloween birthday card if I’m really short on time?
A3: If you’re truly in a pinch, grab a store-bought card and make it sparkle! Add some stick-on glitter, googly eyes to characters, tie a small ribbon around it, or even attach a tiny treat with double-sided tape. A handwritten, heartfelt message inside is always the most personal touch, regardless of the card’s origin.
Conclusion:
From charming pop-ups to delightful printables, these 15 cute Halloween birthday card ideas prove that celebrating a spooky season birthday can be incredibly creative and fun. Whether you’re a seasoned Creative Crafter or just starting, there’s an “Aha!” moment waiting for you to craft a card that’s truly special. Which of these adorable designs will you conjure up first for your next Halloween birthday celebration? Let me know in the comments below!
