Spooktacular & Creative DIY Halloween Birthday Invitations: Editable Templates & Step-by-Step Guide
✨ From haunted party planning spreadsheets to last-minute costume fixes, I’ve mastered the art of creating Halloween magic. As an event planner and graphic designer, I’ve spent years testing, fixing fails, and discovering solutions for printable Halloween invites that actually look professional without the professional price tag.
😅 But I know the struggle: How do you create adorable, custom invitations when you’re short on time and don’t have a design degree? How do you make them look polished and not like a last-minute rush job? I’ve been there, trying to get everything perfect for a memorable party.
👑 That’s why in this post, I’ll show you exactly how to solve these challenges with my tested Canva invitation tutorial. Stick with me, and you’ll learn how to design spooktacular DIY birthday party invitations while creating magical memories with your little monsters! 🎃
Tutorial At-a-Glance
Time Required: Approx. 1-2 hours (depending on design complexity)
Budget Level: Low-Cost (free Canva account, printing costs)
Skill Level: Beginner (no design experience needed)
What You’ll Need for Your Spooktacular Invites 🎃
Getting your supplies together is the first step to invitation success. My go-to trick for this is to gather everything before you even open your computer—it makes the whole process feel so much smoother.
✅ Computer or tablet with internet access
✅ Canva account (free version works!)
✅ Printer (or access to a print shop)
✅ Cardstock or heavy paper (👑 Nancy’s Pick: I always recommend a heavyweight matte cardstock, around 80-100 lb. The matte finish looks incredibly professional, prevents photo glare, and is super easy for parents to write on if they need to stick it on the fridge!)
✅ Scissors or a paper trimmer
✅ Optional: Envelopes, decorative stickers, glitter glue
Designing Your DIY Halloween Birthday Invitations: Step-by-Step Guide 🎨
As a busy mom myself, I know that time is precious. That’s why I’ve broken this down into practical solutions that deliver professional-looking invites without any stress. This is my tried-and-true method for getting from a blank screen to a beautiful, finished invitation you’ll be proud to send.
Step 1: Brainstorm Your Spooky Theme & Style
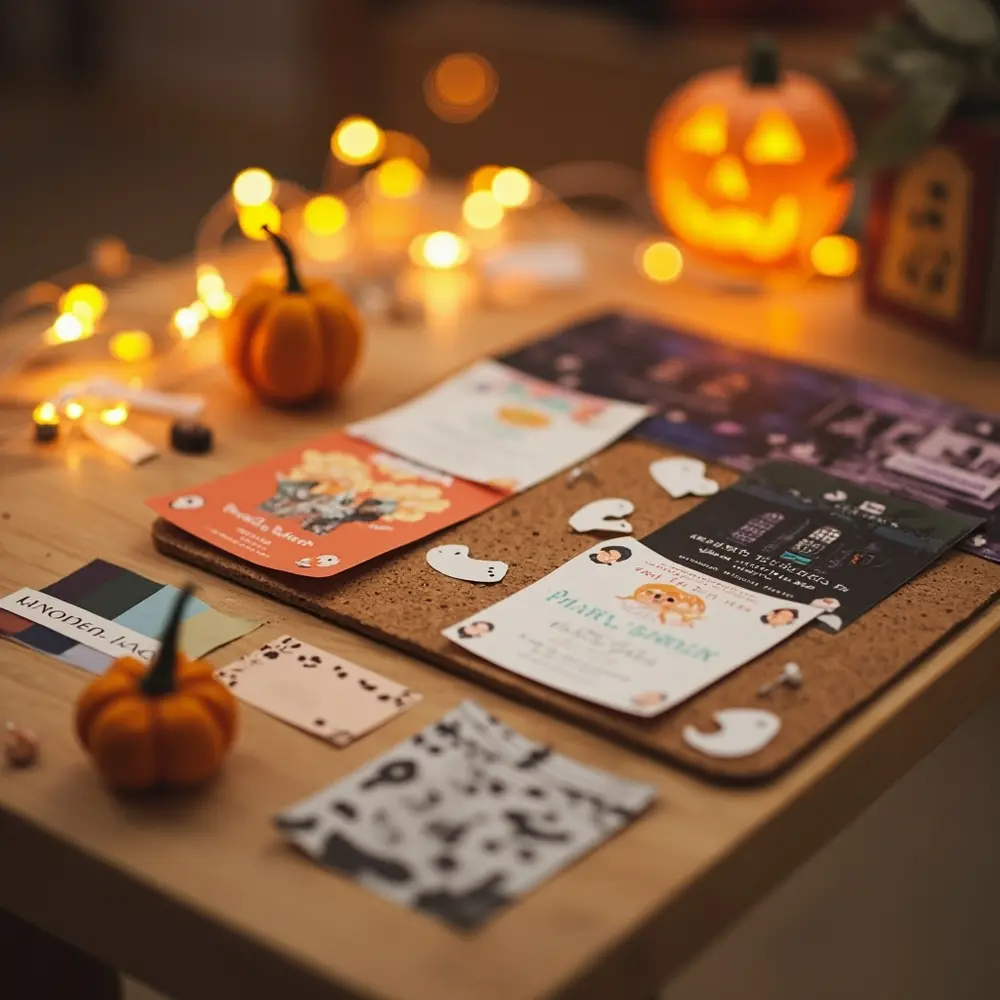
Before you jump into designing, take a moment to think about the vibe of your party. Is it a cute “Little Pumpkin” theme for a toddler, a spooky haunted house for older kids, or a friendly ghost gathering? Deciding on a theme helps you choose a color palette (like classic orange and black, or maybe modern pastels with ghost accents) and the types of graphics you’ll want to use.
[image-1: A mood board or collage of Halloween invitation design inspirations showing different themes like pumpkin patch, friendly ghosts, and spooky haunted houses with corresponding color palettes, fonts, and graphics.]
Step 3: Setting Up Your Canva Workspace
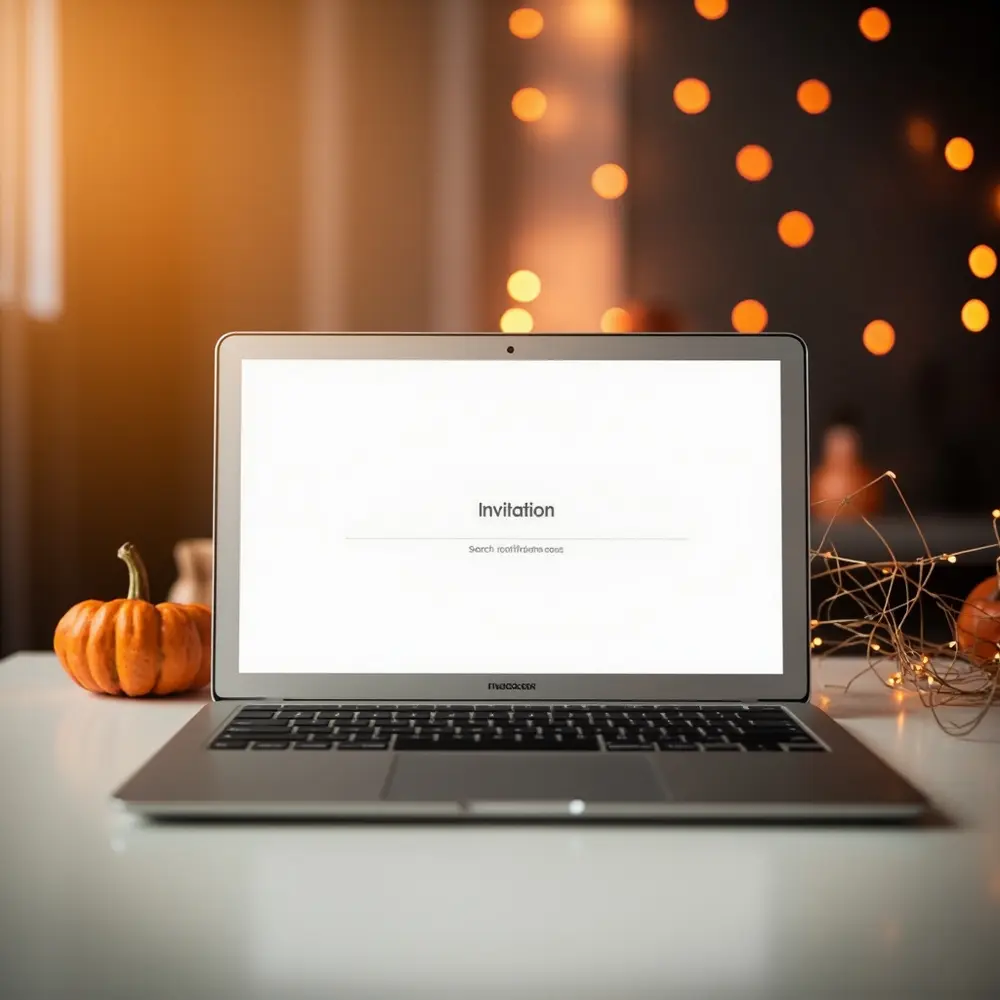
Canva is a fantastic free tool that makes design accessible to everyone. First, head to Canva.com and create a free account if you don’t have one. On the homepage, type “Invitation (Portrait)” into the search bar. This will open up a perfectly sized blank canvas (usually 5×7 inches), which is the standard for party invitations.
[image-2: Screenshot of Canva’s homepage with the search bar highlighted, showing the user typing “Invitation” and selecting the correct template size.]
Step 3: Crafting Your Invitation Design
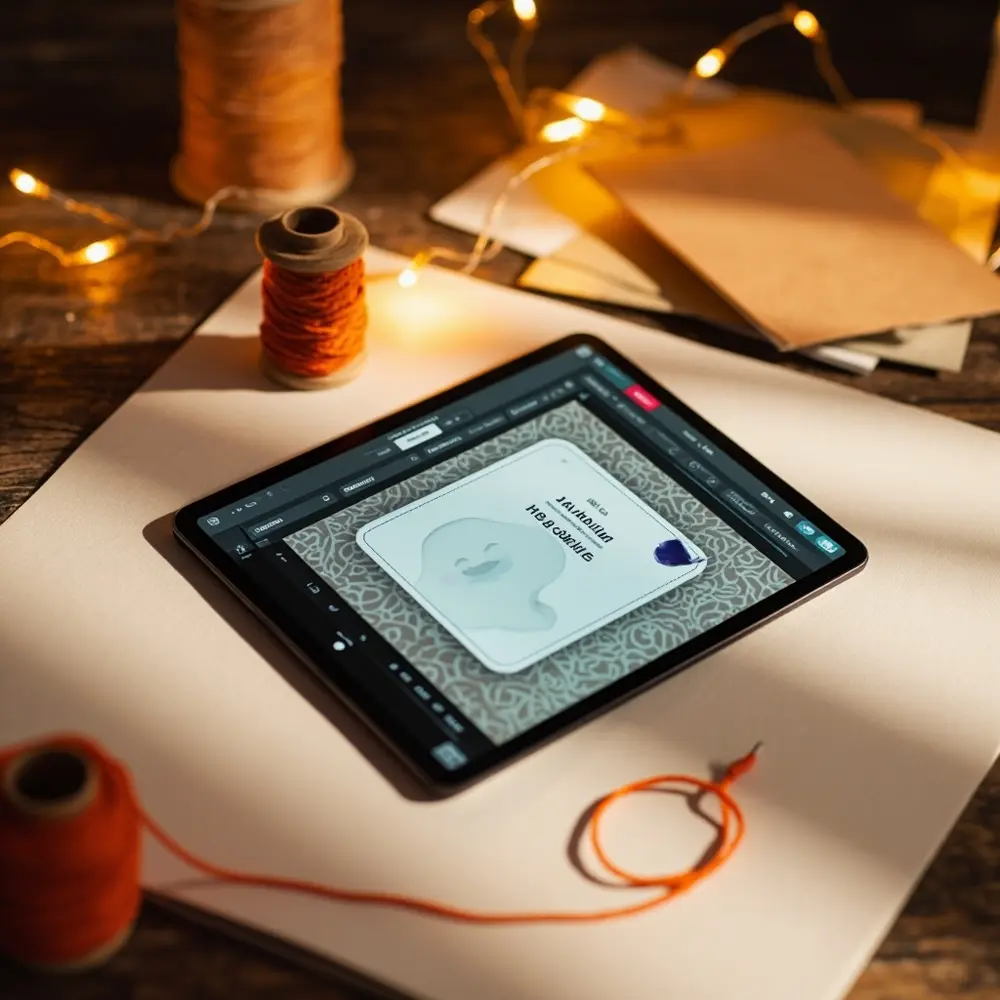
Now for the fun part! Start by adding a background color or a spooky pattern. You can find these in the “Elements” tab on the left. Search for things like “Halloween pattern,” “ghosts,” or “pumpkins” to find tons of free graphics. Drag and drop your chosen elements onto the canvas. Then, use the “Text” tab to add a headline like “You’re Invited to a Spooktacular Celebration!”
⚠️ Safety First: When sourcing images, it’s best to stick with Canva’s extensive free library to avoid any copyright issues. If you do use graphics from outside Canva, make sure they are labeled for free commercial or personal use.
[image-3: Screenshot of a Canva invitation in progress, showing a background pattern, a friendly ghost graphic placed on the canvas, and a text box with a headline.]
Step 4: Personalizing Your Party Details
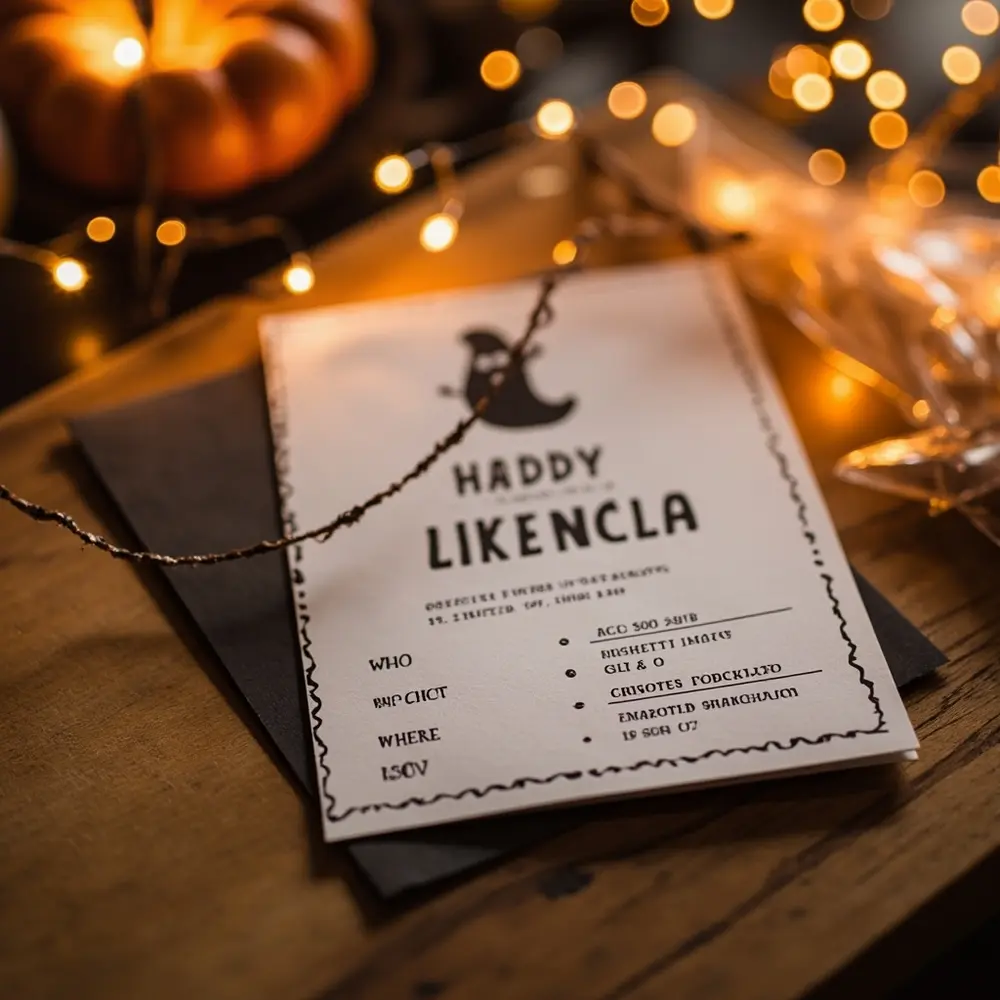
This is the most important step! Add all the essential party information using a clear, easy-to-read font. Make sure you include: the birthday kid’s name and age, the date and time of the party, the full address of the location, and RSVP information (a name, phone number or email, and a “reply by” date).
💡 Pro-Tip: Before you even think about printing, double-check every single detail. Then, have a friend or partner proofread it one more time. A mistake I always see is a simple typo in a phone number or address, and catching it now saves a huge headache later!
[image-4: Close-up screenshot of the invitation with all the party details clearly filled in, including Who, What, When, Where, and RSVP information.]
Editable Templates & Printable Designs for Busy Moms 👻
Let’s be real: sometimes you just don’t have time to start from scratch. As a graphic designer, my best advice for non-designers is to start with a great template. This is one of the best editable party templates hacks out there, and it’s a total game-changer for busy parents who want something beautiful without spending hours on it.
Accessing & Customizing Canva’s Halloween Templates
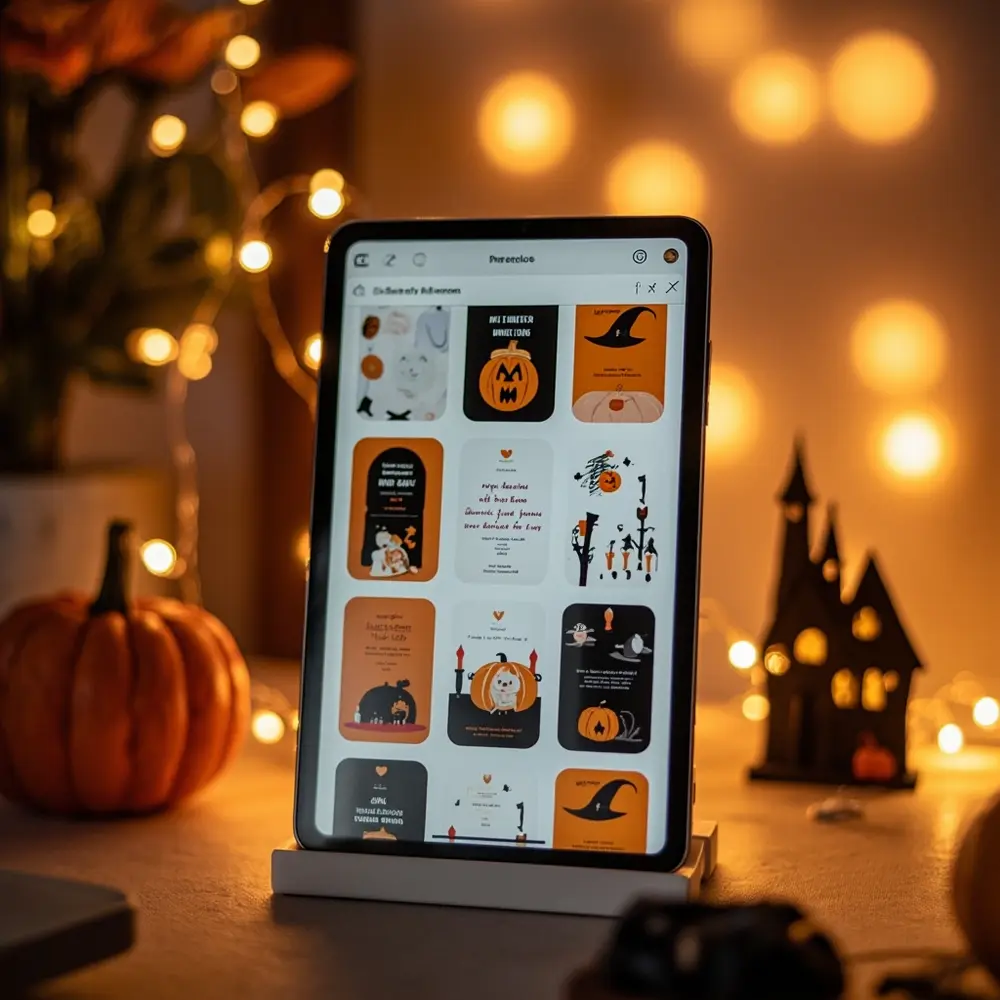
In the Canva search bar, simply type “Halloween Birthday Invitation.” You’ll find hundreds of professionally designed, printable Halloween invites ready to go. Click on a design you love, and it will open in the editor. From there, you can easily click on any text to change the words, update the colors to match your theme, and even swap out graphics. It’s the fastest way to a gorgeous, custom invitation.
[image-5: Screenshot of Canva’s template library displaying a grid of various Halloween birthday invitation templates, showcasing different styles from cute to spooky.]
Preparing Your Design for Print
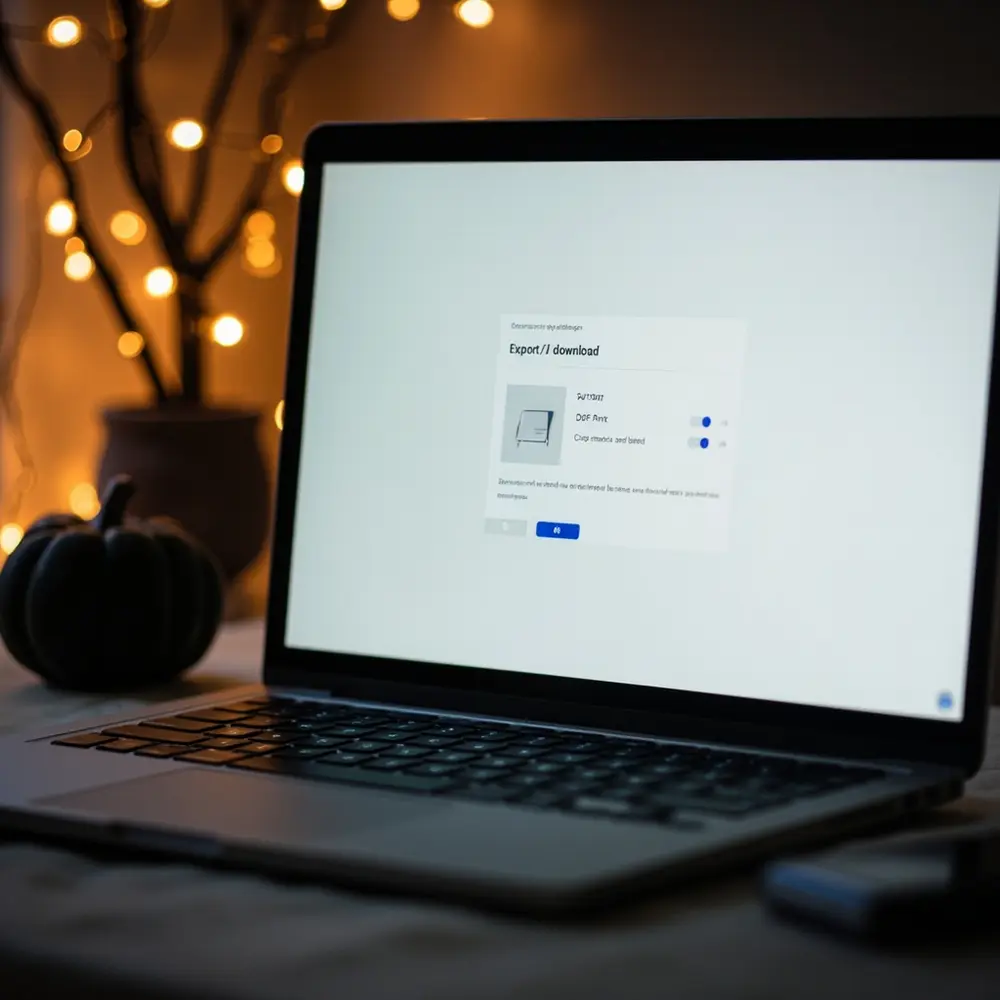
Once your design is perfect, it’s time to download it. Click the “Share” button in the top-right corner, then select “Download.” For the “File type,” choose “PDF Print.” This is crucial because it ensures the highest quality for printing. If your design has elements that go to the very edge, also check the box for “Crop marks and bleed.”
[image-6: Screenshot of Canva’s download options menu, with the “File type” dropdown set to “PDF Print” and the “Crop marks and bleed” checkbox highlighted.]
Printing Your Invitations at Home or Professionally
You have two great options for printing. If you’re printing at home, always do a single test print on regular paper first to check colors and alignment. Then, load your cardstock and print. If you’re using a professional print shop (like Staples or a local printer), save your “PDF Print” file to a USB drive or upload it to their website. They’ll handle the rest and give you a perfectly cut, professional result.
Creative Touches & Customizations 🕷️
After planning dozens of parties, I’ve learned it’s the little details that make a big impact and get guests excited. Here are a few of my favorite ways to add an extra layer of fun to your DIY invitations:
- Secret Message: Add a QR code on the back that links to a spooky Spotify playlist for the party or a Pinterest board with costume ideas.
- Glow-in-the-Dark Fun: Use a glow-in-the-dark pen or stickers to highlight the party time or the birthday kid’s name for a spooky surprise.
- Unique Shapes: If you’re feeling extra crafty, use scissors to cut the top edge of the invitation into a ghost or bat shape.
- A Tiny Treat: Use a hole punch and some ribbon to attach a small plastic spider ring or a single piece of candy corn to the corner of the invitation.
Halloween Birthday Invitation FAQs 🤔
A question I get all the time from my community is about the little details that can make or break a DIY project. Here are answers to the most common ones.
Q1: What’s the best size for a DIY party invitation?
The standard, most common size for party invitations is 5 x 7 inches. This size looks professional, fits perfectly into standard A7 envelopes, and gives you plenty of space for your design and all the important party details.
Q2: How far in advance should I send out Halloween birthday invitations?
For a themed birthday party like Halloween, I recommend sending invitations out 3 to 4 weeks in advance. This gives other busy parents enough time to RSVP, find a costume for their child, and purchase a gift without feeling rushed.
Q3: Can I use these templates for other party themes besides Halloween?
Absolutely! The skills and steps you learned in this Canva invitation tutorial are universal. You can search for any theme—like “dinosaur birthday invitation” or “princess party invitation”—and follow the exact same process to customize a template for any celebration.
You now have all the tools and tips to create amazing DIY Halloween birthday invitations that will wow your guests and get everyone excited for the big day.
What spooky theme are you choosing for your party this year? Let me know in the comments below
