DIY ‘Til Death Do Us Part’ Skeleton Cake Topper: Personalized & Spooky Wedding Decor
✨ From styling spooky-chic weddings to spending countless hours covered in glitter, I’ve mastered the art of creating unique Halloween decor—testing, fixing fails, and discovering solutions that actually work.
😅 But I know the struggle: How do you find wedding decor that’s both spooky and personal without breaking the bank? I’ve seen so many couples search for that perfect gothic wedding decor piece that tells their story.
👑 That’s why in this post, I’ll show you exactly how to solve these challenges with tips I’ve tested myself. Stick with me, and you’ll learn how to create a stunning, personalized skeleton cake topper while infusing your unique style into your celebration! 🎃
Tutorial At-a-Glance
Time Required: Approx. 1-2 hours (depending on customization)
Budget Level: Low-Cost to Moderate
Skill Level: Beginner
What You’ll Need for Your ‘Til Death Do Us Part’ Cake Topper 🎃
Here’s a list of everything you need to bring your skeleton couple to life. My go-to trick for a project like this is to gather everything on a tray first so it’s all within reach!
- ✅ Two small poseable skeleton figures (approx. 4-6 inches tall)
- ✅ Hot glue gun and glue sticks (👑 Nancy’s Pick: Opt for a low-temp hot glue gun for delicate work and to prevent burns, especially when working with small details.)
- ✅ Small pieces of fabric (e.g., lace, tulle for veil; felt, satin for top hat/bow tie)
- ✅ Small embellishments (e.g., tiny beads, rhinestones, faux flowers)
- ✅ Craft wire or floral wire (thin gauge)
- ✅ Wire cutters
- ✅ Scissors
- ✅ Optional: Acrylic paint and small brushes (for details like eyes, blush, or custom colors)
- ✅ Optional: Small piece of cardboard or sturdy foam core (for base)
Crafting Your Spooky Sweethearts: Step-by-Step Guide 🧵
One of the best parts of my job is showing people how to create magical decor without a huge price tag. This DIY cake topper is a fantastic Budget-Friendly Solution for unique wedding decor, saving you money compared to expensive custom-made toppers while adding a deeply personal touch to your big day. Let’s get crafting!
Step 1: Prepare Your Skeletons for Their Big Day
First things first, make sure your skeletons are clean and free of any dust or packaging residue. Gently begin posing them into the stance you envision for your cake topper. Will they be holding hands, sharing a dip, or in a sweet embrace? Play around with their positions until you find one that feels right. The key is to make sure they can either stand on their own or be easily attached to a base later.
[Image Placement Instruction: image-1: Two skeleton figures posed together, perhaps holding hands or in a gentle embrace, on a clean work surface.]
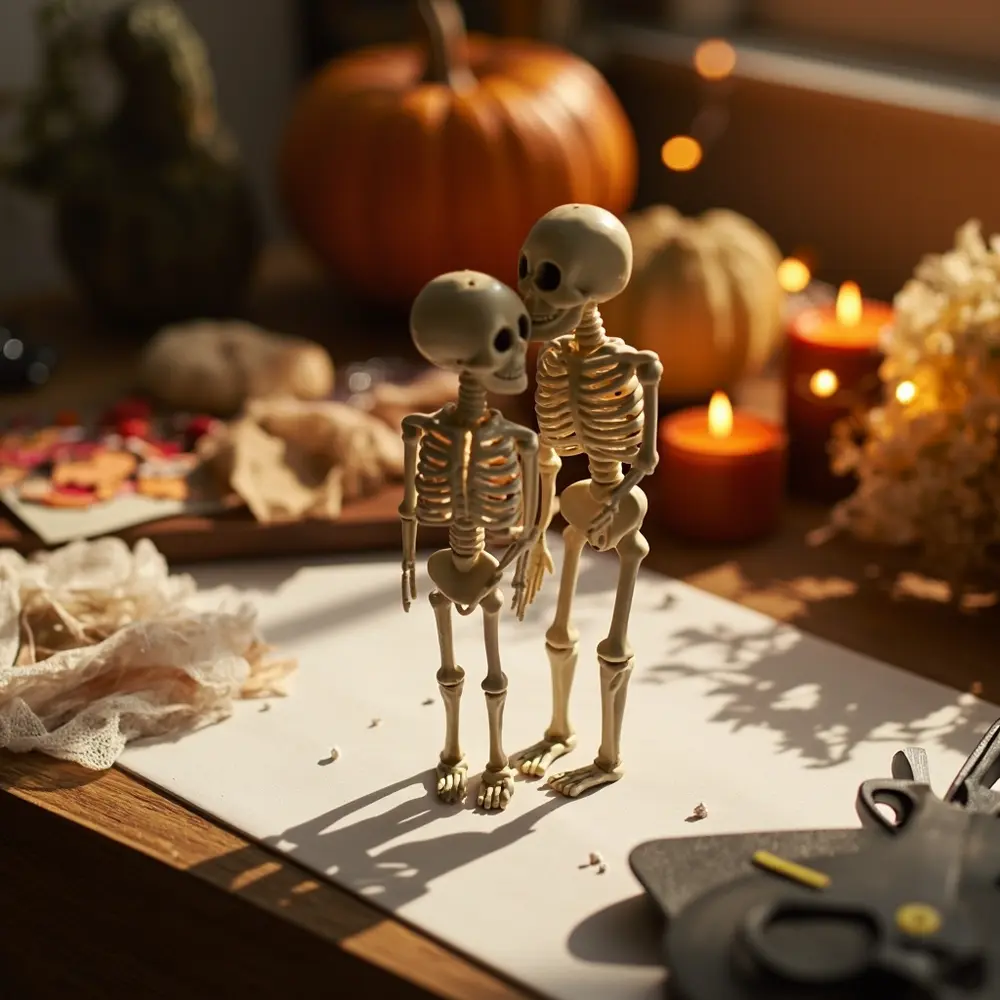
Step 2: Secure Their Love (and Their Stance!)
Once you’ve decided on the perfect pose, it’s time to make it permanent. Carefully use your hot glue gun to add a small dab of glue at the key connection points—where their hands meet, where an arm rests on a shoulder, or at their hips. If they need extra support, you can discreetly wrap a small piece of craft wire around their limbs to hold them together.
⚠️ Safety First: Hot glue guns are amazing tools, but they get very hot! Be mindful of your fingers, especially when working with tiny parts. Use tweezers to hold small pieces in place if needed.
[Image Placement Instruction: image-2: Close-up shot of hands using a hot glue gun to secure the skeletons’ pose or attach them to a small base.]
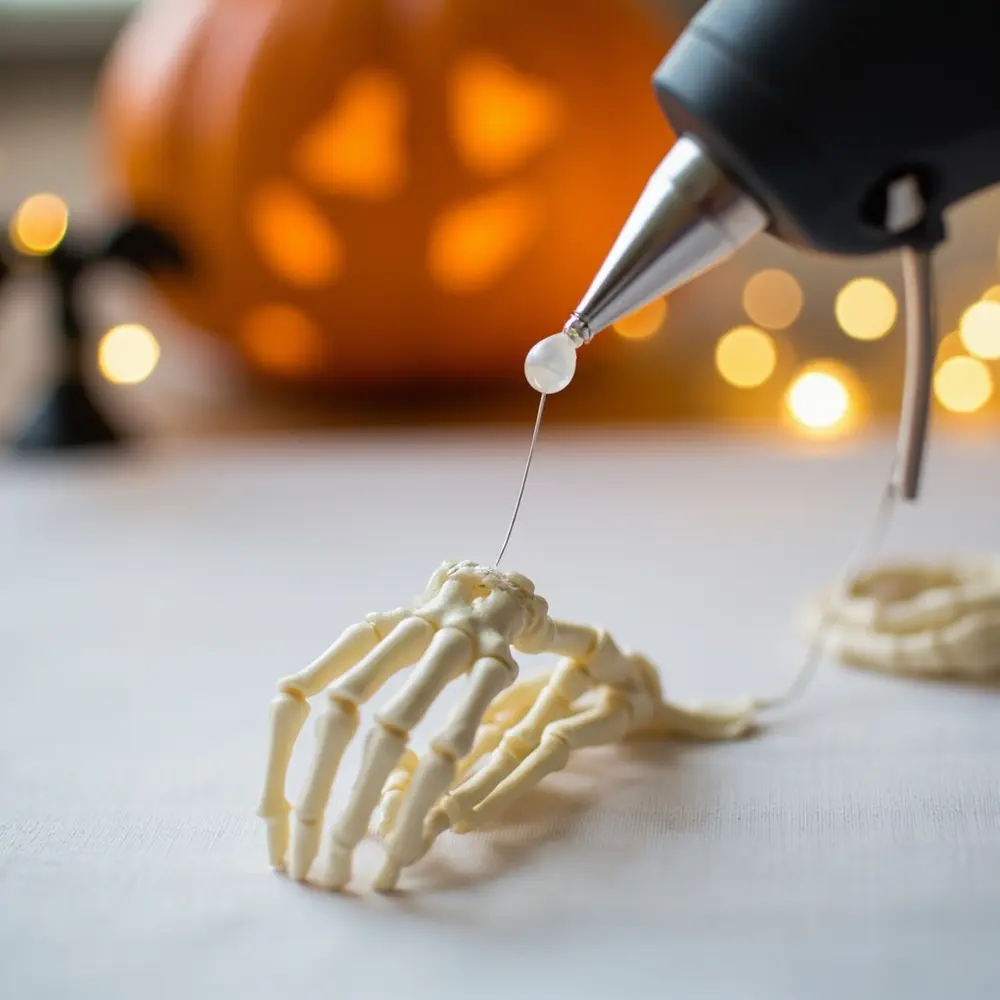
Step 3: Personalize Your Skeleton Bride: The Veil & Details
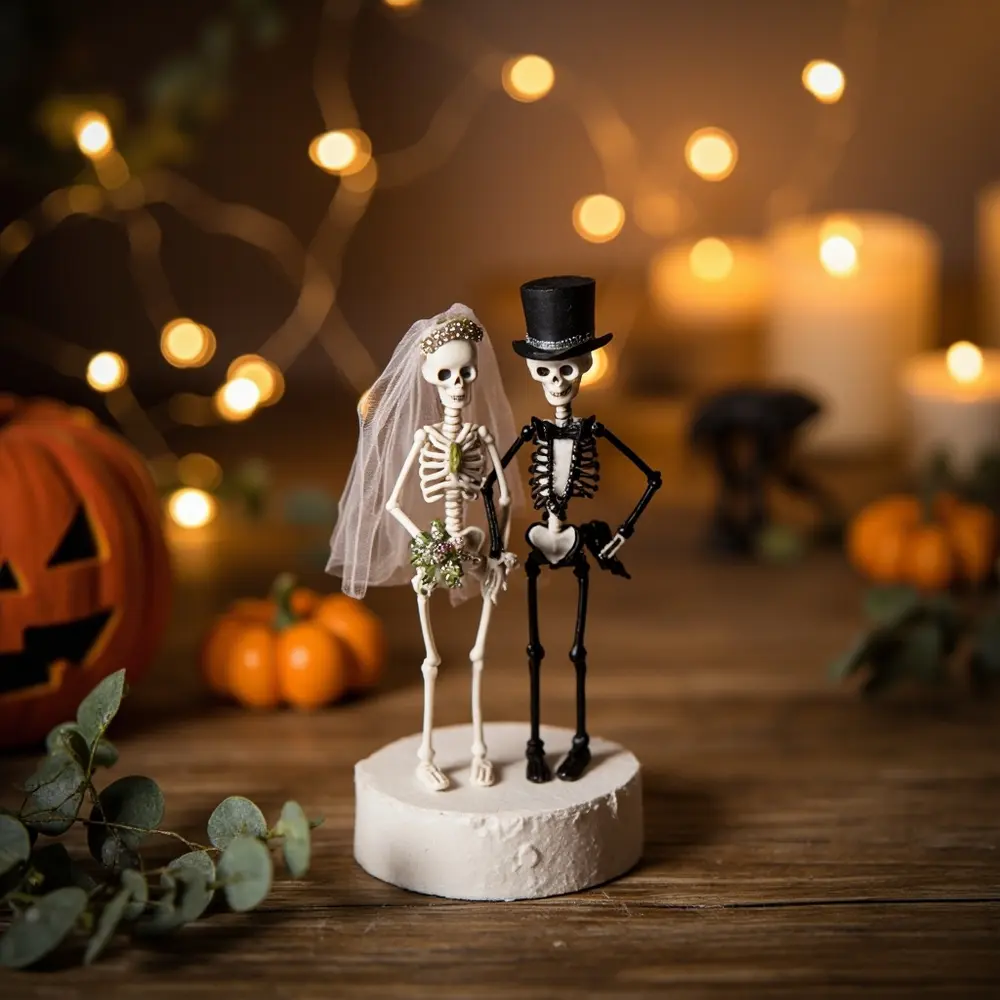
Now for the fun part! To create a veil, cut a small rectangle of tulle or lace. Gather one end and secure it with a dot of hot glue, then attach it to the back of the bride’s skull. You can add a tiny rhinestone or faux pearl on top for a finishing touch. I love adding a little necklace made from a string of tiny beads or a small bouquet crafted from miniature faux flowers. This is where you can really let your creativity shine and add details that reflect your own wedding ideas.
[Image Placement Instruction: image-3: A close-up of one skeleton figure with a delicate veil and small embellishments being added.]
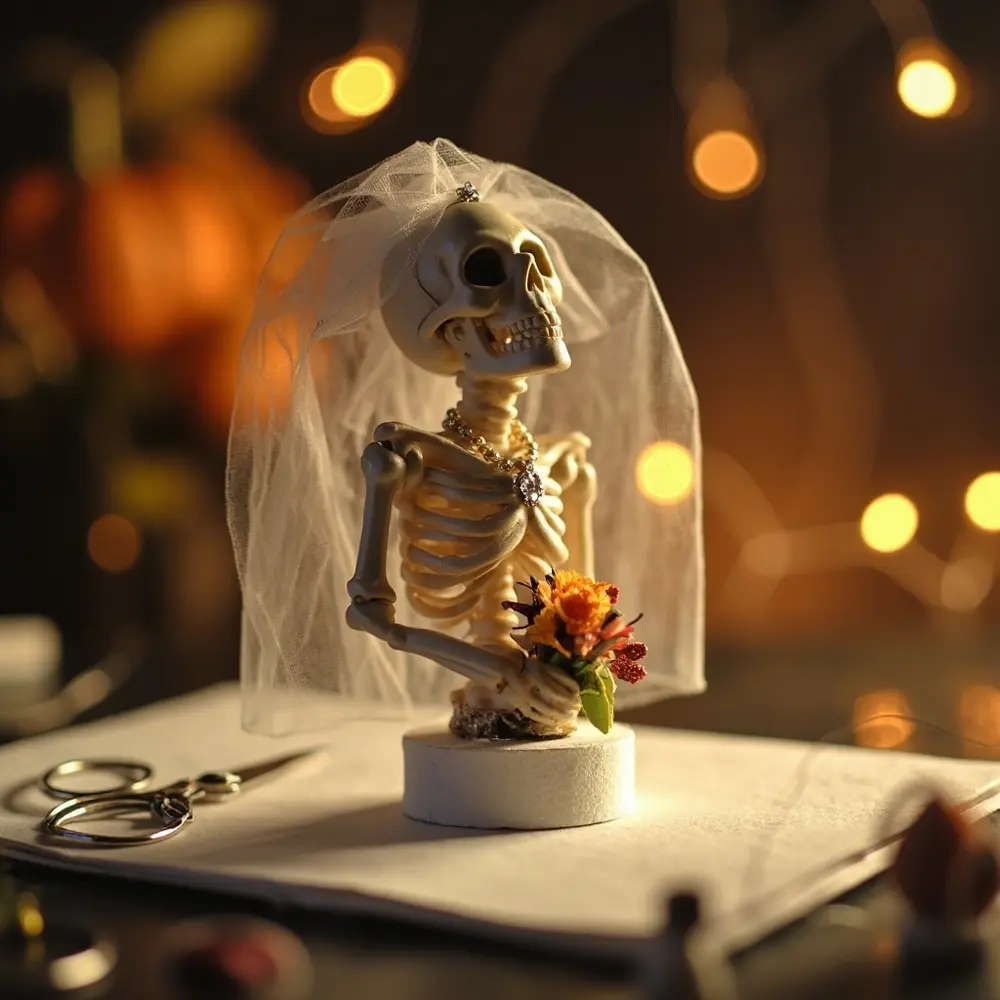
Step 4: Personalize Your Skeleton Groom: The Top Hat & Bow Tie
Your groom needs to look dapper, too! Craft a miniature top hat by cutting a small circle and a thin rectangle from black felt. Glue the rectangle into a tube, then attach it to the circle. For a bow tie, simply tie a tiny piece of satin ribbon into a bow shape and secure it with glue at the groom’s neckline.
💡 Pro-Tip: Use a tiny piece of green floral wire and a miniature faux flower bud to create a boutonniere. A small dab of glue will hold it perfectly on his ribcage “lapel.” It’s these little details that make a DIY cake topper look professionally made!
[Image Placement Instruction: image-4: A close-up of the second skeleton figure with a miniature top hat and bow tie being attached.]
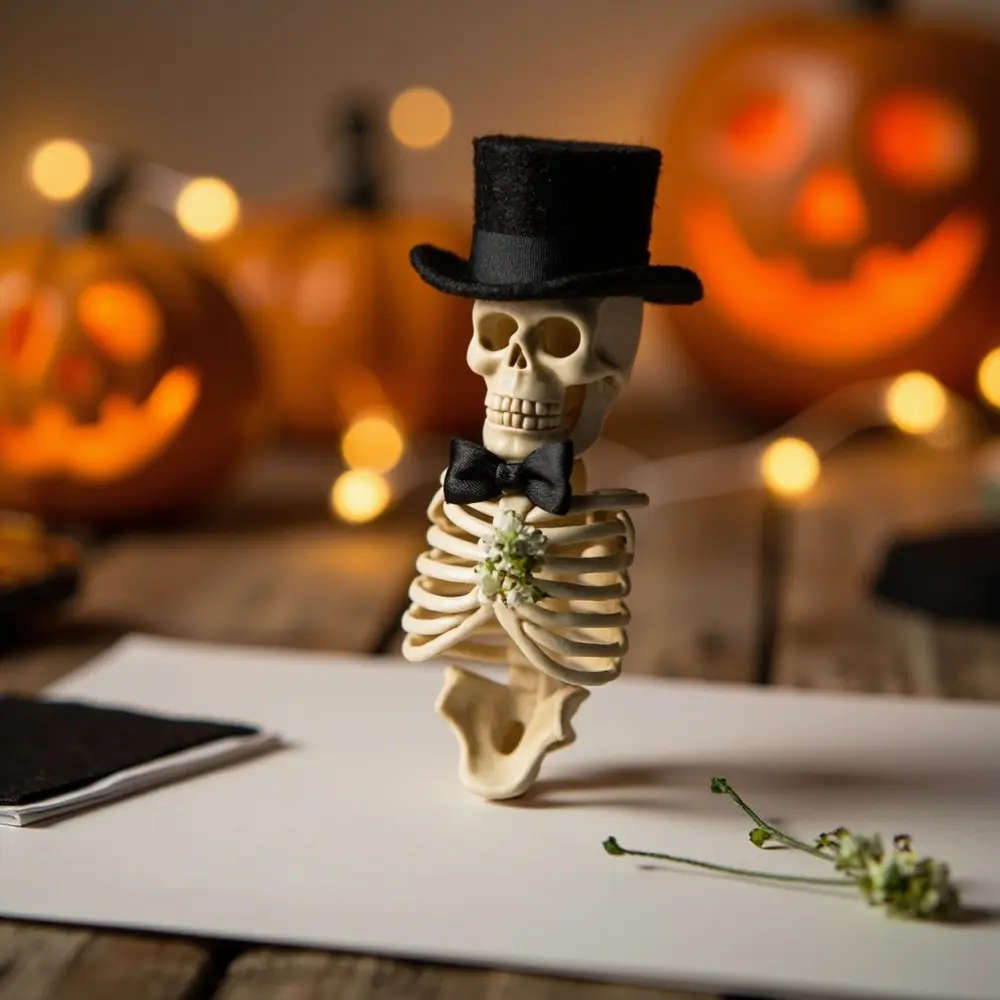
Step 5: Final Touches and Base Attachment
With your couple fully dressed, it’s time for the final details. You can use a fine-tipped brush to add a touch of pink acrylic paint for “rosy” cheeks or even paint tiny hearts on their ribcages. If you’re using a base, securely glue your couple’s feet to the cardboard or foam core. This ensures your topper will be stable on the cake. Make sure everything is completely dry before placing it on your wedding cake!
[Image Placement Instruction: image-5: The fully customized skeleton couple cake topper, standing proudly on a small base, ready for a cake.]
Variations & Customizations for Your Spooky Celebration 👻
After testing dozens of DIY projects, I’ve learned that the best ones are those you can truly make your own. Here are a few ideas to customize your skeleton couple craft:
- Family Affair: Create a “skeleton family” by adding smaller skeleton figures to represent children or even beloved pets for a family-focused wedding.
- Glow Up: Use glow-in-the-dark paint on the skeletons for a spooky surprise when the lights go down. For a more whimsical “pastel goth” vibe, add fine glitter or paint them in soft, spooky colors.
- Matchy-Matchy: Incorporate elements from your actual wedding attire. Use a scrap of lace from your dress for the veil or match the color of the groom’s bow tie to the real one.
‘Til Death Do Us Part’ Cake Topper FAQs 🤔
Q1: How do I ensure the cake topper is food-safe?
My golden rule for any DIY cake topper is to create a barrier between the craft and the cake. The easiest way is to attach your skeletons to a food-safe base, like a small acrylic disc or a piece of cardboard wrapped tightly in aluminum foil. This way, only the clean base touches the frosting.
Q2: What if my skeletons aren’t poseable? Can I still customize them?
Absolutely! A mistake I often see is people giving up on non-poseable figures. My go-to trick is to carefully use wire cutters to snip the joints and then use a strong adhesive like E6000 or hot glue to re-attach the limbs in your desired pose. It requires a bit of patience, but it works like a charm!
Q3: How can I make sure the topper is stable on the cake?
Stability is key! First, use a base that is wide and flat enough to support the figures. For extra security, you can glue one or two food-safe wooden skewers to the bottom of the base. When you’re ready, you can insert the skewers into the cake, which will anchor the topper firmly in place, even during transport.
I hope this tutorial helps you create a beautifully spooky and personal centerpiece for your wedding cake!
How will you be personalizing your ‘Til Death Do Us Part’ cake topper? Share your creative ideas in the comments below! 🖤
