DIY Whimsical Witch Wedding Decor: Crafting Ethereal Magic for Your Big Day
✨ From my years of styling events and planning spooky-chic weddings, I’ve learned that “witchy” doesn’t have to mean spooky. I’ve mastered the art of blending magical themes with elegant decor—testing what works and discovering the secrets to creating an enchanting atmosphere that feels light and airy.
😅 But I know the struggle. How do you create a magical party decor theme that feels more celestial and romantic than a typical Halloween party? How do you make it look high-end without a huge budget?
👑 That’s why I’m so excited to share this with you! I’ll show you exactly how to craft your own ethereal wedding decorations with simple, step-by-step projects. Stick with me, and you’ll learn how to create a truly magical day that wows your guests! 🎃
Tutorial At-a-Glance
Time Required: Approx. 2-4 hours (depending on chosen projects)
Budget Level: Moderate (DIY saves costs, but materials add up)
Skill Level: Beginner to Intermediate
What You’ll Need for Your Whimsical Witch Wedding Decor 🎃
My go-to trick for any DIY project is to gather everything you need before you start. It makes the whole process smoother and so much more fun! Here’s your magical shopping list.
✅ Clear Glass Vases/Jars (various sizes)
✅ Floating Candles (white or ivory)
✅ Assorted Dried Herbs & Flowers (e.g., lavender, eucalyptus, baby’s breath)
✅ Clear Fishing Line or Invisible Thread
✅ Assorted Crystals & Beads (e.g., quartz, amethyst, glass beads)
✅ Hot Glue Gun & Glue Sticks (👑 Nancy’s Pick: I always recommend a low-temp, precision-tip hot glue gun for delicate work. It gives you more control for intricate crystal crafts and is much safer, preventing accidental burns and damage to fragile materials.)
✅ Scissors or Wire Cutters
✅ Fairy Lights (battery-operated, warm white)
✅ Sheer Fabric (e.g., organza, tulle)
Crafting Ethereal Magic: Step-by-Step Decor Projects 🧵
As an event planner, I believe in visual storytelling. Each piece of decor you create isn’t just an object; it’s a sentence in the magical story of your day. We’re going to build that narrative step-by-step, creating an atmosphere that feels like walking into a fairy tale.
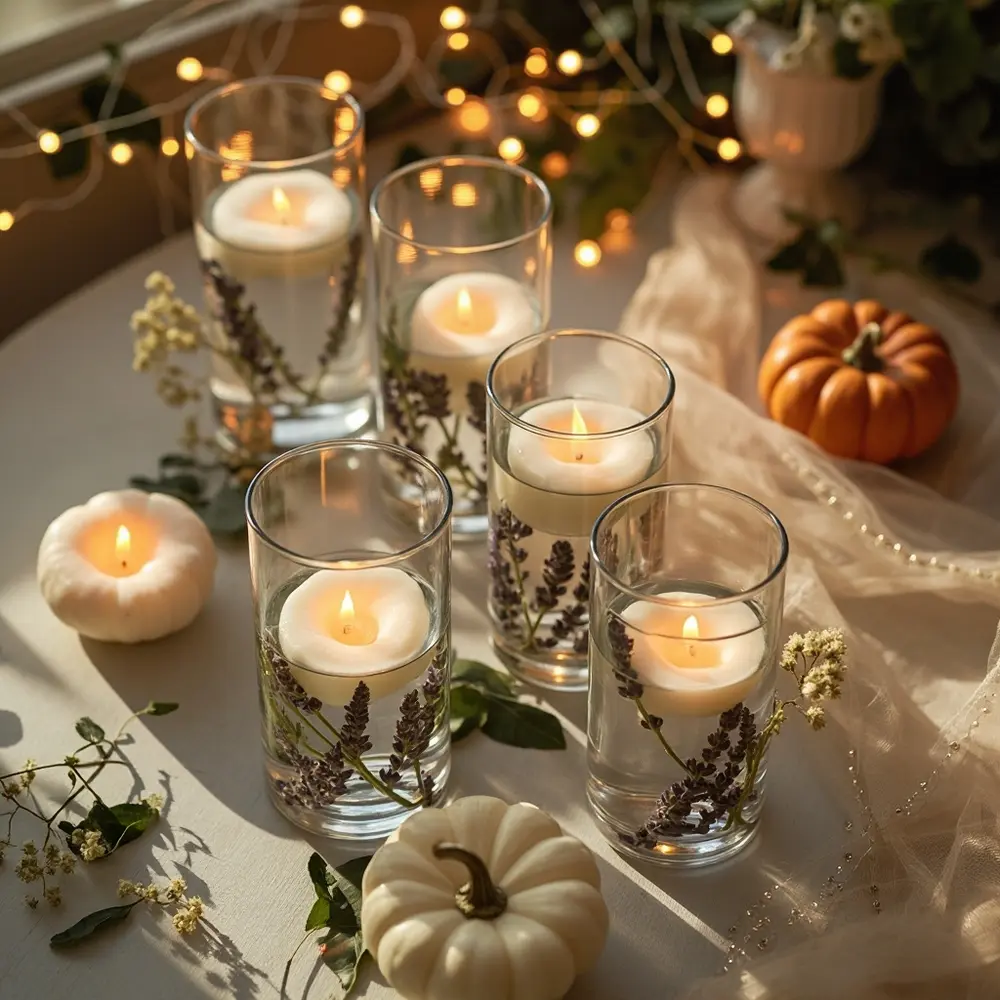
Project 1: Ethereal Floating Candle Centerpieces

These centerpieces are the heart of your tablescape, casting a warm, mystical glow.
- 1. Select Your Herbs: Choose a few sprigs of your dried herbs and flowers. Lavender adds a touch of color and a calming scent, while eucalyptus brings in a lovely green.
- 2. Arrange in Vases: Place the herbs inside your clear glass vases. Don’t overfill them; the goal is a delicate, suspended look.
- 3. Add Water: Gently fill the vases with water, leaving about two inches of space at the top. The water will magnify the beauty of the herbs.
- 4. Float the Candles: Carefully place one floating candle on top of the water in each vase. For an extra touch of magic, you can wrap a few battery-operated fairy lights around the base of the vases.
[Image Placement Instruction: image-1: A flat lay of clear vases, floating candles, and a selection of dried herbs/flowers.]
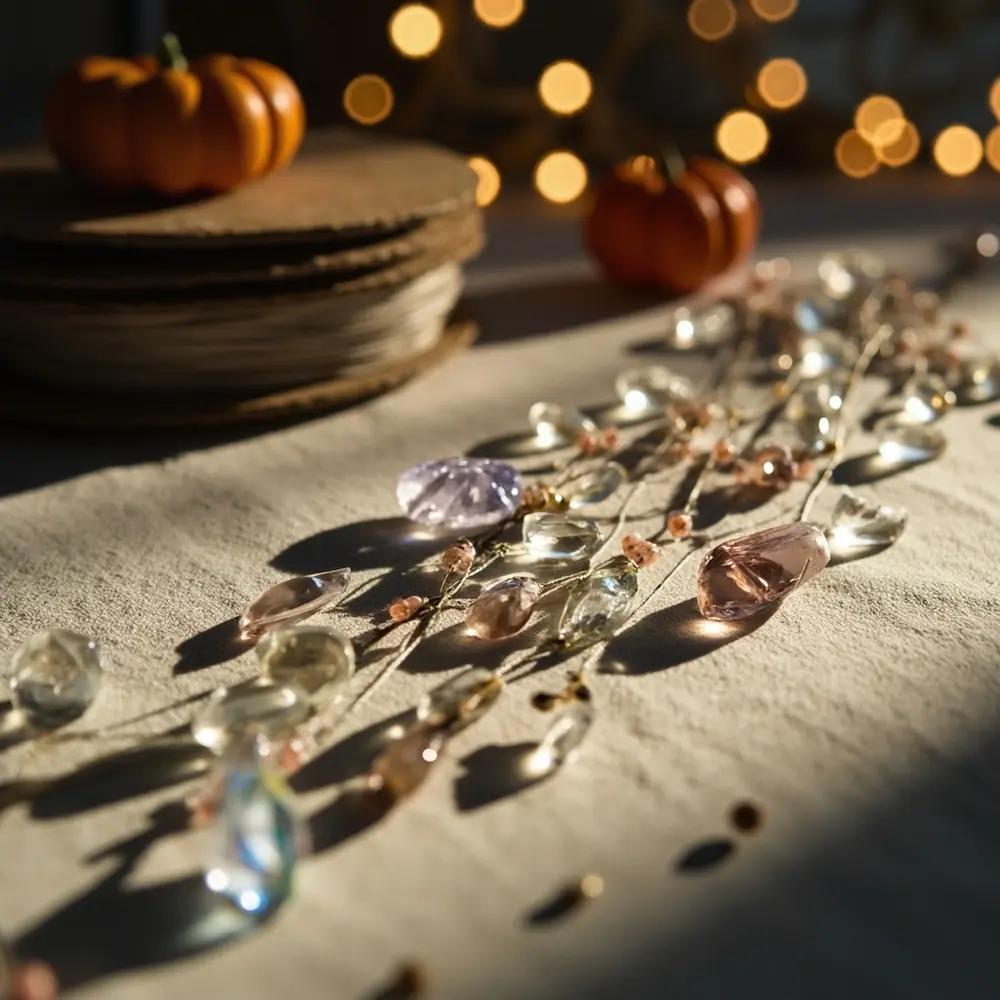
Project 2: Celestial Crystal Garlands & Backdrops
This is where the celestial wedding DIY magic really comes to life. These garlands catch the light beautifully and add a touch of sparkle everywhere.
- 1. Measure & Cut: Decide on the length of your garlands and cut your fishing line accordingly. I recommend creating various lengths for a layered, dynamic look.
- 2. Plan Your Pattern: Lay out your crystals and beads in the order you want to string them. Alternating between larger crystals and smaller beads creates a lovely rhythm.
- 3. String & Secure: Tie a secure double knot at one end of the fishing line, or tie it around your first large bead. Begin stringing your crystals. To keep them in place, add a tiny dab of hot glue on the line just below each crystal or bead.
⚠️ Safety First: Those little beads can be a choking hazard for pets and small children, so be sure to craft in a secure area. Always use caution with wire cutters, as the ends can be sharp.
[Image Placement Instruction: image-2: Close-up shot of hands stringing crystals and beads onto fishing line, showing a partially completed garland.]

Project 3: Enchanted Herb & Floral Accents
These tiny details are what make your decor feel personal and truly enchanting. They are perfect for place settings or as accents on a gift table.
- 1. Create Mini-Bundles: Take a few small sprigs of your dried herbs and flowers and arrange them into a tiny bouquet.
- 2. Tie Them Together: Use a small piece of fishing line or a delicate ribbon to tie the bundle securely at the base.
- 3. Add a Crystal: Use your hot glue gun to attach a single small crystal or bead to the knot for a final touch of magic. These can be laid on each plate or used to tie around napkins.
💡 Pro-Tip: To revive the scent of dried lavender or other herbs, gently roll the bundles between your palms just before placing them. The warmth of your hands will release their natural oils, making them wonderfully fragrant for your guests.
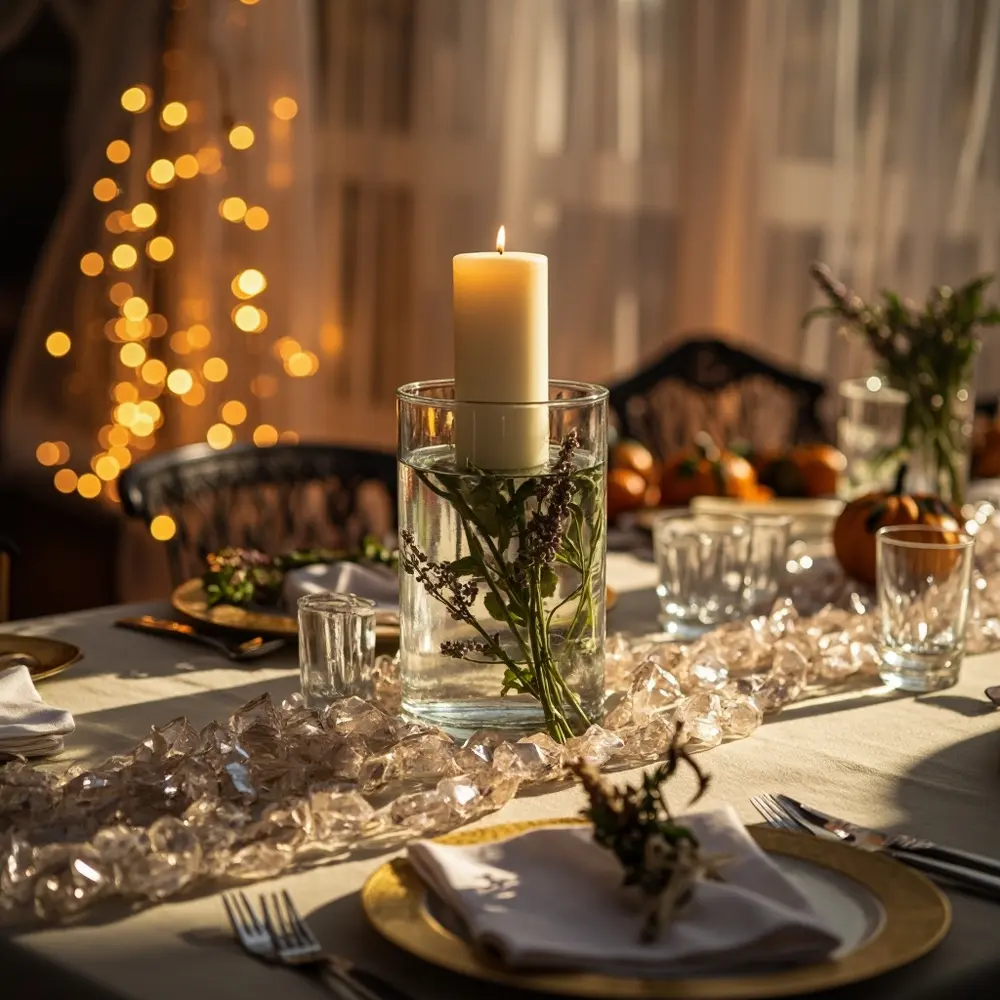
[Image Placement Instruction: image-3: A styled shot of a completed centerpiece, a draped garland, and a small herb bundle on a place setting, showcasing the overall ethereal aesthetic.]

Variations & Customizations for Your Whimsical Witch Wedding 👻
One of the things I love most about DIY is making a project uniquely yours. After testing dozens of variations, here are a few of my favorite ways to customize this theme.
- Color Palette Shift: Experiment with different colored crystals (e.g., smoky quartz for a moodier vibe, rose quartz for romance) or dried flowers to match specific wedding colors.
- Themed Favors: Adapt the herb bundles into small, personalized wedding favors, perhaps with a custom tag.
- Outdoor vs. Indoor: For outdoor events, use heavier vases or add decorative weights to the bottom to prevent tipping. For indoor decor, go wild with extra fairy lights and sheer fabric draped from the ceiling to enhance the ethereal glow.
- Budget-Friendly Alternatives: If real crystals are out of budget, look for high-quality glass or acrylic beads—they will still catch the light beautifully! You can also use faux dried flowers, which are more durable and can be prepared far in advance.
Whimsical Witch Wedding Decor FAQs 🤔
A question I get all the time from my community is about the little things that can go wrong with DIY decor. Let’s tackle some common worries head-on!
Q1: How can I ensure my floating candles stay lit throughout the event, especially outdoors?
For outdoor events, the key is to use deep, hurricane-style vases that protect the flame from wind. Indoors, ensure the wicks are trimmed to about 1/4 inch before lighting for a steady, clean burn. My secret weapon? High-quality, long-burn floating candles. They are worth the small extra cost!
Q2: What’s the best way to transport delicate crystal garlands without tangling or breaking them?
This is a classic DIY dilemma! The best method I’ve found is to wrap each individual garland around a piece of sturdy cardboard (like from a shipping box). Gently tape the ends to the cardboard to keep it secure. You can then stack these cardboard “spools” in a box for easy, tangle-free transport.
Q3: Can I prepare these DIY decorations far in advance, and how should I store them?
Absolutely! The crystal garlands and herb bundles can be made weeks or even months ahead. Store the garlands on their cardboard spools in a dry, safe box. Keep the dried herb bundles in an airtight container away from direct sunlight to preserve their color and scent. The only thing you should do on the day of (or the day before) is assemble the floating candle centerpieces with water.
I hope these projects inspire you to create the whimsical, magical wedding of your dreams! Every crystal you string and every herb you place is a piece of your own magic being woven into your special day.
Which of these projects are you most excited to try? Let me know in the comments below! ✨
