How to Set Up a Fun DIY Pumpkin Painting Station at Your Wedding
✨ From endless wedding planning spreadsheets to styling dozens of events, I’ve mastered the art of creating unique wedding entertainment—testing, fixing fails, and discovering solutions that actually work for a magical guest experience.
😅 But I know the struggle: How do you entertain guests, especially kids, at a fall wedding without creating a giant mess? How can you offer a fun activity that doesn’t add stress to your big day? I’ve been there, and I’ve solved this exact problem.
👑 That’s why in this post, I’ll show you exactly how to set up a completely mess-free pumpkin painting station. Stick with me, and you’ll learn how to delight your guests while creating unforgettable, personalized memories! 🎃
Tutorial At-a-Glance
Time Required: Approx. 1-2 hours for setup, ongoing activity during reception.
Budget Level: Moderate (depending on pumpkin quantity and type).
Skill Level: Easy (for setup and activity).
What You’ll Need for Your Wedding Pumpkin Painting Station 🎃
- ✅ Small pumpkins (real or faux, consider mini sizes for easy handling)
- ✅ Paint pens (👑 Nancy’s Pick: I swear by oil-based paint pens like Sharpie or Posca. They dry incredibly fast, the colors are super vibrant, and they don’t require water cups—the number one source of spills! This is the secret to a truly mess-free event compared to traditional paints.)
- ✅ Disposable or washable tablecloths/drop cloths
- ✅ Wet wipes and paper towels (plenty!)
- ✅ Small brushes (optional, for very fine details if using a tiny bit of traditional paint, but I recommend sticking to paint pens)
- ✅ Disposable aprons or smocks (especially for younger guests)
- ✅ “Pumpkin Painting Station” sign (mention the free printable included in this guide)
- ✅ A designated display area for finished pumpkins
- ✅ Small trash can or bag for waste
Creating Your Picture-Perfect Pumpkin Painting Station: Step-by-Step Guide 🎨
As an Event Planner, I know the biggest concern for any wedding activity is often the potential for mess and logistical headaches. But with a little strategic planning and my problem-solving toolkit, you can offer a fantastic, mess-free pumpkin painting experience that delights guests of all ages!
Step 1: Choose Your Location & Protect Your Space
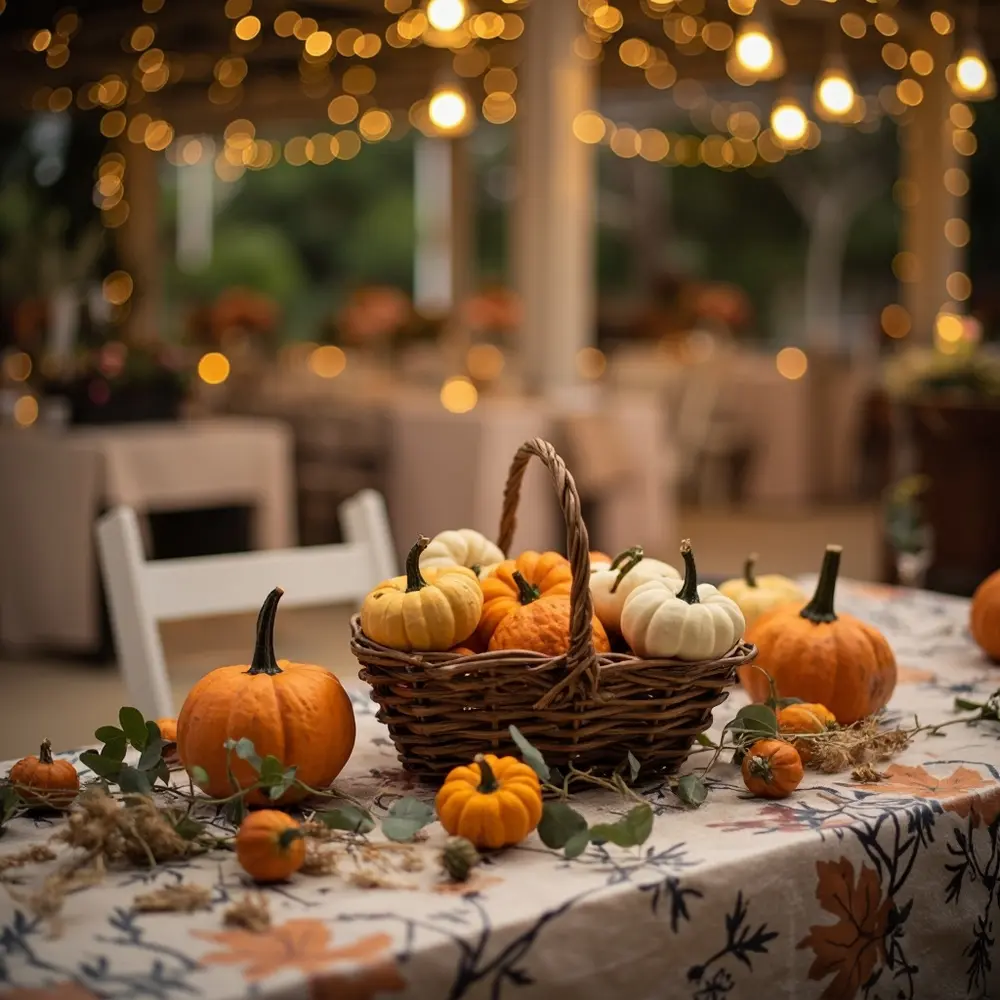
The first step is all about location, location, location. A mistake I always see is placing activities in high-traffic areas. Instead, choose a spot that’s easily accessible but slightly away from the main dining tables or the dance floor. A corner of the reception hall, a covered patio, or a designated kids’ room works perfectly. Ensure the area has good lighting so your guests can see their creative masterpieces come to life. Once you have your spot, lay down your tablecloths. I recommend using a decorative cloth first, then layering a clear, disposable plastic sheet on top for easy cleanup.
image-1: A beautifully set up table with a festive fall tablecloth covered by a clear plastic layer, ready for materials, with some elegant fall decor like small gourds and leaves.
Step 2: Gather & Arrange Your Mess-Free Materials
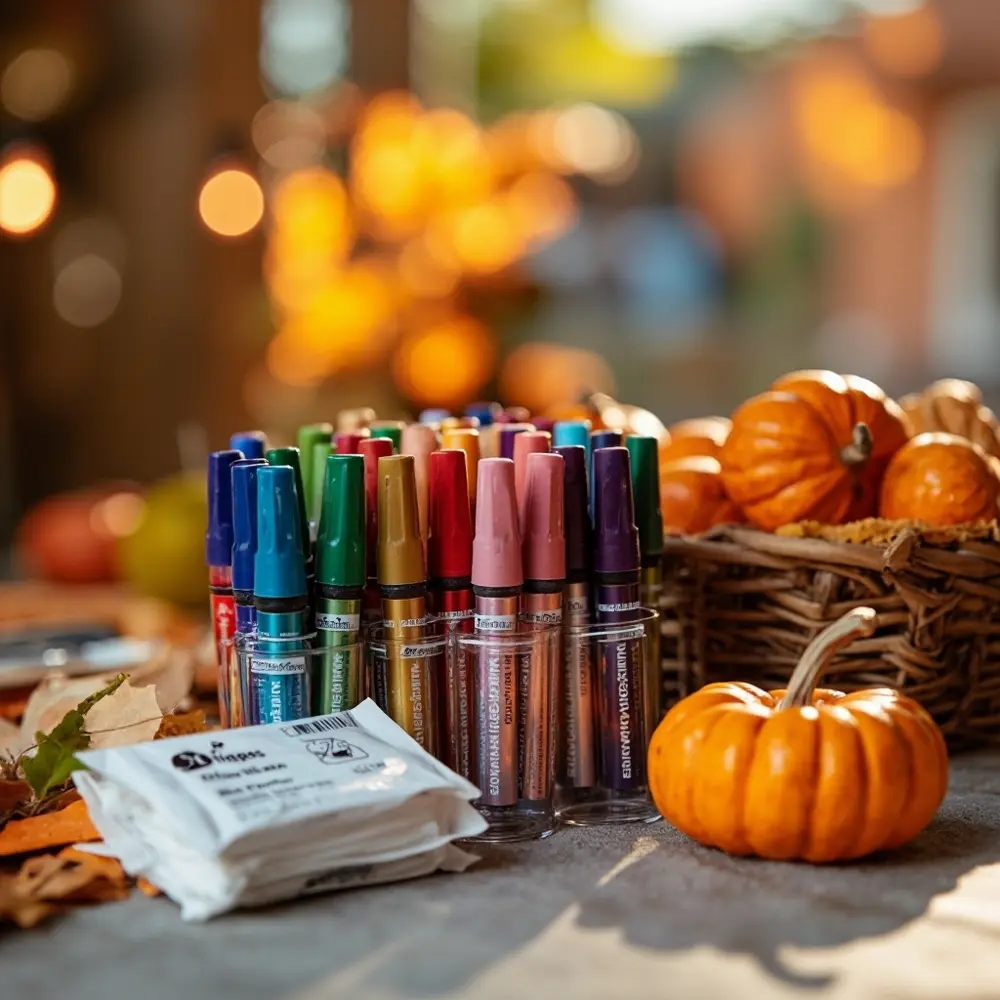
Now, let’s get everything organized. Arrange your mini pumpkins in the center of the table or in a rustic basket for easy grabbing. Group your paint pens by color in cups or small jars—this not only looks neat but also makes it easy for guests to find the shade they want. Have stacks of wet wipes, paper towels, and aprons readily available at one end of the table. The key here is making the station self-sufficient. Remember, paint pens are the hero product because they eliminate the need for messy paint palettes and water cups, which is my go-to trick for keeping event crafts clean.
⚠️ Safety First: Always double-check that your paint pens are non-toxic and child-safe, especially since you’ll have guests of all ages participating. This is a non-negotiable for any wedding with children present.
image-2: Close-up of neatly arranged paint pens in various colors standing in glass jars, a basket of mini pumpkins, and a stack of wet wipes on the protected table.

Step 3: Set Up Your “Mess-Free Magic” Painting Zone
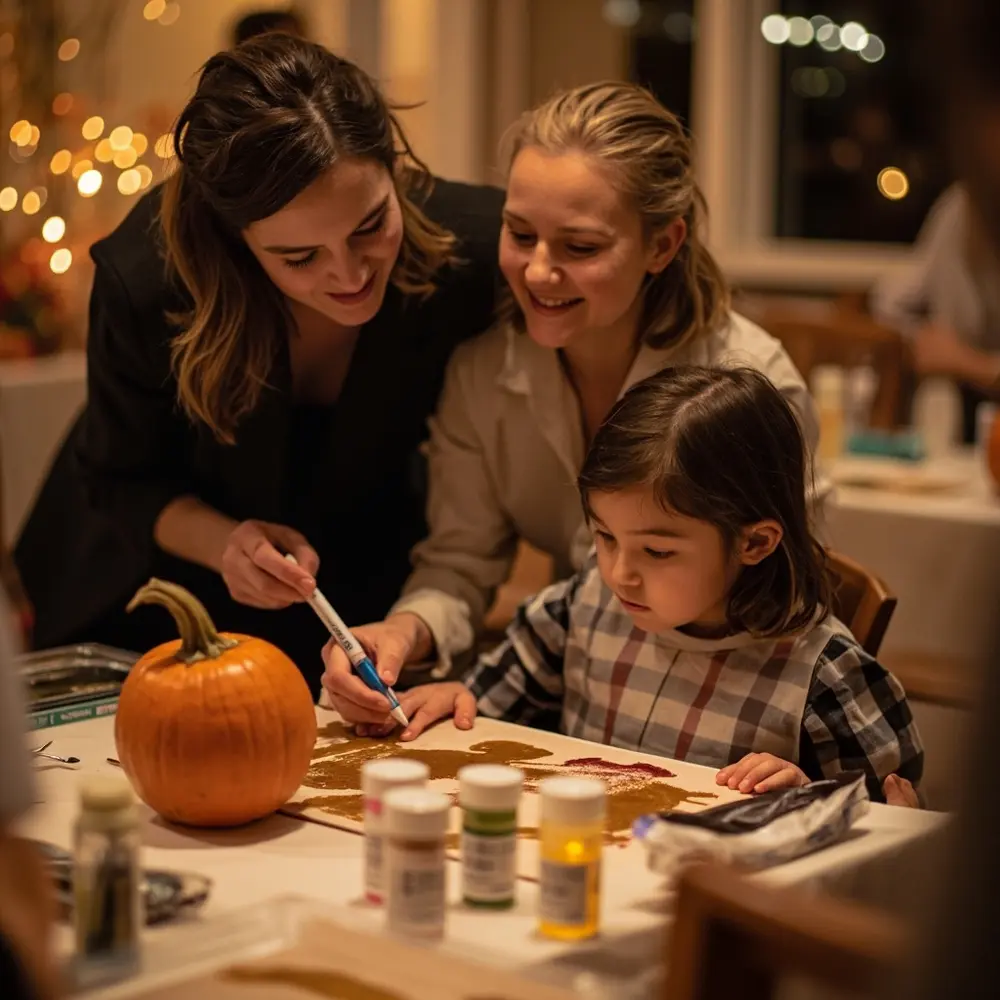
To contain the creativity, set up individual “painting zones.” You can use disposable placemats or even small, inexpensive plastic trays for each guest. This gives each person their own space and catches any unlikely drips. Before the guests arrive, give each paint pen a good shake and prime the tip (press it down on a piece of paper until the ink flows) so they are ready to use immediately.
💡 Pro-Tip: Designate a separate, nearby table as the “Pumpkin Drying Patch.” This keeps wet, finished pumpkins away from the main activity area, preventing smudges and accidental bumps while guests continue to mingle.
image-3: A child wearing a disposable apron happily painting a mini pumpkin with a gold paint pen, sitting at the station with a placemat and organized materials around them.

Step 4: Add the Finishing Touches & Your Free Printable Sign!
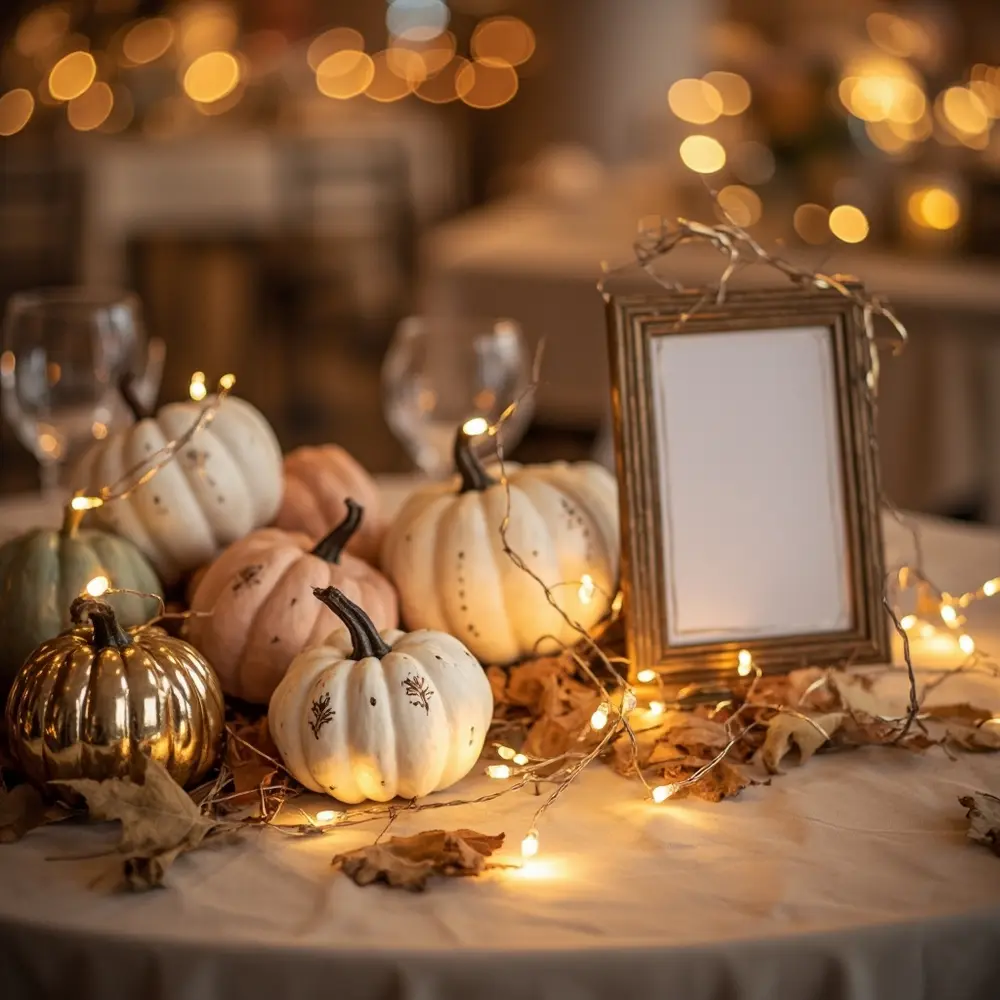
The final step is to make your station look inviting! Place your custom “Pumpkin Painting Station” sign in a prominent spot so guests know exactly what the activity is. You can download my free, elegantly designed printable sign right here! Arrange a few pre-painted example pumpkins to inspire your guests. A little bit of fall foliage or some battery-operated fairy lights woven around the station can add that final touch of wedding magic.
image-4: The completed pumpkin painting station with the “Pumpkin Painting Station” sign displayed in a beautiful frame, a few finished example pumpkins, and some elegant fall foliage scattered on the table.

Mess-Free Magic: Extra Tips for a Spotless Wedding Activity ✨
A question I get all the time from my community is how to guarantee an activity like this stays clean. After planning dozens of these, I’ve learned a few extra tricks for a spotless experience.
- Pre-Wipe Pumpkins: Give all your pumpkins a quick wipe-down with a damp cloth the day before. This removes any dirt or waxy residue, which helps the paint pens adhere better and keeps little hands cleaner.
- Individual Craft Kits: For the kids’ table, consider creating mini craft bags. Place a mini pumpkin, two or three paint pens, and a folded apron in a small paper bag for each child. It feels like a special gift and keeps supplies contained.
- Designated “Clean-Up Crew”: You don’t need to hire someone, but assigning a trusted friend or a wedding coordinator’s assistant to check on the station every hour can be a lifesaver. They can simply tidy up pens, replenish wipes, and move finished pumpkins to the drying area.
- No Water Needed: It’s worth saying again! The single most effective way to prevent mess is by using paint pens. By eliminating water cups, you eliminate 90% of potential spills and stains.
Variations & Customizations for Your Wedding 👻
This station is wonderfully easy to customize to match your wedding’s vibe. My go-to trick for making any activity feel personal is to tie it into the main event.
- “Guest Book” Pumpkins: Instead of a traditional book, have one or two large white pumpkins and metallic paint pens. Ask guests to sign their names and write a short message for a truly unique fall guest book.
- Themed Pumpkins: Match the activity to your wedding style. Provide gold, silver, and white paint pens for a glam wedding, or choose colors that perfectly match your floral arrangements and bridesmaid dresses for a cohesive look.
- Mini Pumpkins as Favors: This activity doubles as a wedding favor! Guests can paint their own mini pumpkin and take it home as a personalized and memorable keepsake from your special day.
- Pre-Stenciled Pumpkins: For guests who might be less confident in their artistic skills, lightly trace simple designs like hearts, your initials, or your wedding date onto the pumpkins with a pencil. Guests can then easily fill them in.
DIY Pumpkin Painting Station FAQs 🤔

Q1: How do I ensure the paint pens don’t dry out or run out during the event, especially with many guests?
My solution for this is to over-prepare! Buy more pens than you think you’ll need—it’s better to have leftovers than to run out. Keep the caps on a few extra sets and have your designated station helper swap them in halfway through the reception. Also, remind guests with a small note on the sign to “Please Cap Pens Tightly!”
Q2: What if I have very young children attending? Are there safer, even less messy alternatives to paint pens for toddlers?
Absolutely! For the toddler crowd, safety and simplicity are key. Instead of paint pens, provide sheets of festive, fall-themed stickers. They get all the fun of decorating with zero mess. Another great option is washable crayons designed for smooth surfaces like pumpkins. They can doodle away, and any marks on hands or clothes will wash right off.
Q3: How can I display the finished pumpkins elegantly without them getting damaged or lost during the reception?
This is where your “Pumpkin Drying Patch” table comes in! Set it up with a nice tablecloth that matches your decor. You can place small, tented name cards on the table so guests can write their names and place their finished pumpkin next to it. This creates a beautiful, evolving display of your guests’ creativity and ensures everyone can find their masterpiece at the end of the night.
*
This DIY pumpkin painting station is more than just a reception activity; it’s a way to create a warm, interactive, and memorable experience for everyone you love.
What other unique fall wedding ideas are you dreaming of? Let me know in the comments below! 🍂
