Wickedly Delicious: Easy Halloween Baking Ideas for Spooky & Sweet Treats
✨ From countless hours in my kitchen perfecting flaky pastries to styling spooky dessert tables, I’ve mastered the art of easy Halloween baking—testing, fixing fails, and discovering solutions that actually work.
😅 But I know the struggle: you want Pinterest-worthy, kid-friendly Halloween baking ideas without spending all day in the kitchen or dealing with a decorating disaster. I’ve been there, trying to get that perfect spiderweb icing before it sets!
👑 That’s why in this post, I’ll show you exactly how to solve these challenges with my tested, no-fail DIY spooky baked goods. Stick with me, and you’ll learn how to create wickedly delicious treats that look as good as they taste, all while making magical memories with your loved ones! 🎃
Tutorial At-a-Glance
Time Required: Approx. 1.5 – 2.5 hours (including baking and decorating time for all recipes)
Budget Level: Low-to-Medium Cost
Skill Level: Beginner-Intermediate
What You’ll Need for Your Spooky Baking Adventure 🎃
My go-to trick for a stress-free baking session is getting everything laid out first—what we call mise en place in the culinary world. It makes the whole process feel like a fun potion-making class instead of a chaotic scramble. Here’s your list of magical ingredients:
✅ General Baking Essentials: Baking sheets, parchment paper, mixing bowls, spatulas, a wire cooling rack, and a rolling pin.
✅ Puff Pastry: 👑 Nancy’s Pick: I always recommend an all-butter puff pastry, like Dufour or a similar store brand. The butter creates unbelievably flaky, airy layers that cheap shortenings just can’t replicate. It’s the secret to a professional-tasting result!
✅ Hot Dogs or Sausages: For our Mummy Dogs.
✅ Crescent Roll Dough or Puff Pastry: For wrapping the mummies.
✅ Brownie Mix or Ingredients for Homemade Brownies: Your favorite fudgy recipe works best.
✅ White Icing or Melted White Chocolate: For ghosts and spiderwebs.
✅ Black Gel Icing or Melted Dark Chocolate: For fine details like eyes and webs.
✅ Candy Eyes: The easiest way to bring your creations to life!
✅ Flour: Just a little for dusting your work surface.
✅ Egg: For an egg wash to get that perfect golden-brown shine.
Recipe 1: Ghostly Puff Pastry Bites 👻 (A Technique Breakdown)
As a food stylist, I can tell you that the most impressive-looking treats are often the simplest. This is a perfect example! We’re breaking down the technique so you can create these adorable, DIY spooky baked goods with total confidence. They are one of my favorite easy Halloween treats to make.
Step 1: Prepare Your Puff Pastry
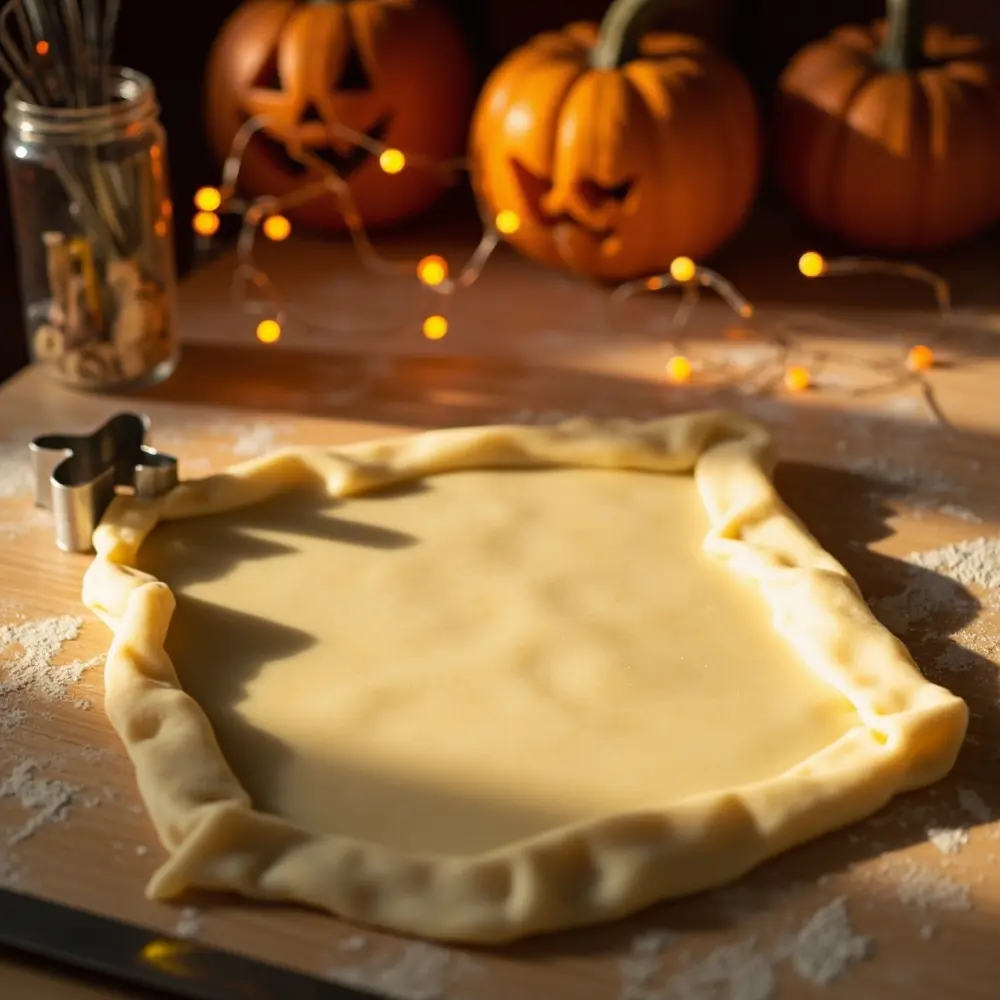
First, let your puff pastry thaw according to the package directions—usually about 30-40 minutes at room temperature. You want it pliable but still cold. Lightly flour your work surface and gently unfold the sheet. If it’s a little sticky, a tiny sprinkle of flour on top will help. The key is to handle it as little as possible to keep those buttery layers intact.
image-1: Puff pastry sheet laid out on a floured surface with a ghost-shaped cookie cutter nearby.
Step 2: Cut and Shape Your Ghosts
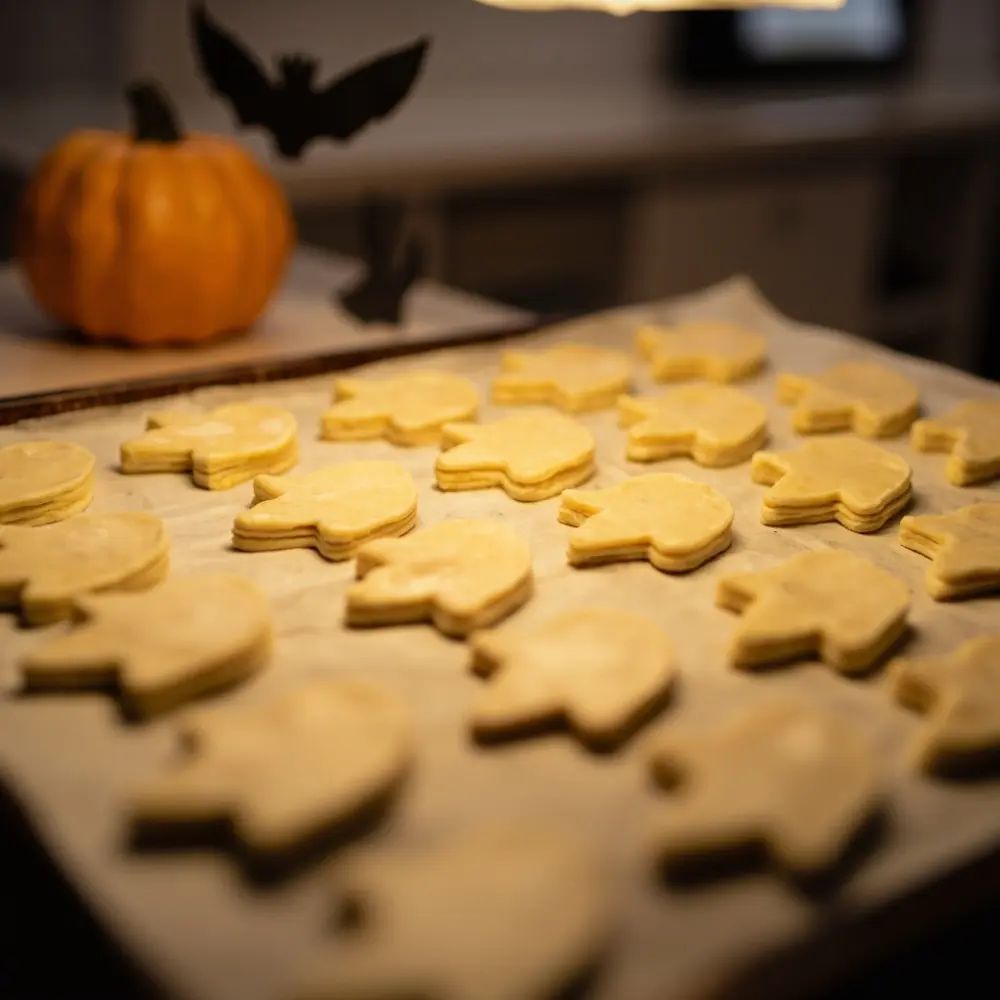
Using a ghost-shaped cookie cutter, press down firmly to cut out your spooky shapes. If you don’t have one, no worries! A small, sharp knife works just as well. Simply cut a classic bell-like ghost shape and use the knife to add two little “arms” on the sides. Arrange your ghosts on a baking sheet lined with parchment paper.
⚠️ Safety First: If you have little goblins helping in the kitchen, cookie cutters are the safest option. Always supervise closely when sharp tools are being used.
image-2: Close-up of ghost shapes cut from puff pastry, arranged on a baking sheet.
Step 3: Bake to Golden Perfection
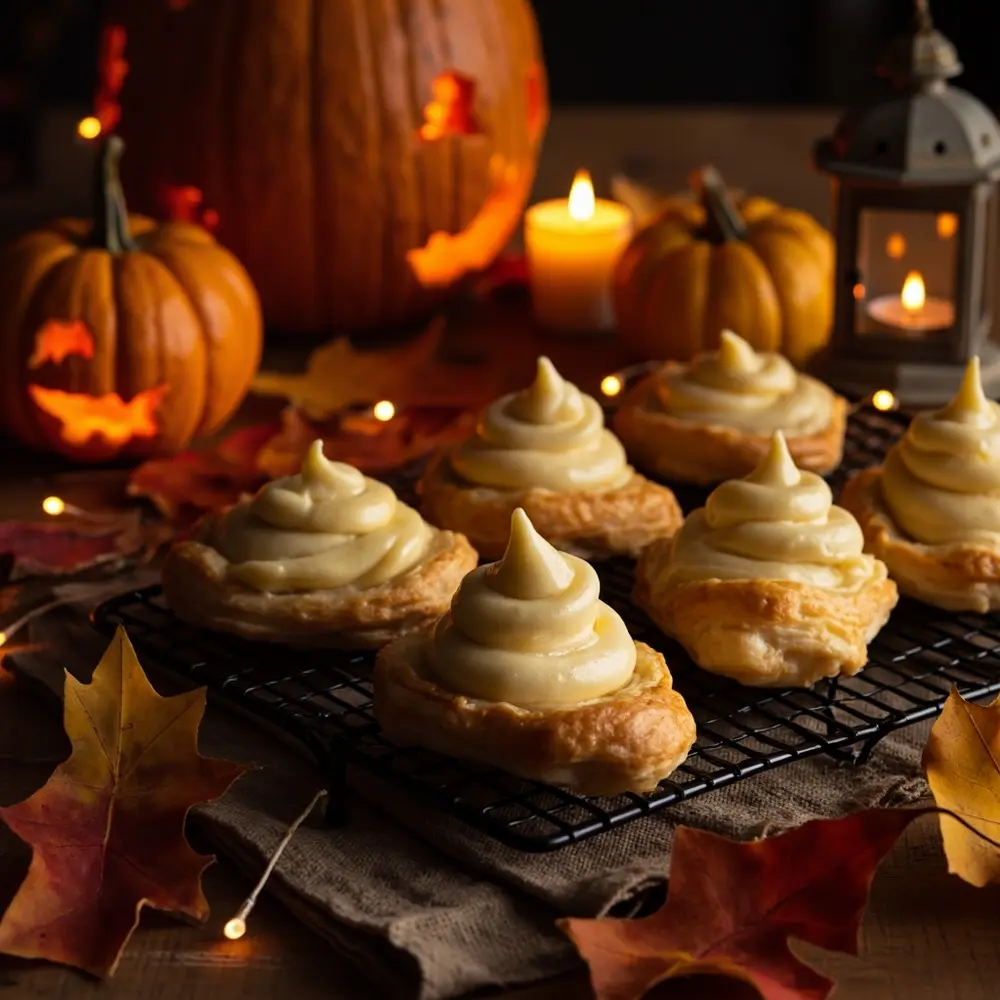
Preheat your oven to 400°F (200°C). For an extra-glossy, golden finish, whisk one egg with a tablespoon of water and lightly brush it over each ghost. Bake for 10-12 minutes, or until they are puffed up and beautifully golden brown.
💡 Pro-Tip: Keep a close eye on them! Puff pastry can go from golden to burnt in a flash. The goal is a light, airy texture, so don’t over-bake them.
image-3: Baked golden-brown puff pastry ghosts cooling on a wire rack.
Step 4: Decorate Your Spooky Spirits
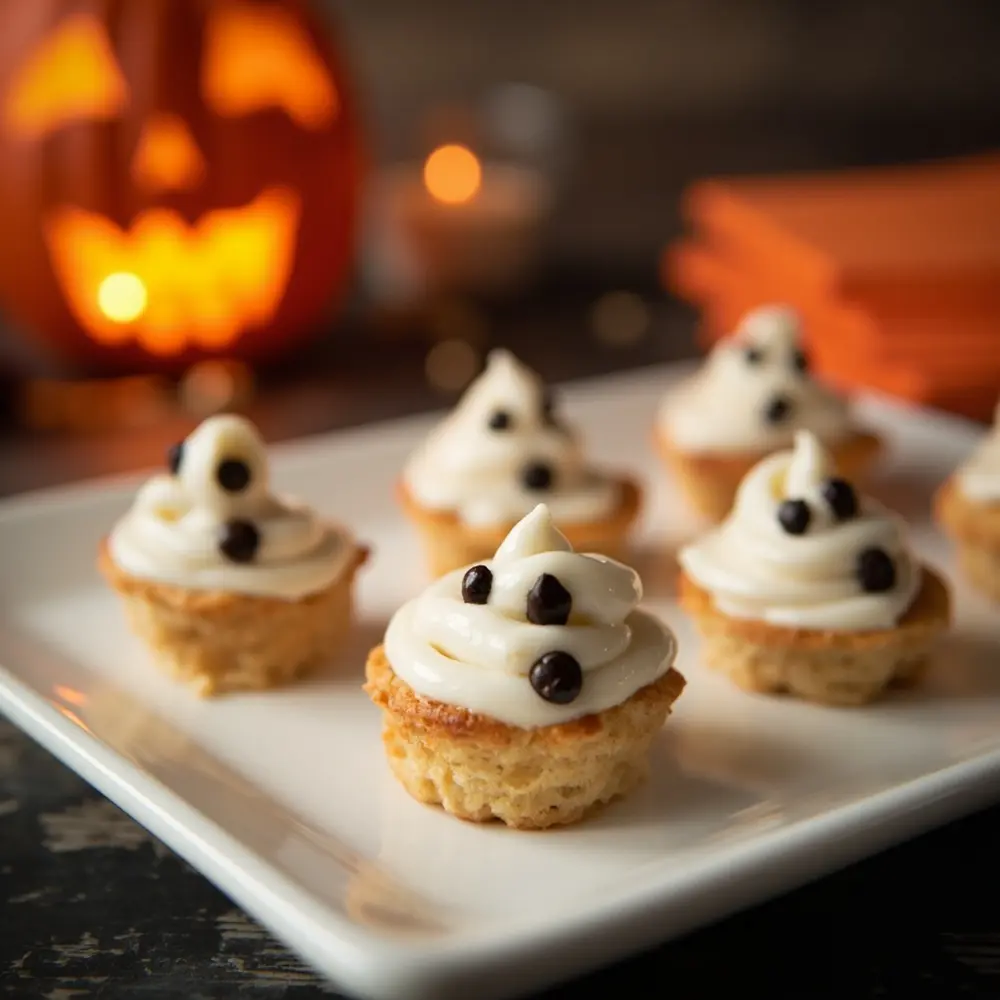
Once your ghosts have cooled completely, it’s time to give them some personality. You can either spread a thin layer of white icing on top or dip them in melted white chocolate. Let that set for a few minutes. Then, use black gel icing or a toothpick dipped in melted dark chocolate to add two simple dots for eyes and a little “o” for a mouth.
image-4: Final decorated Ghostly Puff Pastry Bites, arranged artfully on a serving platter, Pinterest-ready.
Recipe 2: Spiderweb Brownie Bites 🕷️
A question I get all the time on my Instagram is how to make desserts look intricate without a lot of fuss. This spiderweb technique is my answer! It’s a simple trick that transforms basic brownies into one of the most stunning Halloween dessert recipes you can make.
Step 1: Bake Your Brownie Base
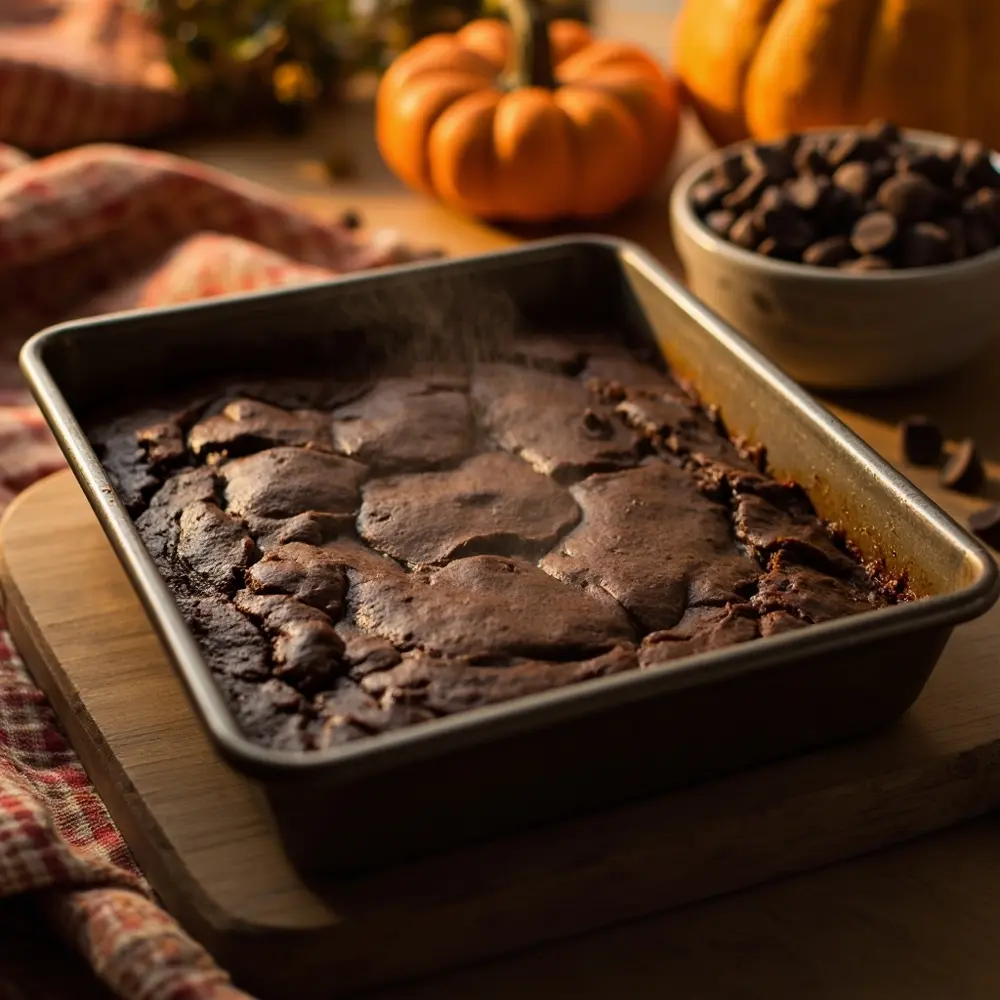
Prepare your favorite brownie recipe—whether from a box or from scratch. My secret for this recipe is to slightly under-bake them for an extra fudgy texture that holds the icing well. Once baked and cooled slightly, cut them into small squares. For a fancier look, you can use a round cookie cutter or bake them in a mini muffin tin.
image-5: A pan of freshly baked brownies, still warm, ready to be cut.
Step 2: Create the Icing Web
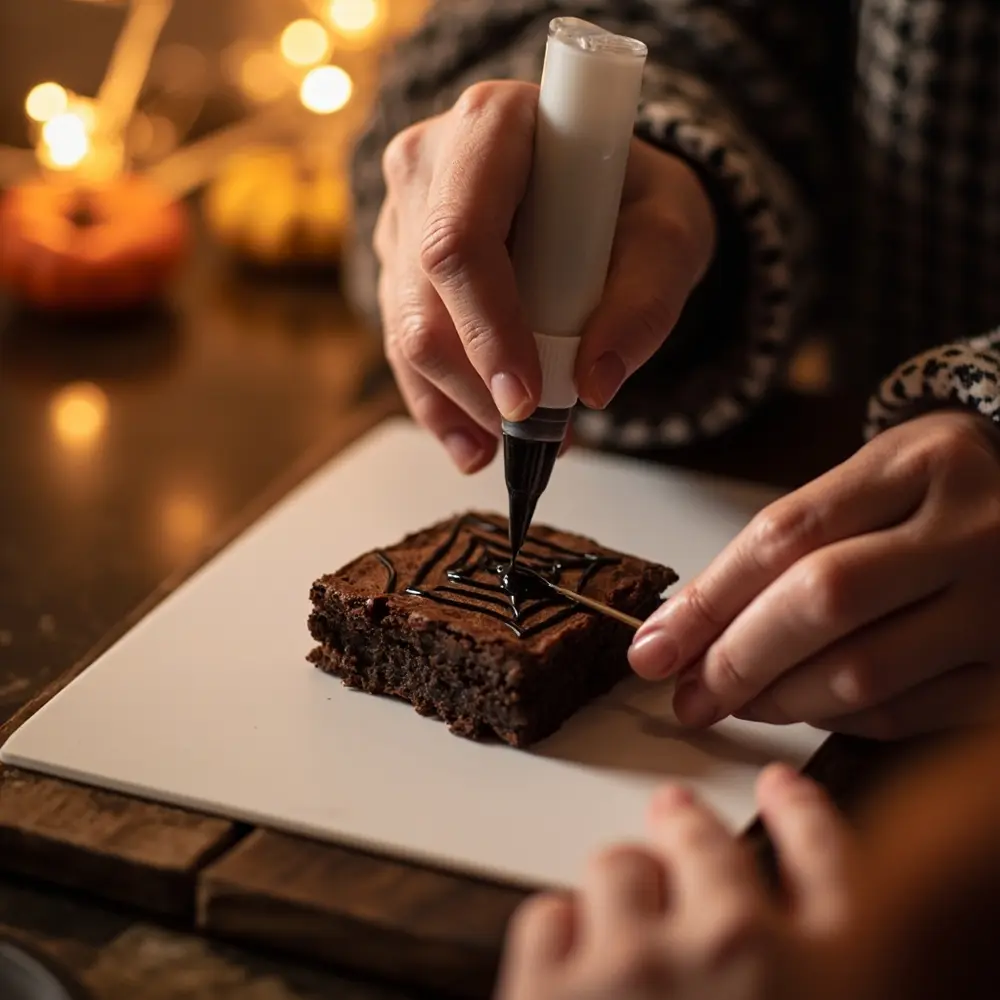
Spread a smooth, even layer of white icing or melted white chocolate over each brownie bite. While it’s still wet, immediately pipe 3-4 concentric circles of black gel icing on top. Now for the magic: take a toothpick and drag it from the center circle out to the edge. Repeat this 5-6 times around the brownie to create a perfect web effect.
image-6: Close-up shot of hands creating the spiderweb design on a brownie bite with icing and a toothpick.
Step 3: Add Your Spiders
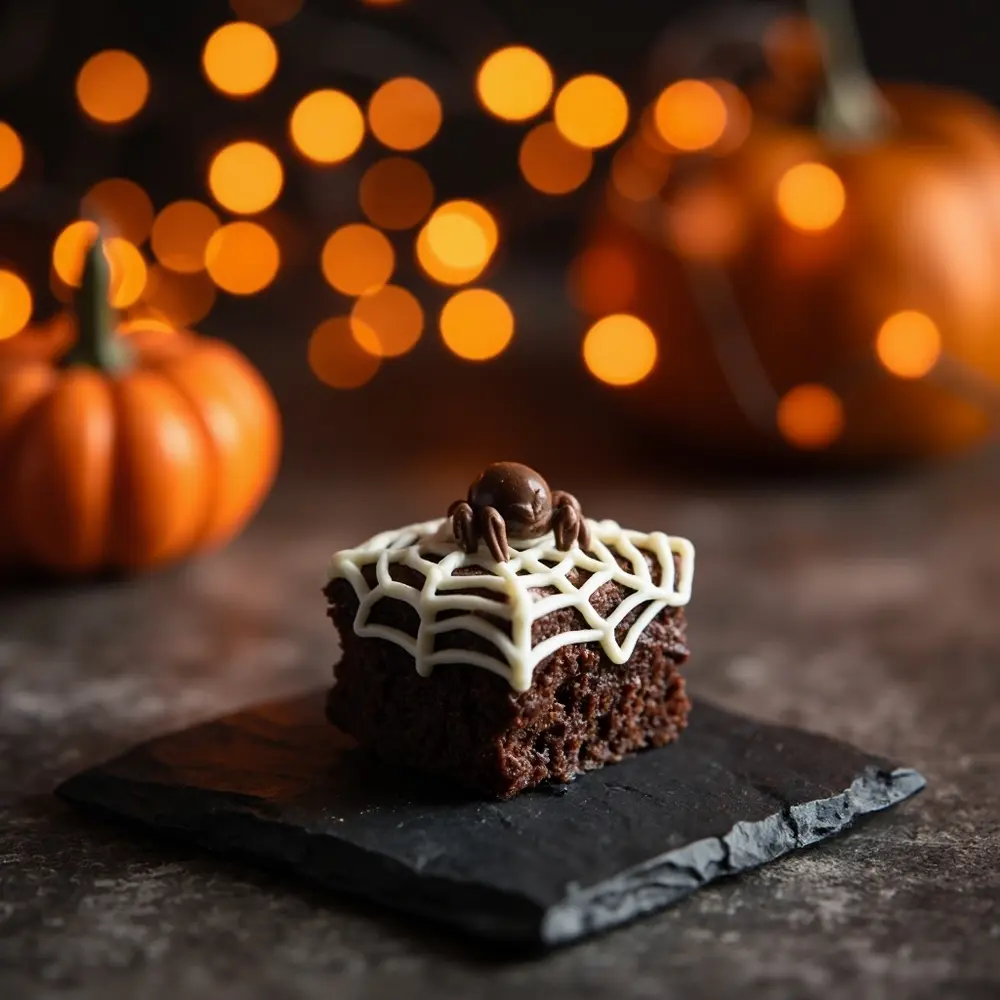
No web is complete without a spider! You can use a small chocolate candy, a chocolate chip, or a dot of black icing for the body. Then, carefully pipe thin little lines for the legs. It’s a tiny detail that makes a huge impact.
image-7: A finished Spiderweb Brownie Bite with a chocolate spider, showcasing the intricate web design.
Recipe 3: Mummy Hot Dogs (or Mummy Pizzas) 🌭
After testing dozens of savory Halloween treats, these Mummy Hot Dogs remain the undefeated champion for kid-friendly Halloween baking. They are incredibly easy, fun for little hands to help with, and always a crowd-pleaser.
Step 1: Wrap Your Mummies
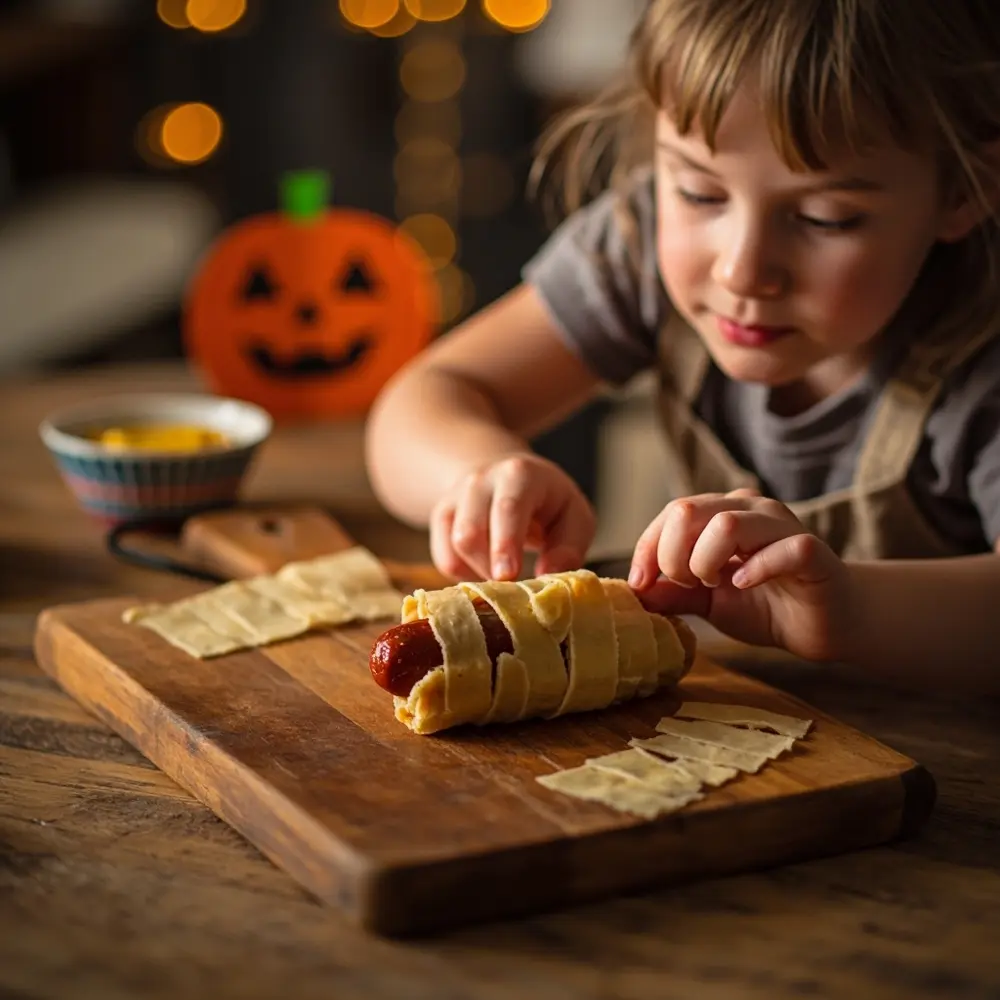
Unroll your crescent dough or puff pastry and cut it into thin, long strips using a pizza cutter or knife. Take a hot dog and start wrapping the strips around it, leaving some gaps so it looks like mummy bandages. Make sure to leave a small space near one end for the face to peek through!
image-8: Hot dogs being wrapped with pastry strips on a cutting board.
Step 2: Bake Until Golden
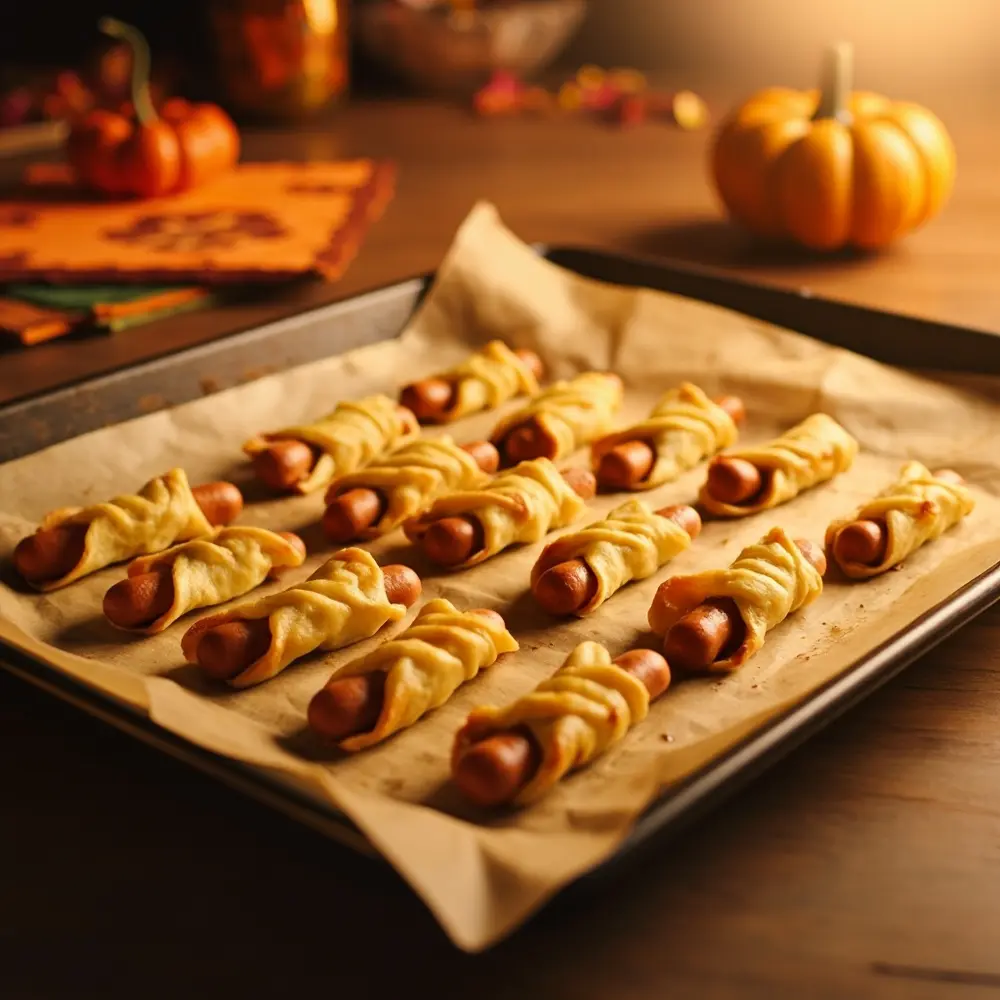
Place your wrapped mummies on a parchment-lined baking sheet. Bake at 375°F (190°C) for 12-15 minutes, or until the pastry is golden brown and cooked through. They’ll come out of the oven looking toasty and ready for their close-up.
image-9: Baked mummy hot dogs on a baking sheet, fresh out of the oven.
Step 3: Add the Eyes
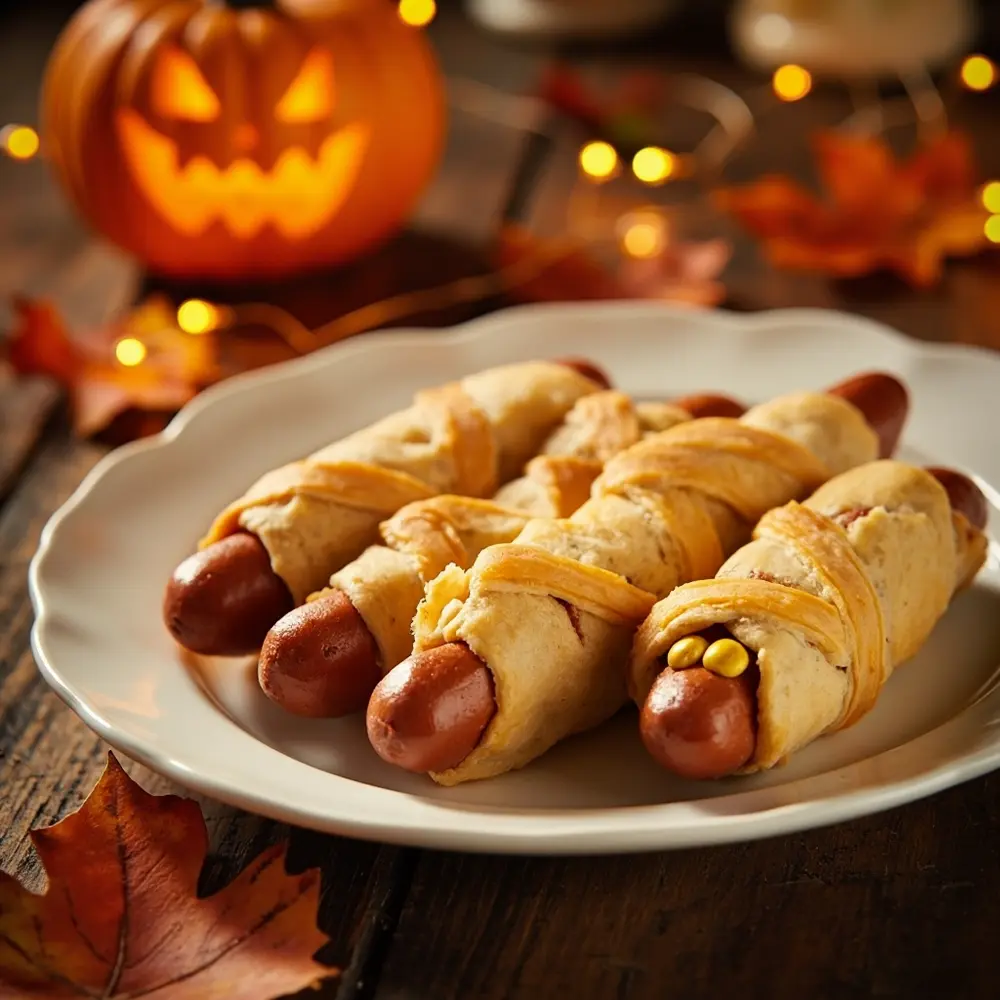
Let the mummies cool for a minute or two. In the gap you left for the face, add two small dots of mustard or ketchup for eyes. For a sweeter, less-messy version, you can stick on a couple of candy eyes using a tiny dab of cream cheese or ketchup as “glue.”
image-10: A plate of finished Mummy Hot Dogs with their “eyes,” ready to be served.
Creative Twists & Customizations 🎨
The best part about these easy Halloween baking ideas is using them as a starting point. Here are a few ways to customize your spooky treats:
✅ Vary the Fillings: For the Ghostly Puff Pastry Bites, try a sweet filling like cream cheese and jam or a savory one like pesto and parmesan before baking.
✅ Experiment with Shapes: Don’t stop at ghosts! Use bat, pumpkin, or witch hat cookie cutters for a whole platter of spooky shapes.
✅ Add a Pop of Color: Use green or orange food coloring in your white icing to make your spiderwebs or ghosts even more festive.
✅ Make Mummy Pizzas: Instead of hot dogs, use the same wrapping technique on mini pizza crusts or English muffins topped with sauce and cheese.
✅ Create a Graveyard: Crumble chocolate cookies over chocolate pudding in a clear cup, then stick a Ghostly Puff Pastry Bite on top for an easy “graveyard dirt cup” dessert.
Halloween Baking FAQs 🤔
Q1: How can I prevent my puff pastry from deflating or becoming soggy?
The golden rule is to keep it cold! Work quickly and don’t let the dough sit at room temperature for too long. Also, make sure your oven is fully preheated. A hot oven creates the steam that makes the pastry puff up beautifully. Avoid using wet fillings directly on the dough without a barrier.
Q2: What are some good alternatives if I don’t have specific cookie cutters for the shapes?
Get creative! You can print a simple shape from the internet, cut it out, and use it as a stencil to trace with a paring knife. The rim of a glass can make perfect circles for brownie bites, and you can freehand simple shapes like pumpkins and ghosts easily.
Q3: Can these Halloween treats be made ahead of time, and how should I store them?
Absolutely! The brownies can be baked a day or two ahead and stored in an airtight container; just wait to decorate them until you’re ready to serve. The puff pastry ghosts are best the day they are made but can be stored in an airtight container for up to a day. The Mummy Hot Dogs are definitely best served warm and fresh from the oven.
I hope these easy Halloween dessert recipes inspire you to get creative in the kitchen! There’s nothing better than seeing the joy on everyone’s faces when they see a platter of spooky, homemade treats.
Which one of these wickedly delicious ideas are you most excited to try first? Let me know in the comments below
