✨ After countless hours covered in glitter and felt scraps, I’ve mastered the art of creating adorable DIY Halloween treat bags—testing, fixing fails, and discovering solutions that actually work.
😅 But I know the struggle: are they too complicated for kids? Will they fall apart after one block of trick-or-treating? I’ve been there too.
👑 That’s why in this post, I’ll show you exactly how to solve these challenges with tips I’ve tested myself. Stick with me, and you’ll learn how to create the cutest trick-or-treat bags while creating magical memories with your loved ones! 🎃
Tutorial At-a-Glance
Time Required: Approx. 30-60 minutes per bag type
Budget Level: Low-Cost
Skill Level: Beginner / Kid-Friendly
What You’ll Need for Your DIY Halloween Treat Bags 🎃
Here’s a simple list of supplies to get your crafting station ready. My go-to trick for a smooth crafting session is to gather everything before you start—it makes the process so much more fun!
✅ Plain paper bags (various sizes)
✅ Felt sheets (assorted Halloween colors like orange, black, purple, green)
✅ Fabric glue or hot glue gun with glue sticks (👑 Nancy’s Pick: I always recommend a low-temp hot glue gun for kid-friendly projects. It’s much safer for little fingers and the glue sets quickly, which means less waiting and more creating!)
✅ Scissors (kid-safe options for younger crafters)
✅ Googly eyes, pipe cleaners, pom-poms, glitter glue
✅ Permanent markers (black, white)
✅ Fabric scraps or felt shapes for decorations
Craft Your Spooky Haul: Easy DIY Halloween Treat Bags 👻
As a community mentor for seasonal crafts, I’ve learned that the secret to a successful DIY project is Visual Storytelling. That’s why I’ve designed each step with clear instructions and visual cues, making it incredibly easy to follow along. Your finished DIY candy bags will be totally Pinterest-worthy!
Option 1: The “Ghostly Grab” Paper Bag
This is a classic for a reason! It’s one of the most simple and effective classroom Halloween crafts you can make.
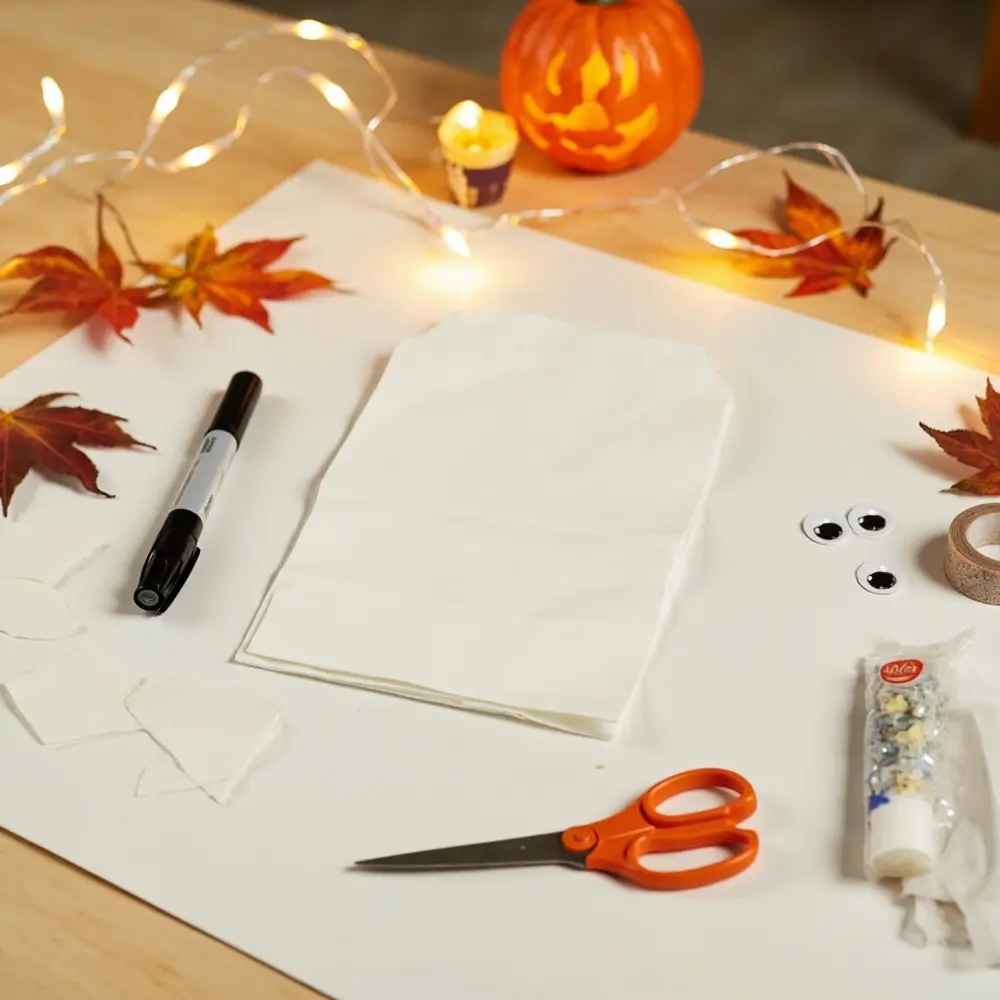
[Image Placement Instruction: image-1: All materials for the paper bag ghost laid out: white paper bag, black marker, scissors.]
#### Step 1: Prepare Your Ghostly Canvas
Start with a plain white paper bag. You can use a standard lunch bag or a larger one with handles, depending on how much candy you’re hoping to collect! Make sure it’s clean and free of any wrinkles for a smooth drawing surface.
#### Step 2: Give Your Ghost a Face
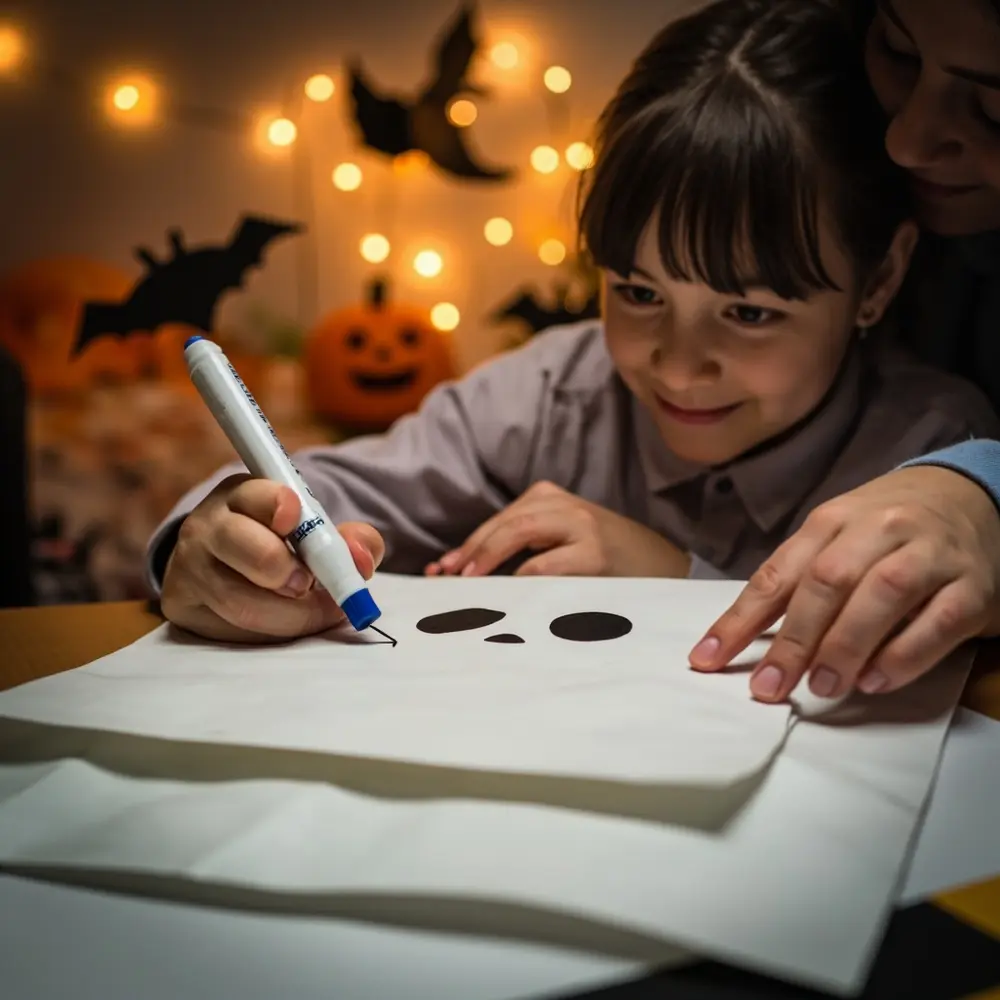
Using a black permanent marker, draw a face on your ghost. You can go for a classic spooky “O” mouth and two oval eyes, or get creative with a friendly, winking ghost. Let your little ones decide on the personality!
[Image Placement Instruction: image-2: Close-up shot of hands drawing a spooky or friendly ghost face onto the white paper bag.]
#### Step 3: Add Eerie Embellishments
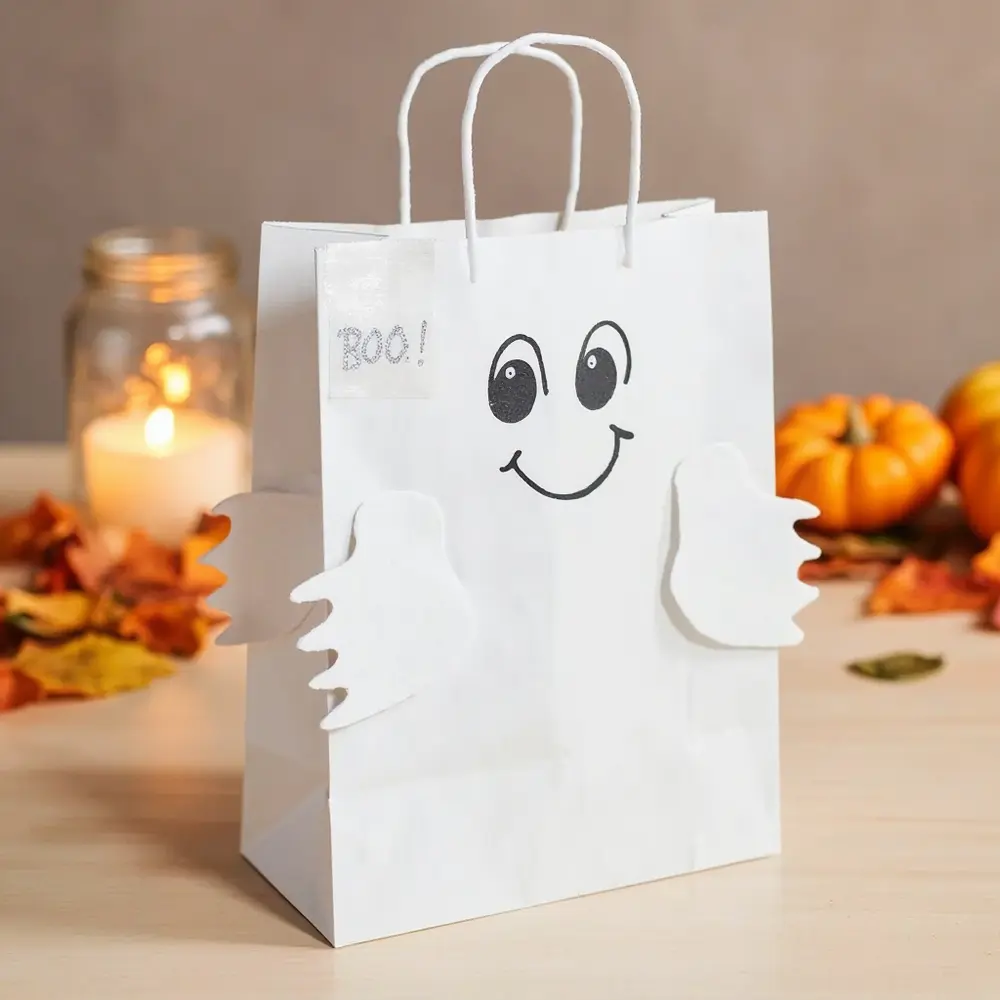
This is where you can add some extra flair. Cut out two wavy arm shapes from white felt and glue them to the sides of the bag. You can also add a “BOO!” message with a marker or use glitter glue to add a little sparkle to the edges.
💡 Pro-Tip: If you’re planning for a heavy candy haul, reinforce the bag handles by wrapping them with clear packing tape or adding an extra dab of hot glue where they connect to the bag.
[Image Placement Instruction: image-3: A finished “Ghostly Grab” paper bag, standing upright and ready for treats.]
Option 2: The “Monster Mash” Felt Pouch
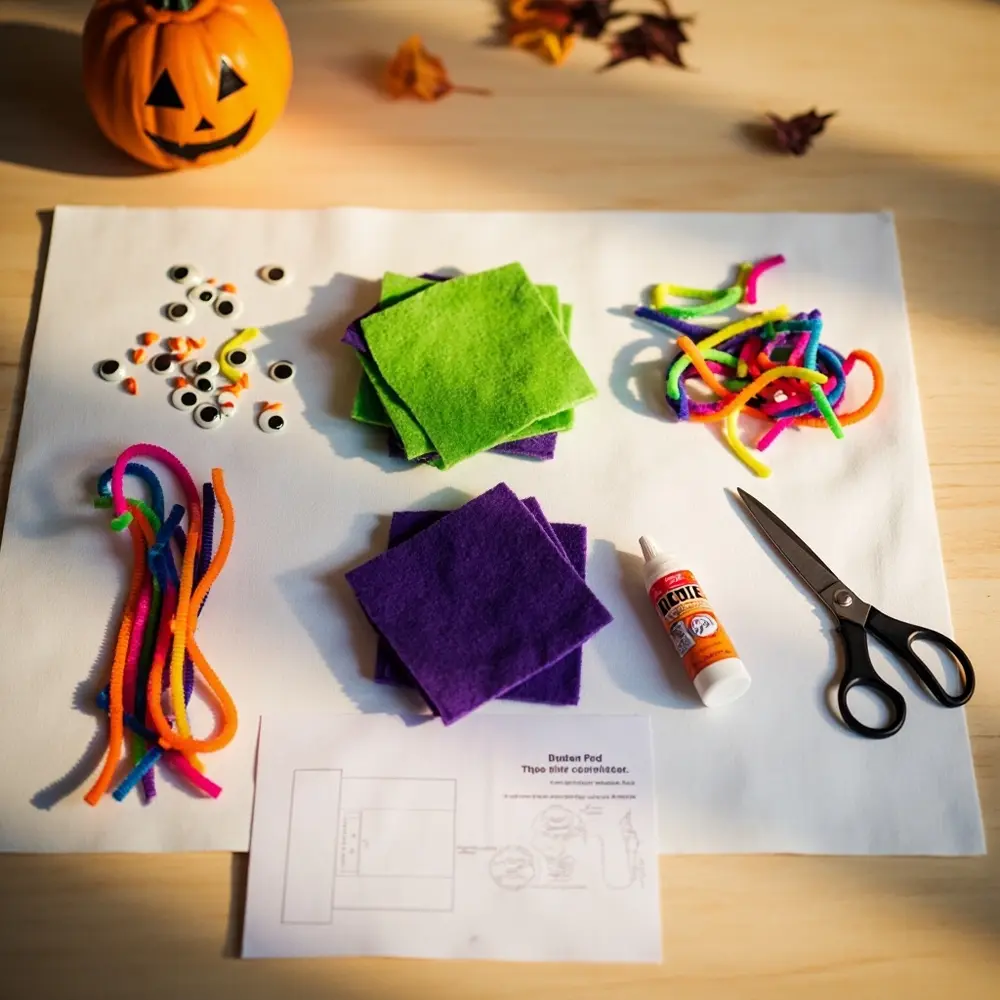
This no-sew felt pouch is a fantastic easy craft for kids and creates a durable trick-or-treat bag that can be used year after year.
[Image Placement Instruction: image-4: Materials for the felt monster pouch: two felt squares, googly eyes, pipe cleaners, fabric glue, scissors.]
#### Step 1: Cut and Shape Your Monster Body
Take two sheets of felt in the same color (green, purple, or orange work great for monsters!) and place them on top of each other. Cut them into identical rectangles. For a softer look, you can round the two bottom corners with your scissors.
⚠️ Safety First: Always supervise younger crafters when they are using scissors. If you’re using a hot glue gun for this project, an adult should handle that step.
#### Step 2: Assemble the Pouch
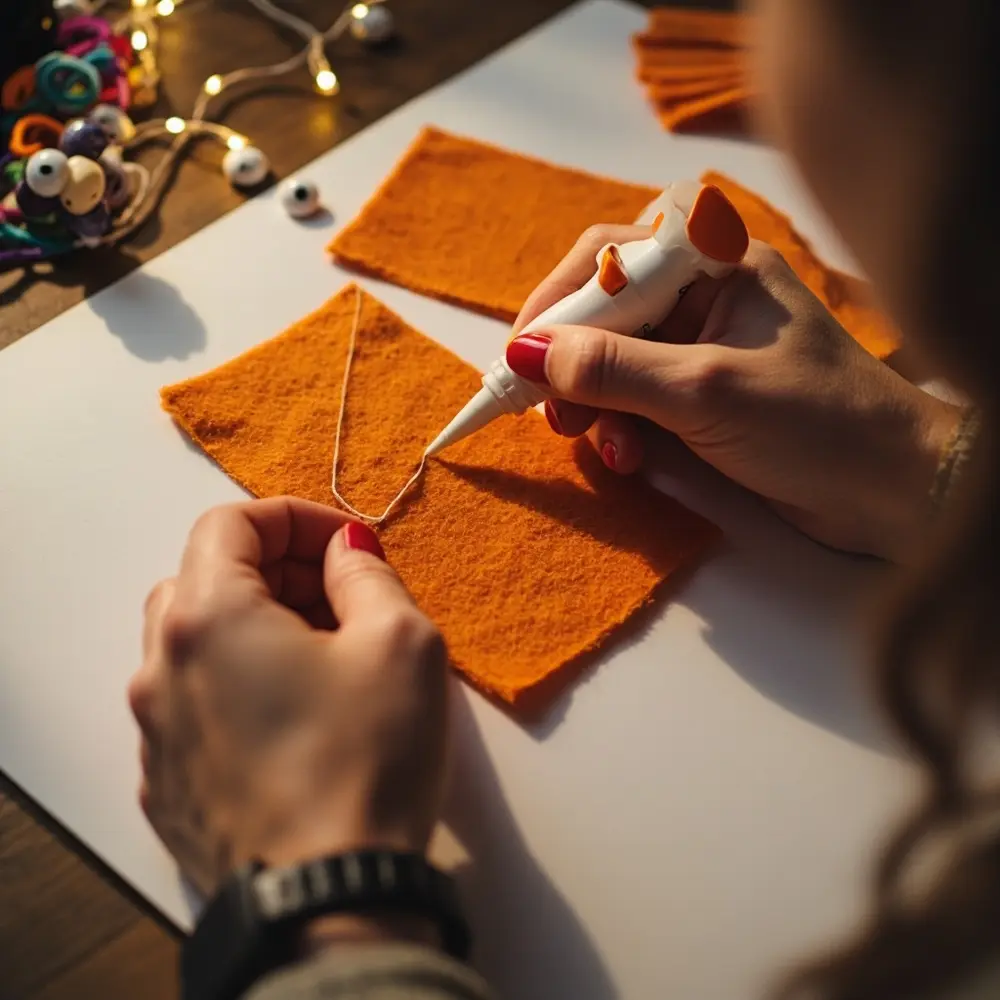
Separate the two felt rectangles. Apply a line of fabric glue or hot glue along the left, right, and bottom edges of one felt piece. Leave the top edge completely open. Carefully place the second felt rectangle on top, pressing down firmly along the glued edges to create a pouch.
[Image Placement Instruction: image-5: Hands applying fabric glue along the edges of two felt pieces, with one side left open.]
#### Step 3: Bring Your Monster to Life
Now for the fun part! Glue on googly eyes—the more, the merrier! Cut out zig-zag teeth from white felt and glue them just inside the top opening. You can create horns or antennae by twisting pipe cleaners and gluing them to the back of the pouch. Add spots, stripes, or even a unibrow to give your monster a unique personality.
[Image Placement Instruction: image-6: A finished “Monster Mash” felt pouch, showcasing its unique monster face and details.]

Personalize Your Treat Bags: Variations & Customizations 👻
After hosting dozens of seasonal workshops, I’ve seen so many amazing ways to adapt these basic ideas. Here are a few of my favorite variations to get your creativity flowing:
- Theme Swaps: Instead of ghosts or monsters, try pumpkins, black cats, mummies (wrap a bag in white fabric strips!), or even superhero logos.
- Material Mix-Up: Experiment with burlap for a rustic look, canvas for durability, or even upcycled denim for a unique texture.
- Age-Appropriate Adaptations: For toddlers, focus on pre-cut shapes and stick-on elements. For older kids, introduce more intricate cutting, layering, or even simple hand-stitching.
- Glow-in-the-Dark Fun: Use glow-in-the-dark paint or fabric markers for designs that pop at night, making your trick-or-treat bags extra visible and cool.
DIY Halloween Treat Bag FAQs 🤔
Q1: What if my fabric glue isn’t holding the felt pieces together securely?
A mistake I see often is using too little glue or not allowing enough drying time. Apply a thin, continuous line of glue and press the pieces together firmly. For a super-strong bond, you can place a heavy book on top while it dries or use clothespins to clamp the edges. If you’re still having trouble, a low-temp hot glue gun is a foolproof alternative.
Q2: How can I make these bags more durable for multiple trick-or-treating seasons?
For a bag that lasts, start with a sturdier base material like a canvas tote or a felt pouch. Reinforce the seams by adding a second line of glue on the inside or, for older crafters, doing a simple running stitch along the edges with embroidery floss. For handles, braided yarn or fabric strips are much stronger than paper.
Q3: Are there any eco-friendly alternatives to traditional paper or felt for these DIY bags?
Absolutely! An old pillowcase is a fantastic, classic option that can be decorated with fabric markers. You can also upcycle a plain canvas grocery tote bag. For a smaller container, try decorating an empty oatmeal canister or a large coffee can—they make perfect, sturdy buckets for little ones.
I hope these ideas help you create the most amazing Halloween treat bags for your spooky haul! Crafting together is one of the best ways to make holiday memories.
Which bag are you most excited to make—the ghost or the monster? Let me know in the comments below
