✨ From my years as a food stylist and recipe developer, I’ve learned that the most memorable treats are the ones that tell a story. I’ve mastered the art of making food look as good as it tastes—testing, fixing fails, and discovering solutions that actually work.
😅 But I know the struggle: How do you make healthy Halloween snacks that kids will actually get excited about? Are there any no-bake Halloween treats that don’t take forever to make?
👑 That’s why in this post, I’ll show you exactly how to solve these challenges with tips I’ve tested myself. Stick with me, and you’ll learn how to create adorable, spooky fruit snacks while creating magical memories with your loved ones! 🎃
Tutorial At-a-Glance
Time Required: Approx. 20 minutes
Budget Level: Low-Cost
Skill Level: Beginner / No-Bake
What You’ll Need for Your Apple Monster Bites 🎃
Here’s the simple shopping list for your monstrously good creations. After making these for countless parties, I’ve found this combination is a guaranteed crowd-pleaser.
✅ Apples (red or green)
✅ Nut butter or seed butter (e.g., peanut butter, almond butter, sunflower seed butter) (👑 Nancy’s Pick: I recommend a smooth, creamy variety for this project. It spreads easily and acts as the perfect “glue” for the teeth. Using something like sunflower seed butter also makes it a wonderfully versatile option for guests with nut allergies.)
✅ Sliced almonds or sunflower seeds (for teeth)
✅ Mini chocolate chips or candy eyes (for eyes)
✅ Optional: Strawberry slices or fruit leather (for tongues)
✅ Optional: Green or red food coloring (to tint nut butter for extra spooky effect)
Creating Your Spooky Apple Monster Bites: Step-by-Step Guide 🎨
As a food stylist, my favorite part of any recipe is the visual storytelling! This is where we bring these little monsters to life. My go-to trick for making these look amazing is to focus on the small details—it’s what transforms a simple snack into a centerpiece for your Halloween fruit platter.
Step 1: Prepare Your Apples
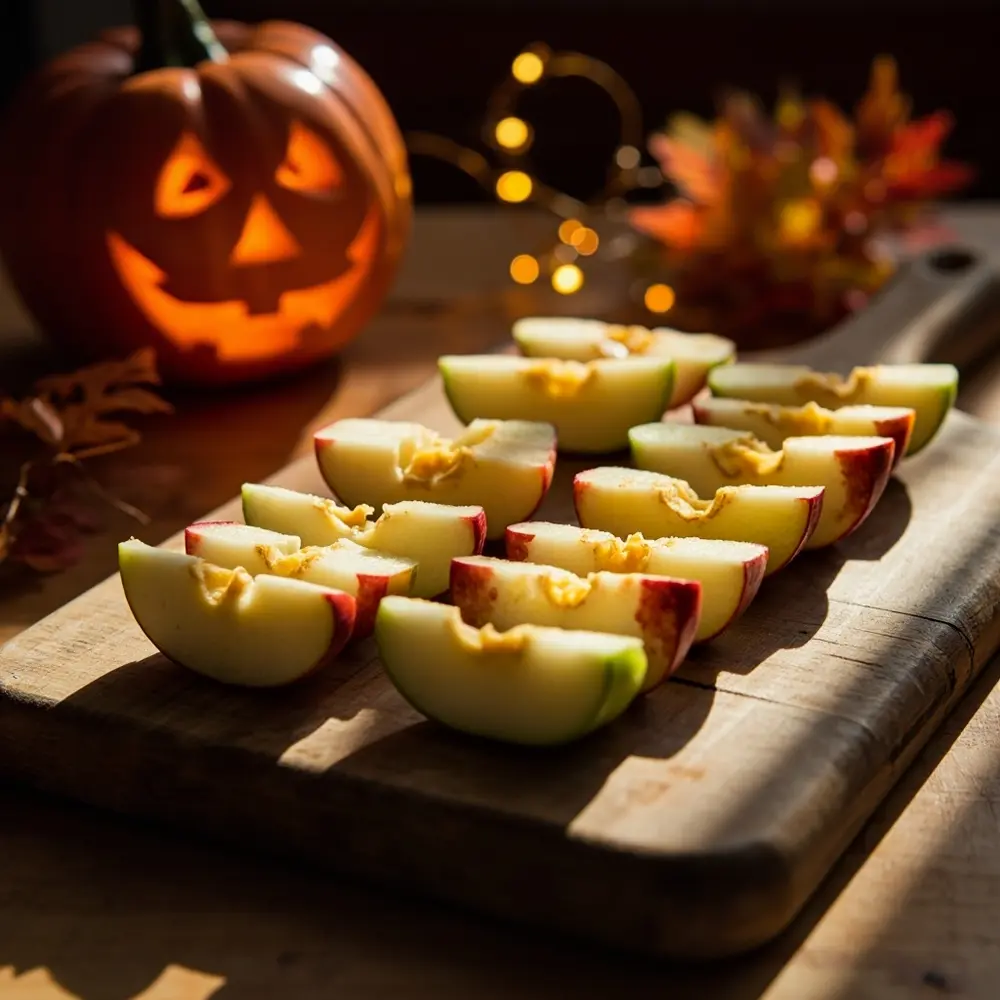
First, give your apples a good wash and pat them dry. For the classic “monster mouth” shape, you’ll want to cut them into wedges. I find it easiest to quarter the apple first, then carefully cut out the core from each quarter. From there, slice each quarter into two or three uniform wedges. The goal is to have sturdy pieces that can stand up on a platter.
image-1: Clean, sliced apple wedges laid out neatly on a cutting board.
Step 2: Spread the “Monster Mouth”
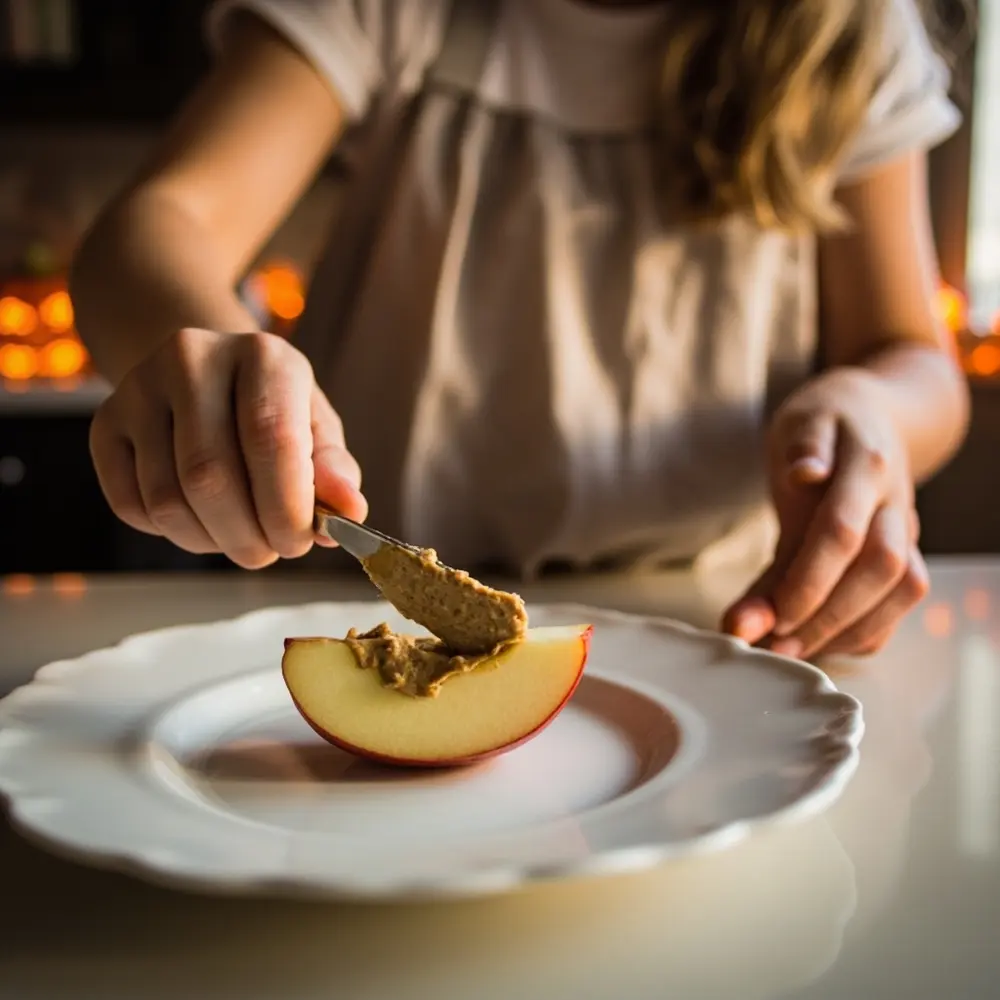
Take an apple wedge and spread a generous layer of your chosen nut or seed butter along one of the cut sides. This will be the inside of your monster’s mouth. Make sure the layer is thick enough to hold the “teeth” in place but not so thick that it oozes out everywhere.
⚠️ Safety First: If you have little ones helping out, this is a perfect job for them! Just be sure to provide them with a butter knife or a small spatula for safe spreading.
image-2: Close-up shot of a hand spreading nut butter evenly on an apple wedge.
Step 3: Insert the Spooky Teeth
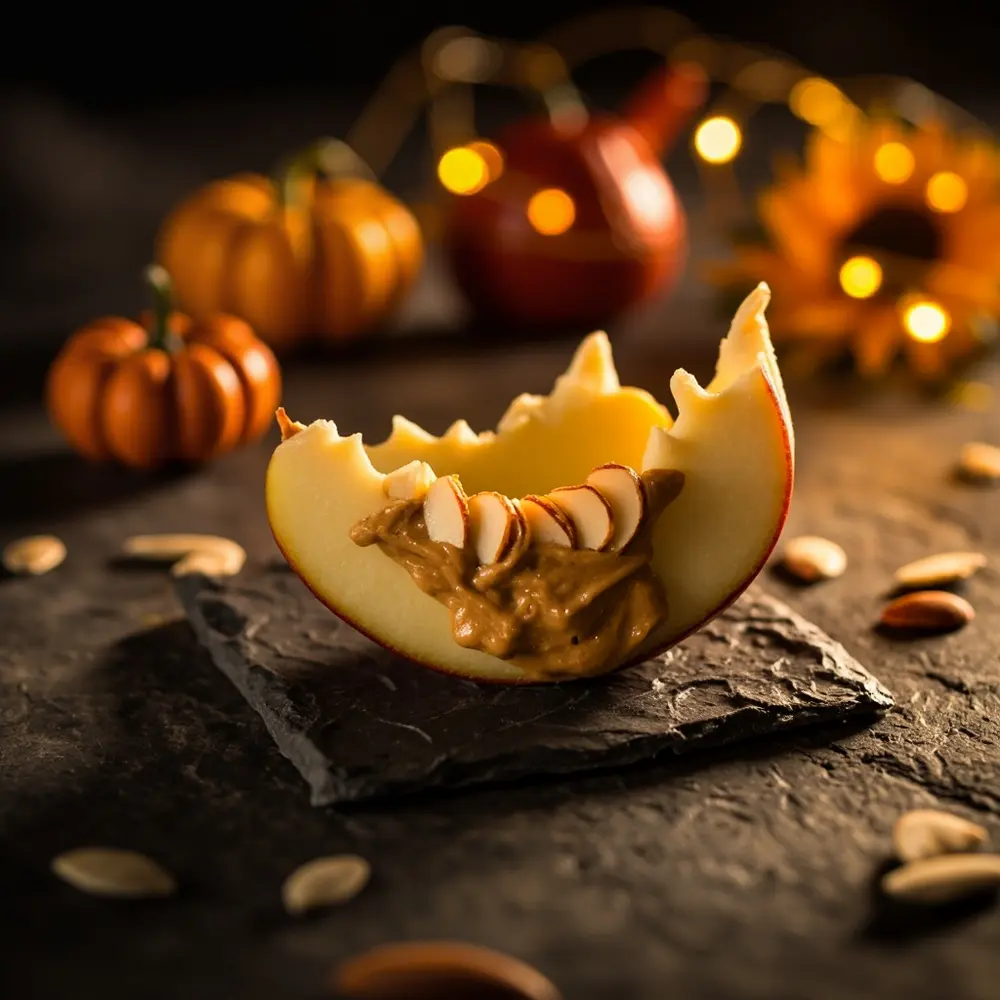
Now for the fun part! Carefully press the sliced almonds or sunflower seeds into the nut butter to create jagged monster teeth. You can place them along the top edge of the apple slice, creating an overbite, or just stick them directly into the nut butter filling.
💡 Pro-Tip: Don’t aim for perfection! A mistake I often see is people trying to make the teeth too uniform. For a more monstrous and realistic look, vary the size, angle, and placement of the teeth. Some can be crooked, some can be pointy—let each monster have its own personality!
image-3: A close-up showing the apple wedge with nut butter and “teeth” carefully placed.
Step 4: Add the Eyes and Tongue
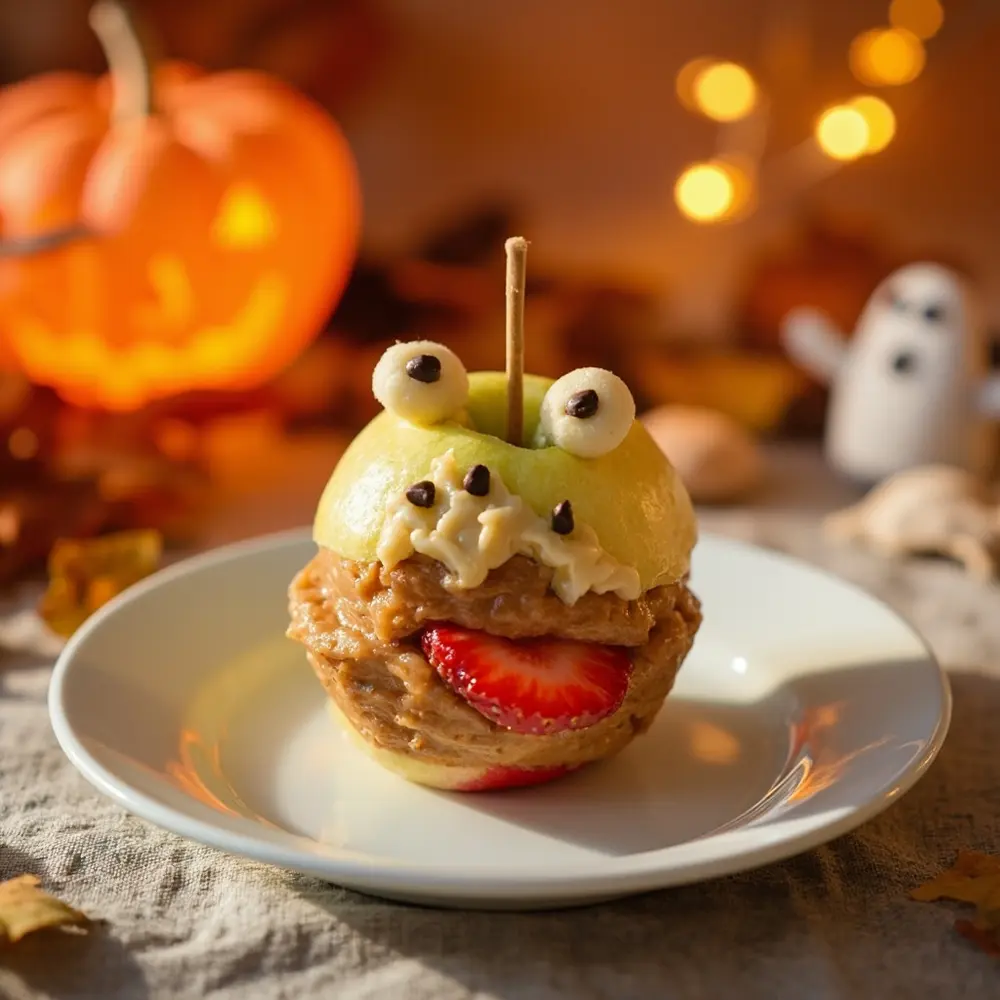
To bring your monster to life, you need eyes! Use a tiny dab of the nut butter as glue to stick on two mini chocolate chips or candy eyes. Place them on the top skin of the apple wedge, right above the mouth. If you’re using a tongue, tuck a small slice of strawberry or a thin piece of fruit leather into the “mouth” so it hangs out playfully.
image-4: A completed apple monster bite with eyes and a tongue, looking spooky and fun.
Step 5: Arrange Your Monster Platter
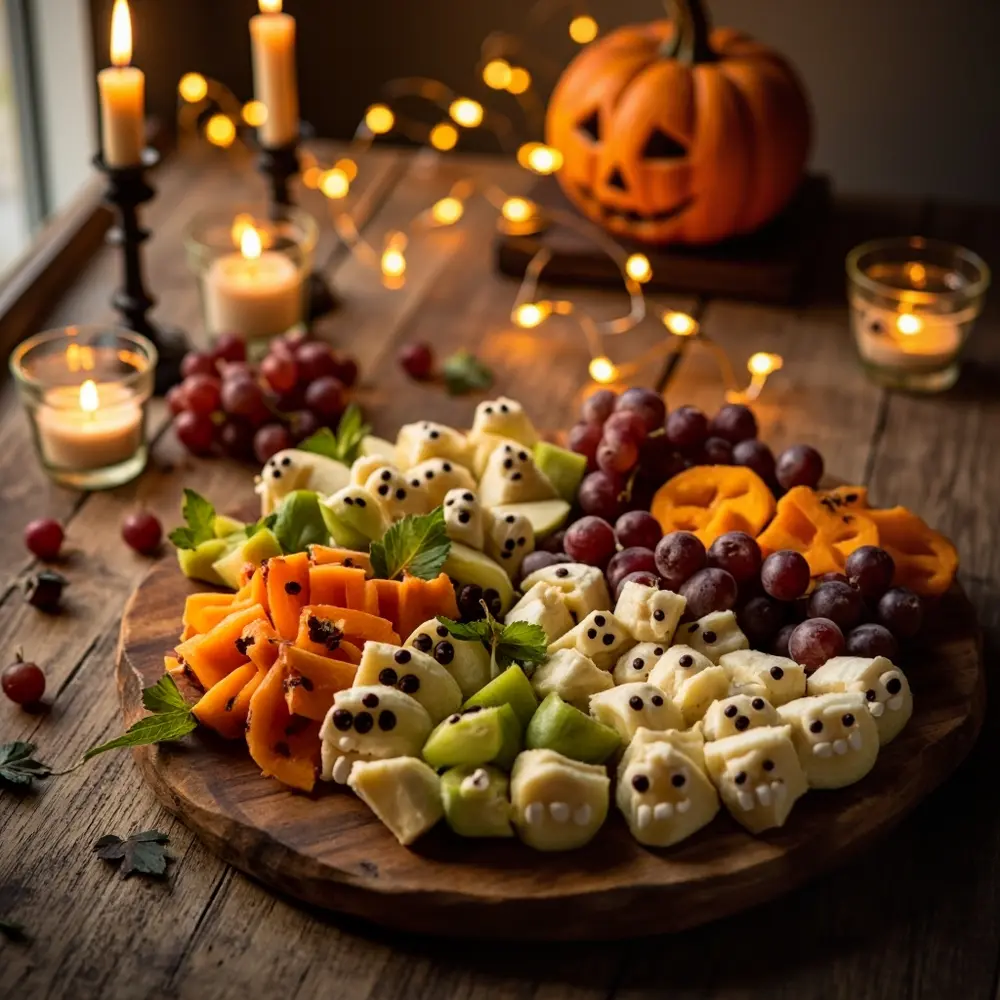
Once you’ve created your army of apple monsters, it’s time to show them off! Arrange them on a platter or board. I love to mix them in with other healthy Halloween snacks like mandarin “pumpkins” or banana “ghosts” to create a full, festive, and spooky fruit platter that everyone will love.
image-5: A beautifully arranged platter of multiple apple monster bites, ready for serving.
Variations & Customizations 👻
One of the questions I get all the time on my Instagram is how to adapt recipes. After testing dozens of combinations for these kid-friendly Halloween treats, here are a few of my favorite ways to customize them:
- Fruity Fangs: Use thin slices of pear or kiwi instead of apples for a different base flavor and color.
- Sweet & Spooky: For an extra treat, drizzle the finished monsters with a little melted dark chocolate or white chocolate (tinted green with a drop of food coloring!).
- Allergy-Friendly: If you’re serving a crowd with allergies, double-check that all your ingredients are certified nut-free and dairy-free. Sunflower seed butter and dairy-free chocolate chips work perfectly.
- Different Personalities: Swap the almond teeth for broken pretzel sticks for a more goofy, comical look, or use small pieces of dried pineapple for a yellowed, ghoulish grin.
Apple Monster Bites FAQs 🤔
Q1: How can I prevent the apples from browning before serving?
This is a classic problem! My tried-and-true solution is to soak the apple wedges in a bowl of cold water with a generous squeeze of lemon juice for about 5-10 minutes right after slicing. Pat them dry thoroughly before you start decorating. This simple step keeps them looking fresh for hours.
Q2: What are some good alternatives to nut butter for severe allergies?
For a completely nut-free version, sunflower seed butter is my top recommendation as it has a similar consistency. You could also use cream cheese (or a dairy-free cream cheese alternative) or even a thick caramel dip. Just be aware that runnier dips won’t hold the “teeth” as well.
Q3: Can I make these ahead of time, and if so, how should I store them?
These are definitely best when assembled right before serving to keep everything crisp. However, you can absolutely do the prep work ahead of time! Slice your apples and store them in lemon water in the fridge. Get your “teeth,” “eyes,” and “tongues” portioned out and ready to go. When it’s party time, all you have to do is assemble!
And there you have it—a perfectly spooky and sweet treat that’s more fun than fright! These apple monster bites are proof that kid-friendly Halloween treats can be healthy, easy, and a total blast to make.
What other spooky fruit snacks are you making this year? Let me know in the comments below! 🎃
