Are you scrolling through endless pictures of gorgeous Thanksgiving nails, only to feel a little discouraged? I’ve been there! You see all these amazing designs with perfect little pumpkins and delicate leaves, and they look beautiful, but so complicated. 💅
You start wondering, “Do I really need a bunch of special nail art tools just to feel festive?” The roadblock for so many of us is that we don’t have a full artist’s kit at home. We just have a few bottles of our favorite fall polish.
Well, get ready to feel inspired! I’ve put together a list of 10 simple Thanksgiving nail designs you can create with no special tools required. That’s right—all you need is your polish brush or a bobby pin to get a stunning, holiday-ready manicure. 🍂✨
🛒 My Must-Have Nail Art Supplies
Burnt Orange Nail Polish
Chocolate Brown Nail Polish
Gold Metallic Polish
Creamy Nude Polish
Quick-Dry Top Coat
✨ Click each item to explore affordable options for your festive manicure!
My Top 3 Favorite Nail Designs
Before we dive into the full list, here are my personal top picks from this collection:
- Easiest for Beginners: The Effortless Autumn Skittles
- Most Elegant: The Single Accent Dot
- Biggest ‘Wow’ Factor: The Rustic Dry Brush Look
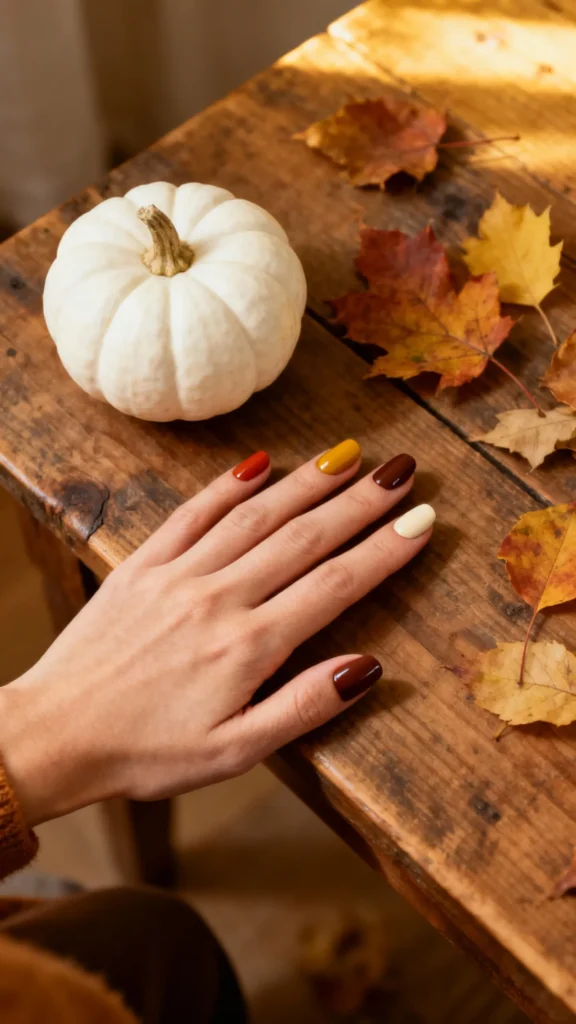
1. The Effortless Autumn Skittles 💅
This is the ultimate no-tool design and a personal favorite of mine for its beautiful simplicity. You just paint each nail a different, cozy fall color. It’s impossible to mess up, and it looks so chic and intentional!
Design Snapshot: Difficulty: Beginner | Key Tools: Just the polish brushes | Style: Minimalist, Colorful
🎯 Best For: A last-minute festive look that always gets compliments.
Image-1: A hand showing four different fall-colored nails, one in terracotta, one mustard yellow, one deep brown, and one cream.
2. The Bobby Pin Polka Dots 💅
Who knew a simple bobby pin could be the perfect nail art tool? I love this technique because the rounded tip creates flawless, uniform dots every single time. It gives you a fun, classic manicure that looks like you had it done professionally.
Design Snapshot: Difficulty: Beginner | Key Tools: Bobby pin | Style: Fun, Classic
🎯 Best For: Adding a playful touch to your cozy Thanksgiving outfit.
Image-2: A close-up of a nude nail with neat, dark brown polka dots that were clearly made with the tip of a bobby pin.
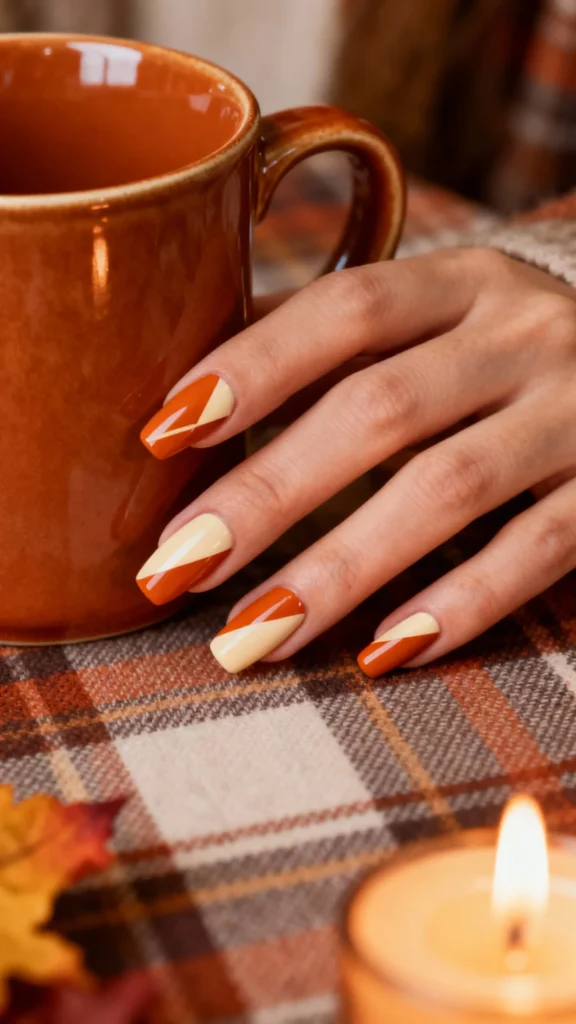
3. The Simple Diagonal Color Block 💅
This design looks so sharp and modern, but it’s surprisingly easy. All you need is a steady hand and the brushes from your two favorite polishes. Just paint one half of the nail on a diagonal, let it dry, then carefully fill in the other side with a contrasting color.
Design Snapshot: Difficulty: Beginner | Key Tools: Polish brush, steady hand | Style: Modern, Bold
🎯 Best For: A contemporary and eye-catching manicure for the holiday dinner.
Image-3: A nail that is painted diagonally, with a warm burnt orange on one side of the line and a soft cream on the other.
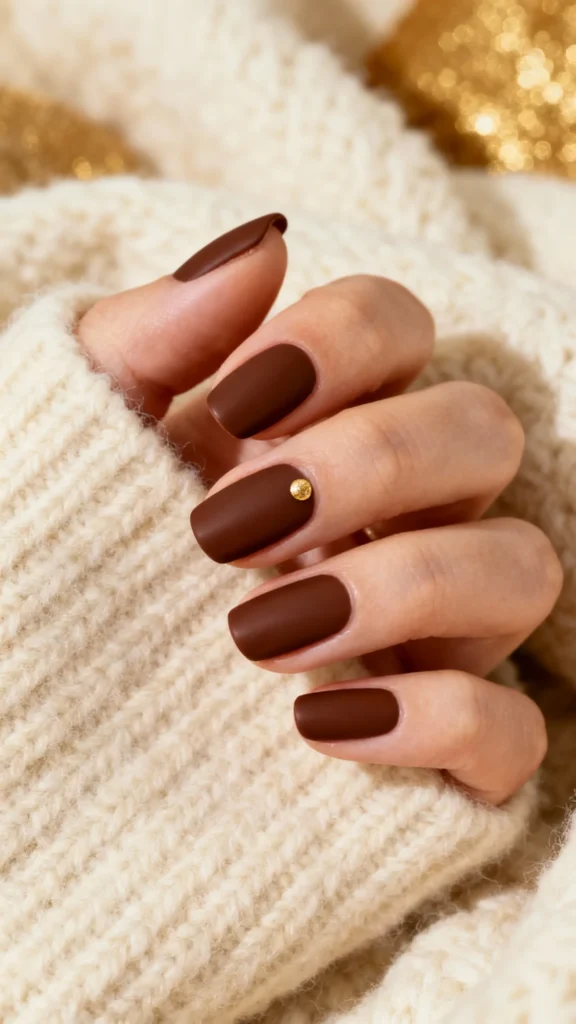
4. The Single Accent Dot 💅
If you’re a true minimalist, this one is for you. This subtle design is my personal go-to for Thanksgiving every single year because it’s so elegant. Paint your nails a solid color, then use a bobby pin to place one tiny, contrasting dot near the cuticle of your ring finger.
Design Snapshot: Difficulty: Beginner | Key Tools: Bobby pin | Style: Minimalist, Elegant
🎯 Best For: A subtle hint of Thanksgiving spirit that’s perfect for the office or family gatherings.
Image-4: A hand with nails painted a solid chocolate brown, with the ring finger featuring a single, delicate gold dot near the base.
5. The Rustic Dry Brush Look 💅
I absolutely adore this artistic design because it’s supposed to be imperfect! Simply wipe most of the polish off your brush on a paper towel, then lightly drag it across a contrasting base color. It creates a gorgeous, textured effect that reminds me of cozy sweaters and rustic decor.
Design Snapshot: Difficulty: Beginner | Key Tools: Polish brush, paper towel | Style: Artistic, Textured
🎯 Best For: Creating a cozy, sweater-weather vibe right on your nails.
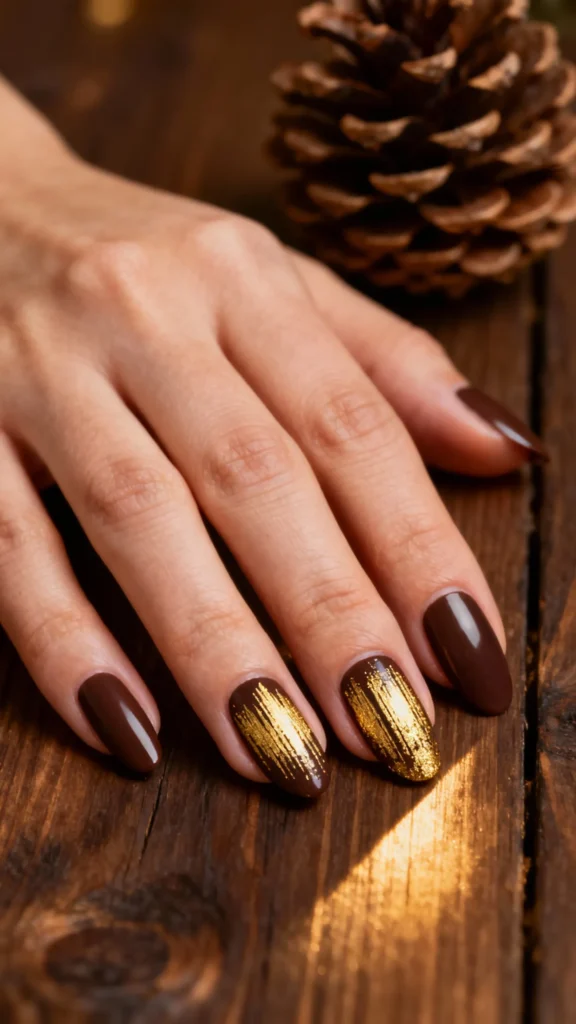
Image-5: A close-up of a dark brown nail with horizontal swipes of gold metallic polish that were applied with a nearly dry brush.
💬 Quick Question!
Of the nail designs we’ve covered so far, which one are you most excited to try? Let me know in the comments below!
6. The Imperfect “Drip” Tips 💅
Here’s a fun and quirky twist on a classic French manicure. Instead of a perfect line, use your polish brush to create a slightly uneven, “dripping” shape across the tip of your nail. I always think of melted caramel or chocolate sauce—so perfect for Thanksgiving!
Design Snapshot: Difficulty: Beginner | Key Tools: Polish brush | Style: Fun, Quirky
🎯 Best For: Anyone who loves a playful and unique nail design that’s a great conversation starter.
Image-6: A hand showing nude nails with a caramel-colored polish applied to the tips in a fun, “dripping” pattern.
7. The Abstract Sweater-Weather Blobs 💅
This abstract design is for anyone who doesn’t want to worry about precision. On a solid base color, just use your polish brush to add two or three organic, imperfect “blobs” of a different shade. It looks so intentionally artistic and is completely stress-free to create.
Design Snapshot: Difficulty: Beginner | Key Tools: Polish brush | Style: Modern, Abstract
🎯 Best For: An artsy, modern look that takes only a few minutes to complete.
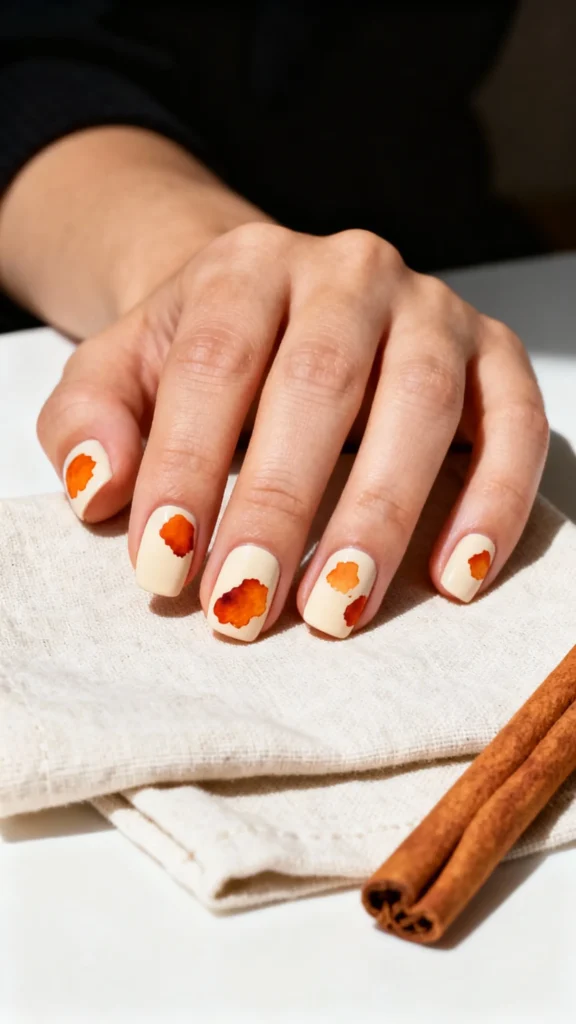
Image-7: A cream-colored nail with two or three imperfect, burnt orange “blobs” placed randomly on the nail.
8. The Easy Vertical Stripe 💅
This is such a simple way to get a chic and sophisticated look. Just use the side of your polish brush to carefully draw one clean vertical line down the center of an accent nail. A metallic gold stripe on a deep burgundy or brown nail is a classic combination that always looks elegant.
Design Snapshot: Difficulty: Beginner | Key Tools: Polish brush | Style: Chic, Geometric
🎯 Best For: A polished and put-together look for the holiday table.
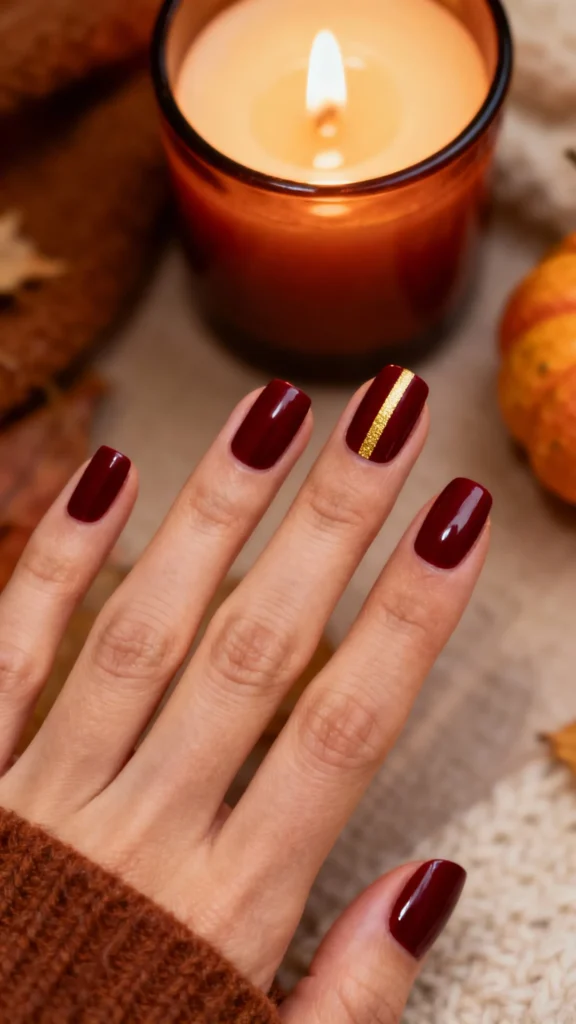
Image-8: A deep burgundy accent nail with a single, clean gold stripe running vertically down the middle.
9. The Half-Moon Manicure 💅
This vintage style is so lovely, and it’s surprisingly easy to do at home. Use the natural curve of your polish brush to paint your nail, leaving a clean, unpainted semi-circle (the “half-moon”) at the base near your cuticle. It’s a timeless look that feels special.
Design Snapshot: Difficulty: Beginner | Key Tools: Polish brush | Style: Retro, Elegant
🎯 Best For: A timeless, classic manicure with a unique retro twist.
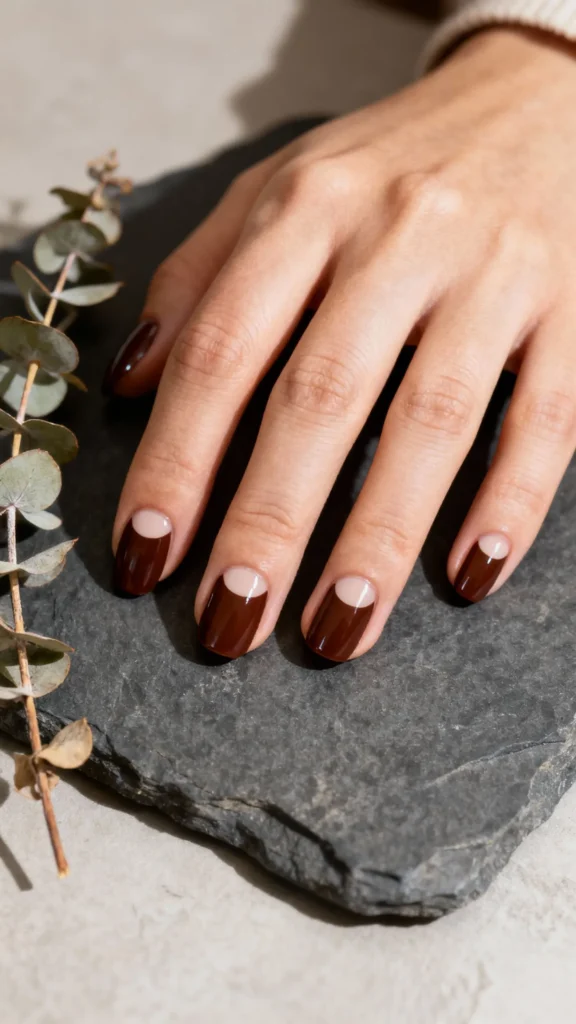
Image-9: A nail painted a deep brown color, leaving a clean, bare half-moon shape at the bottom near the cuticle.
10. The Fading Dots Gradient 💅
This is another creative design you can do with a bobby pin! Create a line of polka dots that starts with a larger dot near your cuticle and gets smaller as it goes toward the tip. The secret is simple: just apply less pressure with the bobby pin for smaller, more delicate dots.
Design Snapshot: Difficulty: Beginner | Key Tools: Bobby pin | Style: Creative, Delicate
🎯 Best For: Adding a touch of whimsy and detail without any complicated steps.
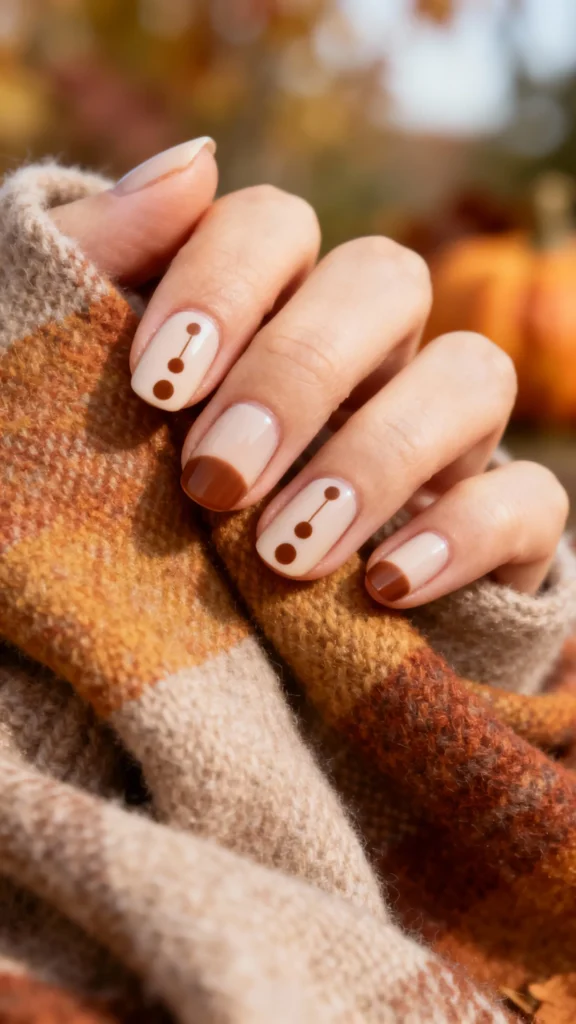
Image-10: A light-colored nail with a vertical line of brown dots that are largest at the cuticle and get progressively smaller toward the tip.
🍂 Wishing You a Stylish Thanksgiving
See? You don’t need a drawer full of professional tools to create a beautiful and festive manicure for Thanksgiving. These simple, no-tool designs prove that a little creativity and your favorite fall polish are all you need to complete your holiday look. It’s all about having fun and celebrating the season in your own unique style. I am so grateful for this wonderful community, and I hope these ideas bring you a little extra joy!
Which of these simple Thanksgiving nail designs are you going to try first? Let me know your favorite in the comments below
