How to Celebrate Baby’s First Halloween (Adorable Tips & Photo Ops!)
Hello ghouls and goblins! It’s Roshan Sharma, your friendly neighborhood Halloween fanatic, and I’m buzzing with spooky-season excitement. 🎃
Are you a new parent staring at your little pumpkin and wondering how to celebrate their very first Halloween? You want to make it special, but the thought of spooky decorations or fussy costumes feels like way too much for your tiny tot. 👻
The pressure to create those picture-perfect “first” memories is real, and let’s be honest, you’re probably running on fumes and way too much coffee (no judgment, I live on pumpkin spice lattes all October!). You need a celebration that’s more sweet than spooky and more about cuddles than chaos. 🎉
Well, you’re in the right place! I’ve planned countless Halloween events, and I’m here to guide you through creating a simple, safe, and unbelievably adorable first Halloween photo op that’s all about cherishing this magical milestone. Let’s get those cameras ready!
Activity At-a-Glance
- Best For 👨👩👧👦: Baby’s First Halloween celebration, dedicated photo shoot, creating keepsake memories
- Time Required ⏳: Approx. 30-60 minutes (for setup and photo session)
- Budget Level 💰: Low-Cost
- Spookiness Level 👻: Low (Focus on “adorable” not “spooky”)
What You’ll Need for Your Baby’s First Halloween Photo Op 📋
The best part about this activity is its simplicity. I’ve found that you don’t need a Hollywood set to create magic. Here’s a quick checklist of what to gather:
- A Cozy Costume: Think soft, simple, and comfortable. A pumpkin-themed onesie or a cute animal sleeper works perfectly! 🎃
- A Soft Blanket or Backdrop: A fluffy, neutral-colored blanket or even a clean wall will do the trick.
- Baby’s Favorite Toy: A familiar comfort item can help your baby feel secure. 🧸
- Simple Halloween Props: A small, real pumpkin (make sure it’s clean!), a soft bat plushie, or a chunky knit blanket in orange or black.
- Good Lighting: Natural light from a window is your best friend. ☀️
- Your Camera or Smartphone: You don’t need fancy gear to capture these sweet moments. 📸
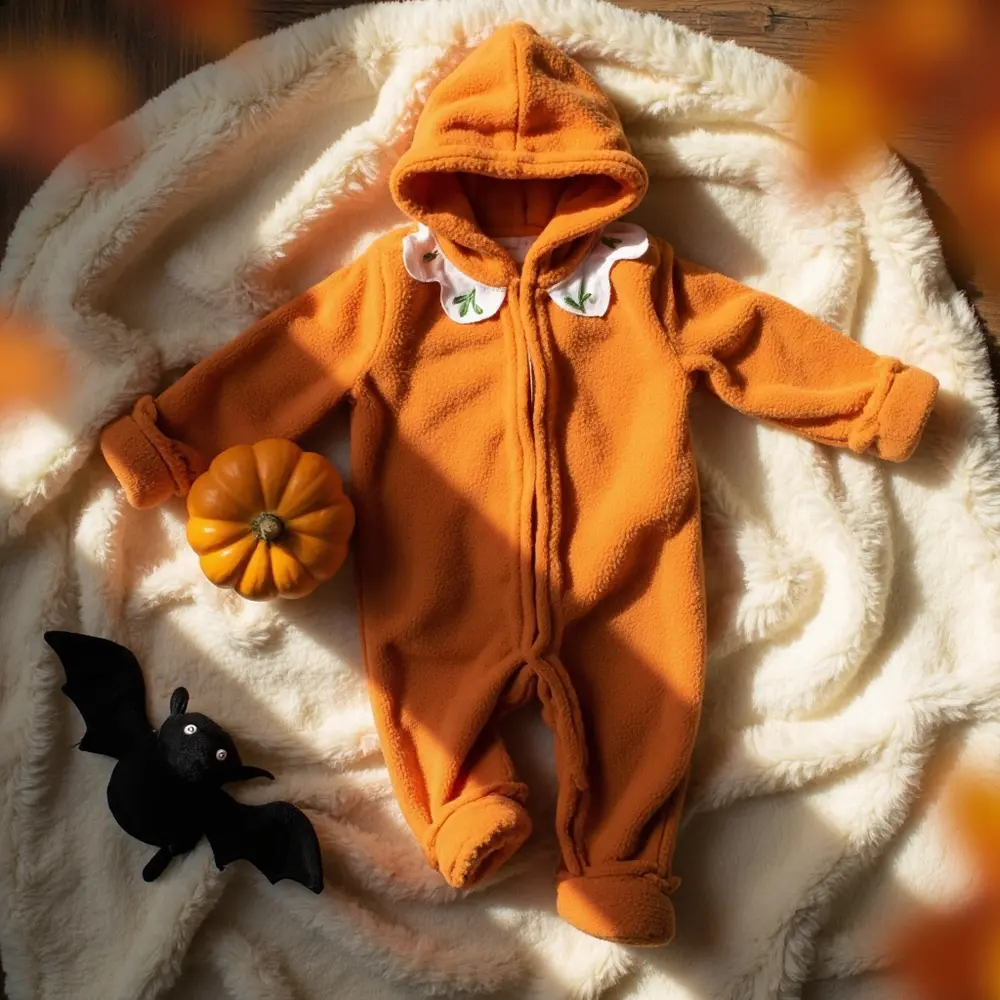
Image-1: A flat-lay photo of the baby’s adorable pumpkin costume, a soft plush bat, and a tiny, clean pumpkin arranged on a soft, cream-colored blanket.
Preparation & Setup: Creating the Adorable Scene
Setting the stage for your baby’s photo debut is quick and easy. First, find a spot near a window with lots of soft, natural light. This will give you those dreamy, bright photos without any harsh flashes.
Lay down your soft blanket on the floor to create your backdrop. Make sure the area is clear of any clutter—you want the focus to be entirely on your little star! Arrange your simple props nearby. You can place a small pumpkin just out of their reach or have a plush toy ready to hand to them.
Pro Tip 💡: For a touch of extra magic, try stringing up some warm, battery-operated fairy lights in the background. The soft glow creates a beautiful, dreamy effect in photos!
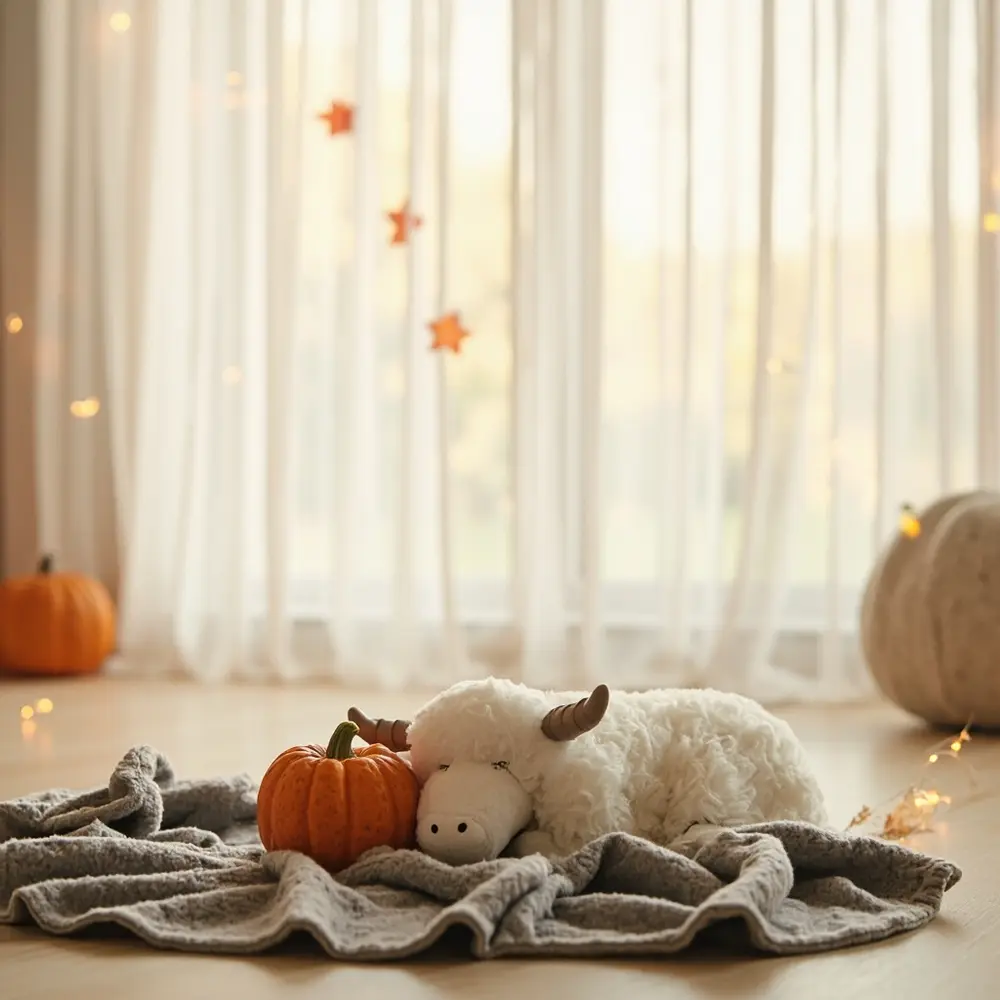
Image-2: A photo of the fully prepared photo nook. A soft gray blanket is on the floor by a bright window, with a small pumpkin and a plush ghost set to one side.
How to Capture Baby’s First Halloween Memories: Step-by-Step 🚀
H3: Step 1: Choose Your Baby’s Cozy Costume
Comfort is king! For my niece’s first Halloween, we chose a simple fleece lion costume because it was basically a warm, hooded onesie. Avoid anything with scratchy tags, tight elastic, or small parts that could come loose. The goal is a happy baby, and a comfy baby is a happy baby. Dress them right before you plan to start taking pictures.
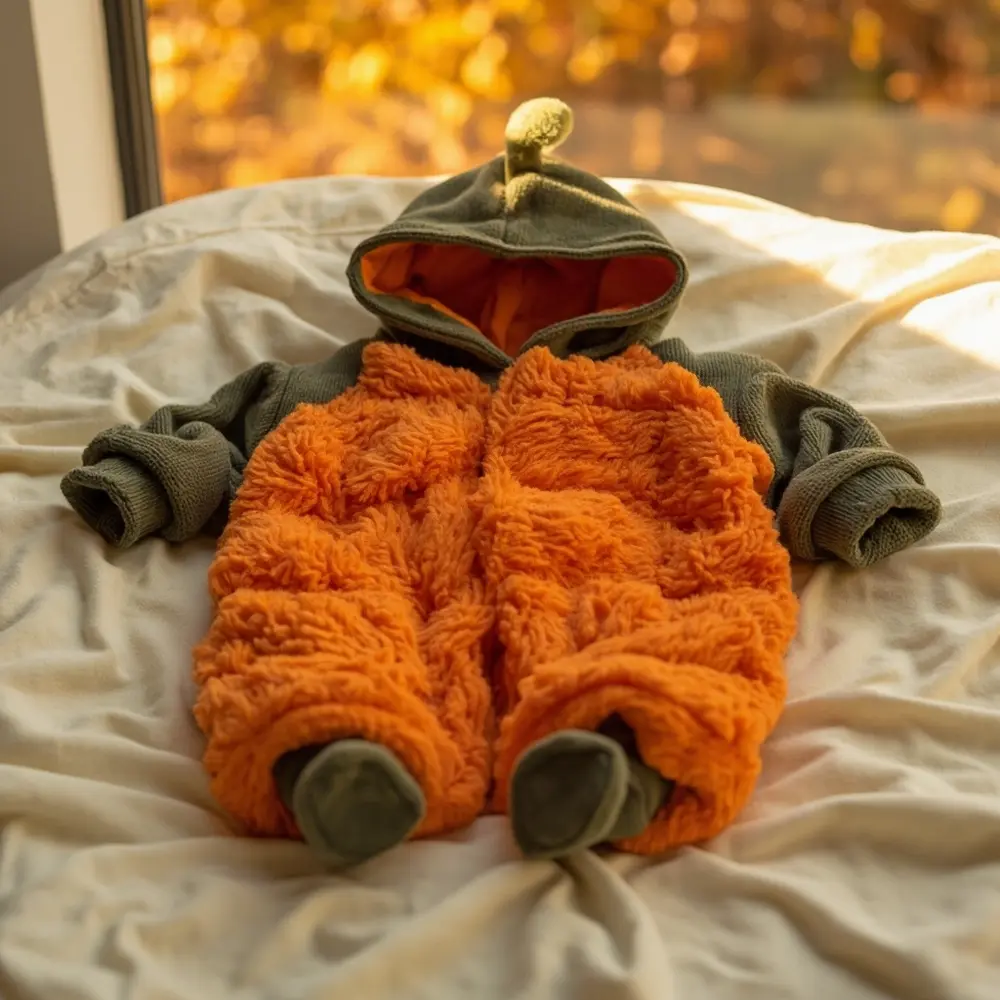
Image-3: A close-up shot of a soft, pumpkin-themed baby onesie laid out and ready to wear.
H3: Step 2: Set Up Your Safe & Simple Photo Nook
Your photo nook should be a safe space. The floor is often the best option because you don’t have to worry about your baby rolling or falling. If you’re using a crib or a bouncer, make sure it’s secure. Double-check that your background is free of anything distracting like electrical cords or random household items.
Caution ⚠️: Your baby’s safety is the #1 priority. Before you start, remove any small items or potential choking hazards from the area. Never, ever leave your baby unsupervised, even for a second, especially with props.
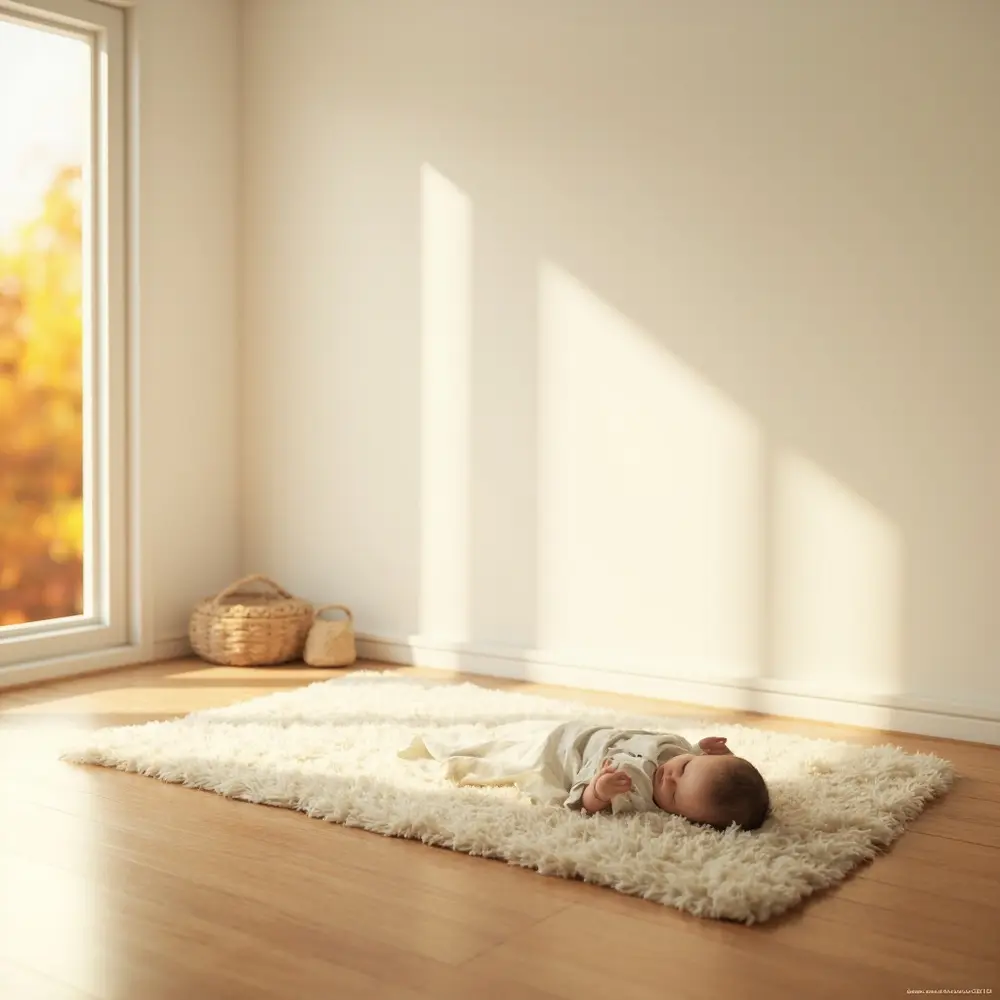
Image-4: A wide shot showing a clean and simple photo area on the floor, ready for the baby to be placed in the middle. The background is a plain wall.
H3: Step 3: Gentle Posing & Prop Placement
Gently place your baby in the middle of your prepared nook. Don’t worry about forcing specific poses! The best photos come from their natural wiggles and expressions. If they’re old enough for tummy time, that can be an adorable angle. If they’re sitting up, place a soft prop like a plush pumpkin near them to interact with. Let them explore and be curious.
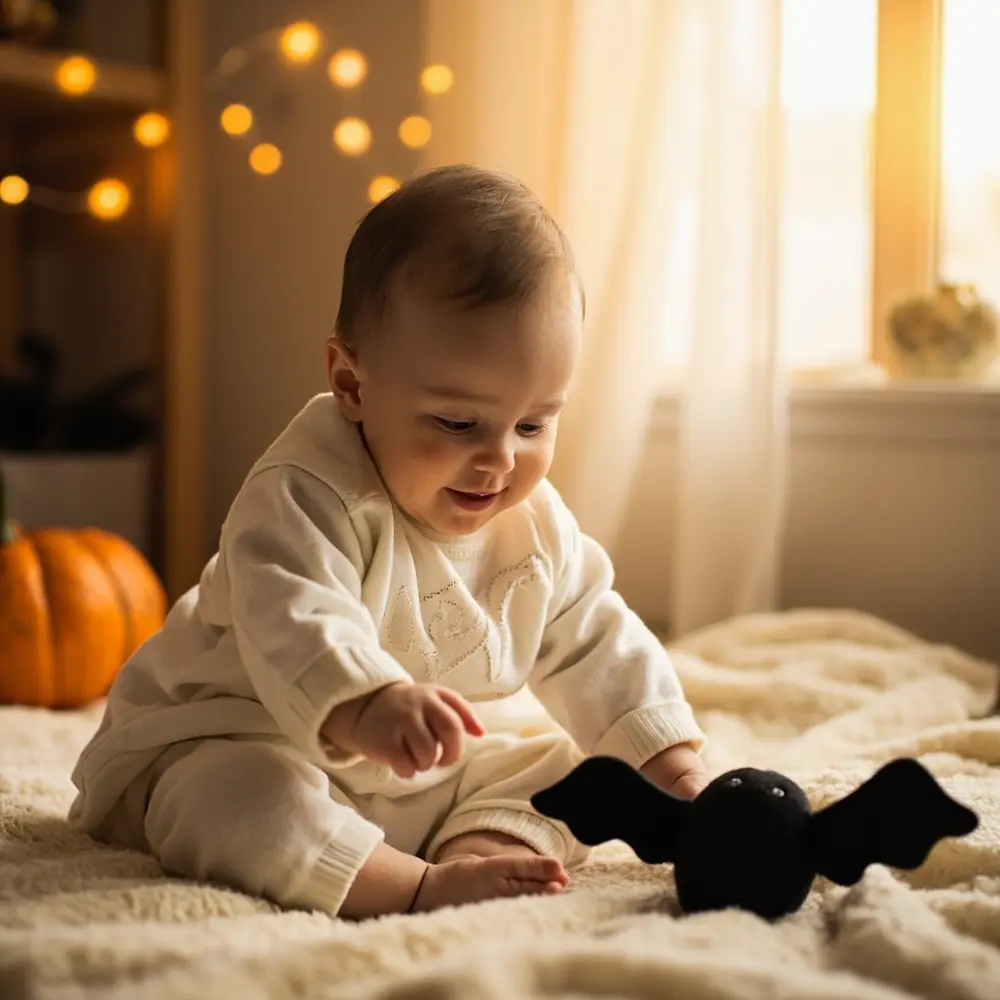
Image-5: A sweet photo of a baby in a ghost costume, curiously reaching out to touch a soft, felt Halloween bat placed nearby.
H3: Step 4: Capture Those Sweet Moments
Now for the fun part! Get down on the floor to be at your baby’s eye level. This makes the photos feel much more personal and engaging. Take a ton of pictures! For every one perfect shot, there are usually twenty blurry ones, and that’s okay. Use a favorite rattle or make silly sounds to gently get their attention and maybe even a gummy smile. Try different angles—a close-up on their tiny feet in costume is always a winner!
Pro Tip 💡: The best time for a baby photo shoot is after they’ve had a good nap and a full belly. A well-rested, happy baby will give you the best smiles and be more cooperative.
Image-6: A photo from a parent’s over-the-shoulder perspective, showing them holding a camera and capturing their smiling baby on the blanket below.
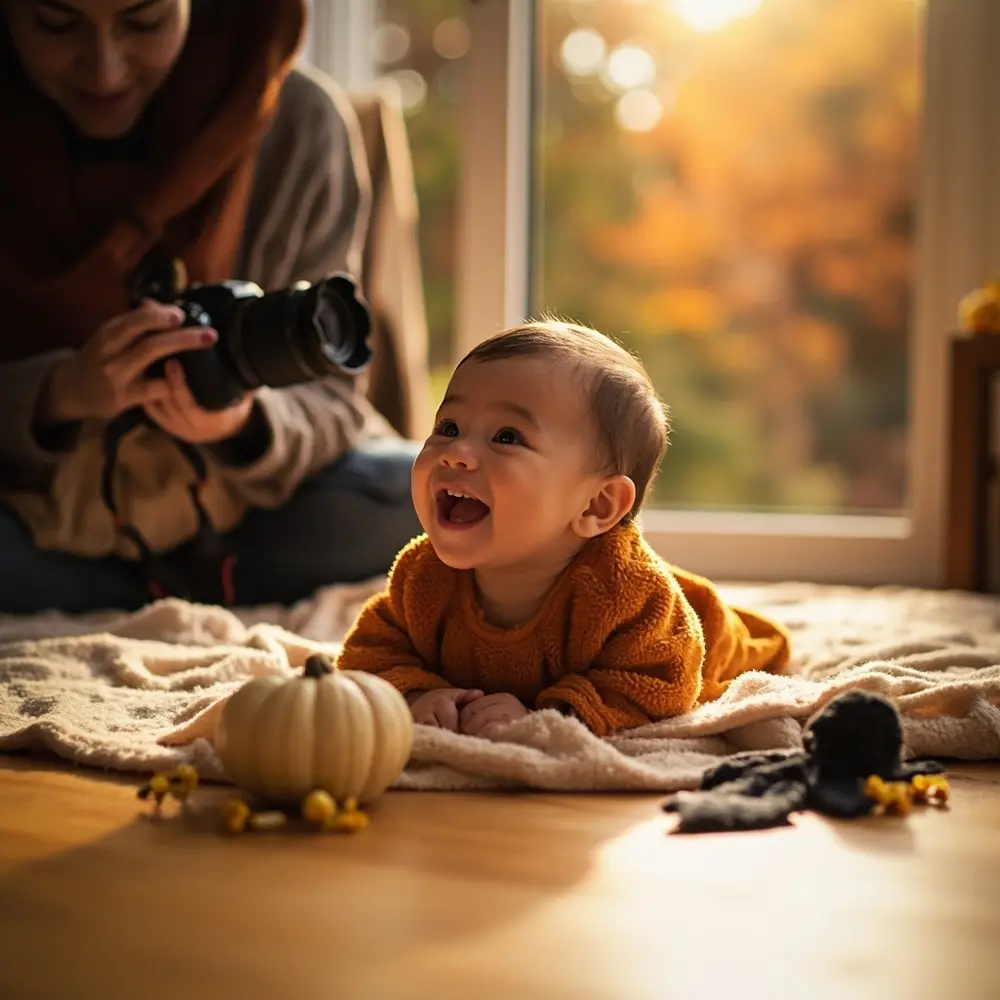
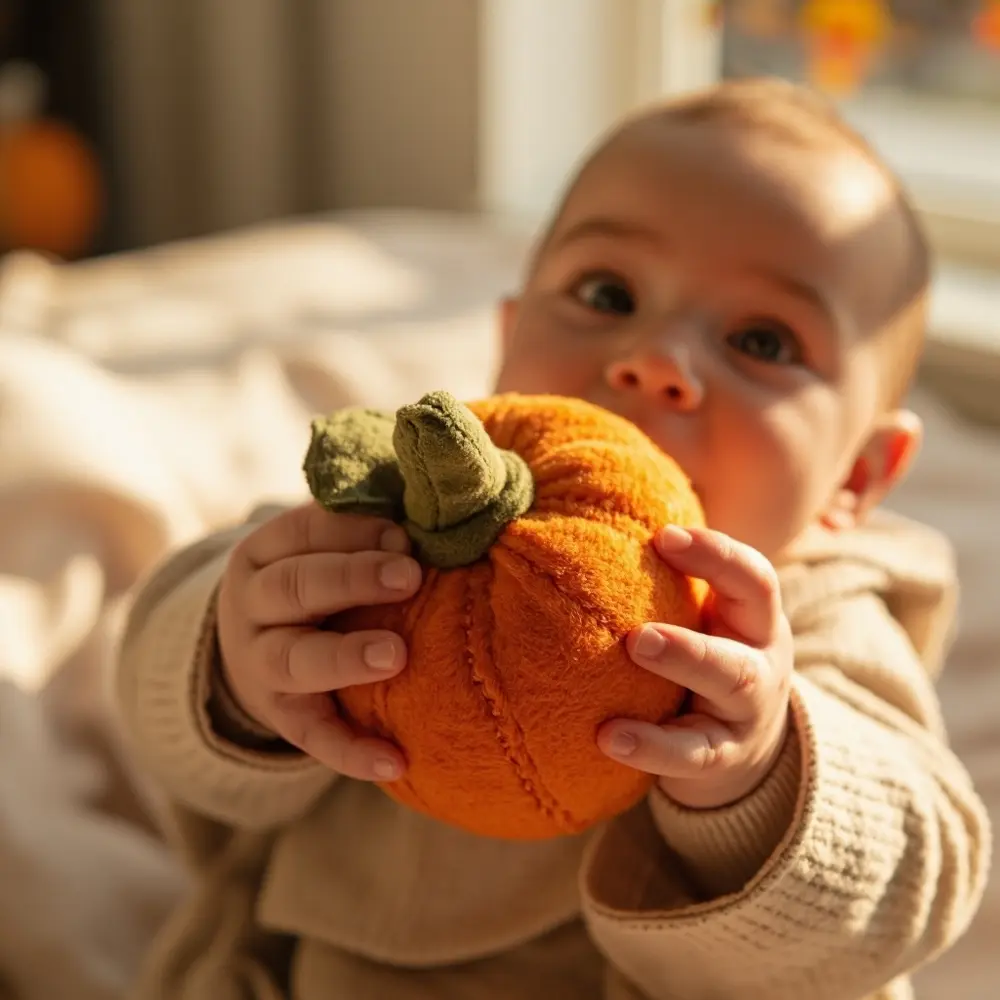
Image-7: A close-up shot focusing on a baby’s tiny hands holding onto a soft, orange plush toy.
Gentle & Safe: Ensuring Baby’s Comfort & Cuteness
As a Halloween fanatic, I know the urge to go all-out, but with a baby, “less is more” is the golden rule. This celebration is for them, so their comfort comes first.
- Keep it Short & Sweet: Babies have short attention spans. Aim for a 10-15 minute photo session. If they start to get fussy, it’s time to stop.
- Watch for Cues: If your baby is turning their head away, crying, or seems overwhelmed, wrap it up and try again later or another day. The “perfect” shot isn’t worth their distress.
- Avoid Overstimulation: A simple setup with one or two props is plenty. Flashing lights, loud music, or too much activity can be overwhelming for an infant.
- Safety-Check Props: Make sure any prop your baby might touch is non-toxic, clean, and free of small parts. A real pumpkin is great for a prop, but a plush one is better if they’re likely to put it in their mouth.
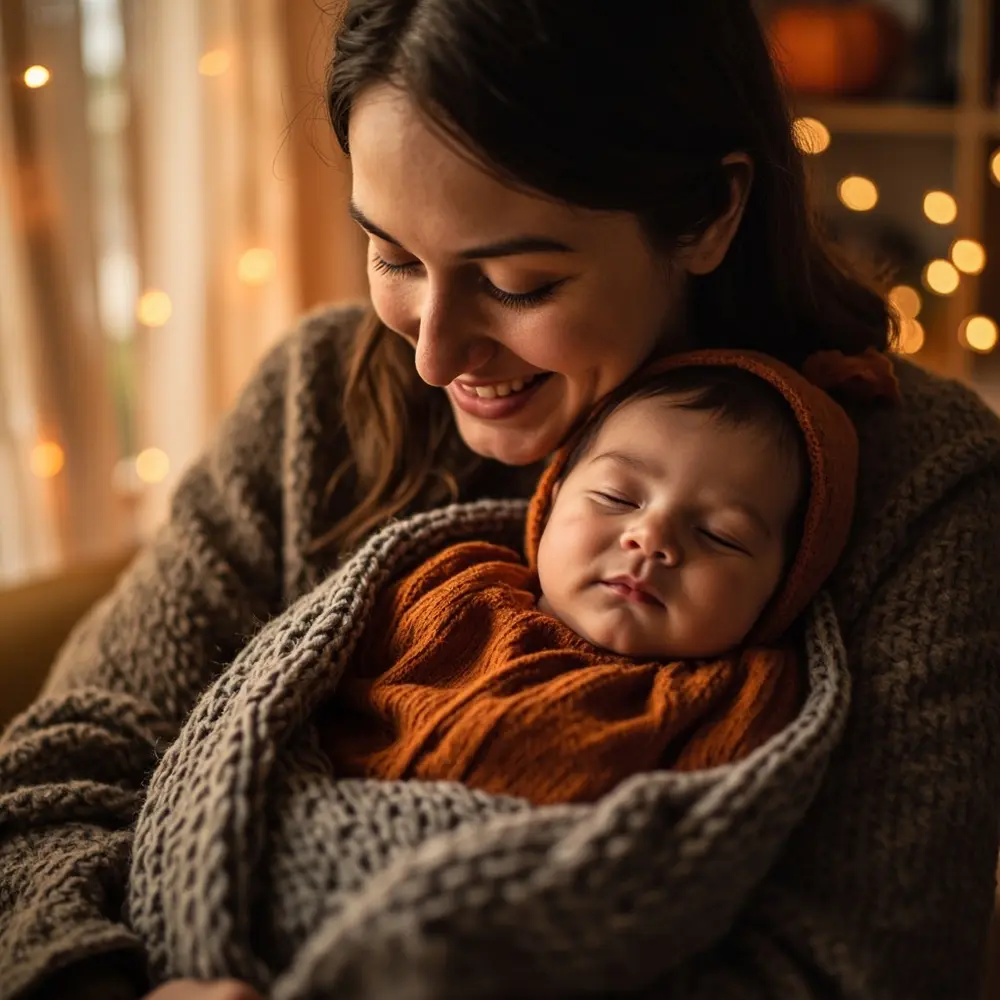
Image-8: A heartwarming photo of a parent cuddling their baby, who is still in costume, after the photo session has ended.
Variations & Customizations to Haunt Your House (Gently!) 🦇
Want to add a little extra flair? Here are a few ideas I love:
- Include the Whole Family: Get siblings (and pets, supervised of course!) in on the action. A photo of your dog gently sniffing your little pumpkin is pure gold. 🐾
- Go Outdoors: If the weather is nice, a pile of colorful autumn leaves makes for a stunning natural backdrop.
- Tell a Story: Dress your baby as a character from a beloved storybook and use the book as a prop in the photos. 📖
- Add Gentle Sounds: Playing a soft, Halloween-themed lullaby in the background can create a calm and sweet atmosphere.
Theme Twist 💡: Try a “friendly little monster” theme! Use soft, fuzzy monster plushies and a backdrop of purple or lime green. It’s a fun twist that keeps things cute and colorful instead of spooky.
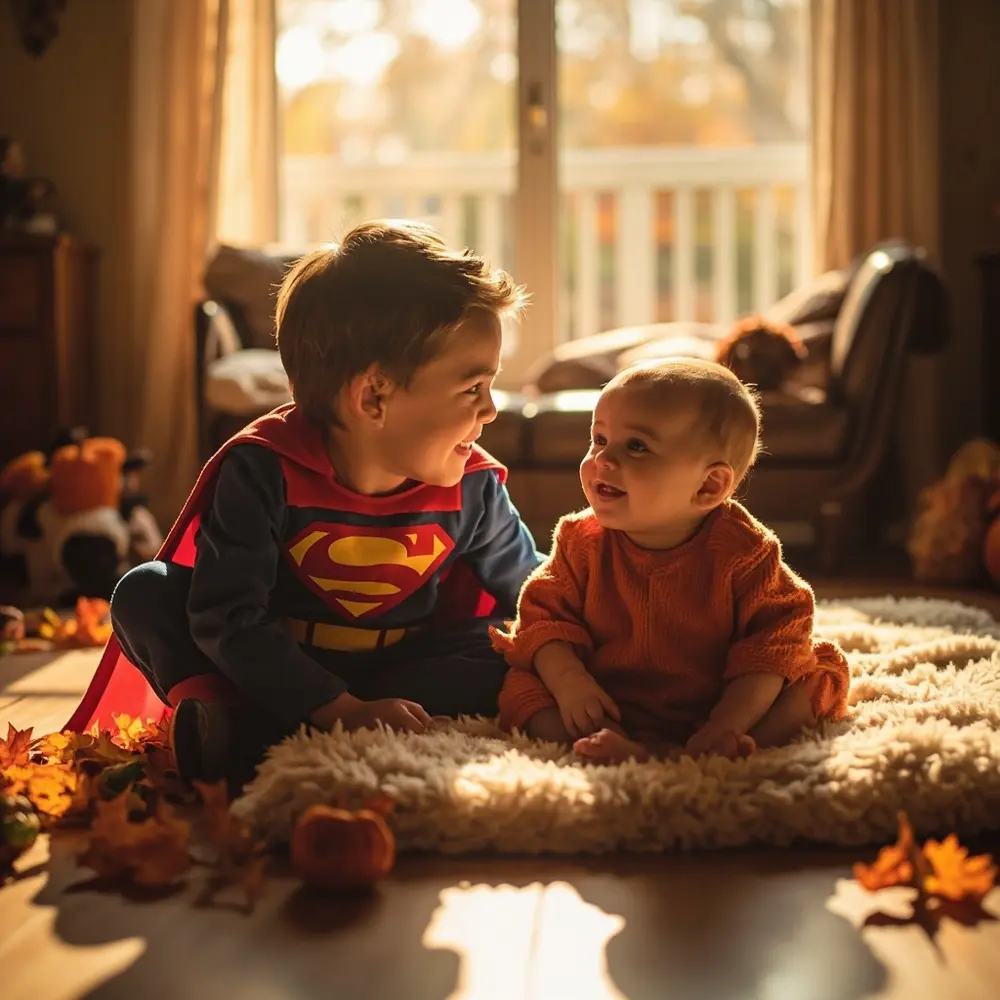
Image-9: A family photo with an older sibling dressed as a superhero, smiling down at their baby sibling in a pumpkin costume.
Halloween Activity FAQs ❓
Q1: What’s the best time of day to take baby’s Halloween photos?
The “golden hour”—the hour right after sunrise or before sunset—offers beautiful, soft light. But honestly, any time of day when you have good, indirect light coming through a window is perfect. Just avoid harsh, direct sun.
Q2: How do I get my baby to smile for the camera?
Forget saying “cheese!” Use silly sounds, peek-a-boo, or a favorite squeaky toy held just above the camera lens. A genuine laugh or a curious expression is often even cuter than a posed smile.
Q3: What if my baby cries or doesn’t cooperate during the photo shoot?
Stop! It’s that simple. Give them a cuddle, a snack, or a break. The goal is a happy memory, not a stressful one. You can always try again later. Sometimes, the photo of them yawning or even the beginning of a cry can be a really sweet and funny memory to look back on.
Cherish Your First Spooky Season!
And there you have it! A simple, stress-free way to celebrate your baby’s very first Halloween. You’ve created a beautiful memory and captured photos you’ll treasure for years to come. Remember, this day isn’t about elaborate parties or spooky scares; it’s about celebrating a new family tradition with the newest, tiniest member of your crew.
I highly recommend printing your favorite photo to put in a special frame or starting a “First Holidays” photo album. These are the moments that matter most.
What adorable costume did you choose for your baby’s first Halloween? I’d love to hear about it in the comments below! 🎃
