– How to Create a Spooky Bat Swarm Wall Display
Tired of Halloween decorations that just fall flat? I know the feeling. You see these amazing displays online and wonder how they do it. 🎃
Imagine turning a boring wall into a breathtaking spectacle with a swirling, swooping swarm of bats that looks like it flew right out of a horror movie! It’s the kind of high-impact decor that looks super professional but is surprisingly easy to make yourself. 🦇
This tutorial is for anyone looking to seriously level-up their spooky season game. I’m going to share the designer secrets I use to create a truly dynamic and artistic wall display. You don’t need to be an artist, I promise! Let’s get this done. ✨
- Difficulty Level 🦴: Beginner
- Time to Complete ⏳: Approx. 1.5 – 2 hours
- Estimated Cost 💰: Under $15
- Prerequisites 🧠: A blank wall and a desire for spooky ambiance!
Prerequisites: What You’ll Need Before You Start 🛠️
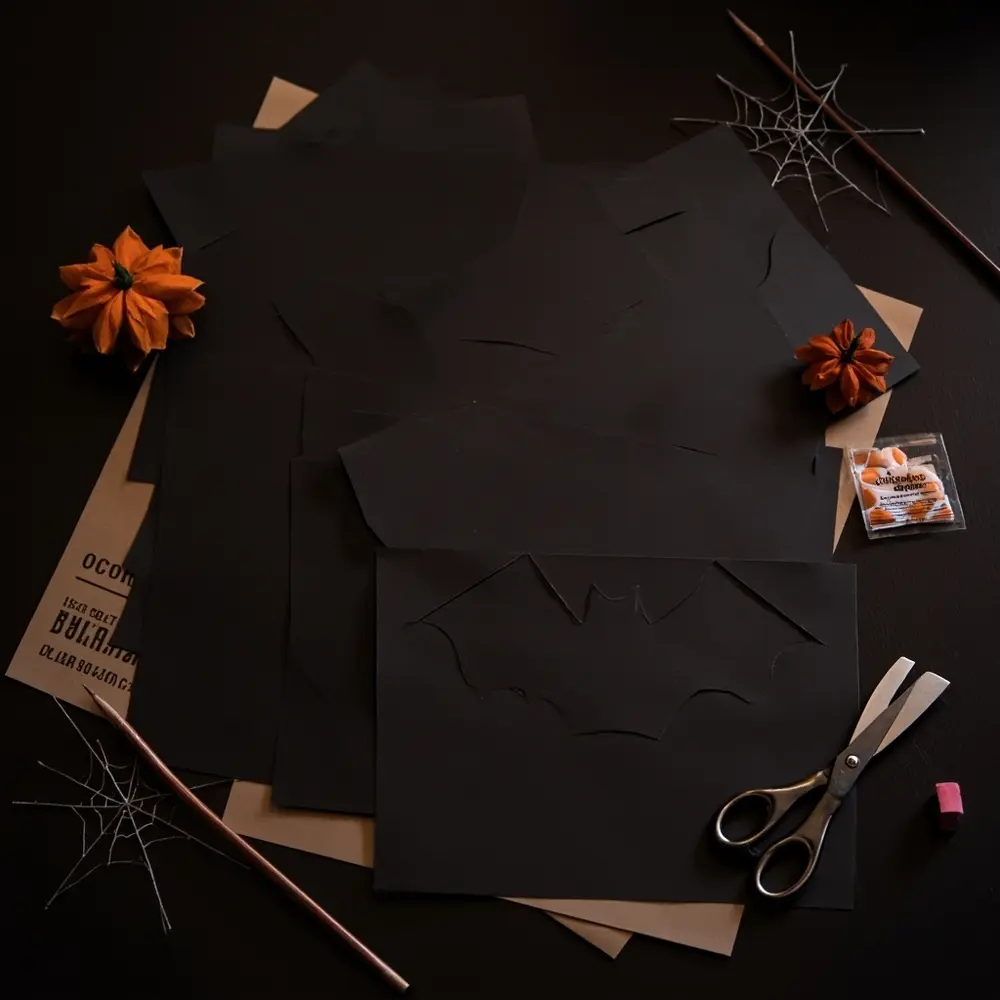
This section outlines everything you need to gather before we begin. Getting all your supplies ready first makes the whole process way more fun and smooth. Trust me on this!
- Black Cardstock Paper: I suggest getting at least 10-15 sheets of 65 lb or heavier cardstock. It makes the bats much sturdier.
- Bat Templates: You can download my free printable bat templates right here. They come in a few different sizes. [Link to a printable PDF]
- Scissors or Craft Knife & Cutting Mat: Sharp scissors work great, but if you have a craft knife, you’ll get those super clean, sharp edges on the wings.
- Wall-Safe Adhesive: I highly recommend removable mounting putty or double-sided adhesive dots to keep your walls safe. [Link to an example product on Amazon]
- Pencil with a good eraser: You’ll need this for lightly marking your swarm’s path on the wall.
Once you have your gear, just follow these two simple setup steps.

- Print Your Templates: Print out the bat template PDF. To get a good variety, I usually print a few copies of the page with the mixed sizes.
- Prepare Your Workspace: Find a clean, flat surface to work on. This is extra important if you’re using a craft knife and cutting mat!
Important Note: Using cardstock instead of regular paper is the real key here. It holds its shape so much better, which allows you to create that cool 3D effect and keeps your bats from curling up or tearing.
Step-by-Step Tutorial 🛠️
Just follow these steps to build your bat swarm from a pile of paper into a dynamic, flowing masterpiece. Let’s do this!
Step 1 – Cut Out Your Bat Army
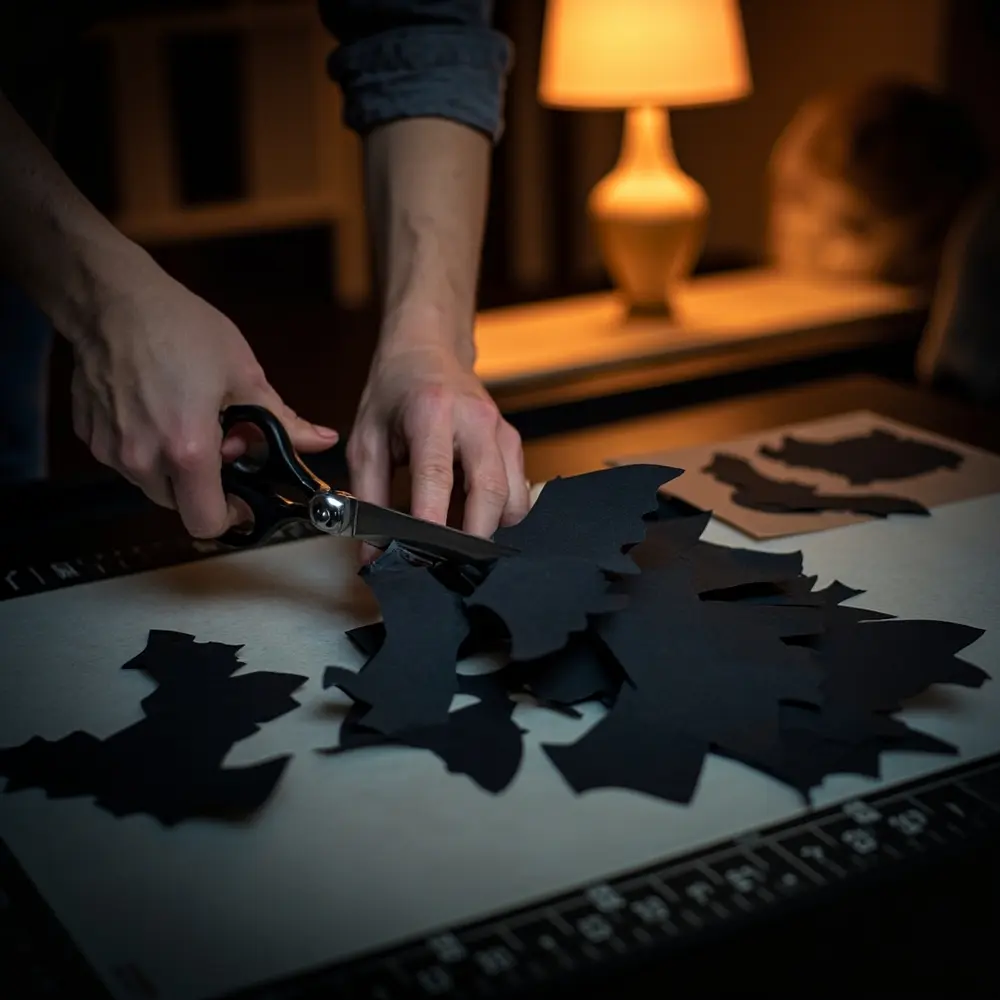
Your first mission is to create a big collection of bats in different sizes. This is the part of the project where I like to put on a classic horror movie and just get into the zone.
Start by carefully cutting out the bats from your printed templates. Your goal is to have a nice, big pile of bats ready to go. I recommend aiming for at least 40-50 bats in three main sizes: large, medium, and small. The more bats you have, the fuller and more dramatic your swarm will look!
My Personal Tip: Don’t stress about making every cut perfect! When I was first starting my ‘Spooky Sharma’ YouTube channel, I learned that tiny imperfections can actually make DIY projects look more natural and organic. A little variation here is a good thing.
Step 2 – Give Your Bats 3D Wings
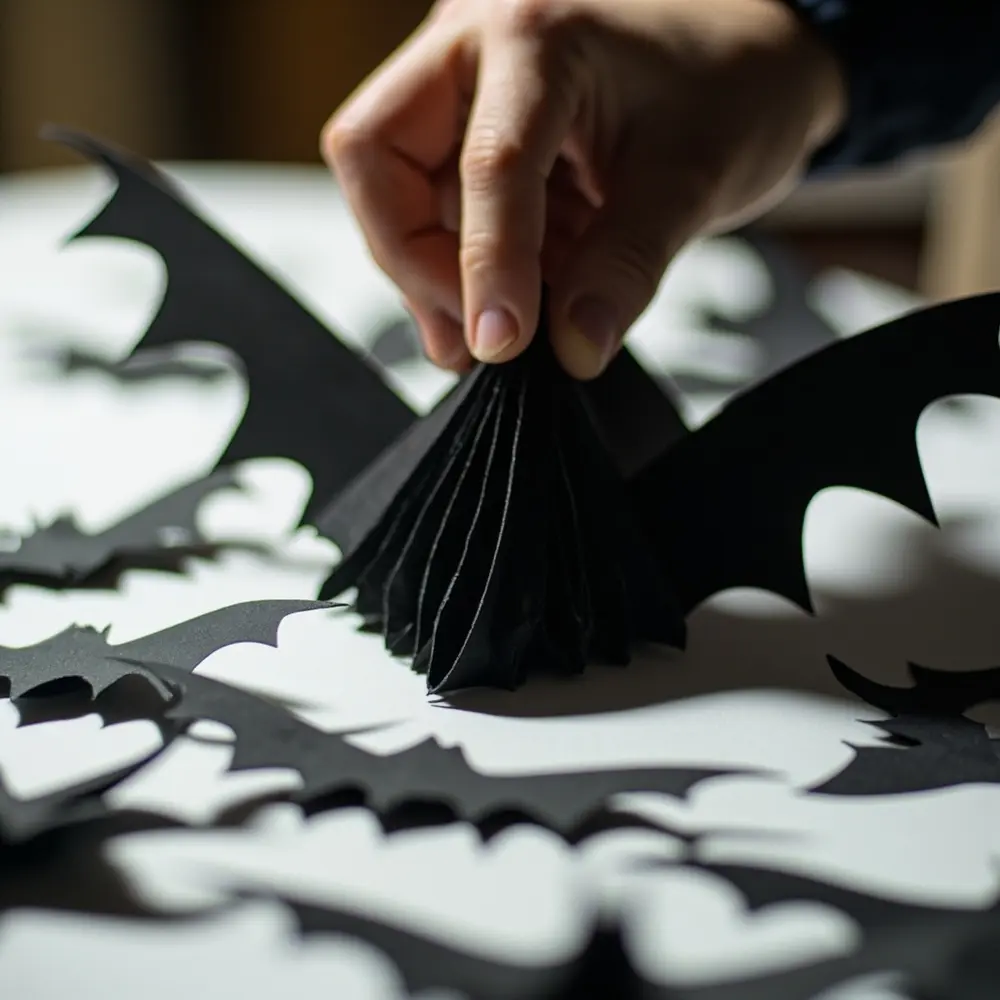
This simple fold is the most important trick to making the bats look like they are flying right off the wall. It adds awesome depth and shadow.
Take each flat cutout and create a sharp fold along each side of the bat’s body, right where the wings begin. Then, just gently bend the wings forward. That’s it! This little tweak makes a huge difference.
Step 3 – Plan Your Swarm’s Flight Path
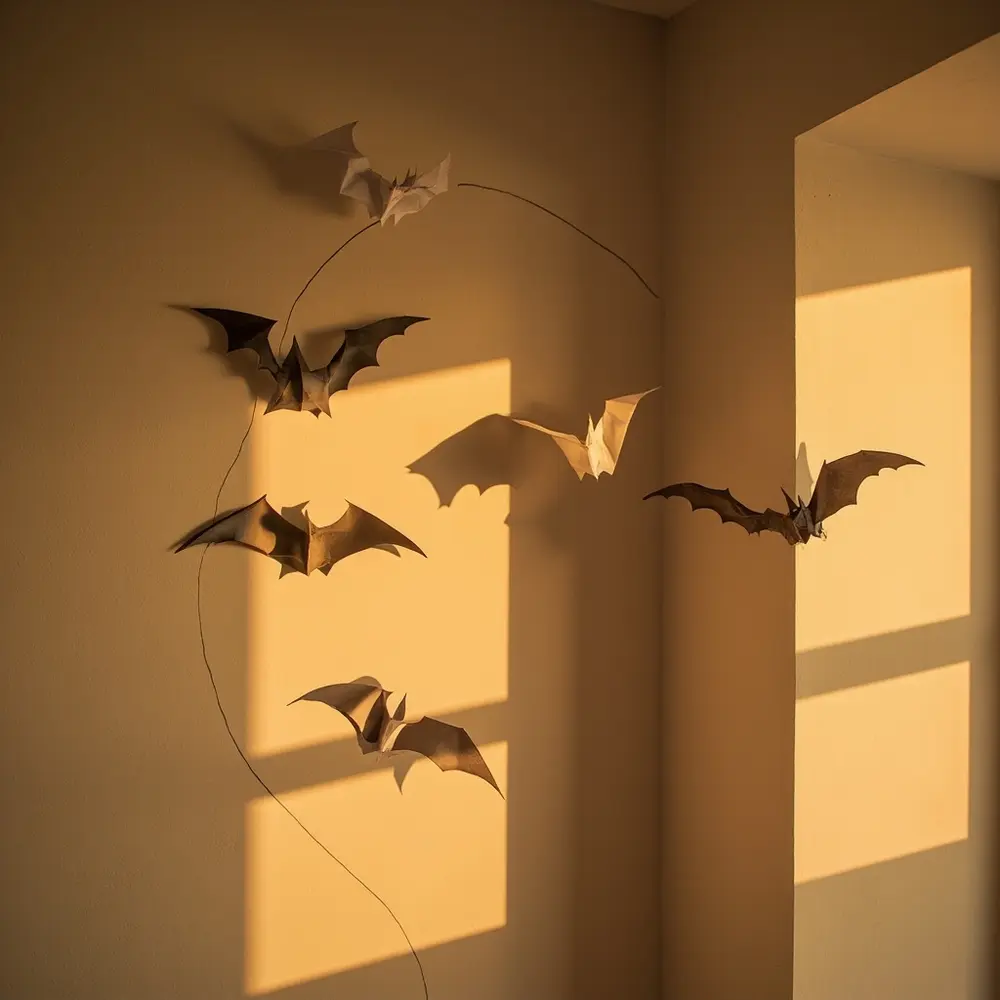
Now we need to give your swarm a natural, flowing direction. This is what separates a designer look from just a bunch of stickers.
First, decide where you want your swarm to start. A corner, a fireplace mantle, a doorway, or a window frame are all fantastic “source” points. Using your pencil, you’re going to very lightly sketch a flowing line or an S-curve on the wall, starting from your source point and moving outwards. This is just a guide that we’ll erase later.
⚠️ Warning: Use a very light pencil touch! You only want a faint guide that you can see up close. If you press too hard, the line will be difficult to erase later without leaving a mark.
Step 4 – Place Your “Leader” Bats
The goal here is to define the main shape and direction of the swarm using your biggest bats. These are the anchors of your whole design.
Apply a small piece of your wall-safe adhesive to the center body of your largest bats. Start placing them along your penciled line, spacing them out a bit. Make sure to vary their orientation—some flying up, some pointing down—to create a real sense of movement.
Step 5 – Fill in the Swarm and Create Clusters
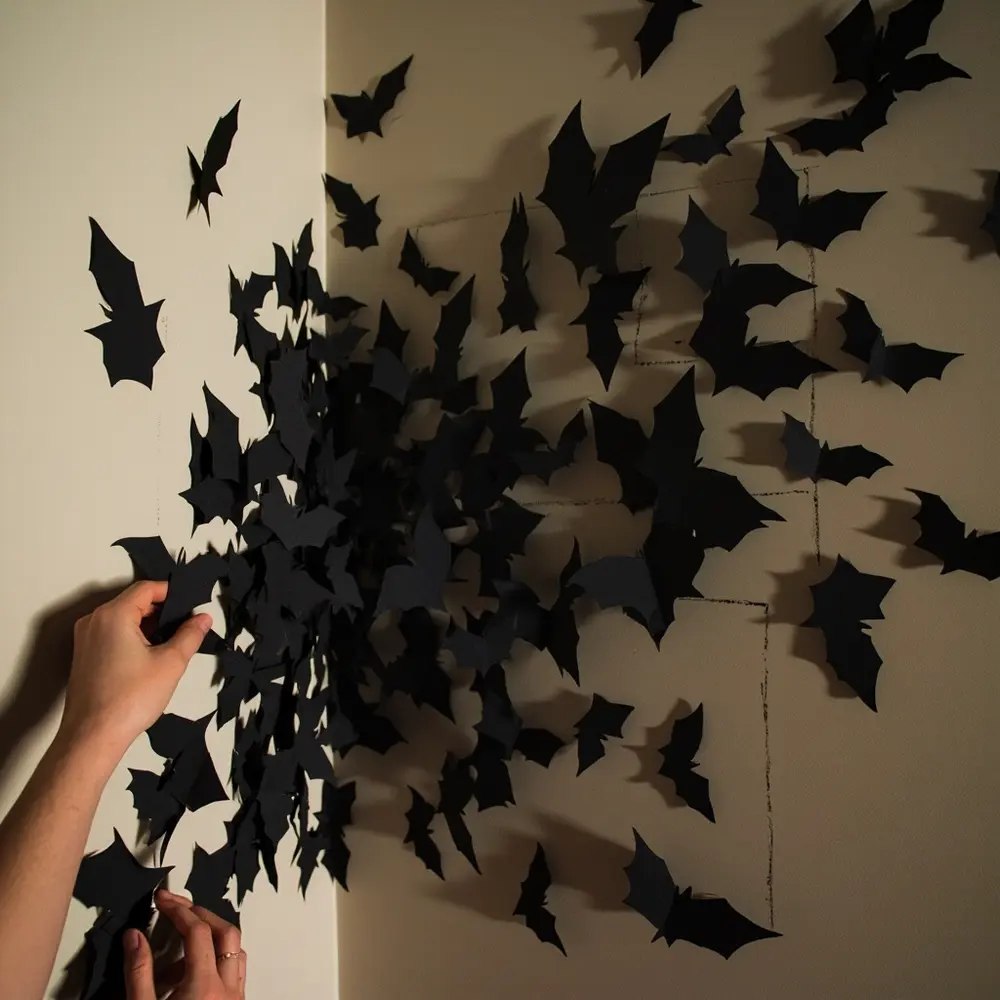
This is where the magic happens! We’re going to build density and a feeling of chaotic movement using the medium and small bats.
Start filling in the empty space around your leader bats with the medium and smaller cutouts. I like to create really dense clusters near the “source” point and then have them get sparser as they fly away. Overlap some bats and face them in slightly different directions. There are no strict rules here—the goal is to make it look like a real, chaotic swarm!
Step 6 – The Final Review
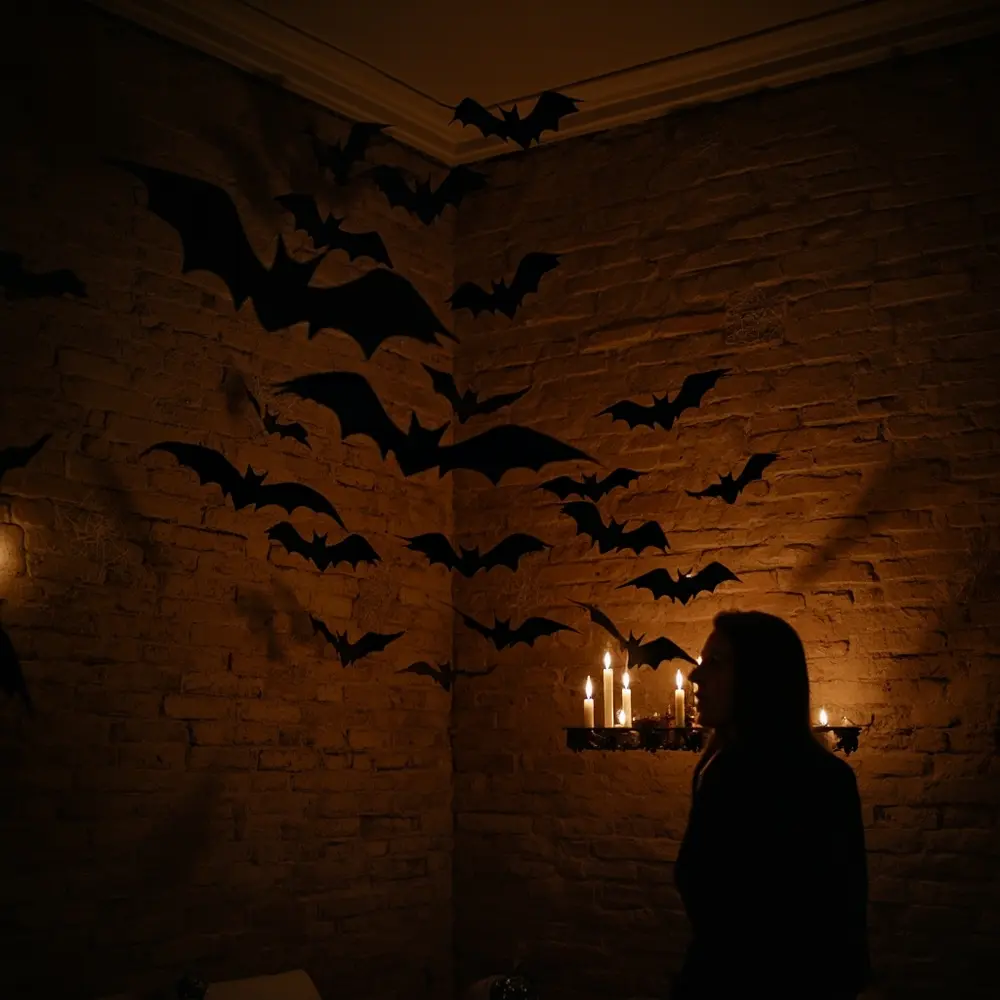
It’s time to check your amazing work from a few different angles and make any last-minute adjustments.
Step all the way back from the wall. Look at your swarm from across the room. Walk to the side and look at it from there. Do you see any obvious gaps? Is the flow nice and clear? This is your chance to move a bat or two to perfect the final look. Once you’re happy with it, gently erase any pencil marks you can still see.
You should now have a dynamic, 3D swarm of bats that looks like it’s flying across your wall. It creates such a dramatic and spooky effect!
The Secret to a Designer Swarm: Mastering Flow and Density 🤫
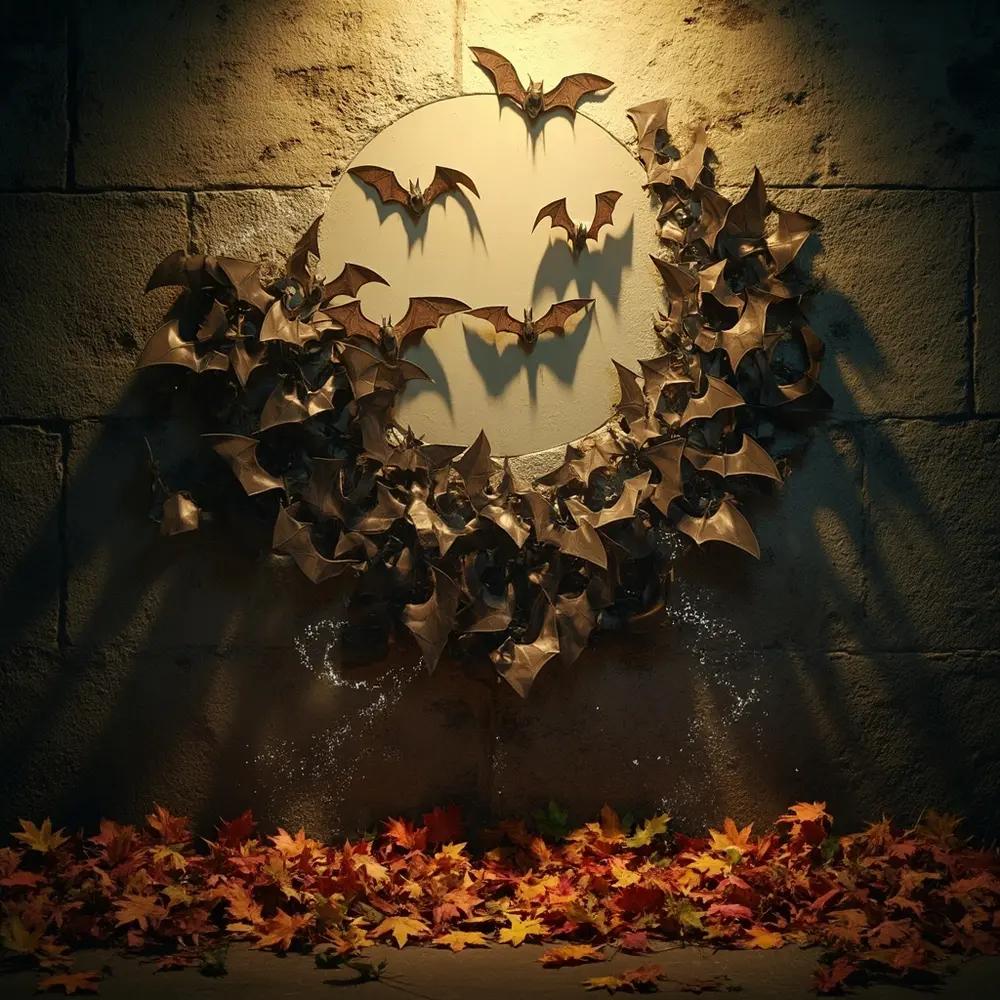
So many people just stick bats on a wall randomly, and that’s why it can look a bit cluttered or, honestly, underwhelming. The key to a professional-looking display is embracing what I call “controlled chaos.”
When I was planning a ‘Haunted Masquerade’ party for a client last year, we used this exact technique, and everyone was blown away. Here’s a closer look at the principles we used:
- The Power of a Source Point: Having the bats emerge from one spot (like a dark corner or a window) gives them a purpose and a story. It’s way more effective than having them float aimlessly in the middle of a wall.
- Create a “Line of Action”: That light pencil line you drew is a classic design trick. It gives the swarm a clear direction and stops it from looking like a mess of polka dots. An S-curve is usually the most pleasing and natural shape.
- Varying Density for Realism: Real swarms aren’t perfectly spaced out. By creating tight clusters of bats near the source and letting them spread out, you copy nature and make the whole thing more interesting to look at.
- Size Creates Depth: Placing the biggest bats along your main “line of action” and using the smaller ones to fill in the gaps creates a neat illusion of perspective. It makes the swarm feel deeper and more three-dimensional.
Troubleshooting & Common Questions ❓
Even simple projects can have a few hiccups. Here are the answers to some questions I get asked all the time.
Why do my paper bats keep falling off the wall?
This is usually an issue with the wall surface or the adhesive. First, make sure your wall is clean and dry before you stick anything on it. If they still fall, you might need a slightly stronger (but still wall-safe) adhesive like removable poster tape. For textured walls, mounting putty is almost always your best bet because it can mold to the bumpy surface.
Can you put paper decorations on a textured wall?
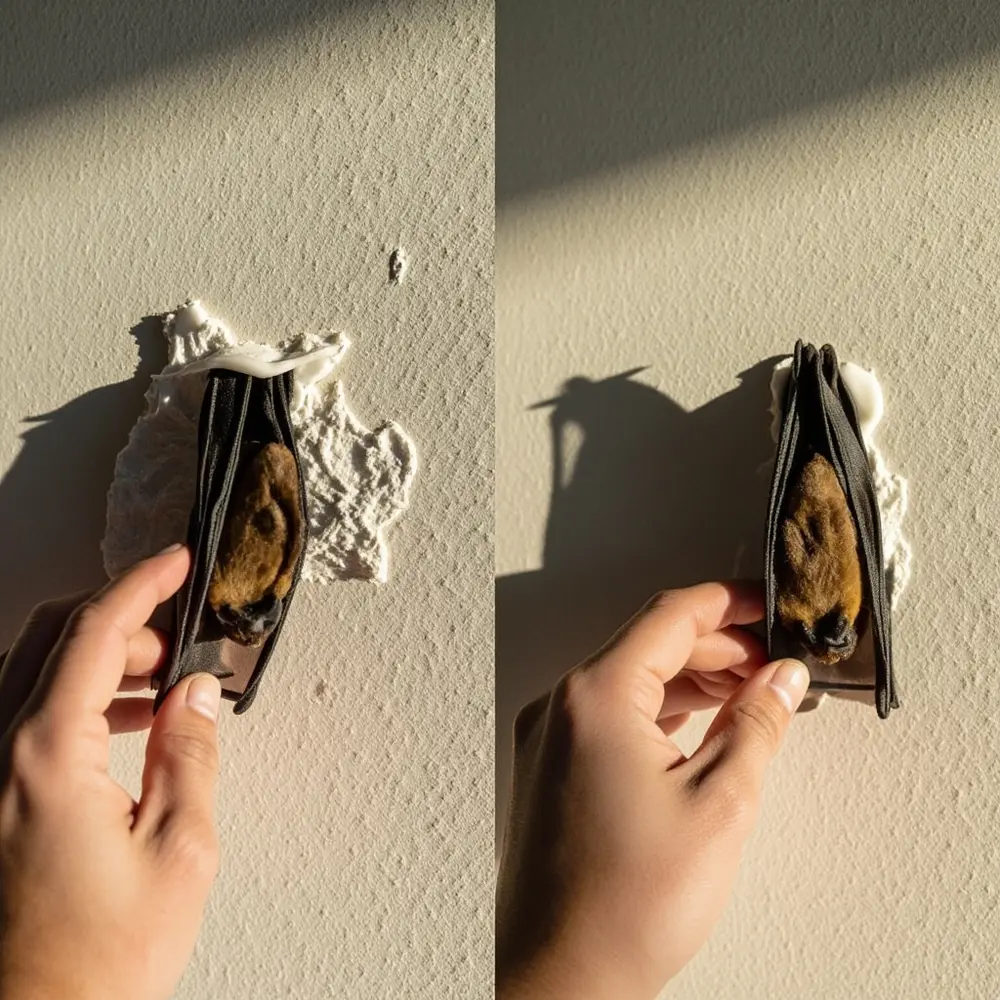
Absolutely! The trick is using the right adhesive. Those little adhesive dots can struggle on texture. Instead, use a good-sized piece of removable mounting putty on the back of each bat’s body. Press it firmly onto the wall for about 10-15 seconds to make sure it gets a really good grip.
How do you remove the bats without damaging my wall paint?
The key here is to go slowly! Don’t just rip them off the wall. Gently peel the bat away. If the adhesive feels really stuck, you can aim a hairdryer on a low, warm setting at it for a few seconds. This softens the adhesive and helps it peel off cleanly. Mounting putty can usually just be rolled off the wall with your thumb.
Next Steps & Further Optimization ✨
You’ve mastered the swarm! So, what’s next? Here are a few ideas I love for taking this project to the next level.
- What to Do Next: Complement your new bat swarm with other spooky things! Drape some fake spiderwebs in the corners of the room or place a few electric candles on a table below the swarm to create spooky, dancing shadows.
- Optimization Tips:
- Add Some Sparkle: Use black glitter cardstock for about a quarter of your bats. They’ll catch the light and add a little glam to your spooky scene.
- Give Them Eyes: Use a red paint pen or tiny red craft rhinestones to give a few of your “leader” bats glowing eyes. It’s a simple touch that is so terrifying.
- Use Strategic Lighting: Aim a small spotlight (you can even find ones with colored filters) at your swarm from the floor. It will cast huge, dramatic shadows up the wall.
- Advanced Applications: You can use this exact same swarm technique with different shapes for other holidays! Think about a swarm of butterflies for spring, falling leaves for autumn, or a flurry of snowflakes for winter.
My Final Thoughts 👻

Congratulations on turning a simple wall into a stunning piece of Halloween art! You didn’t just stick up a few decorations; you designed and created a dynamic display with real flow, depth, and personality.
By taking those few extra minutes to plan the layout and create that 3D effect, you’ve learned a valuable design skill you can use for any occasion. This project just proves that with a little guidance, anyone can create decor that looks like it was done by a pro.
Now that you’ve created your masterpiece, I’d love to see it! What was your favorite part of making your swarm? Share your experience or a picture of your spooky wall in the comments below!
