The Beginner’s Guide to Kid-Safe SFX Makeup (How to Create a Realistic Fake Scar)
✨ Looking into a mirror after hours of makeup trials, I’ve learned one big secret: the most impressive effects aren’t always the most complicated. As a professional costume and makeup artist, I’ve mastered everything from glam looks to gory SFX—testing, fixing fails, and discovering solutions that actually work.
😅 But I know the struggle, especially for parents: How do you create cool Halloween effects without harsh glues or scary chemicals? You want beginner-friendly SFX makeup that’s non-toxic and gentle on young skin.
👑 That’s why in this post, I’ll show you exactly how to solve these challenges with a DIY fake scar tutorial I’ve tested myself. Stick with me, and you’ll learn how to master easy SFX makeup while creating magical memories with your loved ones! 🎃
Tutorial At-a-Glance
Time Required: Approx. 30-45 minutes
Budget Level: Low-Cost
Skill Level: Beginner / No Prior Experience Needed
What You’ll Need for Your Kid-Safe Fake Scar 🎃
My go-to trick for amazing Halloween makeup is using simple, accessible materials. You probably have most of these at home already!
✅ Non-latex liquid adhesive (e.g., spirit gum alternative or kid-safe craft glue)
(👑 Nancy’s Pick: I recommend a gentle, non-latex eyelash glue like Duo Brush-On Striplash Adhesive. Unlike traditional spirit gum, it’s formulated for sensitive skin, has minimal fumes, and peels off easily with a bit of oil, making cleanup a breeze.)
✅ Small spatula or popsicle stick (for application)
✅ Translucent setting powder or baby powder
✅ Eyeshadow palette (shades of red, brown, purple, black)
✅ Small, soft makeup brushes or cotton swabs
✅ Petroleum jelly or a gentle makeup remover
Creating a Realistic (and Safe!) Fake Scar: Step-by-Step Guide 🎨
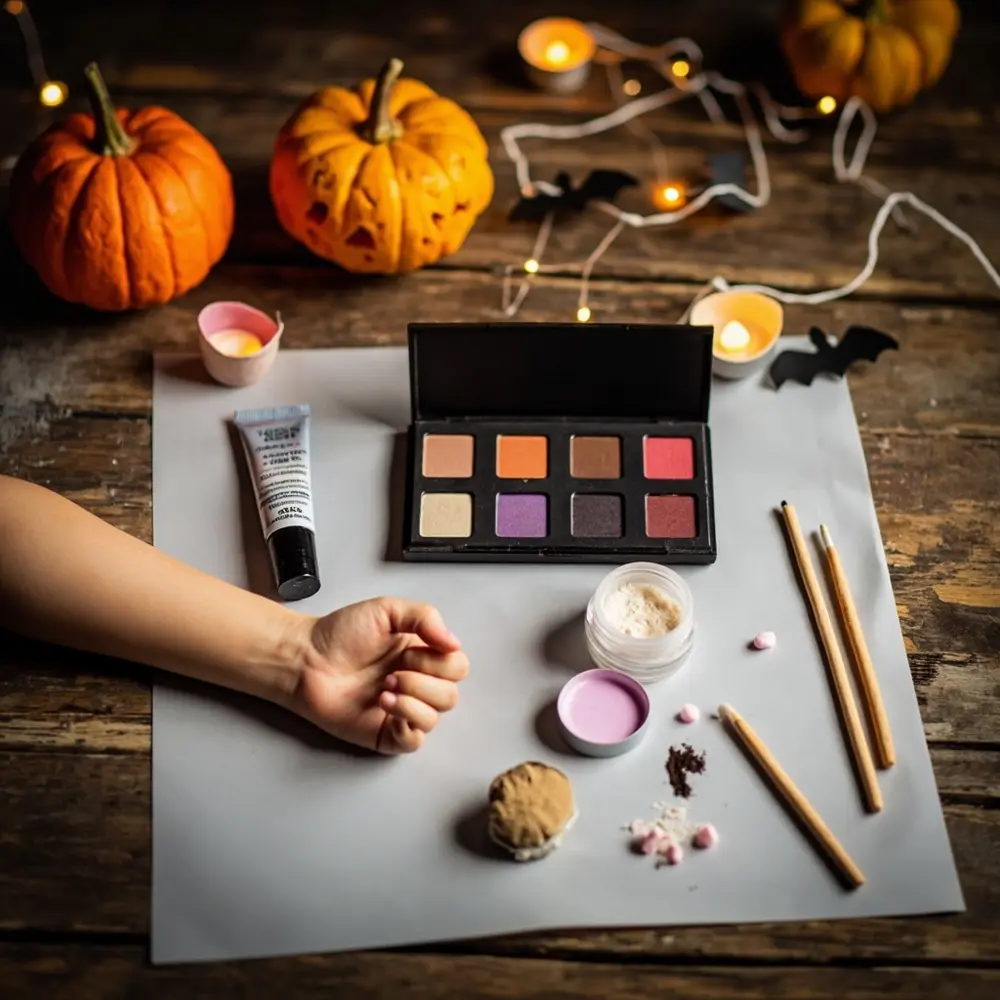
A question I get all the time in my community workshops is, “How can we do cool makeup for the school play or our neighborhood Halloween party without using harsh products?” This super simple, non-toxic special effects technique is my favorite answer. It’s all about creating a big impact safely.
Step 1: Prepare Your Canvas (The Skin)
Before you start, make sure the skin is completely clean and dry. Any oils or lotions will prevent the adhesive from sticking properly. For anyone with sensitive skin (especially little ones!), it’s always a good idea to do a small patch test with the adhesive on the inner arm a day beforehand just to be safe.
[image-1: All materials laid out neatly on a table, with a clean arm or cheek ready for application.]
Step 2: Apply the Scar Base
Using your small spatula or a popsicle stick, apply a thin, uneven line of the non-latex adhesive where you want the scar to be. Don’t make it perfectly straight—real scars have character! Let it get a little tacky (about 30 seconds), then add another thin layer on top to build up a slightly raised texture.
⚠️ Safety First: Be careful to avoid applying the adhesive too close to the eyes, mouth, or on very sensitive skin. If you’re working in a small space, make sure you have good ventilation.
[image-2: Close-up shot of a small spatula or popsicle stick applying the liquid adhesive in a wavy line on the skin.]
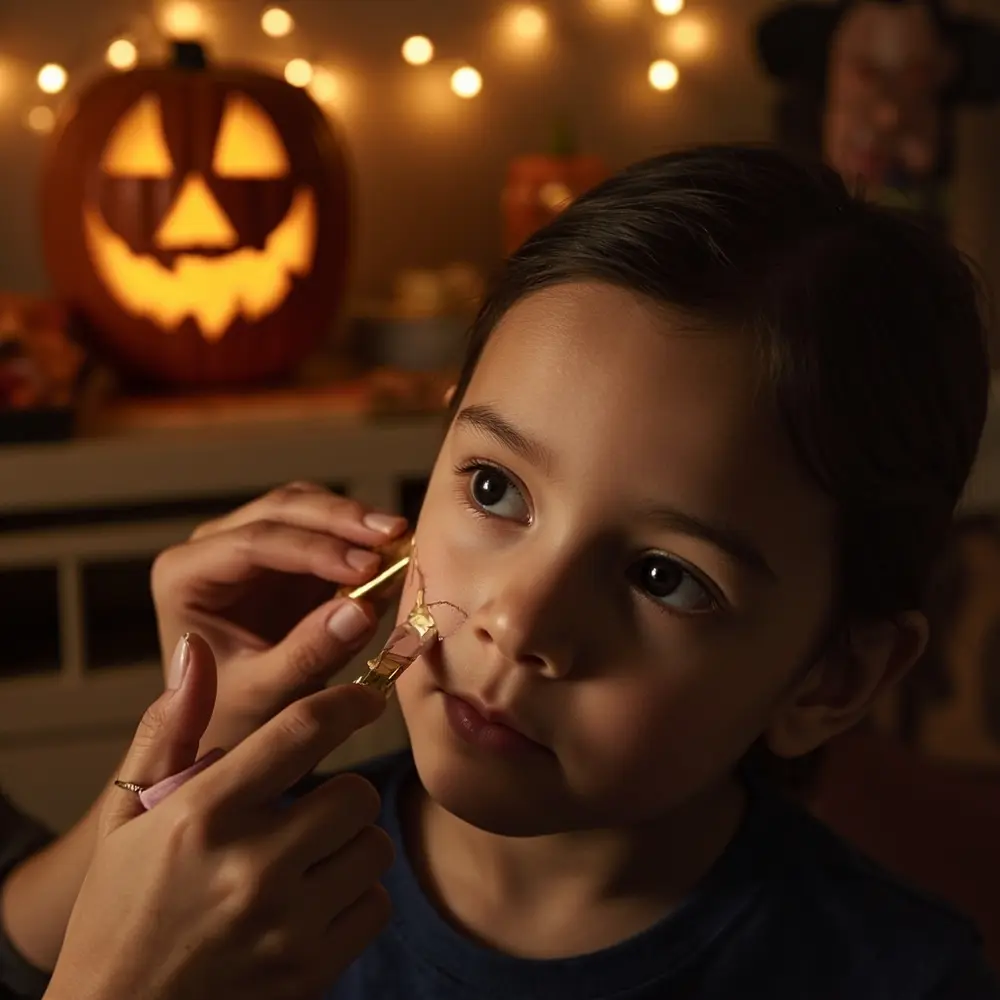
Step 3: Shape and Set the Scar
While the adhesive is still slightly pliable, gently use the edge of your spatula or a clean fingertip to pucker and pull at the line. This is the secret to creating that realistic, puckered scar tissue look. Once you’re happy with the shape, take a fluffy brush and lightly dust the entire area with translucent setting powder or baby powder. This completely removes any stickiness and preps it for color.
[image-3: A close-up showing the textured, raised adhesive line, now matte and powdered, before any color is added.]
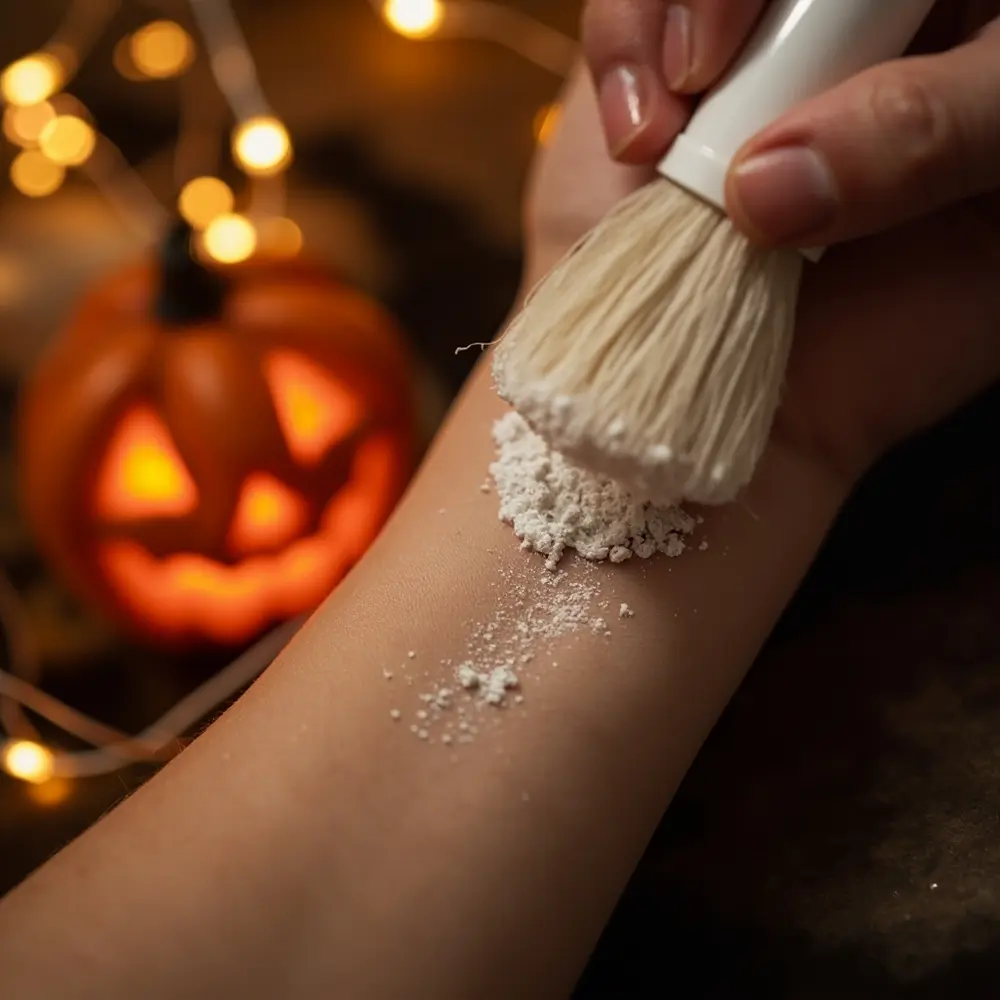
Step 4: Add Realistic Color and Depth
Now for the fun part! Using your small makeup brushes and eyeshadows, it’s time to bring your scar to life. Start with a light red or pink eyeshadow and gently brush it over and around the scar to create the look of irritated skin. Then, use a darker red or purple and concentrate it in the deepest parts of the scar. Finally, a tiny bit of brown or black can add depth and make it look older. The key is to use light layers and blend, blend, blend!
💡 Pro-Tip: Instead of just swiping the color on, use a small, stiff brush to gently stipple the eyeshadow around the scar. This tapping motion creates a mottled, uneven skin texture that looks much more realistic than a smooth application.
[image-4: A close-up of the scar with initial red and purple eyeshadow applied, showing the blending process outwards into the skin.]
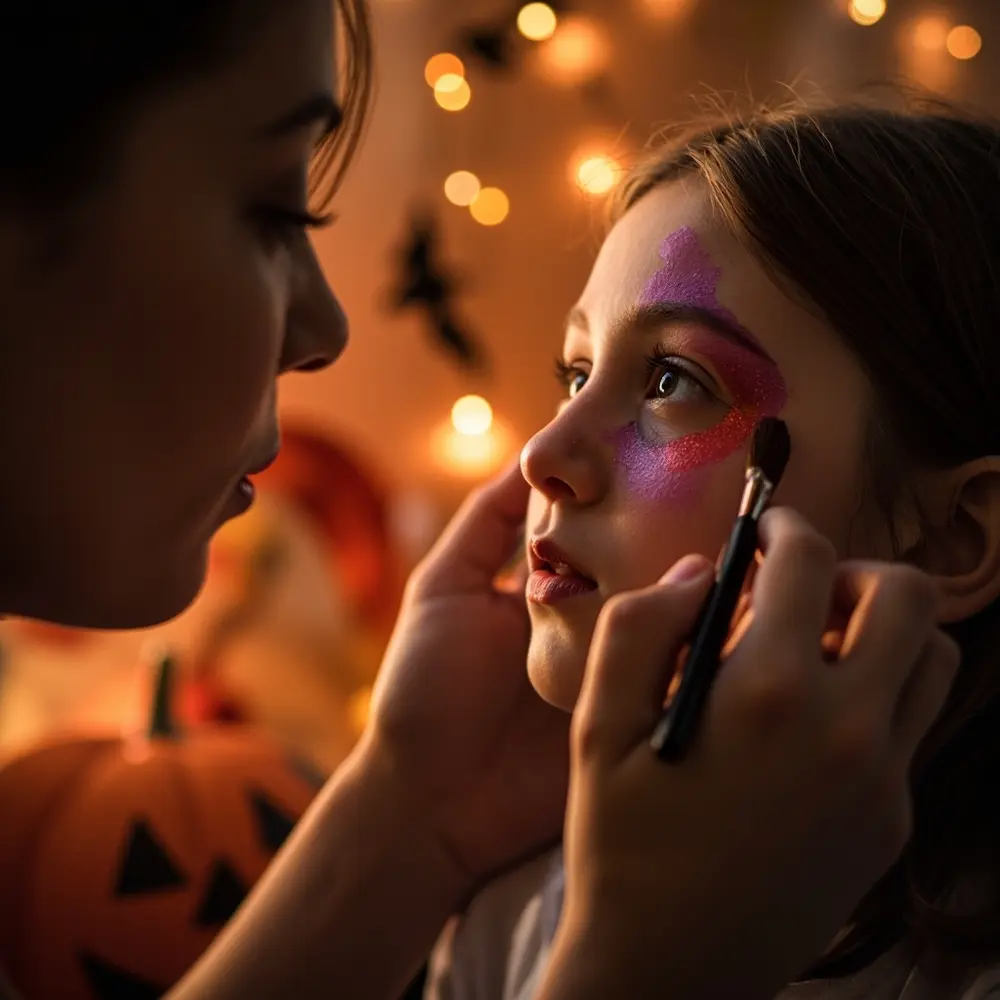
Step 5: Final Touches and Sealing
Look at your scar and see if it needs any final details. You can use a fine-tipped brush with a dark brown eyeshadow to draw tiny stitch marks across the scar if you’re going for a Frankenstein or stitched-up look. When you’re happy with the result, give it one last, very light dusting of setting powder to lock everything in place. To remove it later, simply apply petroleum jelly or a gentle makeup remover, let it sit for a minute, and the scar should peel right off.
[image-5: A photo showing the completed fake scar on the skin, looking impressively realistic with blended colors and texture.]
Variations & Customizations 👻
After testing dozens of SFX techniques, I’ve found this base method is incredibly versatile. Once you’ve mastered the basic scar, you can easily customize it for any character.
- Different Scar Types: For a “stitched” look, use a fine-tipped brush and black eyeshadow to draw small lines crossing the scar. For a “burn” scar, make the adhesive base wider and more splotchy, then focus on using deep reds, purples, and blacks for coloring.
- Adding Blood: For a fresh, gruesome wound, add a few drops of kid-safe fake blood (like an edible blood gel made from corn syrup) into the deepest crevices of the scar.
- Character Integration: This easy SFX makeup is perfect for so many costumes! Think pirates with a dueling scar, a battle-worn superhero, a clumsy zombie, or even a character from a fantasy world.
Kid-Safe SFX Makeup FAQs 🤔
Q1: What if the non-latex adhesive isn’t sticking well or peels off too easily?
This usually happens for two reasons: skin oils or applying the adhesive too thickly. First, make sure the skin is totally clean and free of any moisturizer. Second, apply the adhesive in very thin layers, letting each one get tacky before adding the next. A thick, single glob won’t dry properly and will peel right off.
Q2: How can I make the scar look more “fresh” or more “old” with just eyeshadows?
It’s all about color theory! For a “fresh” wound, stick to bright reds, pinks, and deep purples to mimic bruising and irritation. For an “old,” healed scar, use muted colors. Start with a base of brown and taupe, add a little yellow or green to simulate old bruising, and use a touch of black in the deepest parts for shadow.
Q3: What’s the best way to remove this makeup without irritating sensitive skin?
The best part about using a non-latex adhesive is the easy removal! Gently rub petroleum jelly, coconut oil, or any gentle, oil-based makeup remover over the scar. Let it sit for a minute to dissolve the adhesive. Then, you should be able to gently peel the scar off from one edge. Use a soft cloth to wipe away any remaining residue. No harsh scrubbing required!
*
Now you have the secret to creating amazing and safe SFX makeup for your kids (or yourself!). It’s a fantastic way to elevate any Halloween costume from good to unforgettable.
What character will you be creating with your new fake scar? Let me know in the comments below! 🎃
