How to Explore Candy Color Chromatography with Halloween Candy
It’s that time of year again, ghouls and goblins! The jack-o’-lanterns are smiling, the costumes are put away, and a mountain of Halloween candy is taking over your kitchen counter. What do you do with it all?! 🍬
That leftover candy stash can feel a little overwhelming, and the post-Halloween lull can leave the kids feeling restless. Don’t let those colorful treats go to waste! I’m Roshan Sharma, your friendly neighborhood Halloween fanatic, and I’m here to show you how to turn that sugar stash into a seriously cool science experiment that will blow your little monsters’ minds. 🧪
We’re going to unlock the secret colors hidden inside your favorite candies! This spooky-fun activity is perfect for fostering curiosity, practicing fine motor skills, and creating some magical family memories long after the trick-or-treating is over. 🎉
Activity At-a-Glance
- Best For 👨👩👧👦: Post-Halloween educational fun, rainy day activities, science fair prep, family learning.
- Time Required ⏳: Approx. 30-45 minutes (including observation time).
- Budget Level 💰: Low-Cost
- Spookiness Level 👻: Low (More “magical science” than scary spooky)
What You’ll Need for Your Candy Color Exploration 📋
Before we start brewing our potions, let’s gather our mad scientist supplies! I bet you have most of these haunting your house already.
- Leftover Halloween candy 🍬 (Skittles, M&M’s, or any candy with a colorful shell works best!)
- Coffee filters or paper towels ☕ (Chromatography paper if you’re fancy!)
- Small clear glasses, jars, or bowls 🥛
- Pencils or wooden skewers ✏️
- Masking tape or paper clips 📎
- Water 💧
- Salt (optional, for a different experiment) 🧂
- A dropper or small spoon 🥄
- Ruler 📏
- Pencil (for drawing, not for the experiment!) ✍️
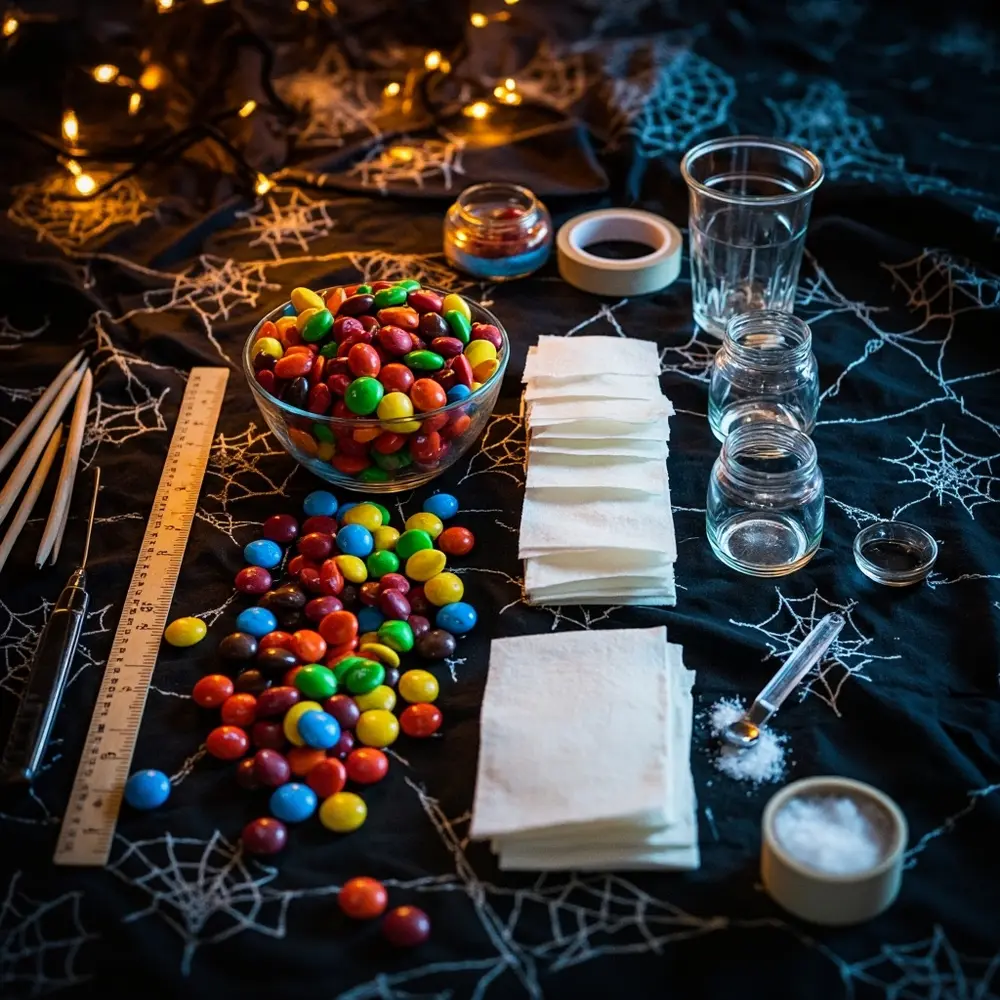
Image-1: A top-down shot of all the required materials neatly arranged on a dark, slightly spooky-themed tablecloth. Candies are in a small bowl, paper strips are pre-cut, and glasses are lined up, ready for the experiment.
Preparation & Setup: Creating the Spooky Scene for Science 🔬
Every great experiment needs a proper laboratory! Find a clean, flat surface like a kitchen table or counter. I always recommend laying down some newspaper or a plastic tablecloth—things can get a little splashy, and easy cleanup is a Halloween miracle!
Gather all your materials in one spot to create your official “science station.” To really set the mood, my niece and I love to dim the lights a little or play a “spooky sounds” playlist in the background. It makes the magic feel real!
Pro Tip 💡: Create a simple sign for your workspace! Labeling your station “The Mad Scientist’s Lab” or “Potion Experiment Zone” with a spooky font gets the kids super excited and makes them feel like real scientific explorers.
How to Lead the Candy Color Exploration: Step-by-Step Guide 🚀
Alright, scientists, are you ready to reveal the rainbow? Let’s get started!
Step 1: Prepare Your Chromatography Strips
First, we need our special paper. If you’re using coffee filters or paper towels, carefully cut them into long, narrow strips. Aim for about 1 inch wide and 4-6 inches long. Next, grab a pencil (not a pen, as the ink will run!) and draw a straight line across each strip about 1 inch from the bottom. This is your “baseline,” where the magic will begin.
Image-2: A close-up shot of a pair of hands (one adult, one child) using a ruler and pencil to draw a straight baseline across a white paper filter strip.

Step 2: Apply the Candy Colors
Now for the fun part! Pick a candy. Place a single, tiny drop of water on its colorful shell. You’ll see the color start to dissolve almost instantly. Use your dropper or the tip of another paper strip to pick up this concentrated color.
Gently dab this color onto the center of the pencil line on one of your strips. You want a small, dark dot of color. Let it dry for a minute, then dab it again in the same spot to make the color strong. Use a separate strip for each color you want to test!
Caution ⚠️: This is a science experiment, not a snack! Once the candy has been used, it shouldn’t be eaten. Make sure to use a clean spot on your dropper for each new color to avoid mixing them up too early.
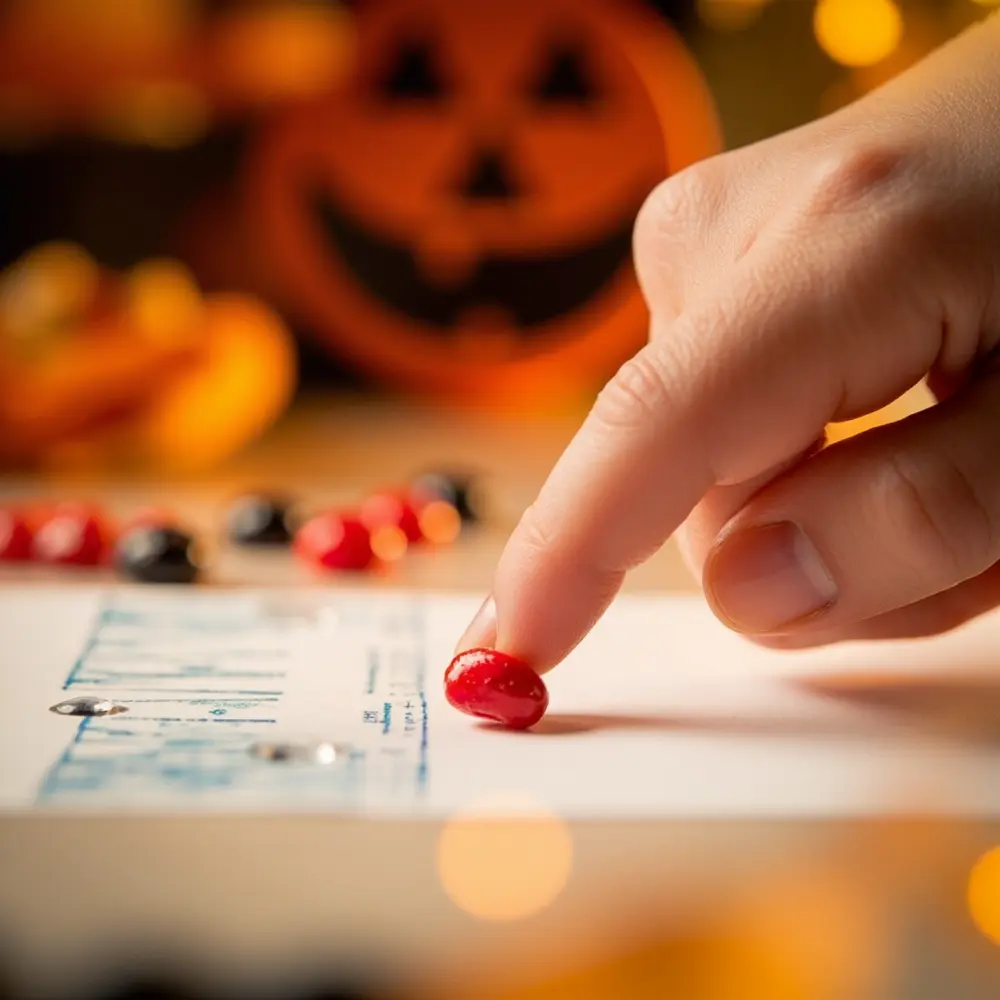
Image-3: A macro shot focusing on a child’s finger carefully dabbing a small, vibrant red dot of dissolved candy color onto the pencil baseline of a chromatography strip.
Step 3: Set Up Your Spooky Separation Stations
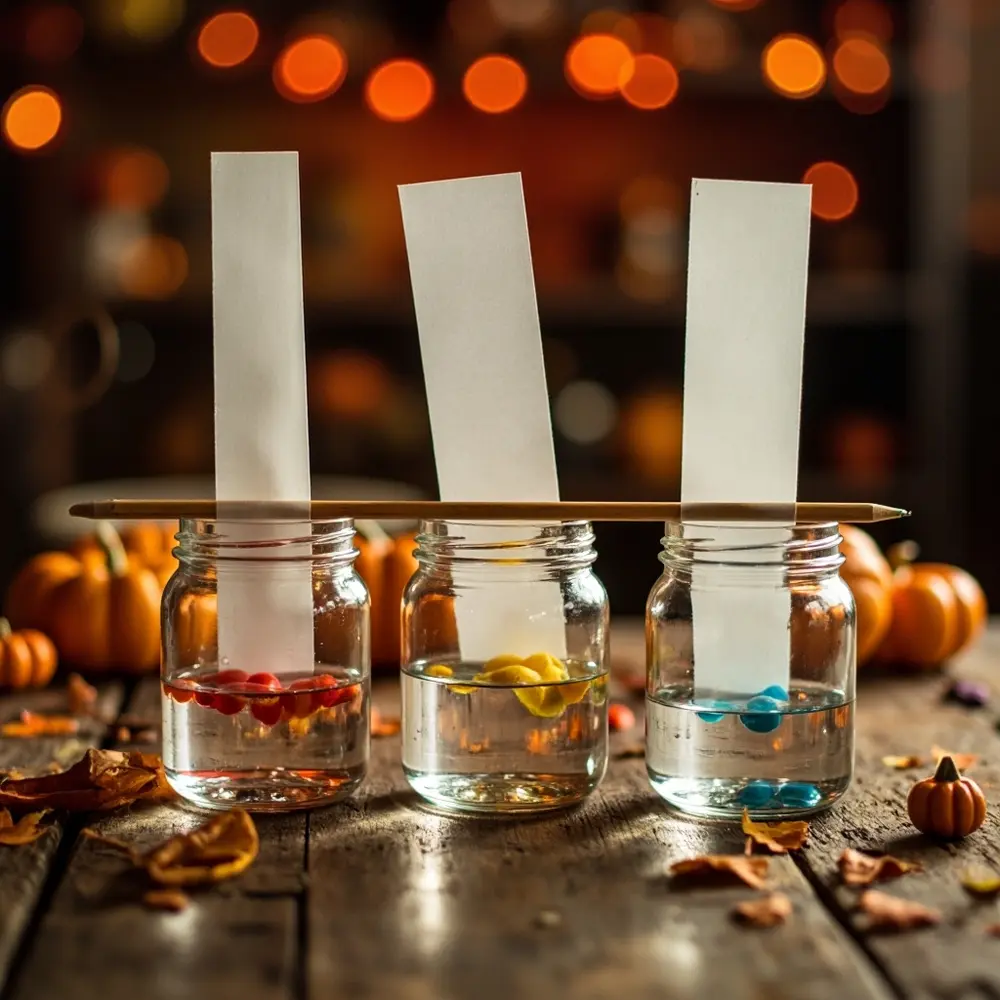
Pour a little bit of water—just about half an inch—into the bottom of each of your clear glasses. Now, take one of your prepared strips and tape the top end to the middle of a pencil. Rest the pencil across the rim of the glass so the paper strip hangs down inside.
Here’s the most important part: The bottom edge of the paper strip should just touch the surface of the water, but the colorful candy spot must stay above the water line. If the spot is submerged, the color will just bleed into the water instead of traveling up the paper.
Image-4: A side-view photo of three clear glasses lined up. Each has a pencil resting on top with a paper strip hanging down. The image clearly shows the bottom of the paper touching the water, while the colored dot on each strip is well above the water level.
Step 4: Observe the Magical Migration
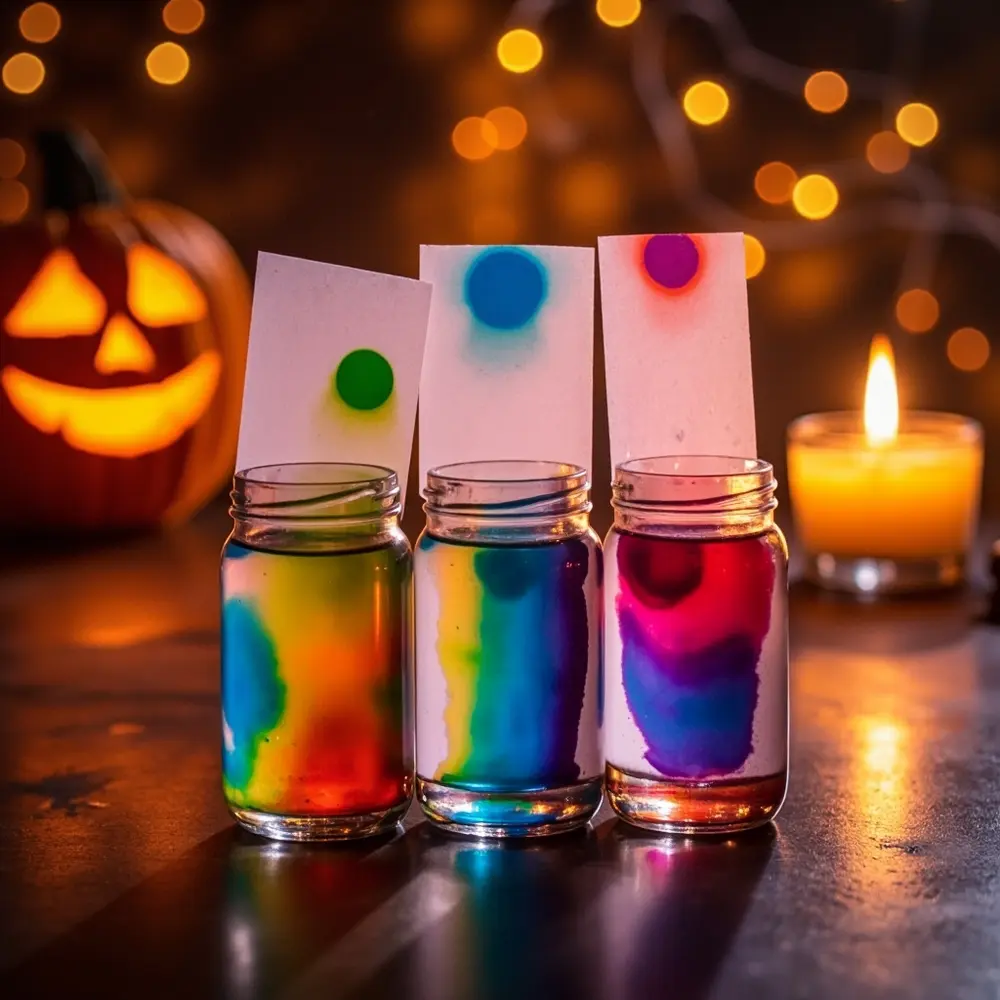
This is where the magic happens! Watch closely. The water will slowly creep up the paper strip. This is called capillary action! As the water passes through your candy spot, it will pick up the color dyes and carry them up the strip.
You’ll see the colors start to separate and race toward the top. Some will move faster and travel further than others. Let the experiment run for about 10-30 minutes, or until the water is almost at the top of the strip. It’s like watching a ghostly goo climb the paper!
Image-5: A time-lapse style image showing the colors partway up the strips. A green spot has visibly separated into blue and yellow bands, and a purple spot is beginning to show hints of red and blue.
Step 5: Analyze Your Chromatograms
Once the colors have separated, carefully lift the pencils and remove the strips from the glasses. Hang them somewhere to dry for a few minutes.
Once they’re dry, lay your finished chromatograms out and take a look! Ask some questions together:
- Which color traveled the farthest?
- Did any of your single-color spots (like green or black) reveal a hidden mix of dyes?
- Why do you think the colors separated?
Image-6: A close-up shot of a completed, dried chromatography strip being held up to a light source, showcasing the beautiful, distinct bands of separated colors.
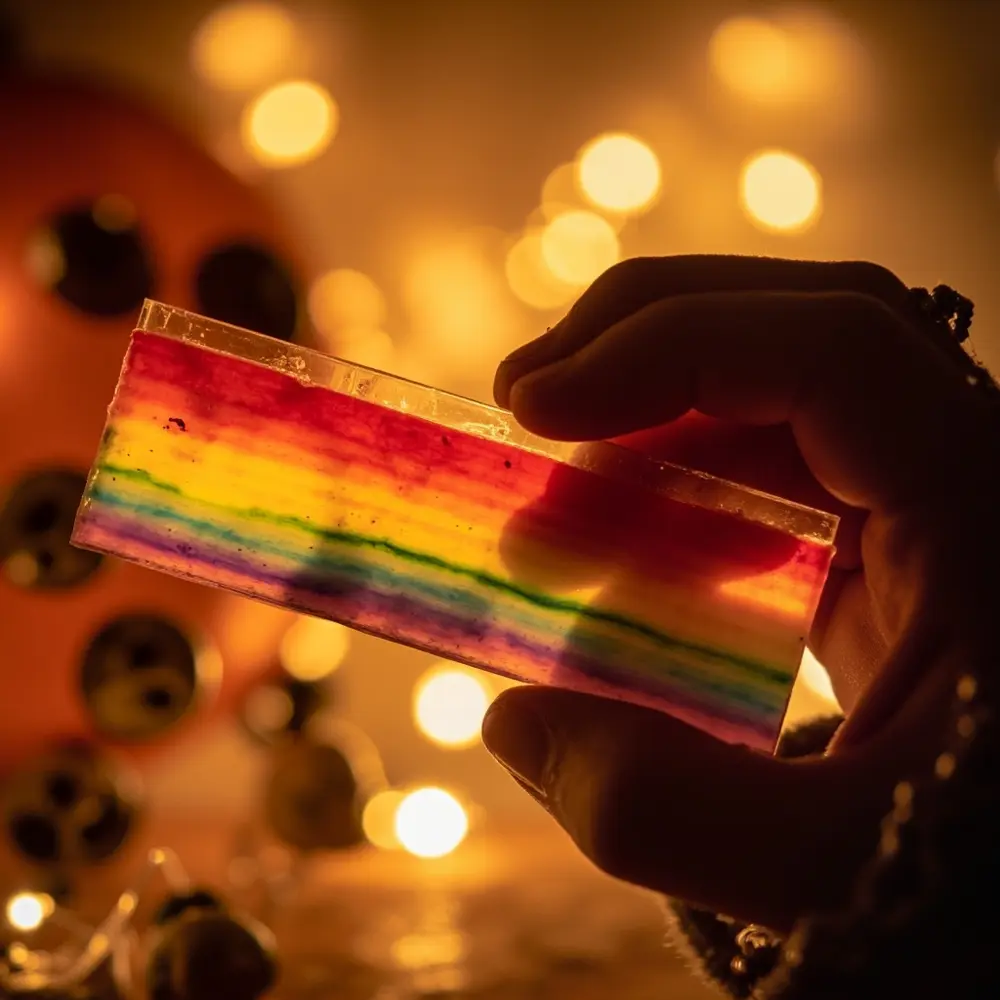
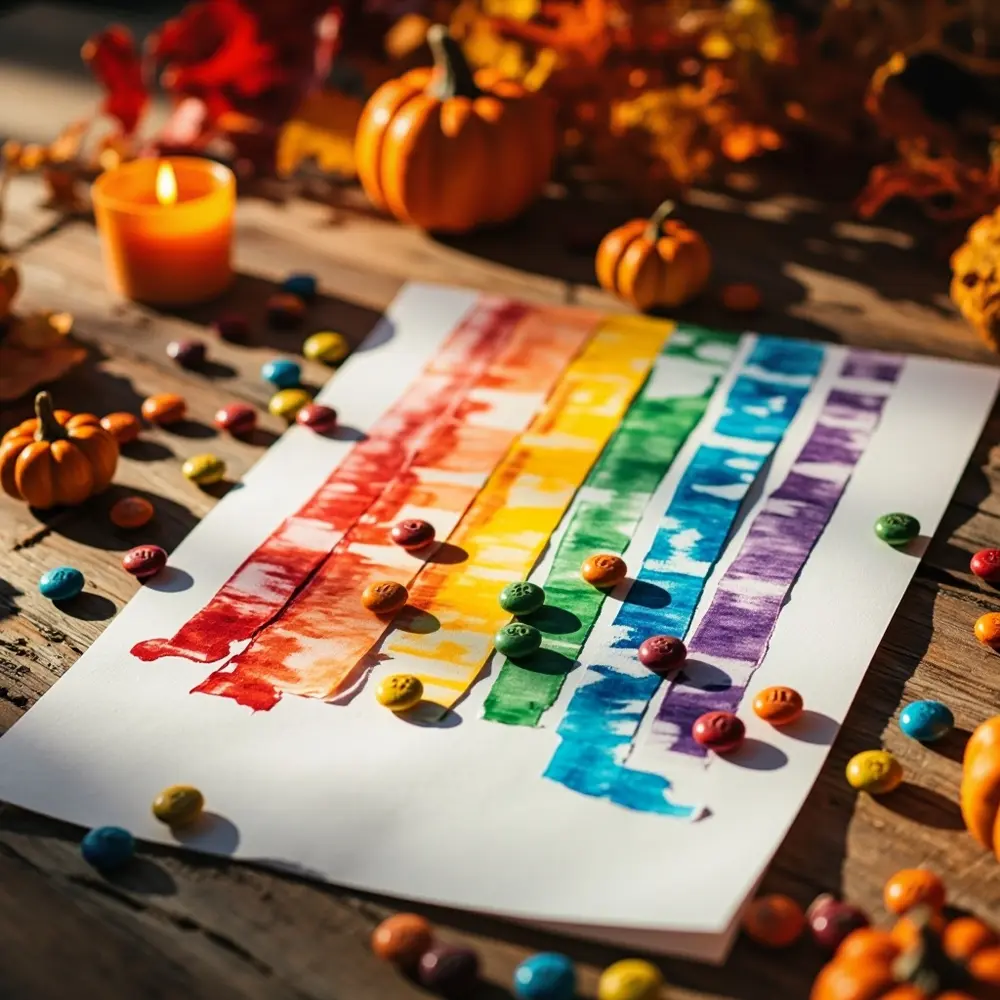
Image-7: The final result! A beautiful, slightly zoomed-out shot of several dried chromatography strips laid out like a colorful rainbow on a piece of white paper. A few of the original M&M’s and Skittles are scattered around them for context, showcasing the “before and after” of the magical color separation.
From Treat to Teaching Moment: The Science Behind Your Spooky Colors 🧪
So, what kind of sorcery did we just witness? It’s science! The technique is called chromatography, which literally means “color writing.”
The colorful shell on your Halloween candy isn’t made of just one dye. It’s often a mix of different colored dyes. When the water (our “solvent”) travels up the paper, it dissolves these dyes and carries them along for the ride.
But here’s the secret: some dyes are “stickier” or heavier than others. The lighter, less sticky dyes travel up the paper faster and farther, while the heavier, stickier ones lag behind. This is why a single brown or green dot can separate into a beautiful rainbow of its component colors, like yellow, blue, and red! You’ve successfully unmasked the secret ingredients in your candy’s disguise.
Variations & Customizations to Haunt Your House 🎨
Feeling extra adventurous? Here are a few ways to level up your experiment:
- Different Solvents ⚗️: Does salt water change the results? Mix 1 teaspoon of salt into a cup of water and try again! For older kids (with supervision), you can even try rubbing alcohol to see how that affects the dyes.
- Candy Comparisons 🆚: Do a red Skittle and a red M&M use the same red dye? Test them side-by-side to find out! This is a great way to become a true candy detective.
- Art Project 🎃: Don’t throw those beautiful strips away! Once they’re dry, use them as bookmarks, cut them into spooky shapes for a garland, or glue them onto a card to make some science-themed Halloween art.
- Theme Twist 👻: Instead of calling it “candy chromatography,” let’s rebrand! Tell the kids you’re separating the magical ingredients in a “witch’s brew” or watching “ghostly goo” climb the paper. A little imagination goes a long way!
Halloween Activity FAQs ❓
#### Q1: What kind of candy works best for chromatography?
Candies with hard, colorful shells that dissolve easily work perfectly. M&M’s, Skittles, Reese’s Pieces, and even Smarties are all fantastic choices for this spooky science experiment.
#### Q2: Why did my colors not separate well?
This usually happens for one of two reasons. First, the color spot might not have been concentrated enough—try dabbing the color onto the baseline a few times to make it darker. Second, the color spot may have been below the water line. Make sure your dot is always above the water when you start!
#### Q3: Can I reuse the paper strips or candy?
Unfortunately, no. The paper strips are a one-time-use canvas for your color art. And as we said before, the candy used in the experiment is for science only, not for snacking!
*
And there you have it—a fantastic way to blend Halloween fun with a little bit of mad science! You’ve not only conquered that mountain of leftover candy but also created a super fun learning opportunity right at your kitchen table. I love that science is all around us, even hiding in a bag of treats.
Keep that curious spirit alive and never stop exploring!
What amazing hidden colors did you discover in your candy? Share your spooky science results in the comments below! 🎃

