How to Build Working Gears Out of Candy Corn
It’s that time of year again, ghouls and goblins! The air is getting crisp, the leaves are turning, and my pumpkin spice coffee consumption is officially out of control. 🎃
Are you tired of the same old Halloween crafts that just sit on the shelf? Do you want to create something that’s not only spooky and sweet but also… moves? I’ve designed over a dozen haunted yard displays, and I can tell you the best decorations are the ones with a little bit of life in them! 🎉
That’s why I’m so excited to share this project with you. We’re going to turn a classic Halloween candy into a working mechanical marvel. Get ready for an afternoon of family fun, engineering, and edible entertainment! ⚙️
Activity At-a-Glance
- Best For 👨👩👧👦: Family STEM activity, classroom demonstration, individual engineering challenge, Halloween party activity.
- Time Required ⏳: Approx. 1-2 hours (including design and assembly)
- Budget Level 💵: Low-Cost
- Spookiness Level 👻: Low
What You’ll Need for Your Candy Corn Gears 📋
- 🍬 Candy Corn (various sizes if you can find them!)
- 🥢 Toothpicks (standard round ones work great for axles)
- 📦 Cardboard or Foam Board (for your gear base and supports)
- 🔥 Hot Glue Gun (with adult supervision) OR craft glue/tape (for younger builders)
- ✂️ Scissors or a Craft Knife (again, with adult supervision)
- ✏️ Pencil
- 📏 Ruler
- 🔵 Small Plastic Bottle Caps or Cardboard Circles (for the gear centers)
- ✨ Optional: Food coloring or edible glitter for a touch of monstrous magic
Preparation & Setup: Creating the Spooky Scene 👻
First things first, let’s set the stage for our engineering adventure! Find a clean, flat working surface with good lighting—the kitchen table is perfect. I love to put on a fun, spooky playlist (think “Monster Mash,” not slasher-movie screams) to get everyone in the Halloween spirit. Gather all your materials so they’re within easy reach.
Pro-Tip 💡: Lay down some old newspaper or a cutting mat before you start. This will protect your table from any stray hot glue drips or scissor scratches. My mom taught me that trick, and it’s saved my furniture more times than I can count!
How to Build Working Candy Corn Gears: Step-by-Step 🚀
Step 1: Designing Your Candy Corn Gears
Before we build, we brainstorm! Grab a pencil and paper and sketch out what you want your gears to look like. How big will they be? How many will you connect? Remember, the candy corn pieces are your “gear teeth.” The size and spacing of your candy corn will determine how the gears fit together. Think like a mad scientist planning your greatest creation!
Image-1: A top-down shot of a well-lit craft table. All the supplies are neatly arranged on one side. On the other, a pair of hands is sketching different-sized circles on a piece of paper, with little triangles drawn around them to represent candy corn teeth.

Step 2: Creating the Gear Hubs
Now, let’s bring those designs to life. Use your scissors or craft knife to cut out circles from your cardboard to act as the “hubs” or centers of your gears. Plastic bottle caps also work perfectly for this! Once you have your hubs, it’s time to add the teeth. Carefully attach the candy corn pieces around the edge of your circular hub, pointy side out.
Caution ⚠️: A hot glue gun works fast but gets VERY hot. This part is strictly for adults or with very close adult supervision. For my younger maker friends, strong craft glue or even double-sided tape can work—it just takes a little more patience for it to dry!
Image-2: A close-up shot focusing on a hand carefully placing a piece of candy corn onto the edge of a cardboard circle. A small bead of hot glue is visible, and several other candy corn “teeth” are already attached in a neat row.
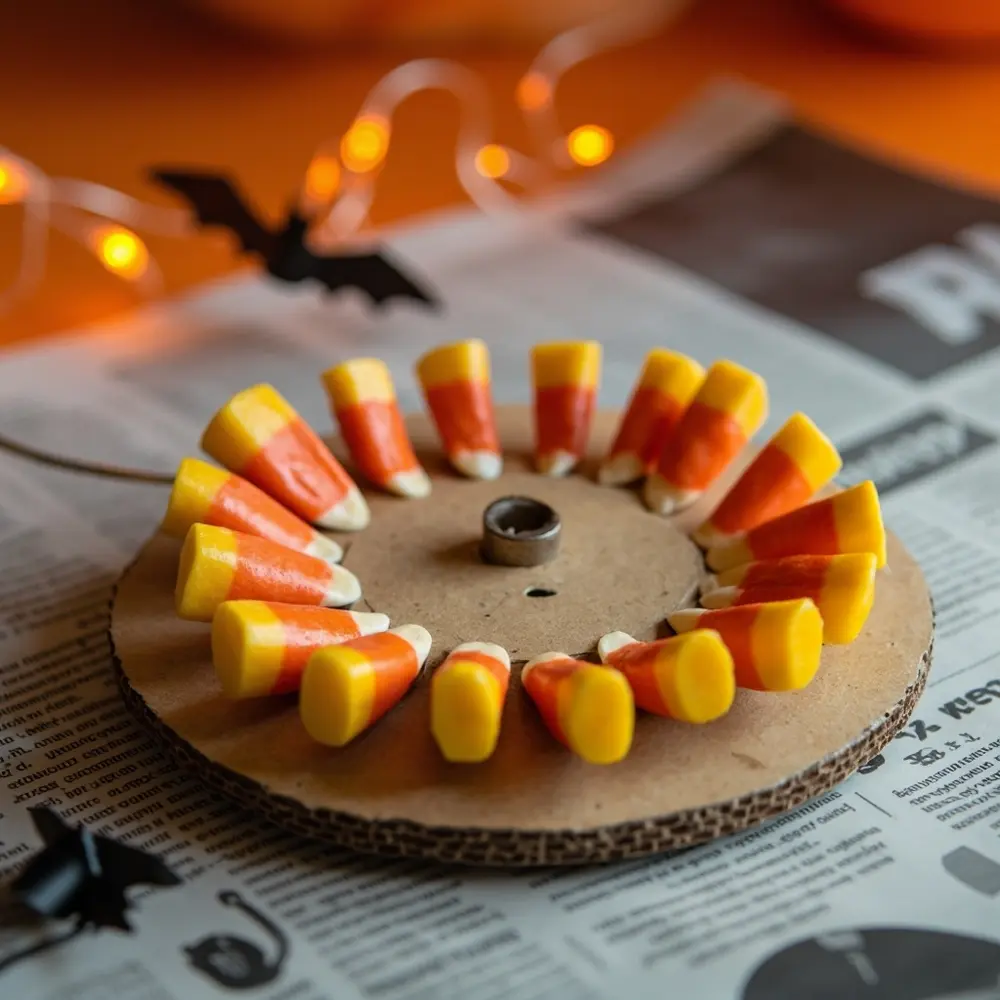
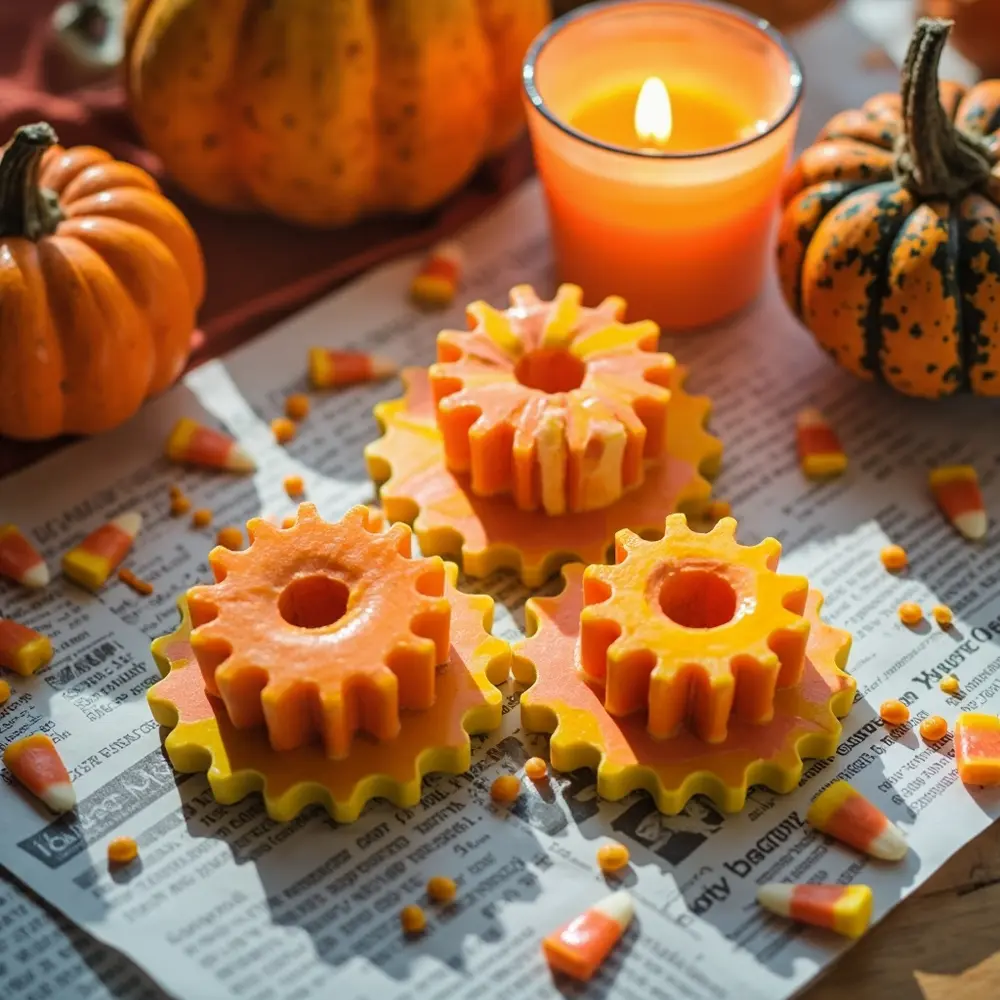
Image-3: A shot showing several completed gear hubs of different sizes, each with candy corn teeth glued all the way around. They are sitting on the newspaper-covered work surface, ready for the next step.
Step 3: Assembling the Axles and Supports
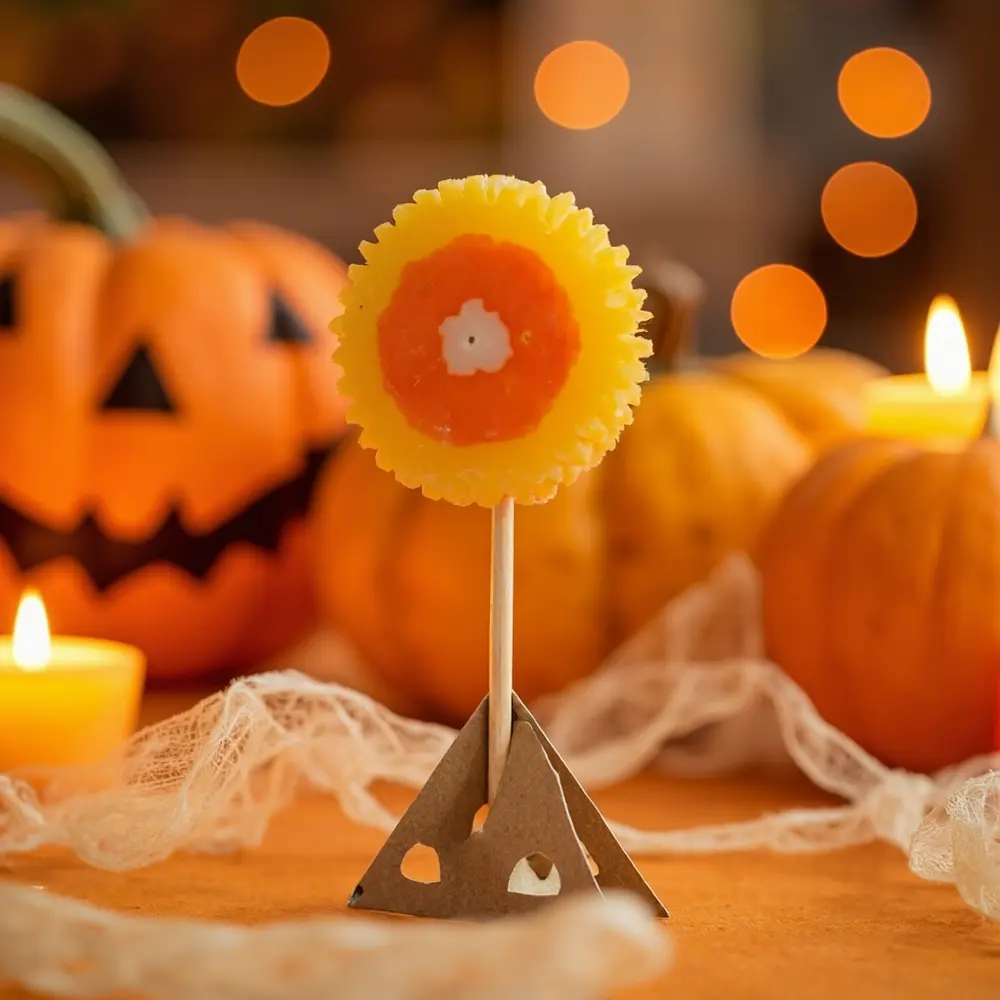
Your gears need something to spin on! An axle is the rod that goes through the center of a gear. For this, a simple toothpick is perfect. Gently poke a hole through the exact center of your cardboard hub and slide the toothpick through. To hold it all up, create simple supports. You can cut small, rectangular pieces of cardboard and fold them into stable “T” or “L” shapes. Poke the ends of your toothpick axle into these supports, making sure the gear is raised up enough to spin freely.
Image-4: A side-view shot of a single candy corn gear mounted on a toothpick axle. The ends of the toothpick are inserted into two small, folded cardboard stands, lifting the gear off the table. A finger gently flicks the gear to show it can spin.
Step 4: Connecting Multiple Gears
This is where the magic happens! Position a second gear on its own axle and supports right next to your first one. Carefully slide them closer until the candy corn “teeth” of one gear fit into the spaces between the teeth of the other. This is called meshing. You might need to adjust the height or spacing a bit to get a smooth connection. You’ve just built a simple gear train!
Image-5: A close-up, slightly angled shot showing two candy corn gears perfectly interlocked. Their teeth are meshed together, ready to transfer motion. Arrows are drawn on the cardboard base to indicate that when one turns clockwise, the other will turn counter-clockwise.
Image-6: A wider shot showing three gears of different sizes connected in a line. The first gear is being turned by hand, and the other two are shown in mid-rotation, demonstrating the gear train in action.

Step 5: Testing and Troubleshooting Your Gears
Time to test your creation! Gently turn the first gear (we call this the “driver” gear) and watch what happens. Does the second gear turn smoothly in the opposite direction? If so, congratulations! If your gears are getting stuck or slipping, don’t worry! Engineering is all about problem-solving.
- Sticking? Your gears might be too close together. Try moving them a tiny bit apart.
- Slipping? They might be too far apart. Nudge them closer so the teeth connect more securely.
- Wobbly? Make sure your axles are straight and your supports are sturdy.
Image-7: A macro shot focusing on a hand gently turning the largest “driver” gear. The connected smaller gears are visibly rotating in response. The focus is on the smooth, interlocking movement of the candy corn teeth.
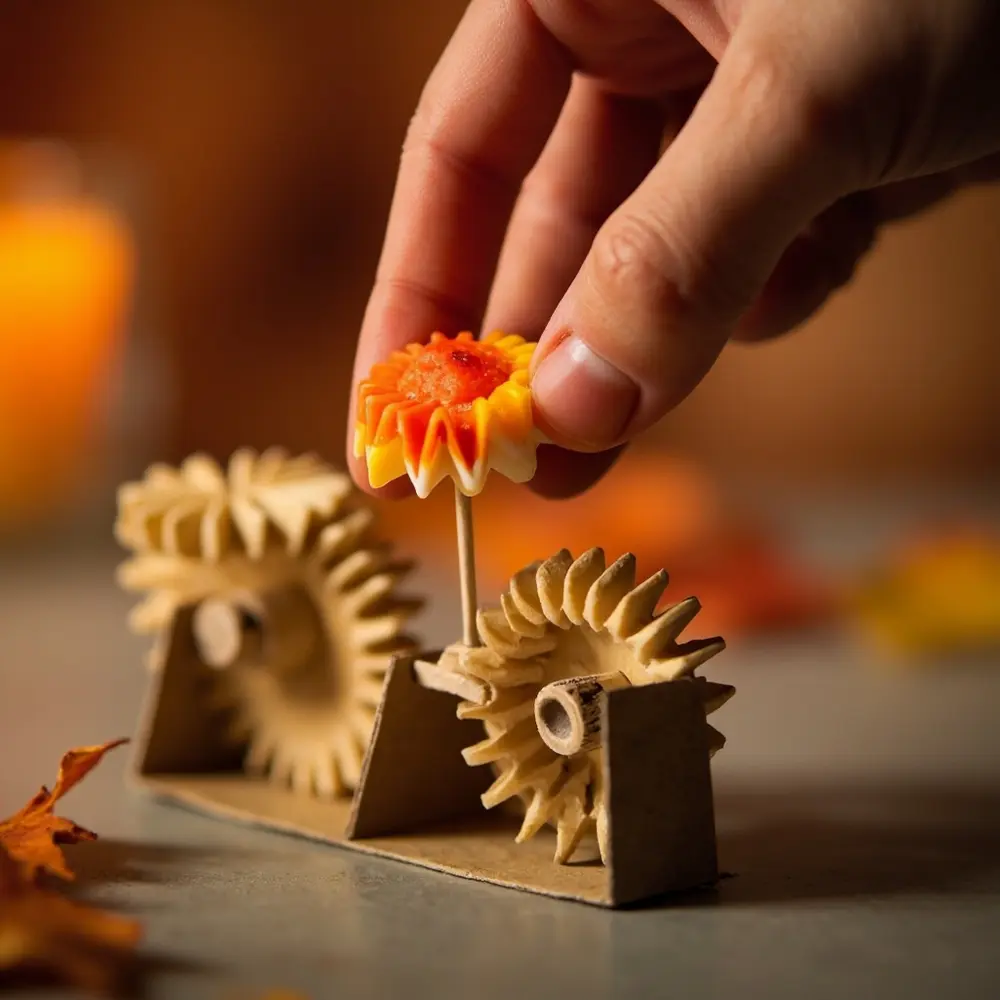
Image-8: A beautiful, slightly zoomed-out shot of the finished candy corn gear machine. It’s a three-gear system set up on a larger piece of decorated cardboard that looks like a spooky laboratory floor. A few loose candy corn pieces are scattered around for effect, and a small, battery-operated candle flickers in the background, casting a warm, Halloween glow on the entire scene.

Understanding Your Candy Corn Creations: The Science of Gears 🔬

You didn’t just make a cool Halloween craft—you built a working machine! Here’s the simple science behind what you made:
- Transferring Motion: Gears are wheels with teeth that are used to transfer turning motion from one place to another. When you turn your first gear, its teeth push on the teeth of the next gear, making it turn too.
- Changing Direction: Notice how your second gear spins in the opposite direction of the first? That’s one of the coolest things about a simple gear train!
- Changing Speed (Gear Ratios): If you connected a big gear to a small gear, you probably noticed they spin at different speeds. When the big “driver” gear turns once, the smaller “driven” gear has to spin much faster to keep up! This is called a gear ratio, and it’s a fundamental principle in engineering everything from cars to clocks.
Variations & Customizations to Haunt Your House 🦇
Ready to take your candy machine to the next level? Here are some ideas I love:
- Different Candy “Teeth” 🐻: Try using other small, firm candies like gummy bears or even M&Ms glued in place. How do different shapes change the way the gears work?
- Edible Display 🍰: Build your gear system on a large cookie or brownie base to create a completely edible, moving diorama!
- Motorized Motion 🔋: For my advanced builders out there, try connecting a small, battery-powered motor (you can find these in science kits) to one of the axles to make your machine run all by itself!
- Complex Gear Trains ⛓️: Challenge yourself to create a system with four, five, or even six gears! Try arranging them in different patterns to see what kind of motion you can create.
- Themed Gears 🕸️: Decorate your cardboard base to look like a giant spiderweb or the wall of a haunted castle for extra spooky flair.
Theme Twist 💀: Create a “Skelly-Gears Machine”! Mount a small paper skeleton on your board and connect one of the gears to its arm with a piece of string or a toothpick lever. When you turn the gears, you can make the skeleton wave!
Halloween Activity FAQs ❓
#### Q1: Can I use different types of candy for the gears?
Absolutely! The best candies are small, firm, and uniformly shaped. Gummy bears, hard caramels (cut into cubes), or even candy pumpkins could work. Part of the fun is experimenting!
#### Q2: How do I make the gears spin smoothly?
The key is alignment! Make sure your axles are perfectly centered in your hubs and that your supports are level. Most importantly, ensure the teeth are meshing just right—not too tight and not too loose.
#### Q3: How long will the candy corn gears last before getting stale or sticky?
In a cool, dry place, your candy corn machine should last for several days, maybe even a week. It will eventually get stale and might get a little sticky if it’s humid, but it will still be an awesome decoration long after it’s good to eat.
—
I hope you have an absolute blast building your candy corn creations! It’s one of my favorite ways to mix a little bit of science with the spooky fun of the season. I would LOVE to see what you engineer! Share your photos on social media and be sure to tag me.
What’s your all-time favorite edible Halloween craft? Let me know in the comments—I’m always looking for new ideas! Happy haunting! 👻

