How to Decorate for Halloween on a Shoestring Budget (Without Looking Cheap)
Imagine your home transformed into a spooky, elegant Halloween haven that has your friends asking, “Where did you get all this?” Now, imagine you did it all for less than the cost of a few pumpkin spice lattes. As someone who has planned countless spooky parties on a dime, I know it’s not magic; it’s about decorating smarter. If you’re tired of flimsy, tacky decorations that scream “budget,” you’ve come to the right place. This isn’t just a list of cheap ideas; this is my complete guide to turning Dollar Store finds into high-end, ghoulishly gorgeous DIY Halloween decor. Forget the bright orange plastic. Let’s start crafting a look that is both spooky and sophisticated. 🎃


In a Hurry? My Key Takeaways 📝

- Paint is Power: A simple can of matte black spray paint is the single most effective tool for making cheap plastic items look modern and expensive.
- Age is Everything: Learn the “wash” technique (watery brown/black paint) to add instant realism and an aged, antique look to skeletons, skulls, and even cheesecloth.
- Shop for Potential, Not Perfection: The secret to budget Halloween decorating is to look at a cheap item for its shape and size, and imagine what it could be with a little bit of paint and creativity.
- Less is More with Color: Stick to a simple color palette like black, white, and one metallic accent (like gold or bronze) to create a cohesive and high-end look.


Tutorial At-a-Glance
- Difficulty Level: Beginner
- Time to Complete: Approx. 30-60 minutes per DIY project
- Prerequisites: A desire for a spooky, stylish Halloween!
- Tools/Materials Needed: Basic craft supplies & Dollar Store items (full list below)
What You’ll Need 📋
This is your master list for a successful mission to the Dollar Store and craft aisle. My goal for you is to find items with good “bones” that we can completely transform into spooky home decor.
Requirements Checklist:
- Core Decor Items (from a Dollar Store):
- Plastic Skeletons, Skulls, and Bones
- Simple Witch Hats (the flimsy black fabric ones are perfect)
- Plastic Spiders & Rats
- Glass Vases or Jars
- Cheesecloth
- Transformation Toolkit (The Real Magic):
- Matte Black Spray Paint
- Brown and Black Acrylic Craft Paint
- Metallic Craft Paint (e.g., Antique Gold, Rubbed Bronze)
- Hot Glue Gun & Glue Sticks
- Fishing Line or Clear Thread
- Command Hooks (small, clear ones work best)
- Inexpensive LED Fairy Lights or Tea Lights (battery-powered)
Initial Setup:


Set up a well-ventilated workspace for spray painting, preferably outdoors or in an open garage. Lay down newspaper or a drop cloth to protect the surface.
Plug in your hot glue gun so it can heat up while you prep your materials.
⚠️ Warning: Hot glue guns can cause serious burns. I’ve learned this the hard way! Never touch the metal nozzle and be very careful when handling the hot, melted glue.
Step-by-Step Tutorial 🛠️
Here I’ll walk you through three of my favorite projects. These demonstrate the core techniques you need to make cheap decor look like a million bucks.
Project 1 – Eerily Elegant “Aged” Skeletons


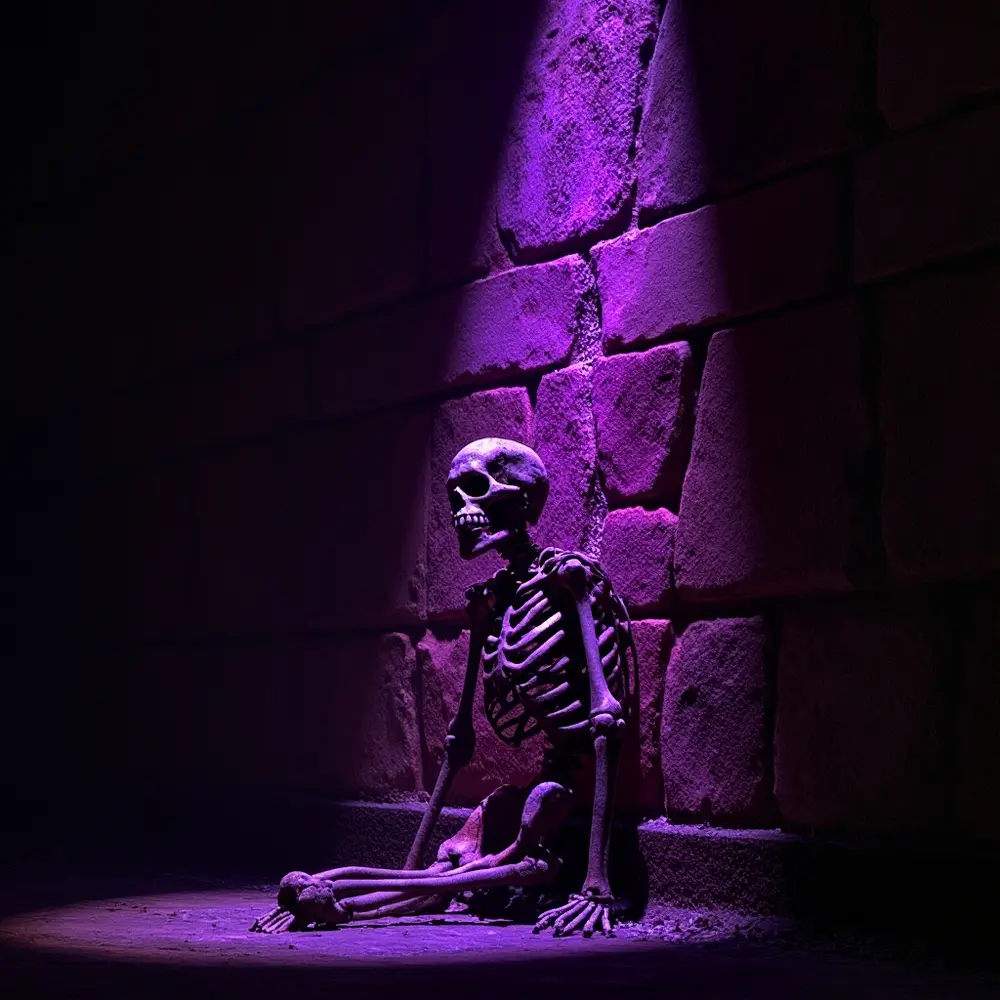
Objective: To transform shiny, cheap plastic skeletons into realistic, aged-looking props that can be posed around your home.
- Start by applying a light, even coat of matte black spray paint to your plastic skeletons. This acts as a primer and instantly removes that cheap plastic shine. Let it dry completely.
- In a disposable cup, mix a small amount of brown acrylic paint with a few drops of water to create a thin, watery “wash.” It should look like dirty water.
- Brush this wash over the entire skeleton. Don’t be neat! The goal is to get it into all the little crevices and joints.
- Before it dries, use a paper towel to wipe off the excess paint from the raised surfaces like the forehead and ribs. This leaves the darker paint in the recesses, creating a perfectly aged and grimy look.
Important Note: The key here is to wipe off most of the paint. You are staining it, not painting it solid brown. Trust me, less is definitely more for this effect!
Project 2 – Mystical Floating Witch Hats


Objective: To create the illusion of enchanted witch hats floating in mid-air. This is one of my go-to tricks for an entryway or living room corner; it’s so simple but has a huge impact.
- Tie a long piece of fishing line to the very point of a witch hat. Secure it with a tiny dab of hot glue so it doesn’t slide off.
- Decide where you want the hat to hang and attach a clear Command Hook to the ceiling. These are amazing because they don’t leave damage.
- Tie the other end of the fishing line to the hook. Adjust the length until the hat “floats” at the height you want. Then, trim any excess line.
- For extra magic, I love to carefully snake a strand of battery-powered LED fairy lights inside one or two of the hats before hanging them. It creates a beautiful, spooky glow.
Project 3 – Creating Your Spooky Scene


Objective: To combine your finished pieces and add the final touches for a cohesive, professional-looking display.
- Pose Your Skeletons: Get creative! Arrange your newly aged skeletons peeking out from behind a plant, sitting on a bookshelf, or even climbing up a staircase. Give them some personality.
- Hang Your Hats: For your floating witch hats DIY, be sure to group them at slightly different heights. This creates a more dynamic and natural-looking cluster that feels more magical.
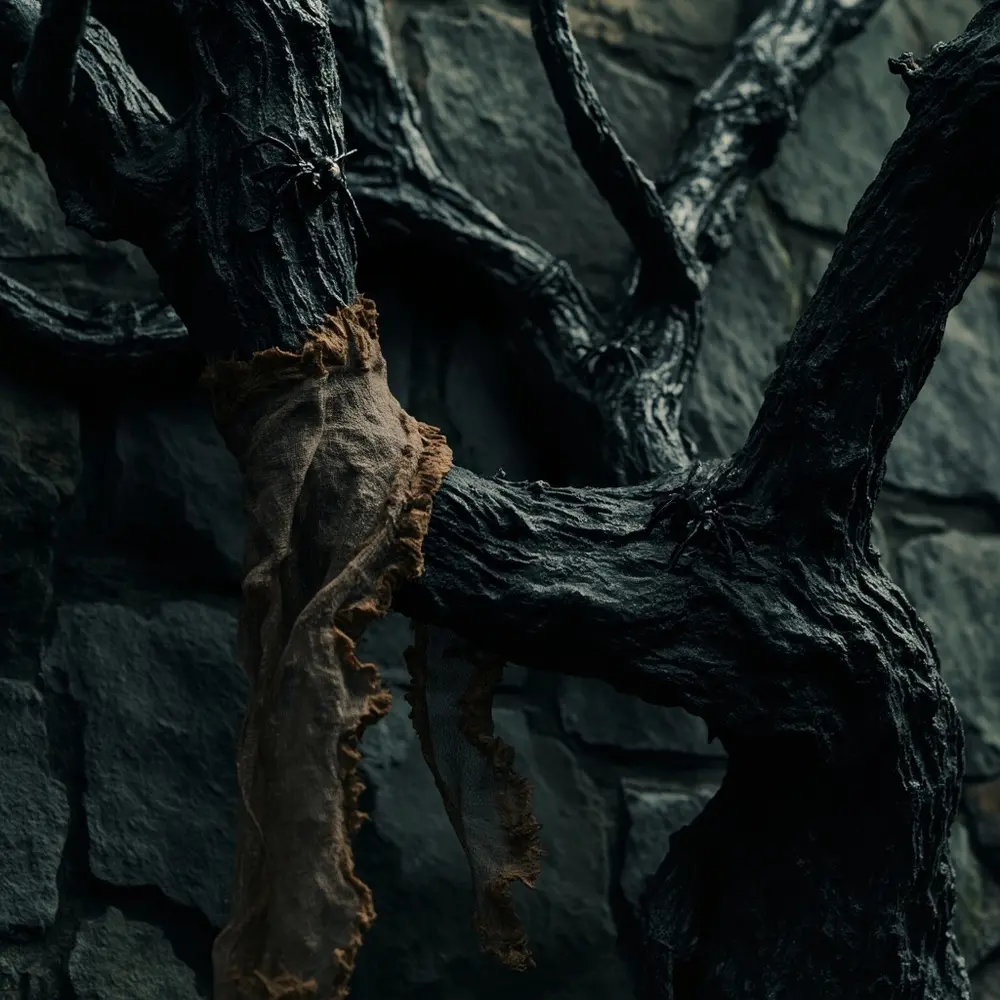
- Add Final Touches: Drape cheesecloth over furniture, a mantel, or a mirror. You can even “age” the cheesecloth by dipping it in your brown paint wash and letting it dry. Place your aged spiders on the cloth and around your skeletons to complete the scene.
Expected Result: A stylish, spooky corner of your home that looks like it was curated by a professional decorator, not assembled from the Dollar Store.
The Budget Decorator’s Secret: Your Strategic Shopping Plan
This is the mindset that separates amateur decorating from pro-level results on a budget. Other tutorials show you what to make; I’m showing you how to think like a designer.
The biggest mistake is walking into a store without a plan. You’ll end up with a cart full of mismatched, cheap-looking items. Your secret weapon is a strategy.
1. The “Look for Potential” Rule


Never buy an item for what it is; buy it for what it could be. Ignore the bright orange color or cheesy glitter on that plastic pumpkin. Does it have a good shape? Can you imagine it painted matte black or antique gold? That’s your target.
2. The Holy Trinity of Transformation


You don’t need dozens of craft supplies. I’ve found you can master these three to transform 90% of all cheap decor:
- Matte Black Spray Paint: Instantly makes anything look more modern and sinister.
- A “Wash”: The watery brown/black acrylic paint mix from Project 1. It adds age, grit, and realism to any object.
- Metallic Accent Paint: A tiny bit of antique gold or rubbed bronze, dry-brushed onto the edges of a black object, makes it look like expensive, aged metal.
Important Note: Always use a spray primer on slick plastics before painting to prevent peeling and ensure the paint adheres properly. Some spray paints are a “paint + primer” combo, which works great!
3. Where to Save vs. Splurge


Pro Tip: When I started my “Spooky Sharma” YouTube channel, my budget was tiny. I quickly learned this rule: your money is best spent on the tools, not the base items. Get the cheapest $1 plastic skeletons and spiders you can find. But spend an extra $5 on a good hot glue gun that doesn’t drip everywhere or a can of quality spray paint that gives even coverage. It will save you so much time and frustration.
Troubleshooting & Common Questions ❓

Why is my spray paint splotchy and uneven?


This is a super common problem! It usually happens from spraying too close to the object or holding the can still for too long. For a perfect finish, hold the can 8-12 inches away from your object. Use smooth, sweeping motions, starting the spray before you get to the object and ending it after you’ve passed it. It’s always better to apply two light coats than one thick, drippy one.
How do I store DIY Halloween decorations so they last for next year?
Great question! You put in the work, so let’s protect it. Carefully wrap each of your custom-painted items in newspaper or bubble wrap. I store mine in a labeled plastic bin in a cool, dry place like a closet or under a bed. Try to avoid attics or garages where extreme heat or cold can warp the plastic or make the paint brittle.
Can I use these aging and painting techniques on other Halloween items?
Absolutely! This is the best part—you’ve learned a skill, not just a craft. Try these exact same techniques on cheap plastic pumpkins, cauldrons, foam tombstones from the Dollar Store, or even plastic serving trays you want to make look ancient. The principles of “prime, base coat, wash, accent” apply to almost everything. Go wild!
Next Steps & Further Optimization
You’ve mastered the basics! Now, let’s level up your haunted house.
- What to Do Next: Now that you have the skills, tackle a larger space. Use what you’ve learned to design a complete Halloween mantelpiece or a spooky front porch display that will be the talk of the neighborhood.
- Optimization Tips:
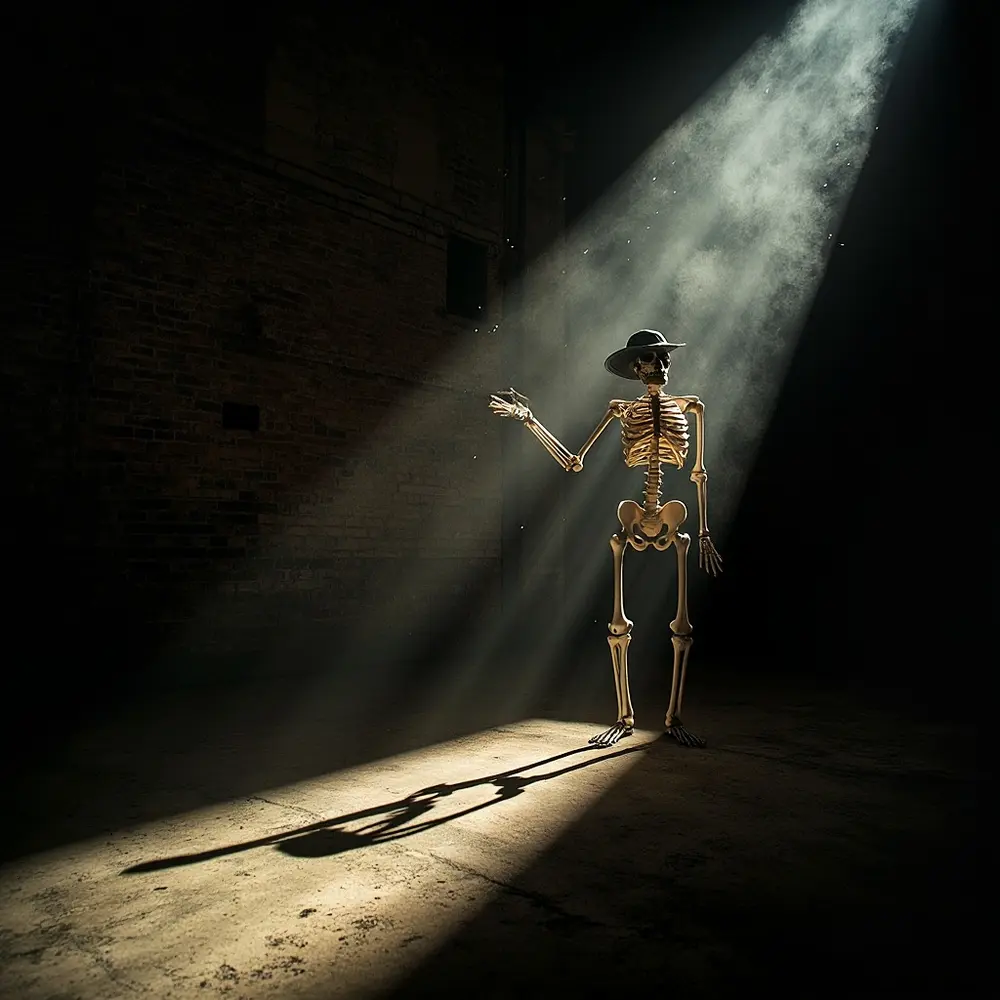
- Lighting is Everything: This is a pro secret! Use cheap spotlights (even colored ones) and place them on the floor pointing up. This will cast dramatic, spooky shadows from your props.
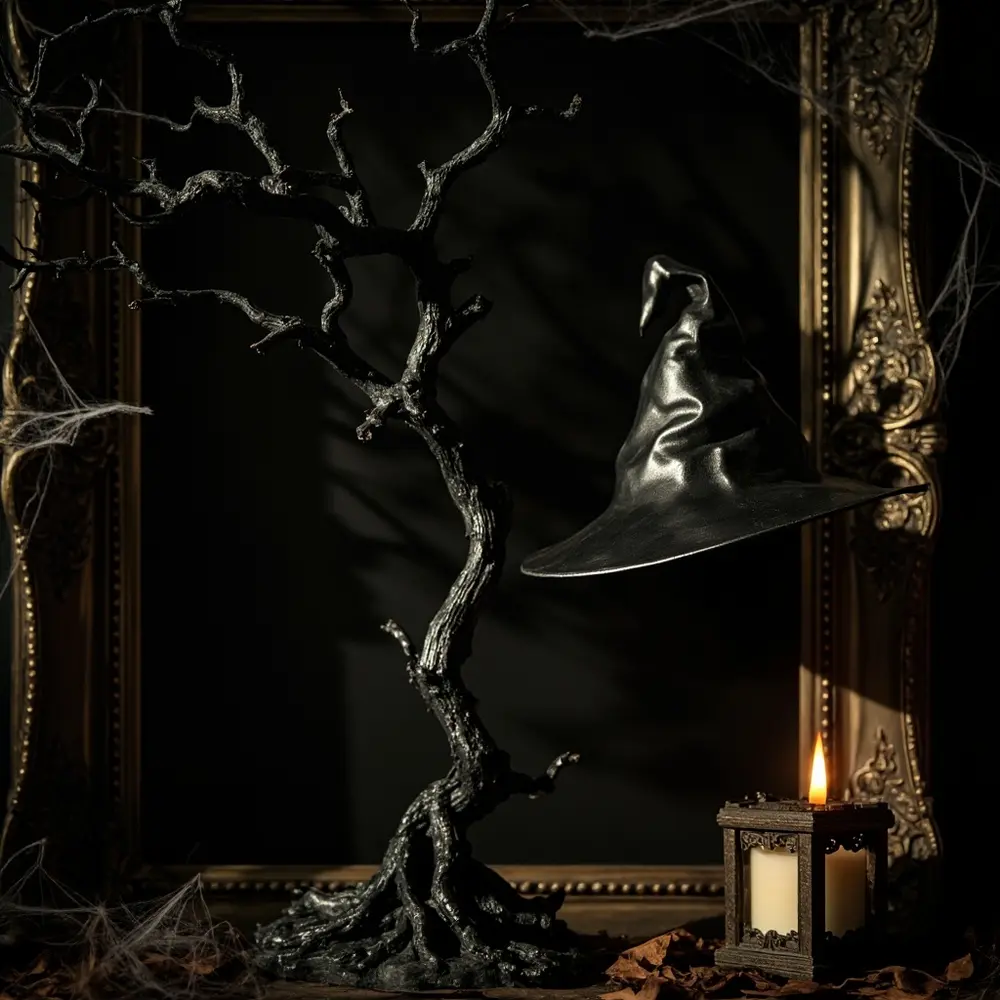
- Incorporate Nature: Go outside! Gnarled branches, dead leaves, and pinecones are free and add incredible texture. I love to spray paint a cool-looking branch matte black and hang it on a wall like a piece of art.
- Stick to a Color Palette: To guarantee a high-end look, stick to a limited color scheme. My favorite is black, white, and a single metallic accent like gold or silver.


- Advanced Applications: Feeling confident? Try building your own life-sized coffin out of black foam core board or creating a full “potion” display with bottles you’ve aged and custom-printed labels.
Conclusion (My Final Thoughts) 👻

Congratulations! You’ve done more than just create a few Halloween decorations. You’ve learned the decorator’s secret: how to see the hidden potential in everyday items and transform them into something extraordinary. You now have the skills to walk past the expensive, pre-made decor and confidently create a custom, high-end look for a fraction of the price. Your home is now a testament to your creativity and resourcefulness.
This Halloween, when the compliments start rolling in, you can proudly say, “I made it myself.” I’d love to see your spooky, stylish creations!
What project are you most excited to try first? Share your plans in the comments below!


