Your Guide to an At-Home Costume Fashion Show with DIY Runway
H1: Your Guide to an At-Home Costume Fashion Show with DIY Runway
It’s that time of year again, ghouls and goblins! The air is getting crisp, pumpkins are appearing on every porch, and your kids have been planning their Halloween costumes since last November. 🎃
But what happens after all that creative energy is spent? The big reveal is over in a flash during the trick-or-treat rush, and their amazing performance-ready characters don’t get the spotlight they truly deserve. It always feels like a missed opportunity for more fun. 🎉
Well, not this year! I’m Roshan Sharma, your friendly neighborhood Halloween fanatic, and I’ve planned dozens of unforgettable Halloween events for families. I’m here to show you how to turn that fleeting moment into the main event with an at-home costume fashion show, complete with a spectacular DIY runway. Let’s make some memories! ✨
Activity At-a-Glance
- Best For 👨👩👧👦: Families with performing kids, Halloween playdates, pre-trick-or-treat entertainment
- Time Required ⏳: Approx. 1.5 – 2 hours (including setup, show, and cleanup)
- Budget Level 💰: Low-Cost
- Spookiness Level 👻: Low
H2: What You’ll Need for Your At-Home Costume Fashion Show 📋
The best part about this activity is that you probably have most of these things lying around the house! Here’s a quick checklist to get your spooky show on the road:
- Costumes 🧛: Assorted costumes (store-bought, DIY, or just a fun mix-and-match of dress-up clothes)
- Runway Materials 🛠️: Think creatively! Cardboard boxes, old bedsheets, fabric scraps, construction paper, painter’s tape, string lights, or even pool noodles work great.
- Scissors or Utility Knife ✂️: For runway construction (adult supervision is a must!).
- Measuring Tape or Ruler 📏: To make sure your runway is fit for a star.
- Music Source 🎶: A speaker, phone, or tablet to blast those monster mashes.
- Optional Show-Stoppers ✨:
- A simple backdrop (a plain sheet or old curtain works wonders)
- Small props like hats, wands, or pirate swords ⚔️
- A camera/phone for photos and videos 📸
- Fun “awards” like ribbons, homemade certificates, or painted rock trophies 🏆
- Simple spooky decorations (spiderwebs, plastic spiders, fall leaves 🍂)
H2: Preparation & Setup: Creating the Spooky Scene 🎭
Before the models arrive, you need to set the stage. My niece always insists this is the most important part—she calls it “vibe-checking the room.”
First, find your performance space. A living room, basement, or even a long hallway is perfect. Clear a path and push furniture to the sides to create an open area. This will be your stage and audience section.
Next, think about your lighting. Dim the main lights and use lamps or festive string lights to create a moody, magical atmosphere. Nothing says “showtime” like a dramatic spotlight! Finally, get your music ready. I love creating a playlist of upbeat, family-friendly Halloween tunes—think “Ghostbusters,” “Monster Mash,” and the “Addams Family” theme song. A good soundtrack makes everyone want to dance down the runway!
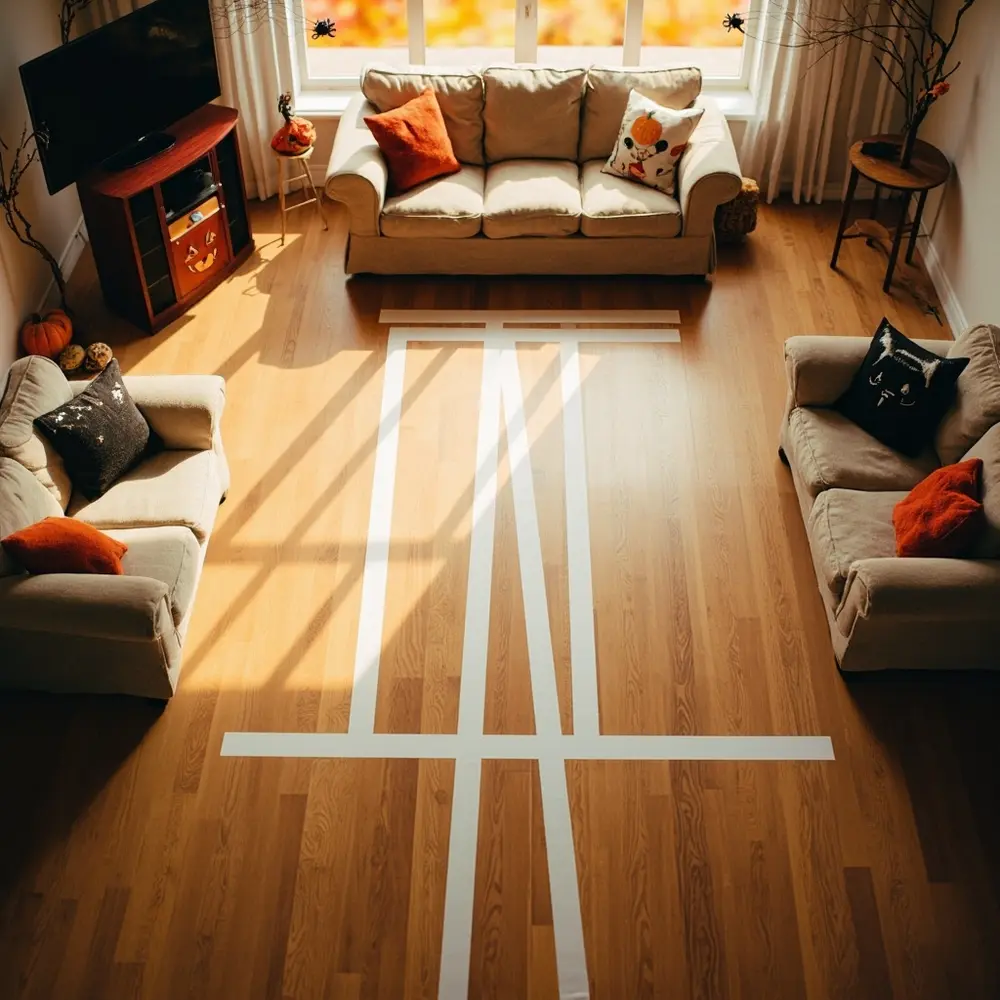
Pro Tip 💡: Use painter’s tape on the floor to mark out your runway path before you lay down any materials. This helps you get a perfectly straight (or curvy!) line and visualize the space before you start building.
Image-1: An overhead shot of a living room with painter’s tape marking a T-shaped path on the floor, with furniture pushed to the sides.
H2: How to Lead the At-Home Costume Fashion Show: Step-by-Step Guide 🚀
H3: Step 1: Design and Map Out Your DIY Runway
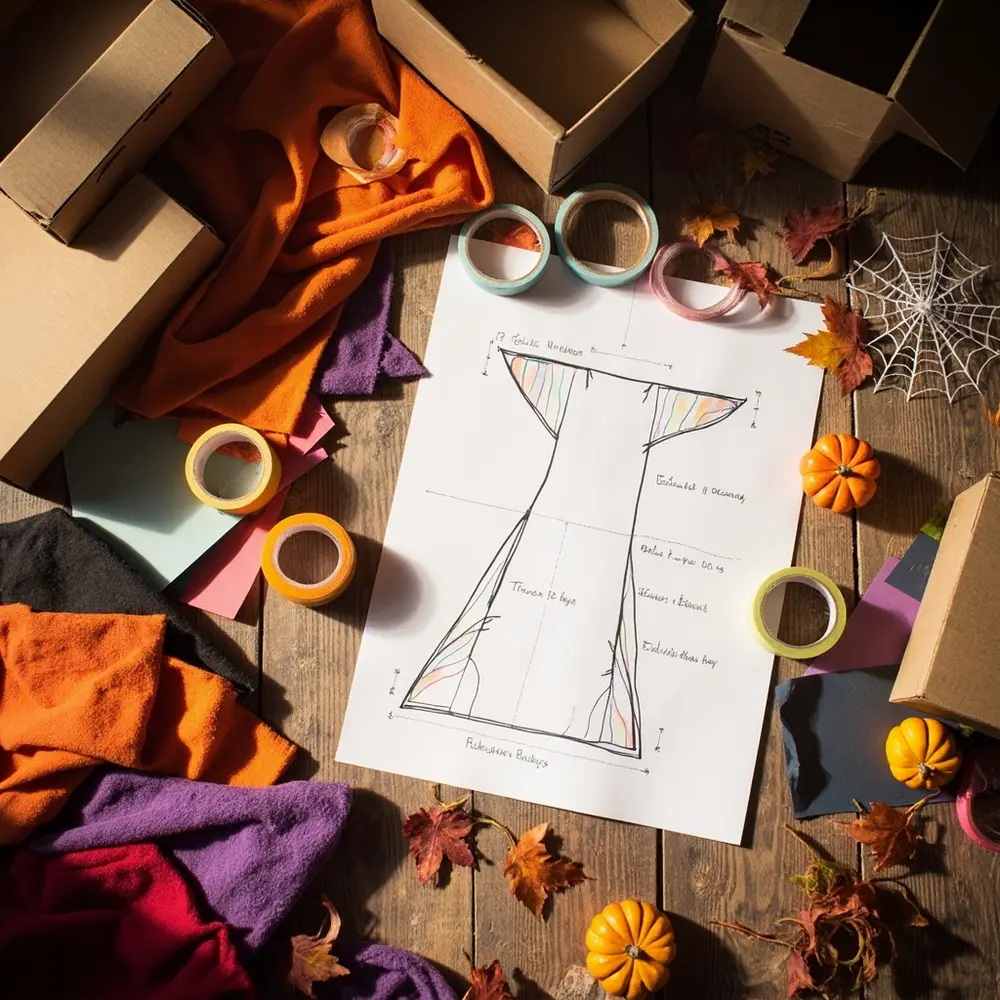
Alright, it’s time to become a runway architect! Look at your taped-off space and decide on a shape. Will it be a classic straight line? An L-shape for a surprise turn? Or a T-shape for a final, dramatic pose at the end?
Gather all the materials you collected—cardboard, fabric, paper—and lay them out. Measure your taped-off area and see what you have enough of. This is the planning phase, so get the kids involved! Let them sketch out a design or help measure the floor.
Image-2: A photo showing various DIY materials like flattened cardboard boxes, colorful fabric scraps, and tape laid out on the floor next to a simple sketch of a runway.
H3: Step 2: Construct and Secure Your Runway
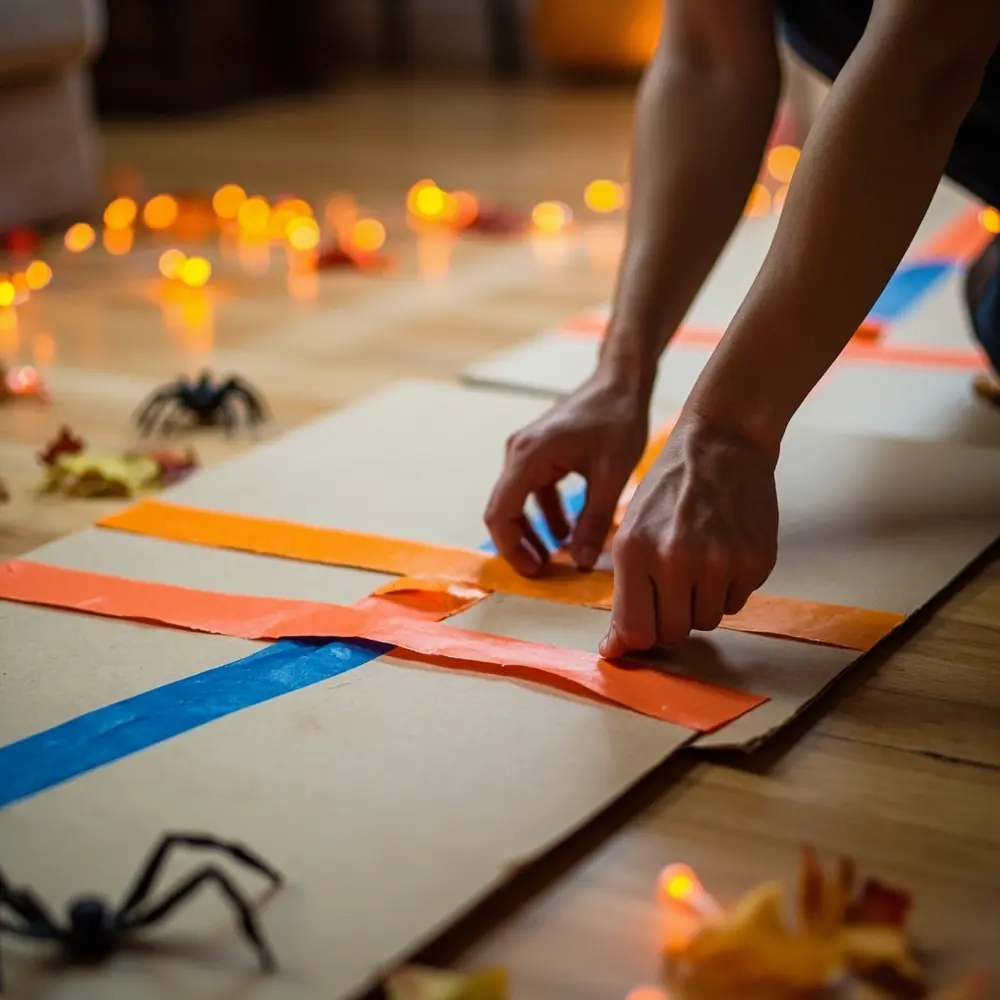
Now for the fun part: building it! If you’re using cardboard, flatten the boxes and tape them together securely to form a solid path. If you’re using a bedsheet or fabric, stretch it out and tape down the edges so it lies flat. You can even line the sides with pool noodles or rolled-up towels to create raised edges, just like a real fashion show!
Caution ⚠️: Safety first! An adult should always handle the scissors or utility knife. Make sure your final runway surface is flat, securely taped down, and free of any bumps or edges that could be a trip hazard for your excited little monsters.
Image-3: A close-up, hands-on photo of someone using brightly colored duct tape to secure two pieces of a cardboard runway together on the floor.
H3: Step 3: Set the Stage with Lights, Camera, Action!
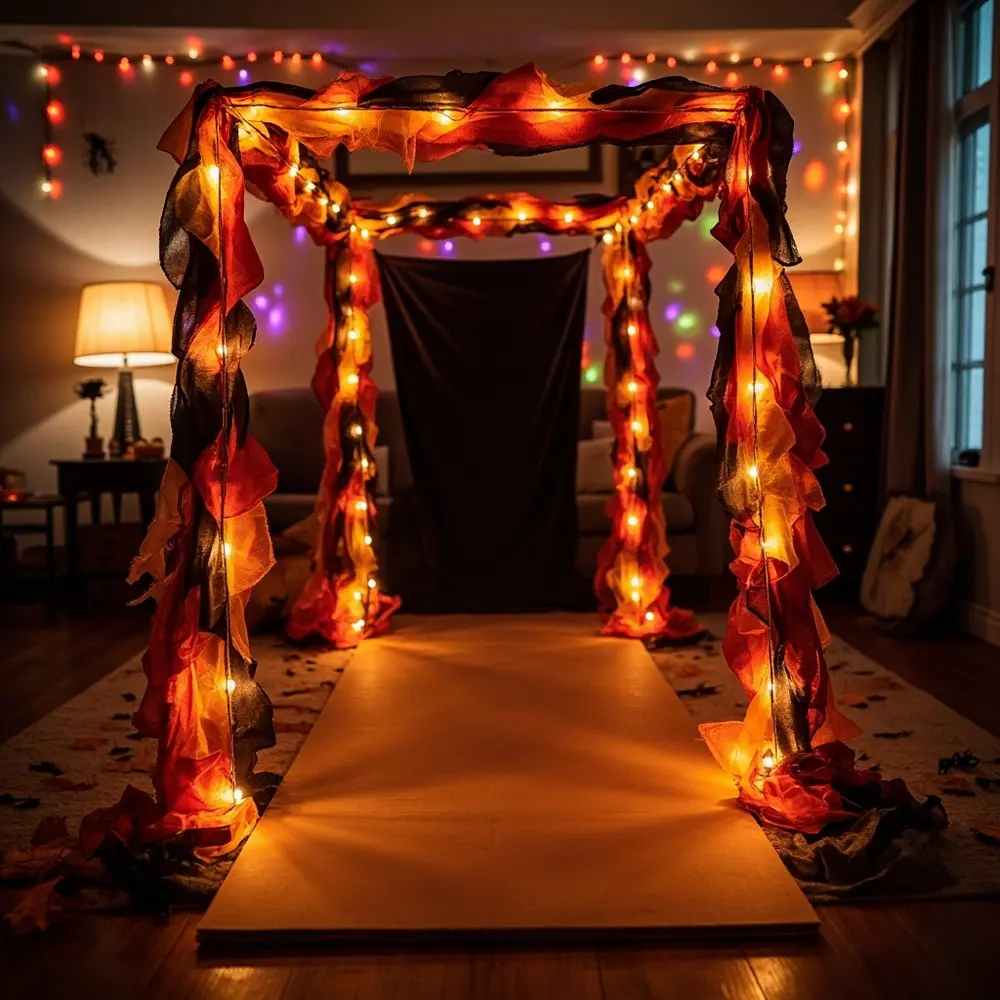
With the runway built, it’s time for the finishing touches. Drape your string lights along the edges of the runway for a magical glow. Hang your sheet or curtain at one end to serve as a simple “backstage” entrance. Set up your phone or camera on a small tripod (or a stack of books) at the other end to capture all the amazing moments. Cue the music, and you’re officially ready for a show!
Image-4: A photo of the finished DIY runway, decorated with orange string lights along the edges. A simple black sheet hangs as a backdrop at one end.
H3: Step 4: The Backstage Briefing: Getting Ready to Shine
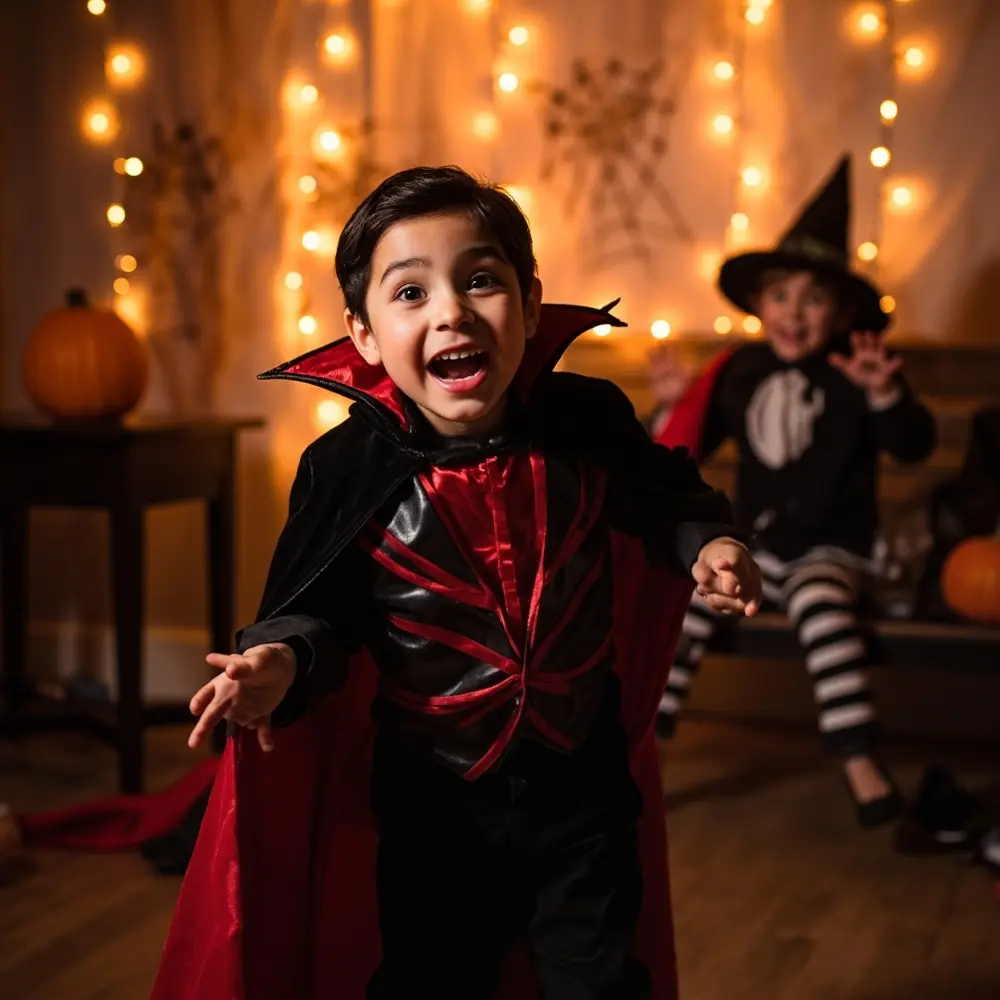
Gather your superstars “backstage” (aka behind the curtain or in the next room). This is where the pre-show excitement builds! Help them get into their costumes and decide on the show order. Encourage them to think about their character. Are they a spooky ghost? A brave superhero? A silly clown?
Practice a few poses, a special walk, or even a catchphrase. The goal is to build their confidence and let them know it’s all about having fun, not being perfect. Last year, my nephew decided his Frankenstein walk needed a little wiggle, and it was the hit of the show!
Image-5: A candid shot of a child in a vampire costume excitedly practicing a dramatic pose in a “backstage” area, with another child in a witch hat visible in the background.
H3: Step 5: The Grand Costume Reveal: Showtime!
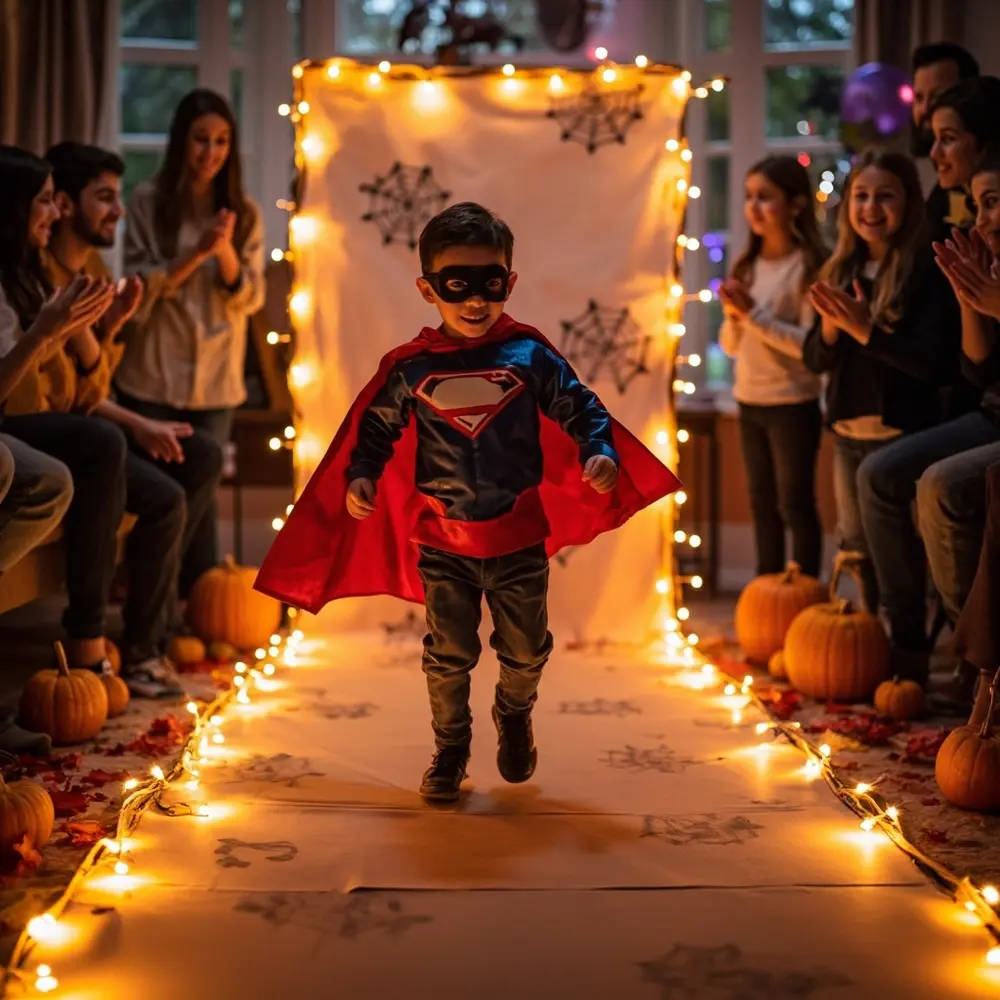
Turn down the lights, turn up the music, and take your place as the Master of Ceremonies! Announce the show’s start and introduce each performer with flair. “And now, floating in from the haunted library, give it up for… The Giggling Ghost!”
Encourage the audience (even if it’s just you and the dog) to clap, cheer, and snap photos. Let each child have their moment to walk the runway, strike a pose, and soak up the applause. Keep the energy high and the smiles wide.
Image-6: A dynamic action shot of a child in a superhero costume confidently striding down the DIY cardboard runway, with family members cheering and clapping from the “audience” on the side.
H2: Elevating the Show: Special Reveals & Performances 🌟
For kids who truly love to perform, the runway walk is just the beginning. Let’s make each reveal a mini-performance!
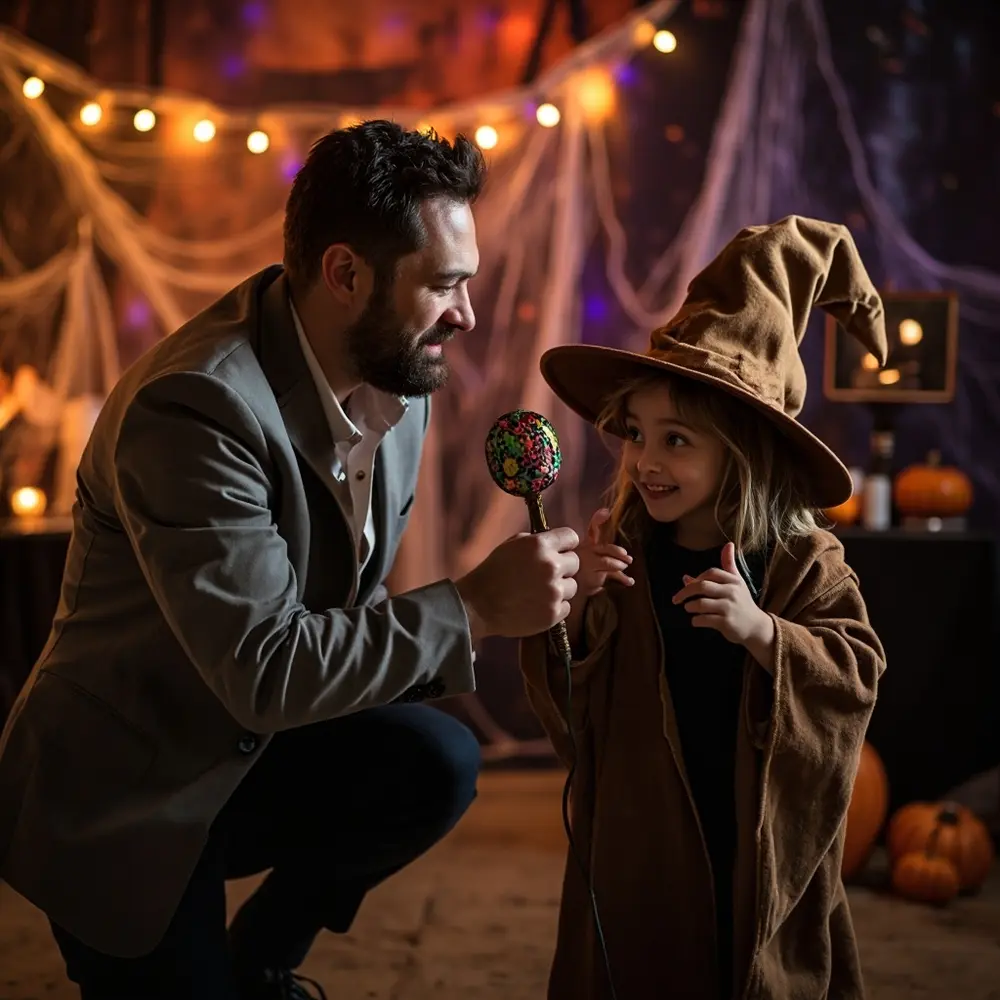
Instead of just announcing their name, conduct a quick “red carpet” interview. Ask them questions like, “Mr. Zombie, what’s your favorite food?” (Brains, obviously!). Or have them prepare a short monologue in character. A pirate can describe their latest treasure hunt, or a mad scientist can cackle about their newest invention.
Encourage them to create a dramatic pose sequence at the end of the runway—three distinct poses that show off their character’s personality. This gives you great photo opportunities and makes them feel like a true star.
Image-7: A photo of an adult playfully holding a makeshift microphone (like a hairbrush) up to a child dressed as a wizard, who is striking a thoughtful pose.
H2: Variations & Customizations to Haunt Your House 🦇
Want to mix things up? I’ve tried all of these, and they’re guaranteed hits!
- Themed Runway: Host a “Zombie Walk,” “Witch’s Runway,” or “Supervillain Stroll.” Costumes, music, and poses should all match the theme for a cohesive show.
- Costume Challenge: This is my absolute favorite. Put a box of random items (fabric scraps, hats, toilet paper rolls, foil) in the middle of the room and challenge everyone to create a brand-new costume in 15 minutes. The creativity is always amazing!
- DIY Photo Booth: After the show, use your backdrop and some props to create a photo booth. It’s the perfect way to get fantastic pictures of every costume.
- Audience Participation: Hand out little paper ballots and let the audience vote for fun categories like “Most Creative Costume,” “Spookiest Walk,” or “Funniest Character.”
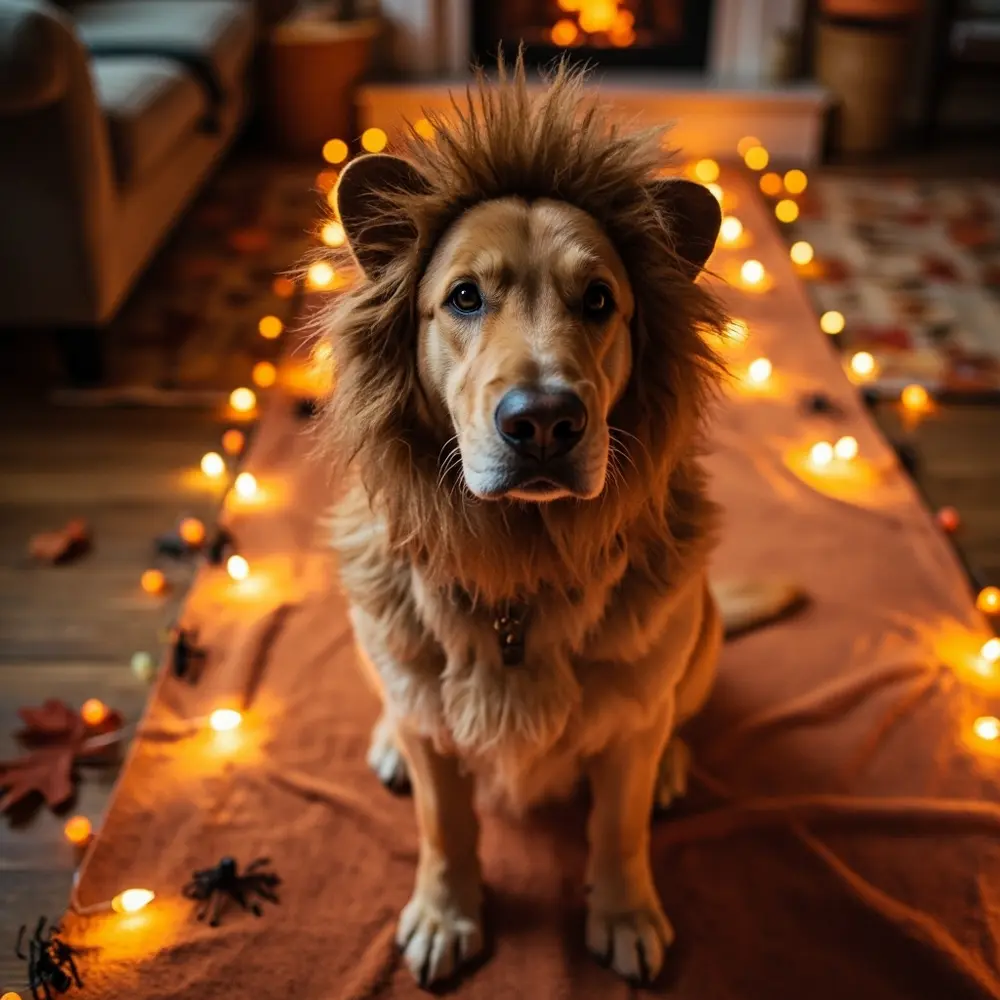
- Pet Parade 🐾: If you have a furry friend who doesn’t mind dressing up, let them have a turn on the runway! Just make sure their costume is safe and comfortable.
Image-8: A cute photo of a golden retriever wearing a lion’s mane costume, sitting patiently at the start of the DIY runway.
Theme Twist 💡: For a truly magical experience, try a “Glow-in-the-Dark Gala.” Have everyone add glow sticks or reflective tape to their costumes. Turn off all the lights and use only blacklights or string lights to illuminate the runway. The effect is absolutely spellbinding!
H2: Halloween Activity FAQs ❓
Q1: How can we make the DIY runway more stable for active kids?
Great question! For extra stability, especially with a cardboard runway, I recommend using wide, heavy-duty duct tape instead of painter’s tape for the final construction. You can also place a non-slip rug pad underneath the runway to keep it from sliding around on hardwood or tile floors.
Q2: What if we don’t have many costumes, or kids want to change frequently?
No problem at all! The “Costume Challenge” variation is perfect for this. You can also create a “mix-and-match” station with various accessories like hats, glasses, scarves, and props. This allows kids to create multiple new characters throughout the show, keeping the fun going.
Q3: How do we encourage shy kids to participate or make it less intimidating?
The key is to offer different roles and never force anyone. A shy child might be happier as the official “DJ” in charge of the music, the “photographer,” or a “judge” who gets to hand out the awards. You can also suggest they walk the runway with a sibling, a parent, or even a favorite stuffed animal. The goal is participation and fun, not pressure.
Conclusion
And there you have it—your complete guide to hosting an unforgettable at-home costume fashion show! This isn’t just about showing off costumes; it’s about building confidence, sparking creativity, and creating those core family memories that will last long after the last piece of candy is gone. From my years of planning Halloween fun, I can tell you that the moments of shared laughter are the best treats of all.
So go ahead, roll out that runway, crank up the spooky tunes, and let your little stars shine. You’ve created more than a fun activity; you’ve built a stage for imagination.
What’s your family’s favorite part of getting ready for Halloween? I’d love to hear your traditions in the comments below! 🎃


