A Guide to Growing Your Own Crystal Pumpkins with Borax
It’s that time of year again, ghouls and goblins! Are you tired of the same old messy pumpkin carving, or looking for a Halloween activity that’s more magical than monstrous? 🧙♀️
You want to fill your home with a unique, sparkling Halloween vibe, but the thought of another glitter explosion is enough to make you scream—and not in a fun way. I get it! As a haunted house designer and Halloween party planner for over a decade, I’m always looking for that perfect project that blends spooky fun with beautiful results. 🎃
That’s why I am so excited to share this guide with you! Growing crystal pumpkins is the perfect solution—a dazzling science experiment that creates stunning decorations you’ll be proud to display. Let’s make some magic together! ✨
Activity At-a-Glance
Best For: 👨👩👧👦 Family craft day, science fair project, DIY Halloween decor
Time Required: ⏳ Approx. 1-2 hours active time, 12-24 hours waiting for crystals to grow
Budget Level: 💸 Low-Cost
Spookiness Level: 👻 Low (but high on magic!)
What You’ll Need for Your Crystal Pumpkins 📋
- Borax (laundry booster) 🧼
- Small plastic or foam pumpkins (or orange pipe cleaners) 🎃
- Pencils or craft sticks ✏️
- String or fishing line 🧵
- Large heat-safe glass jars or bowls (wide-mouthed jars work best!) 🏺
- Measuring cups 🥄
- Spoons for stirring 🥄
- Boiling water 🔥
- Newspaper or paper towels (for your mad scientist lab) 📰
- Optional: Food coloring (orange, green, black) 🎨
Preparation & Setup: Creating the Spooky Scene 🔬
Before we dive into the potion-making, let’s set up our laboratory! Cover your workspace with newspaper or paper towels. Trust me, a little prep saves a lot of cleanup later, especially when you’re dealing with what is essentially magic potion. Arrange all your ingredients and tools so they’re within easy reach. Having everything ready to go makes the process smooth and lets you focus on the fun part—the science!
Pro Tip 💡: Turn your craft area into a “mad scientist’s lab”! Dim the lights, put on a spooky soundtrack, and maybe even find some old beakers or flasks at a thrift store to hold your tools. My niece loves it when we wear lab coats (old white button-down shirts) and safety goggles!
How to Lead the Crystal Pumpkins Activity: Step-by-Step Guide 🚀
Step 1: Crafting Your Pumpkin Forms
First things first, we need to prepare our pumpkins for their crystal transformation! If you’re using small plastic pumpkins, you might need to pop the plastic stem off so you have a good place to tie your string.
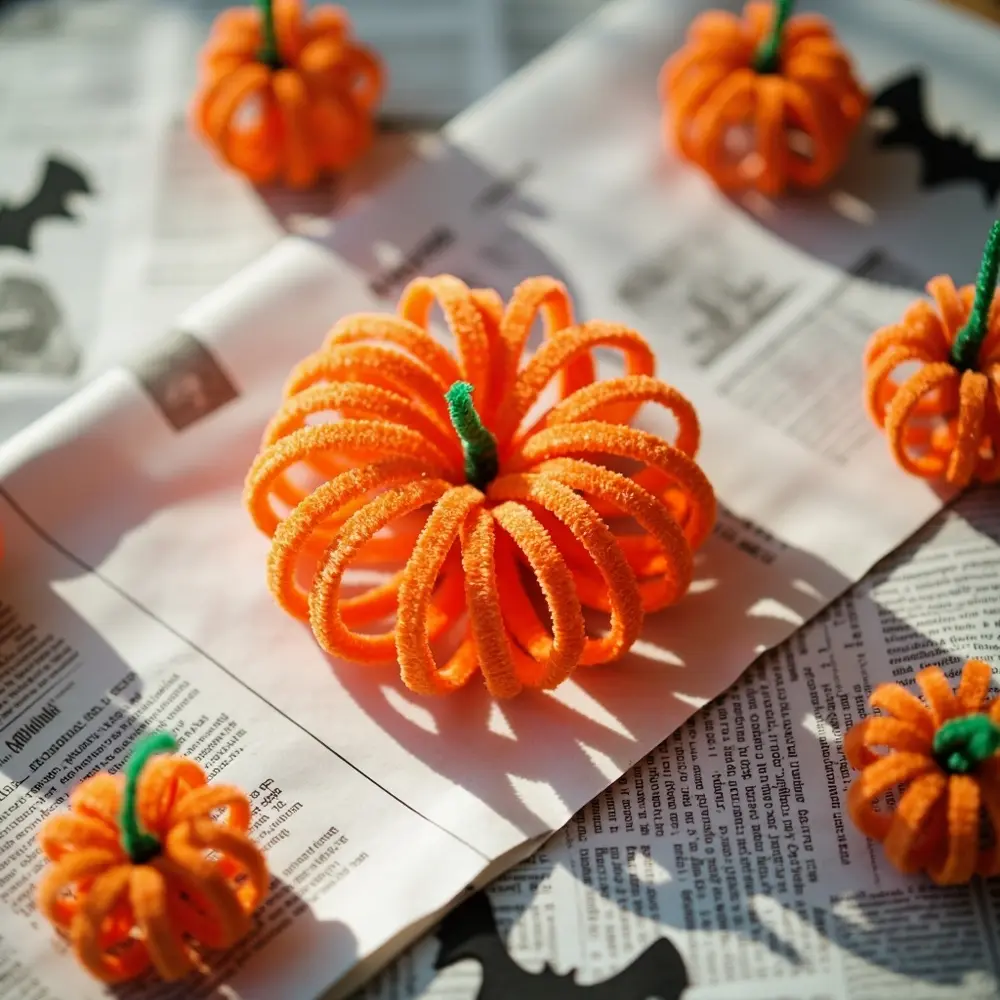
If you’re using pipe cleaners, this is where your creativity shines! Twist a few orange pipe cleaners together into a round pumpkin shape. I like to wrap one around my fingers three or four times, then slide it off and use another small piece of green pipe cleaner to wrap around the top as a “stem” and hold it all together. Make sure your final pumpkin form is small enough to hang freely inside your jar without touching the bottom or sides!
Image-1: A top-down shot of all the materials neatly arranged on a newspaper-covered table. The focus is on a pair of hands twisting bright orange pipe cleaners into a small, round pumpkin shape.
Step 2: Preparing the Borax Solution
This is where the real magic begins! (This step requires adult supervision, as we’ll be using boiling water!)
For every cup of boiling water, you’ll want to add about 3-4 tablespoons of Borax. The goal is to create a supersaturated solution, which is a fancy science term for “water that’s holding way more Borax than it normally could.”
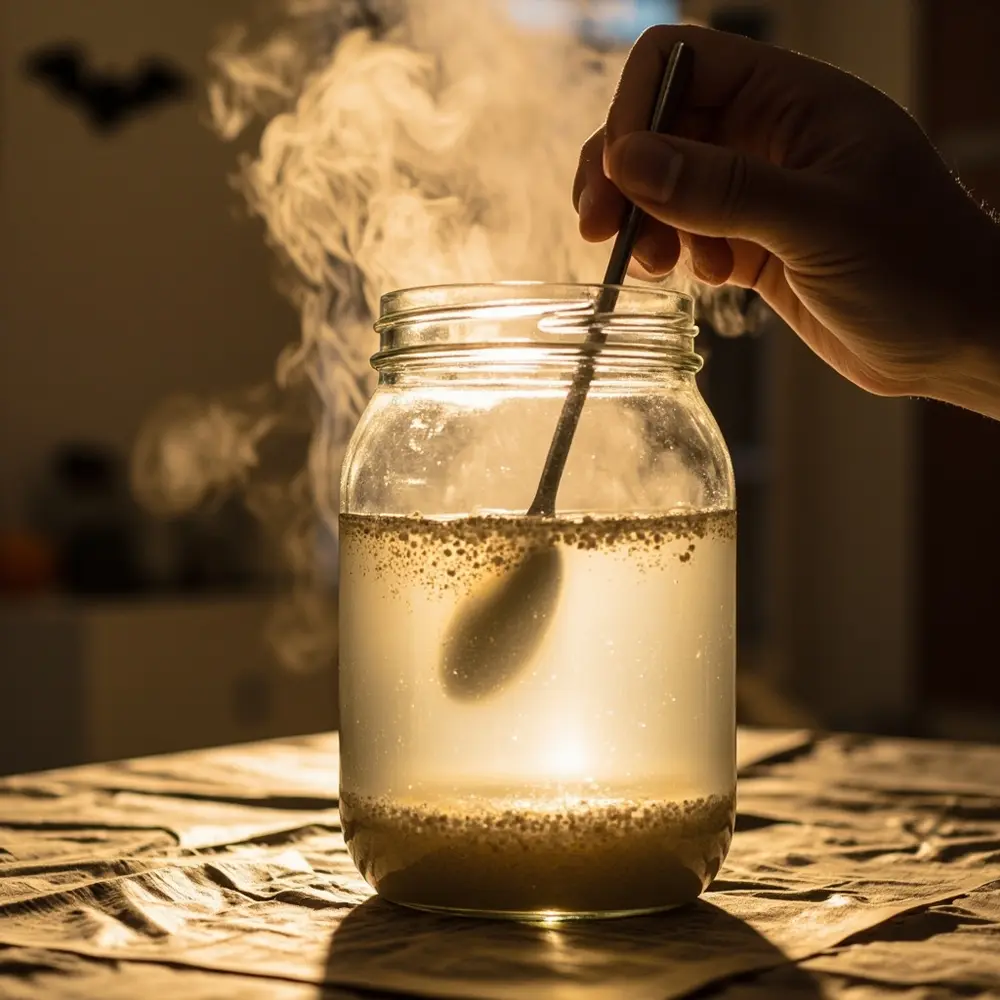
Pour the boiling water into your heat-safe glass jar or bowl. Add the Borax one tablespoon at a time, stirring until it dissolves. Keep adding and stirring until no more Borax will dissolve and you see a few grains settling at the bottom. If you want colored crystals, now’s the time to add a few drops of food coloring!
CAUTION ⚠️: Borax is a laundry detergent and should not be ingested. Please have an adult handle the boiling water and the Borax powder carefully.
Image-2: A close-up, side-angle shot of a hand stirring Borax powder into a large glass jar filled with steaming hot water. The water is slightly cloudy as the Borax dissolves.
Step 3: Submerging Your Pumpkins
Time to give your pumpkins a bath! Tie a piece of string to the stem of your pumpkin form. Tie the other end of the string to the middle of a pencil or craft stick.
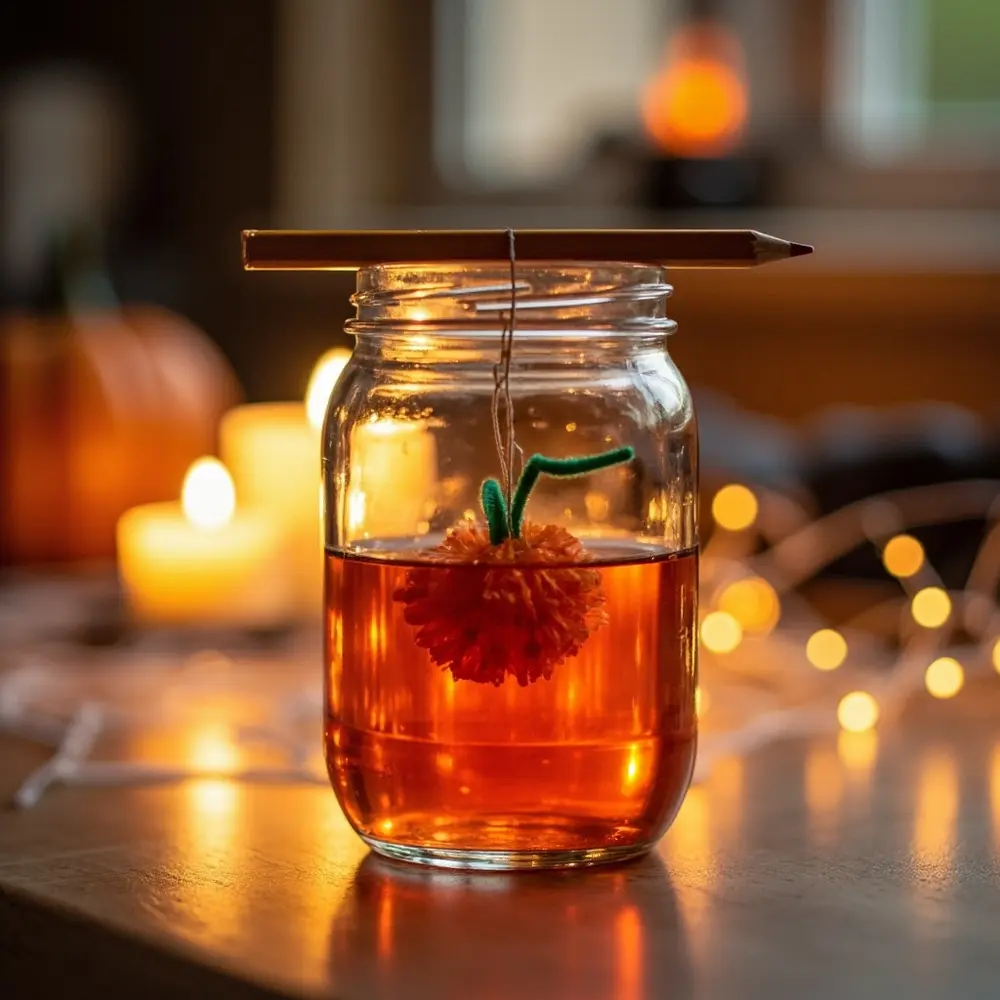
Carefully lower your pumpkin into the Borax solution until it’s completely submerged. Rest the pencil across the rim of the jar. Adjust the length of the string so the pumpkin hangs in the middle of the solution, not touching the sides or the bottom of the jar. This is super important for even crystal growth! Repeat for all your pumpkins and jars.
Image-3: A clear, eye-level photo showing a pipe cleaner pumpkin suspended in a jar of orange-tinted Borax solution. A pencil rests perfectly across the jar’s rim, holding the string.
Step 4: The Waiting Game: Crystal Growth
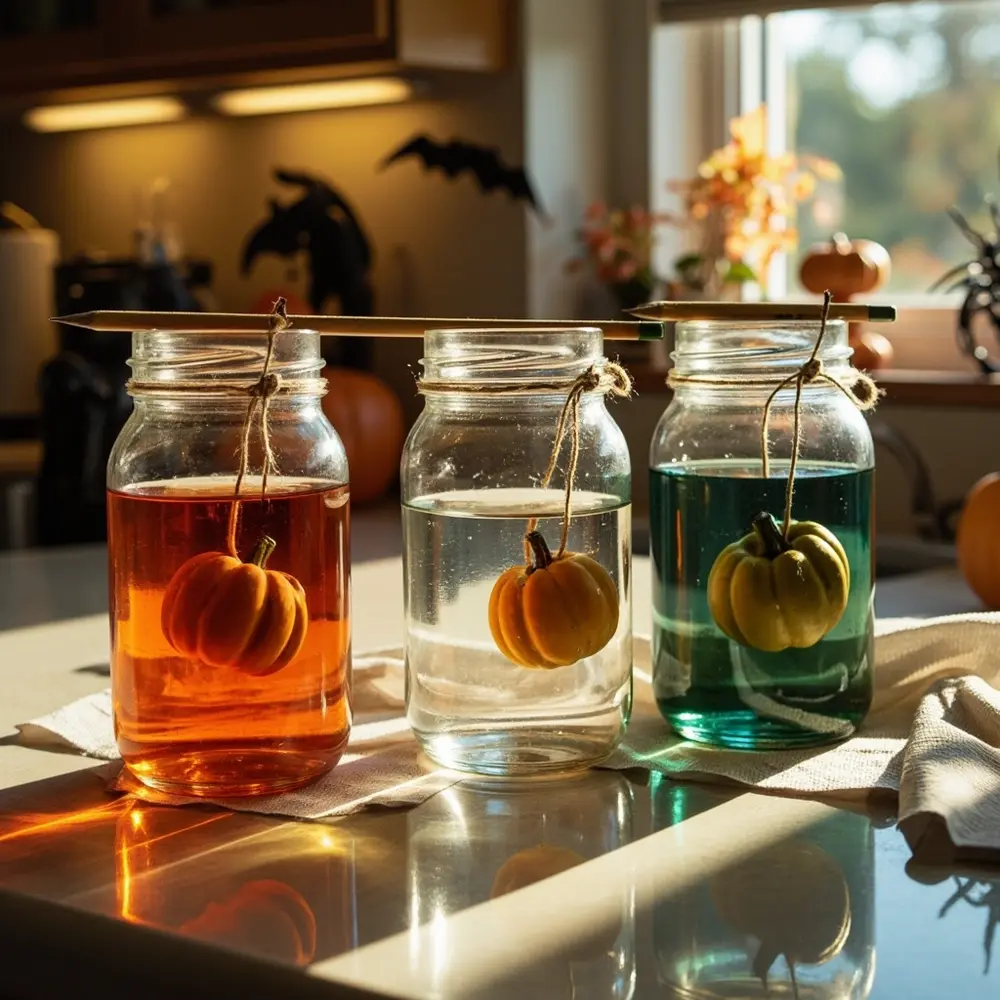
Now comes the hardest part: waiting! Place the jars in a safe spot where they won’t be bumped or disturbed for the next 12 to 24 hours. As the water cools, the Borax will “fall out” of the solution and crystallize onto your pumpkin form. The longer you wait, the bigger your crystals will get! For best results, let them sit undisturbed overnight. It’s like they’re sleeping and waking up with a sparkly new coat!
Image-4: A shot of three glass jars lined up on a kitchen counter, each with a pumpkin form submerged. The photo is taken at a low angle to emphasize the “waiting” process.
Step 5: Revealing Your Crystal Pumpkins
The moment of truth! After waiting patiently, you’ll see your pumpkin form is covered in shimmering crystals. Gently lift the pumpkin out of the jar by the pencil. You’ll be amazed at the transformation!
Let it hang over a paper towel or a sink for a few minutes to drip dry. Then, place it on a clean paper towel to dry completely. This can take an hour or so. Be gentle, as the crystals can be a bit fragile.
Image-5: A dramatic close-up shot of a hand carefully lifting a fully crystallized pumpkin out of the solution. The crystals are wet and glistening under a light, with a few drips falling back into the jar.
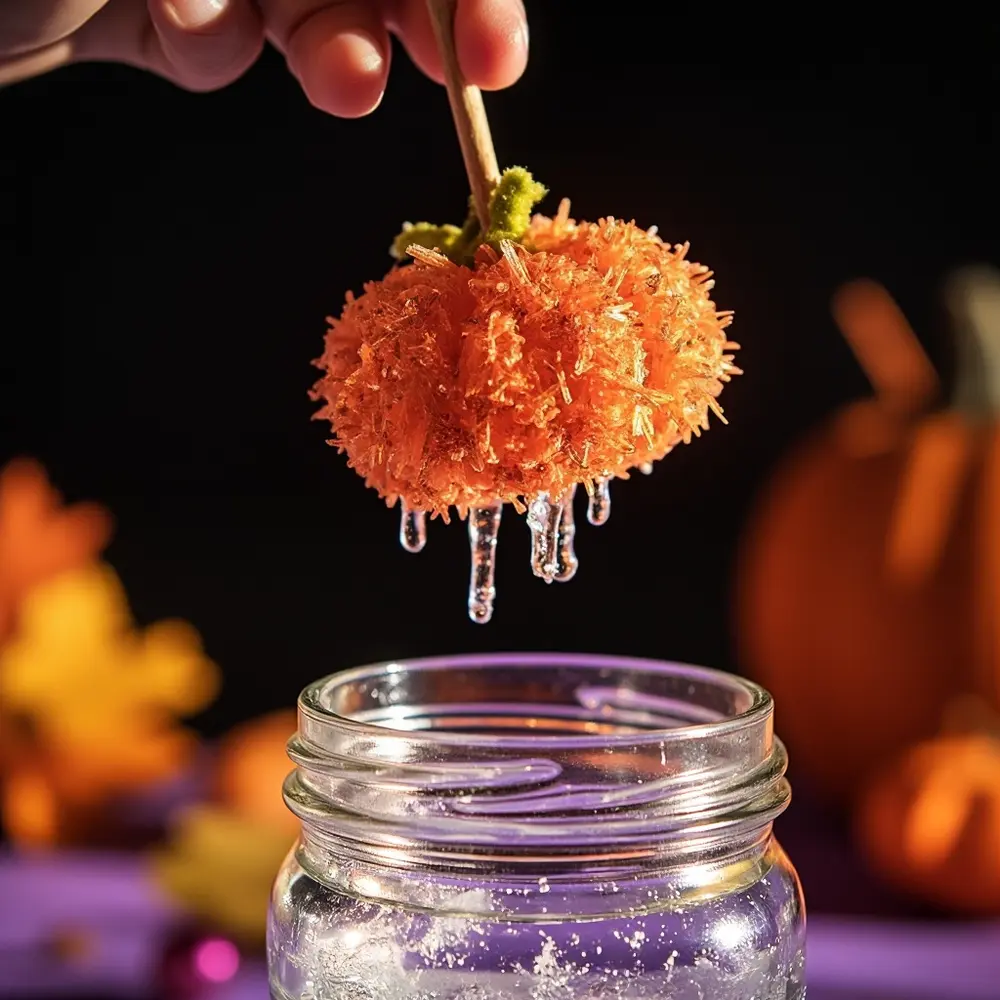
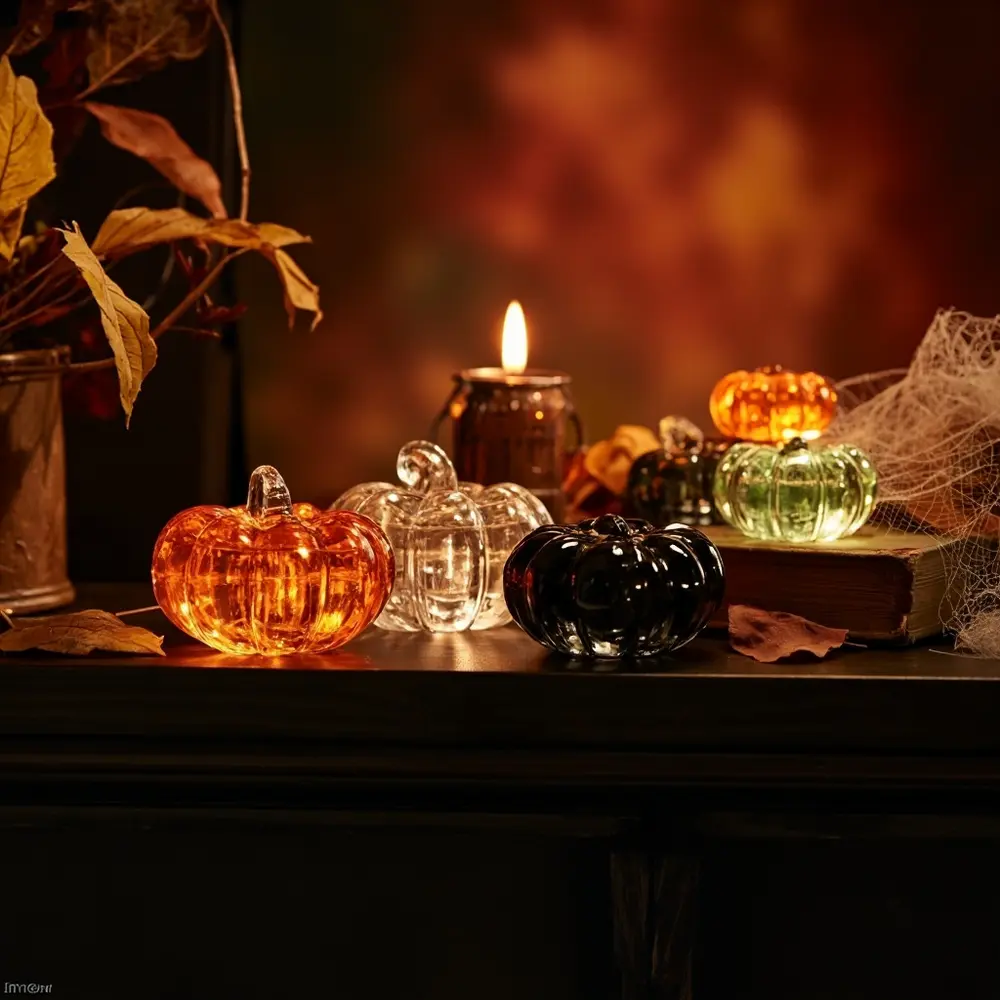
Image-6: A beautiful, slightly zoomed-out shot of the finished crystal pumpkins displayed on a dark wood mantelpiece. Some are grouped together, while one sits next to a small flickering LED candle. The full view captures their magical, decorative effect.
Displaying Your Crystal Pumpkins: From Science to Spooky Decor ✨
You did it! You turned a simple pipe cleaner into a glittering gem. Now, let’s show it off. The best part of this project, which I learned after making these for my own Halloween parties, is how versatile they are as decorations.
- Create a Magical Centerpiece: Arrange a cluster of your crystal pumpkins on a black table runner and weave tiny, battery-powered fairy lights among them. The light will catch the crystal facets and create an enchanting glow.
- Build a Spooky Vignette: Place your pumpkins on a bookshelf or side table with some fake spiderwebs, black candles (the flameless kind!), and maybe a spooky old book.
- Specimen Jars: Put a single, perfect crystal pumpkin inside a glass cloche or bell jar for a high-end “mad scientist’s specimen” look.
Variations & Customizations to Haunt Your House 🦇
- 🌈 Color Variations: Don’t stick to just orange! Try making black pumpkins with black food coloring for a chic, spooky look, or green for a “witch’s brew” feel.
- 🕷️ Different Shapes: Once you master pumpkins, why stop there? Use pipe cleaners to create crystal spiders, ghosts, bats, or even witch hats.
- ✨ Glow-in-the-Dark: After your crystals are completely dry, you can carefully paint them with a thin layer of glow-in-the-dark craft paint for an extra spooky surprise when the lights go out!
- ⬆️ Larger Scale: Want bigger crystals? The key is to let the solution cool as slowly as possible. Try wrapping your jar in a towel to insulate it.
Theme Twist 🔮: Create a “Haunted Crystal Cave”! Paint the inside of a cardboard box black, hang your various crystal creations (spiders, bats, etc.) from the “ceiling” with fishing line, and place a few purple or green LED lights inside to make everything sparkle ominously.
Halloween Activity FAQs ❓
Q1: Why aren’t my crystals growing?
This is a common issue! It usually means your solution wasn’t saturated enough. You either need more Borax for the amount of water you used, or the water wasn’t hot enough to dissolve it all. Try reheating the solution (with the pumpkin form removed!) and stirring in more Borax until no more will dissolve.
Q2: Can I reuse the Borax solution?
Absolutely! You can pour the solution into a pot, reheat it, and dissolve more Borax to bring it back to saturation. It’s a great way to make a whole pumpkin patch of crystals without wasting materials. I do this all the time for my workshops.
Q3: How do I store my crystal pumpkins?
Your crystal pumpkins are beautiful but delicate! To save them for next Halloween, wrap each one gently in tissue paper and store them in a sturdy box where they won’t get crushed. They should last for years to come.
*
Congratulations, you’ve successfully merged science and spooky season into one fantastic project! I absolutely love seeing how these turn out, as each one is completely unique. They are a perfect example of how a little bit of household chemistry can create something truly magical for your home.
What other shapes will you try to crystallize? Let me know in the comments—I’m always looking for new ideas for the lab! 🧪
