How to Make Custom Potion Bottle Favors for Your Magical Wedding
✨ After countless hours covered in glitter and glue while styling spooky-chic weddings, I’ve mastered the art of the perfect DIY wedding favor—testing, fixing fails, and discovering solutions that actually work.
😅 But I know the struggle: How do you create DIY wedding favors that look professional, not messy? And where do you even start with sourcing all the little pieces for a unique idea like a potion bottle craft?
👑 That’s why in this post, I’ll show you exactly how to solve these challenges with tips I’ve tested myself. Stick with me, and you’ll learn how to create stunning, personalized potion bottle favors while creating magical memories with your loved ones! 🎃
Tutorial At-a-Glance
Time Required: Approx. 2-3 hours (depending on quantity)
Budget Level: Moderate (can vary based on bottle/filler choice)
Skill Level: Beginner-Intermediate (some crafting involved)
What You’ll Need for Your Magical Potion Bottle Favors 🎃
My go-to trick for any DIY project is to gather every single item before you start. It saves you from that mid-crafting panic of realizing you’re missing something crucial. Here’s your complete checklist:
✅ Small glass or plastic bottles with corks/lids
✅ Label paper (adhesive or regular)
✅ Printer
✅ Scissors or craft knife
✅ Glue stick or spray adhesive (if using regular paper)
✅ Small funnel
✅ Your chosen shelf-stable fillers (see ideas below)
✅ (👑 Nancy’s Pick: I recommend 2-inch clear glass bottles with cork stoppers for an authentic apothecary look and easy filling. They look incredible and feel substantial in your guests’ hands.)
Crafting Your Enchanting Potion Bottle Favors: Step-by-Step Guide 🧵
A question I get all the time on my Instagram is how to tackle a big DIY project without getting overwhelmed. My problem-solving focus is all about breaking it down into simple, foolproof steps. This guide is designed to tackle common challenges—like finding the right supplies and getting labels perfect—ensuring your crafting experience is smooth and successful.
Step 1: Sourcing Your Perfect Potion Bottles
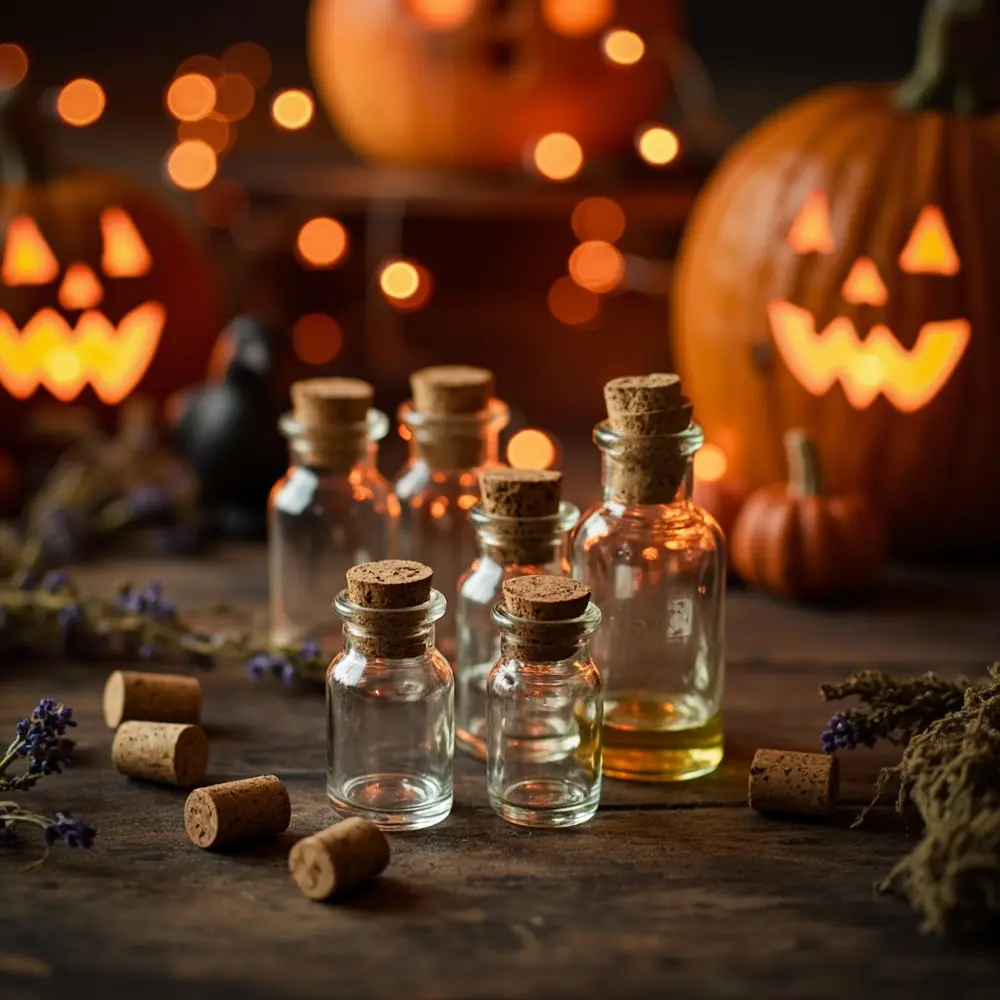
First things first, you need the perfect vessel for your magical concoctions! You can find small bottles at most craft stores or from online suppliers like Amazon or specialty packaging websites. Consider what you’re filling them with. For fine powders or teas, glass with a snug cork is perfect. For chunkier items like mini candies, a bottle with a wider mouth and a screw top might be better. After testing dozens of these for various events, I’ve found that glass always feels more high-end than plastic.
[Image Placement Instruction: image-1: A collection of various empty potion bottle styles and sizes, perhaps with corks and lids.]
Step 2: Designing & Printing Your Custom Potion Labels
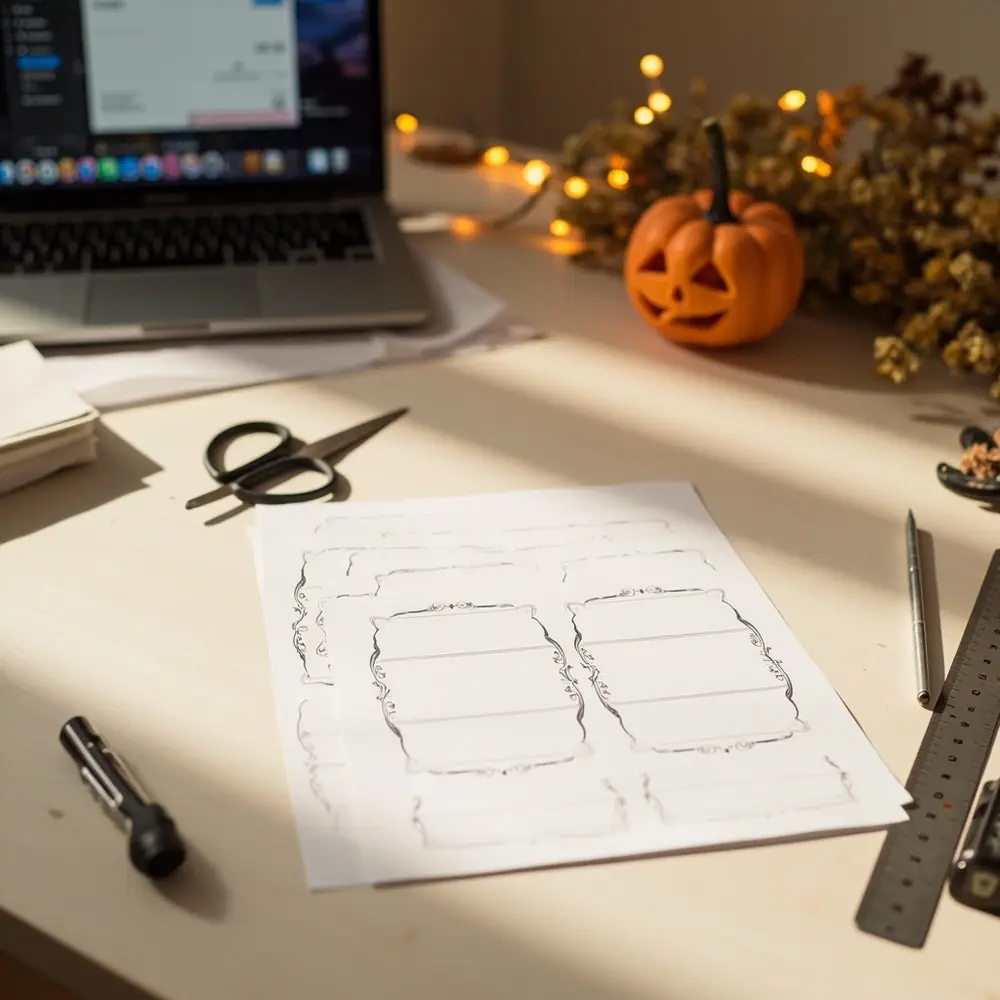
This is where the magic really happens! Custom labels transform simple bottles into personalized treasures. To make this step completely stress-free, I’ve created a free, editable Canva template just for you. Simply click the link, and you can easily change the text to your names, wedding date, and the “potion” name. You can also adjust colors to match your wedding theme. My go-to trick for a professional look is to always do a test print on regular paper first to check the size and alignment before using your special adhesive paper.
[Image Placement Instruction: image-2: Screenshot of the editable Canva template for potion labels, showing customization options and a placeholder for text.]
Step 3: Attaching Your Magical Labels
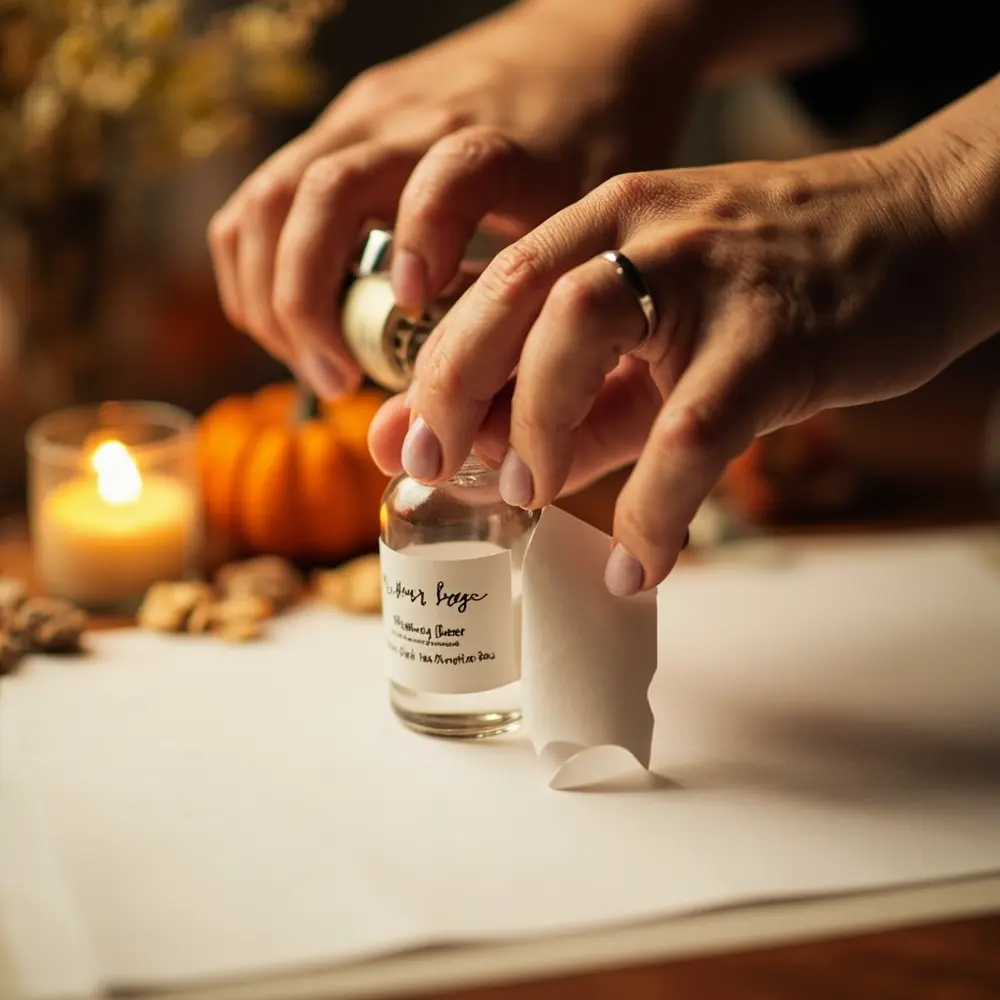
A mistake I always see is people rushing this step. Take your time to get a clean, professional finish! Carefully cut out your printed labels using sharp scissors or a craft knife for super straight edges. If you’re using adhesive paper, peel off the backing and carefully align one edge of the label with the bottle. Slowly press it down, smoothing from the center outwards to push out any air bubbles. If you used regular paper, apply a thin, even layer of glue and follow the same smoothing process.
⚠️ Safety First: Always be careful when using a craft knife. Cut on a protected surface like a cutting mat and keep your fingers clear of the blade. If you’re using spray adhesive, work in a well-ventilated area to avoid inhaling fumes.
[Image Placement Instruction: image-3: Close-up shot of hands carefully applying a custom label to a potion bottle.]
Step 4: Filling Your Potion Bottles with Enchantment
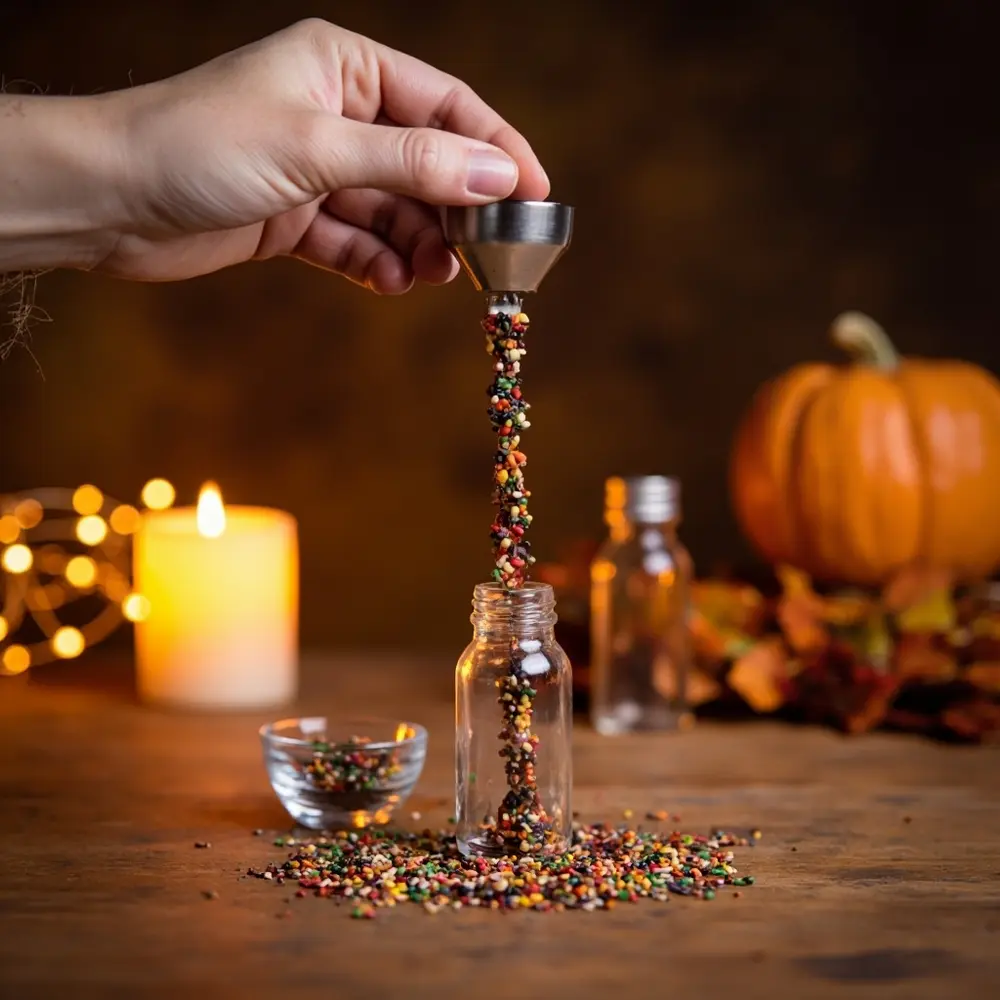
Now for the fun part! Using your small funnel, carefully pour your chosen filler into each bottle. Trust me on this, a tiny funnel is your best friend here. I learned this the hard way when I wanted to create “Fairy Dust” favors for a birthday party (the goal). I tried to pour glitter directly from the container and ended up with more shimmer on the table and floor than in the bottles (the failure). That’s when I realized a simple kitchen funnel makes the process 100 times cleaner and faster (the solution). Be sure not to overfill—leave a little space at the top so the cork or lid fits securely.
💡 Pro-Tip: For granular fillers like sprinkles or bath salts, use a small scoop or a 1/4 teaspoon measuring spoon to pour into the funnel. This gives you more control and minimizes mess.
[Image Placement Instruction: image-4: A hand using a small funnel to fill a potion bottle with a chosen filler (e.g., tea leaves or sprinkles).]
Step 5: Sealing Your Favors with a Spell
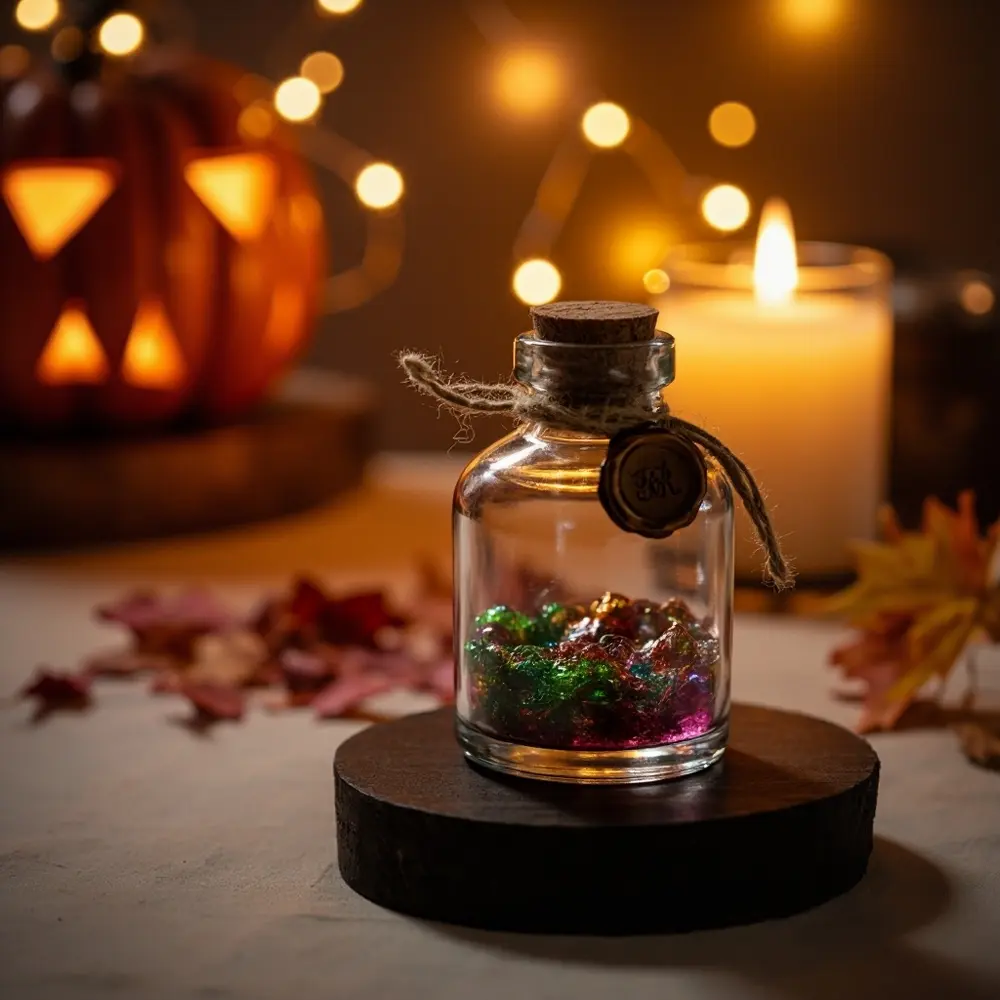
The final touch is sealing your potion to lock in the magic. Press corks in firmly or screw lids on tightly to prevent any spills. To elevate the look, consider adding a decorative element. You can tie a small piece of twine or ribbon around the neck of the bottle. For an extra touch of magic that I love using for weddings, a simple wax seal pressed with a custom initial can make these DIY wedding favors look incredibly luxurious.
[Image Placement Instruction: image-5: A fully assembled and sealed potion bottle favor, perhaps with a decorative twine bow or a wax seal.]
Unique & Shelf-Stable Potion Filler Ideas 🎨
As a crafting expert who has planned dozens of themed events, I know the key is finding fillers that are both beautiful and practical. You want something that will last and won’t cause a mess for your guests. Here are some of my favorite shelf-stable ideas for your potion bottle craft:
- Edible Options: Loose leaf tea blends (“Love Potion Tea”), gourmet hot chocolate mix (“Warmth Potion”), colorful sprinkles (“Fairy Dust”), mini candies (“Sweet Elixir”).
- Non-Edible Options: Bath salts (“Relaxation Potion”), tiny dried flowers (“Everlasting Bloom”), glitter (“Stardust”), small beads/charms (“Wish Charms”), essential oil blends (“Calm Elixir”).
Variations & Customizations 👻
One of my favorite things about this DIY is how easily you can adapt it. I’ve used this exact method for so many different parties! Here are a few ideas to get your creativity flowing:
- Different Themes: Adapt labels and fillers for other events like Halloween (“Witchy Brew”), baby showers (“Baby Dust”), or birthdays (“Celebration Elixir”).
- Personalized Touches: Incorporate personalized tags or ribbons with guest names to double as seating arrangements.
- Bottle Shapes: Experiment with different bottle shapes (e.g., test tubes, mini flasks) for a varied and unique look on your favor table.
Potion Bottle Favor FAQs 🤔
Q1: How far in advance can I make these potion bottle favors without compromising quality?
For edible wedding favors with dry ingredients like tea, spices, or hot chocolate mix, you can safely make them 1-2 months in advance as long as they are sealed tightly and stored in a cool, dry place. For non-edible options like bath salts or glitter, you can make them 3-4 months ahead of time.
Q2: What should I do if my labels aren’t sticking well to the glass bottles?
This is a common issue! The best solution is to prep your bottles first. Before applying labels, wipe each bottle with a cotton ball soaked in rubbing alcohol and let it dry completely. This removes any oils or residue from the glass, creating a perfect surface for the adhesive to grip. If they still peel, a thin layer of clear Mod Podge over the top of the label will seal it on for good.
Q3: Can I use liquid fillers, and what are the best practices for sealing them to prevent leaks?
While possible, I generally advise against liquid fillers for DIY favors unless you’re using high-quality, screw-top bottles. Corks can leak! If you decide to use a liquid, choose a bottle with a screw-on cap that has a plastic liner inside. For extra security, you can wrap the bottle threads with plumber’s tape before screwing on the cap to create a watertight seal. Always do a test by filling one bottle and leaving it on its side overnight.
And there you have it—your complete guide to creating unforgettable potion bottle favors! I hope this tutorial makes your DIY wedding favor journey feel less intimidating and a lot more magical. Which potion filler idea are you most excited to try? Let me know in the comments below! ✨
