How to Create a Cute & Charming Halloween Theme (Perfect for Kids!)
Tired of the jump scares and gory decorations that seem to take over Halloween? 👻 I totally get it. You’re dreaming of a holiday filled with giggling ghosts and smiling pumpkins that your little ones will absolutely love. Making a Halloween theme that’s more sweet than spooky is the perfect way to create magical memories!
But figuring out where to even start can feel like a monster of a task. It’s easy to get lost in a sea of scattered ideas and end up with a last-minute scramble. 😥
Forget all that stress! This guide is my personal roadmap for any parent who wants to design a cohesive and charming Halloween vibe. We’ll walk through a simple, step-by-step process to bring your delightful, kid-friendly vision to life. Let’s get started! 🎃
- Difficulty Level 🦴: Beginner
- Time to Complete ⏳: Planning: Approx. 1-2 hours; Execution: Varies (A fun weekend project!)
- Estimated Cost 💰: Varies (DIY-friendly from $20+)
- Prerequisites 🧠: A desire to create a fun, non-scary Halloween for your kids!
Tools & Materials Needed 🛠️
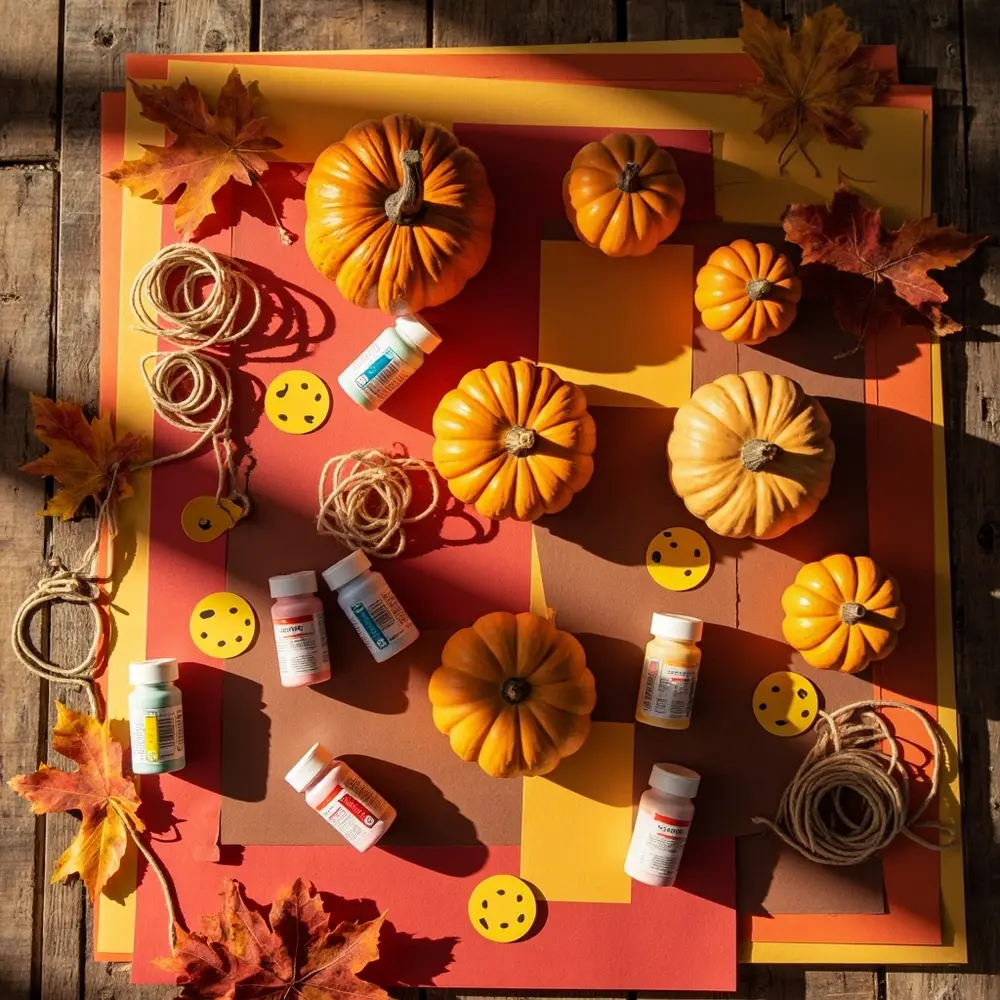
Before we jump into the fun part, a little prep work will make everything go so much smoother. Think of this as gathering your magic wand and spellbook before you start creating the enchantment!
- Inspiration Hub: A Pinterest account, a physical corkboard, or even just a simple notebook to collect all your brilliant ideas.
- Budget: A clear idea of what you’d like to spend. This really helps when deciding between fun DIY projects and store-bought goodies.
- Potential Basic Supplies: Depending on your awesome plan, you might need things like construction paper, non-toxic paint, pumpkins (real or craft ones work great), string, and some friendly-faced stickers.
Before you do anything else, let’s get your main planning tools set up. First, set a budget. Decide on a spending limit for everything. Trust me, this little step prevents a lot of headaches later!
Next, create your inspiration board. I personally love using Pinterest. Just create a new, blank board and title it something like “Cute Halloween Theme.” This is where all your amazing ideas are going to live. It’s your creative command center!
Step-by-Step Tutorial 🛠️
Step 1 – Brainstorm Your Core “Cute” Concept
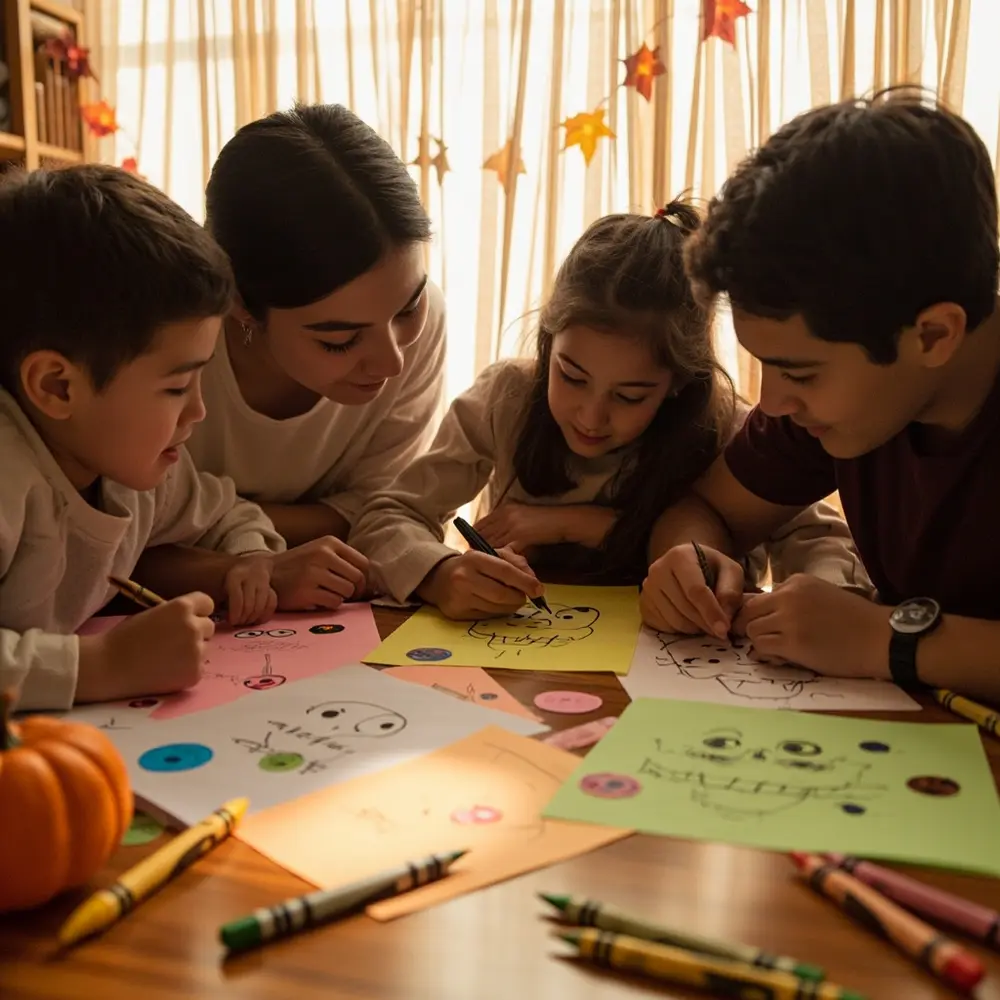
The goal here is to narrow down your ideas and pick one single, unifying theme. This theme will be your North Star for every decorating decision you make.
“Cute” is a great starting point, but let’s get more specific! A focused concept makes it so much easier to create a polished, cohesive look. I love sitting down with my family to brainstorm—get your kids involved and see what they come up with!
- Friendly Ghosts: Think Casper, not ghouls. This theme uses lots of white, soft pastels, and smiley faces on everything. It’s always a winner!
- Pumpkin Patch Party: A true classic for a reason! Focus on shades of orange, green, and rustic textures like burlap, all with the happiest-faced pumpkins you can find.
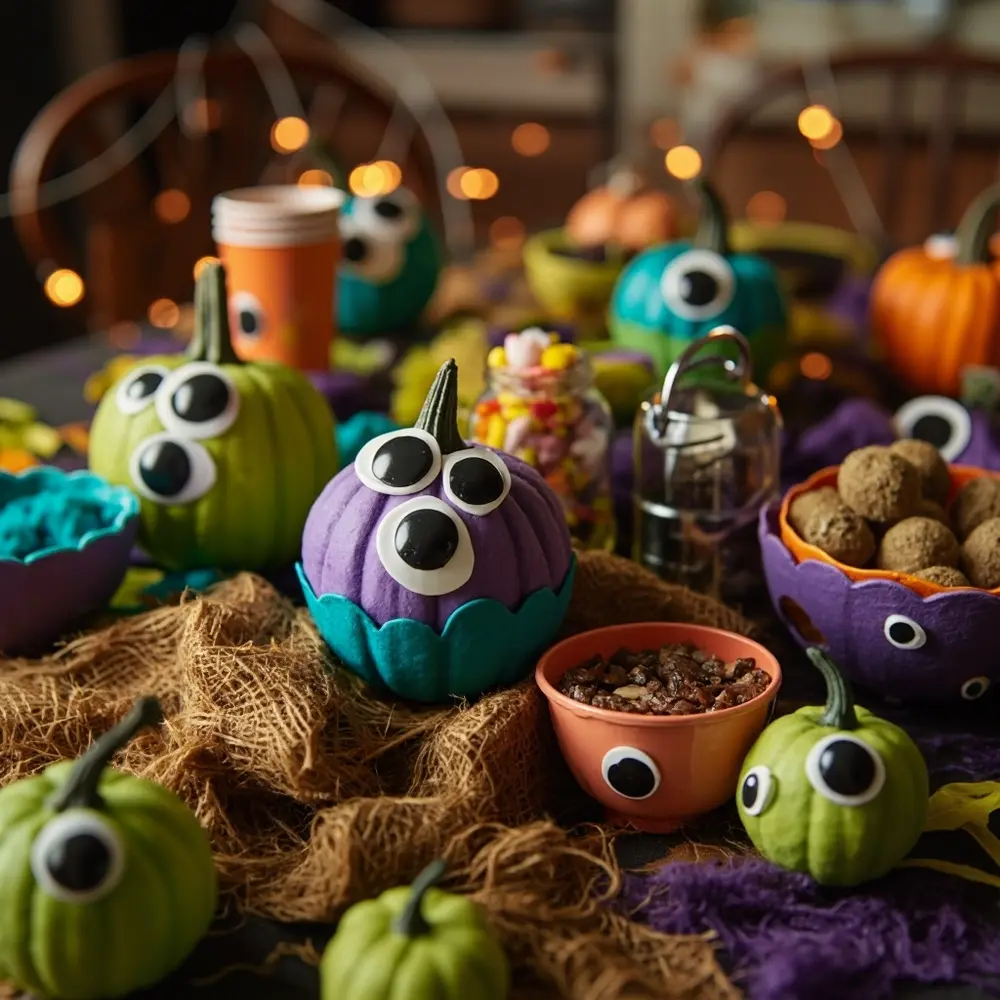
- Silly Little Monsters: This is my personal favorite for pure fun. Use bright, candy colors like lime green, teal, and purple. The secret ingredient? Googly eyes on everything.
- Witch’s Sweet Shop: Imagine a friendly witch who bakes candy potions. This means pastel cauldrons, candy corn color schemes, and whimsical little broomsticks.
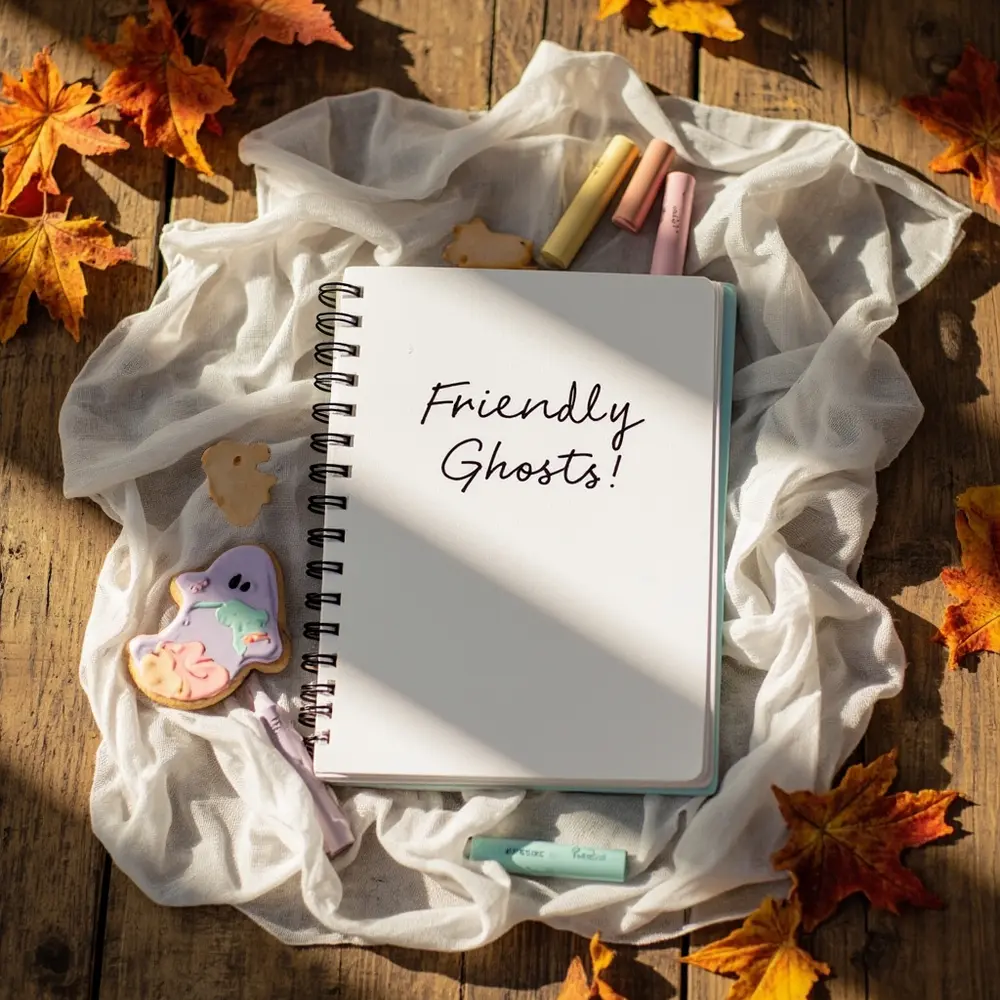
Once you’ve chatted about the options, choose the one concept that gets everyone the most excited. Write this down at the top of your notebook or planning page. This is your official theme!
Step 2 – Define Your Color Palette & Mood Board
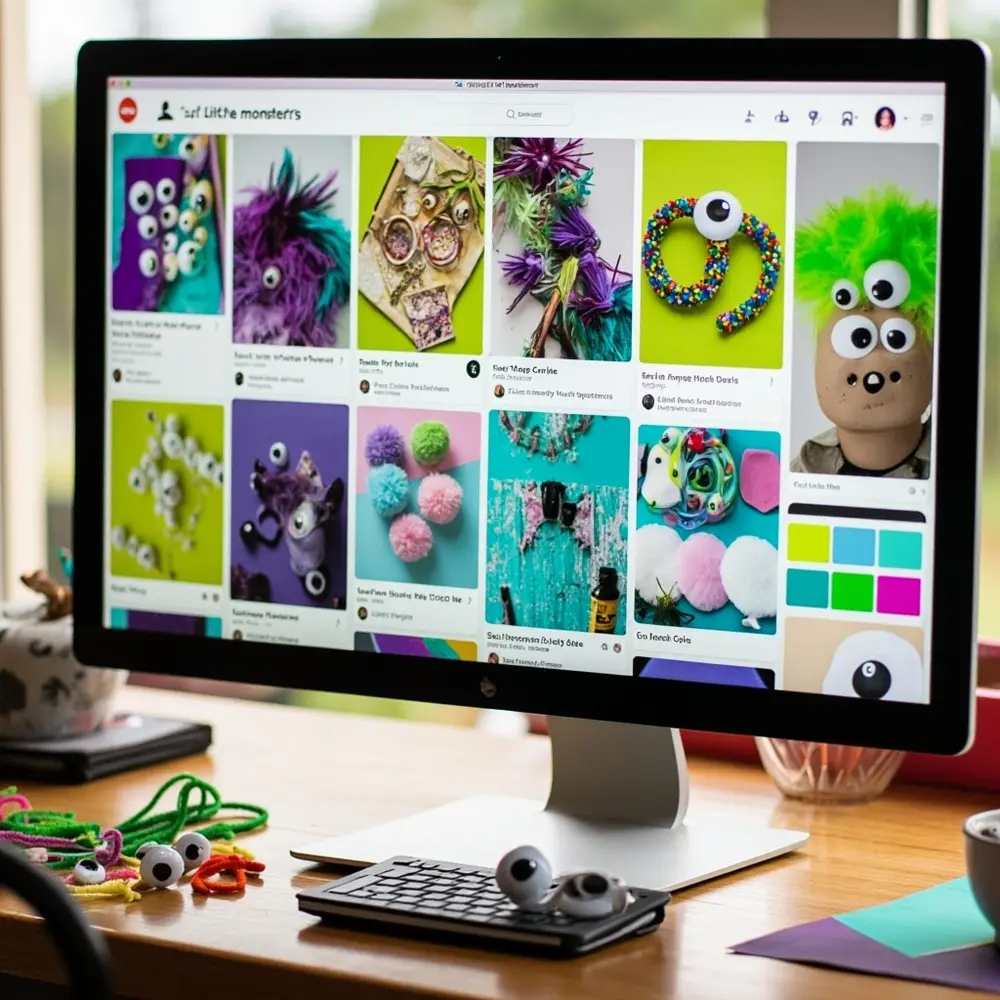
Now that you have your concept, let’s build a visual guide. This mood board will make sure all your decorations, crafts, and even your treats look like they belong together.
- Select 3-4 Key Colors: Based on your theme, pick a main color and 2-3 accent colors. For a “Friendly Ghosts” theme, I’d probably choose white as the main color, with pastel pink and soft orange as accents.
- Gather Inspiration Images: Head over to Pinterest or Google Images and search for terms related to your concept. Try things like “cute ghost decorations” or “pastel halloween party.”
- Build Your Mood Board: Pin at least 10-15 images to your Pinterest board that really capture the vibe and match your chosen color palette. Look for textures, patterns, and feelings you want to create at home.
Important Note: Don’t just pin pictures of decorations. Pin anything that fits the vibe! This could be illustrations, cool color swatches, or even cute food ideas. This helps you build a complete picture of the atmosphere you’re creating.
Step 3 – Plan Your Key Decoration Zones
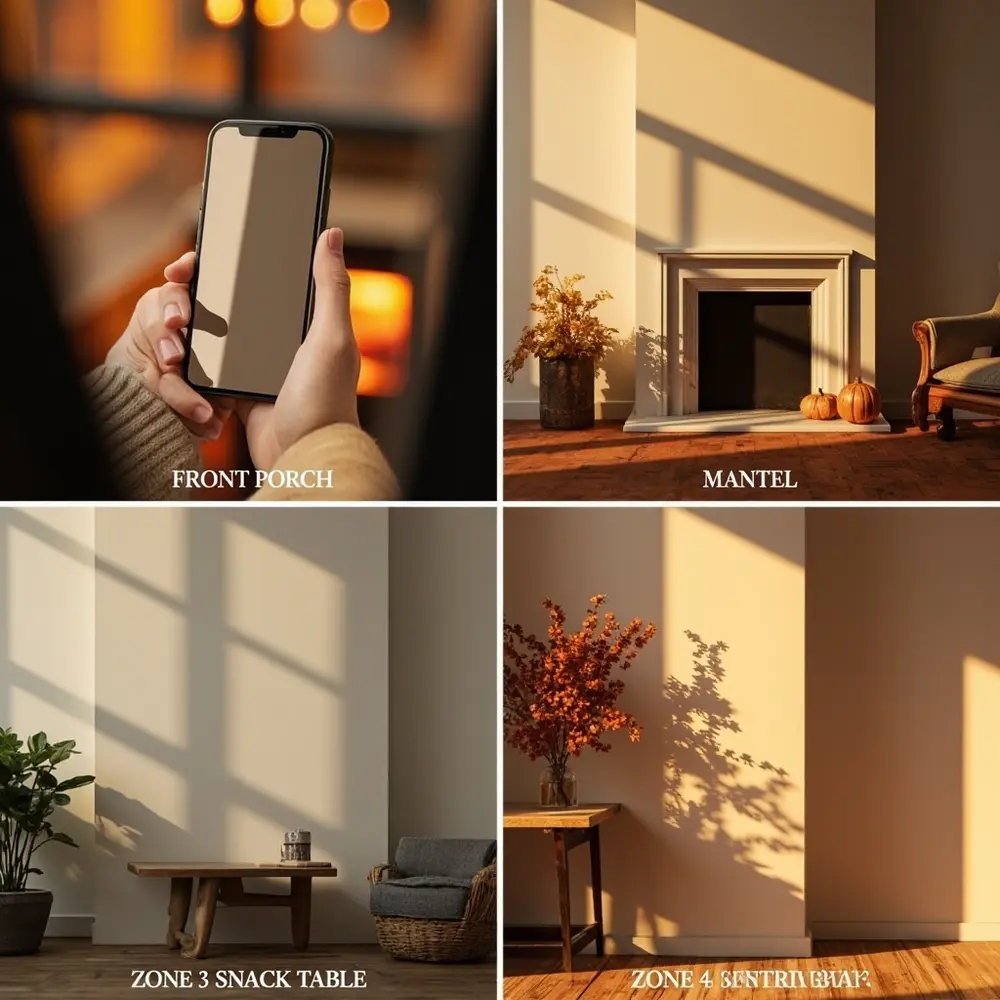
To get the biggest bang for your buck and effort, it’s best to focus on a few key areas instead of scattering decorations randomly all over the house.
- Walk Through Your Home: With your theme in mind, identify 2-4 high-traffic or high-impact “zones” you want to transform.
- Identify Your Zones: Not sure where to start? Here are some common zones that make a huge impact:
- The Front Porch or Door
- The Entryway or Foyer
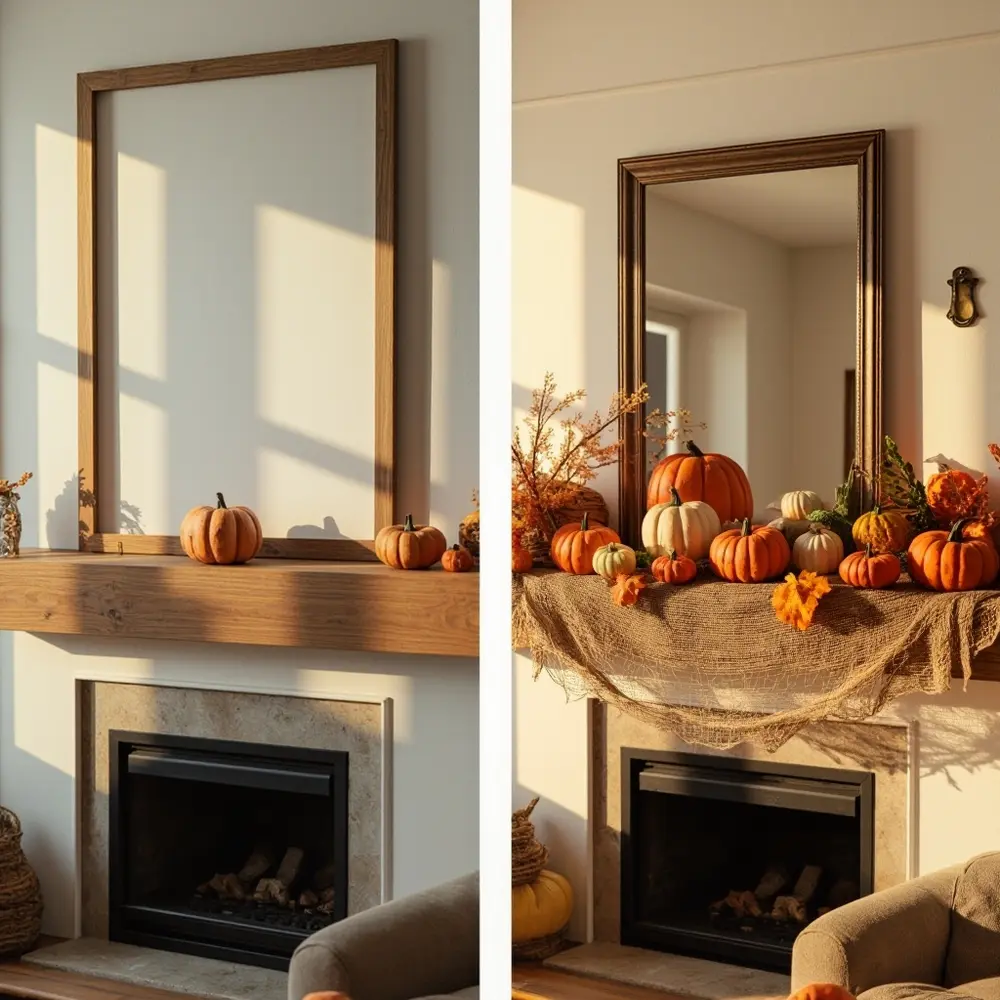
- A Fireplace Mantel or a Main Shelf
- The Snack and Treat Table (always a focal point!)
- Take a “Before” Picture of each zone with your phone. This is a super fun step! It helps you visualize the space and truly appreciate the amazing transformation you’re about to make.
Step 4 – Curate Your Decorations (DIY vs. Buy)
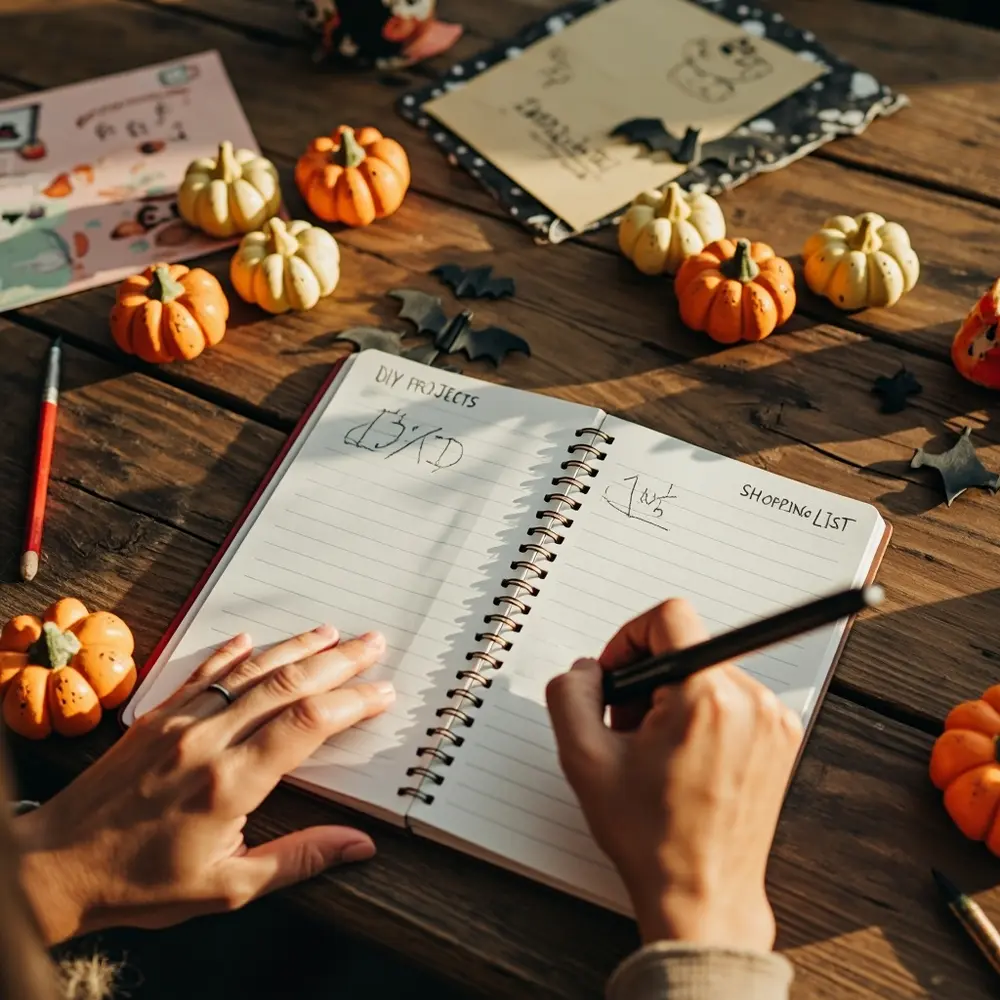
It’s time to make a list! Look at your mood board and your chosen zones, and let’s create a shopping and crafting plan that fits your theme and budget perfectly.

- “Shop” Your Own Home First: You’d be surprised what you already have! Do you own any cake stands, vases, blankets, or baskets that fit your color palette? Pull them out!
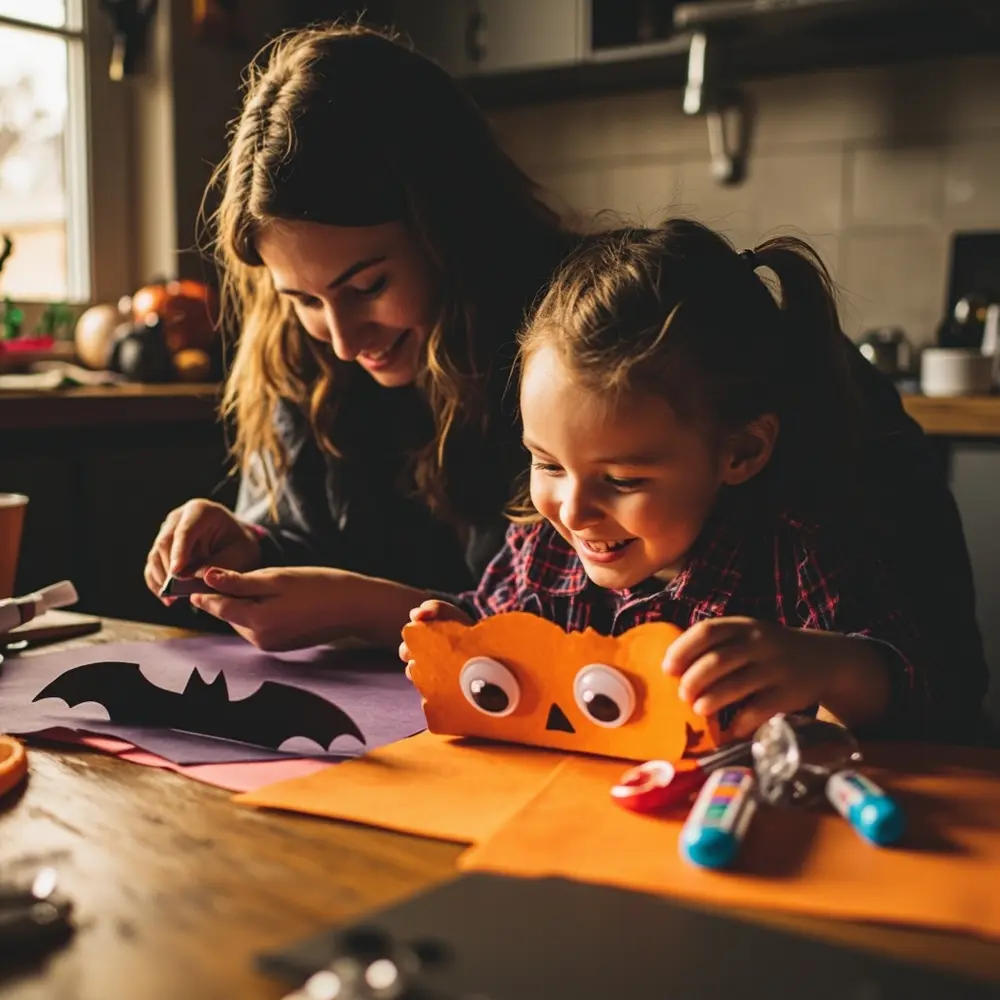
- Create a DIY List: Pick 1-2 simple but high-impact crafts you can do with the kids. This could be something like painting friendly faces on mini pumpkins or making a simple paper bat garland.
- Create a Shopping List: Now list the specific items you need to buy. Be very specific! Don’t just write “porch stuff.” Instead, write “2 large happy-faced pumpkins, 1 pastel-colored welcome mat.”
⚠️ Warning: When you’re shopping for seasonal items, always double-check the return policy. Many stores have a “final sale” policy on holiday decor, and you don’t want to get stuck with something that doesn’t fit your theme.
Step 5 – Test & Review Your Final Look
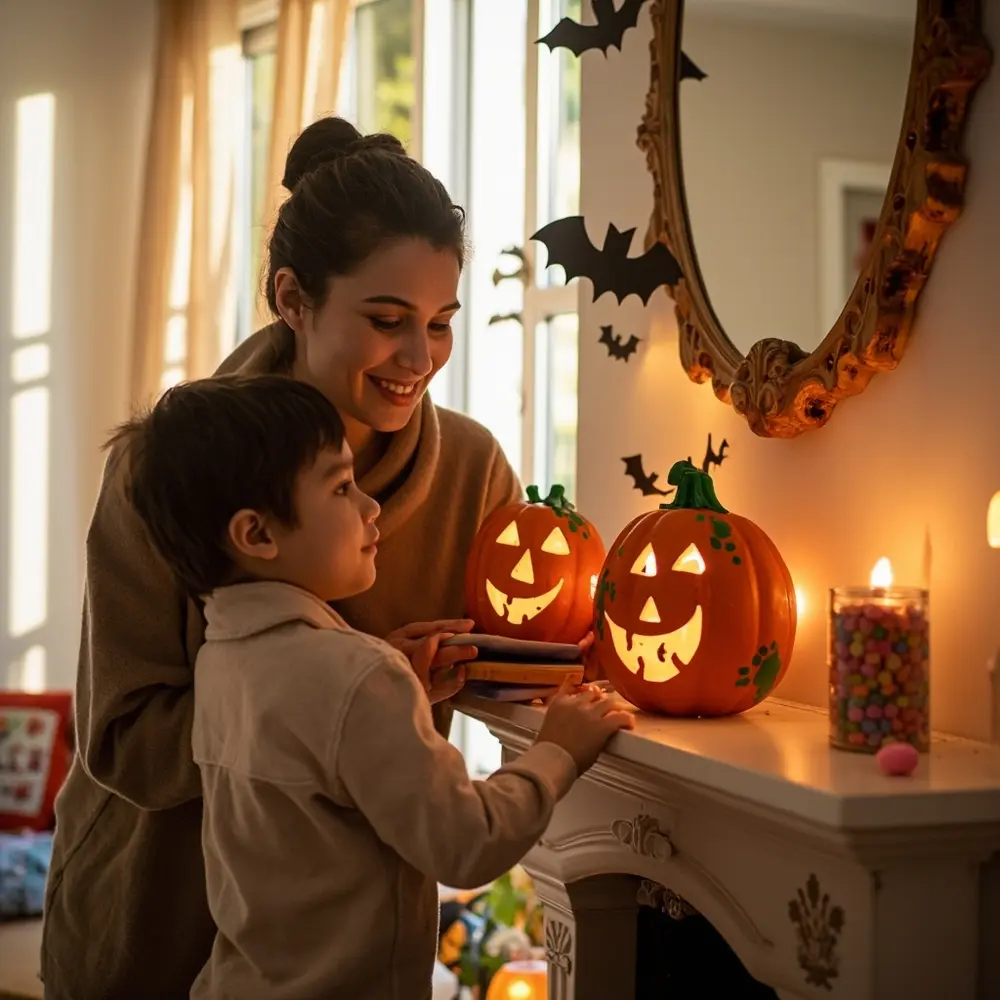
This is the most exciting part! It’s time to bring your vision to life. Let’s get decorating!
- Start with a Clean Slate: Tidy up each zone before you begin. A clear space makes decorating so much easier and more fun.
- Decorate One Zone at a Time: Place your largest items first—I call these the “anchors”—and then fill in the space around them with your smaller, more detailed decorations.
- Step Back and Review: Constantly refer back to your mood board. Does the zone match the vibe you were going for? Does it feel balanced? Don’t be afraid to move things around!
- Do a “Kid-Friendly Check”: This is crucial. Crouch down and look at everything from a child’s height. Make sure there are no sharp objects or fragile items within their easy reach.
- Take an “After” Photo! Compare it to your before photo and give yourself a huge pat on the back. You did it!
My Pro-Tips for a Cohesive Theme ✨
Lots of guides give you isolated craft ideas, but the real secret to a charming theme is making everything feel connected. Your planning is about to pay off big time, creating a unified atmosphere instead of just a clutter of cute-but-random objects.
- The Power of Repetition: Your theme gets stronger when you repeat key elements. If your theme is “Silly Little Monsters,” don’t just have one monster craft. Stick googly eyes on pumpkins, on the treat bowl, and on paper cups. Repetition is what makes a theme feel intentional and professional.
- Stick to Your Color Palette: This is my most important rule. If you find an adorable decoration but it clashes with your 3-4 chosen colors, you have to be strong and skip it. A strict color palette is the fastest way to get a high-end, cohesive look, even on a tiny budget.
- Vary Your Scale and Texture: In each zone, mix large, medium, and small items. If you have large pumpkins on the floor, add a medium-sized sign on the wall and small decorative bats. I also love mixing textures—like rough burlap, soft felt, and smooth ceramic—to add depth and make things interesting to look at.
My Personal Tip: When I first launched my ‘Spooky Sharma’ blog, I learned this lesson the hard way. My early photos were a jumble of colors! Now, for my own parties or for clients, I live by the color palette rule. Combining repetition, color discipline, and varied scale is what separates a professionally styled look from a cluttered one.
Troubleshooting & Common Questions ❓
Q: My space is very small. How can I create a theme without it feeling cluttered?
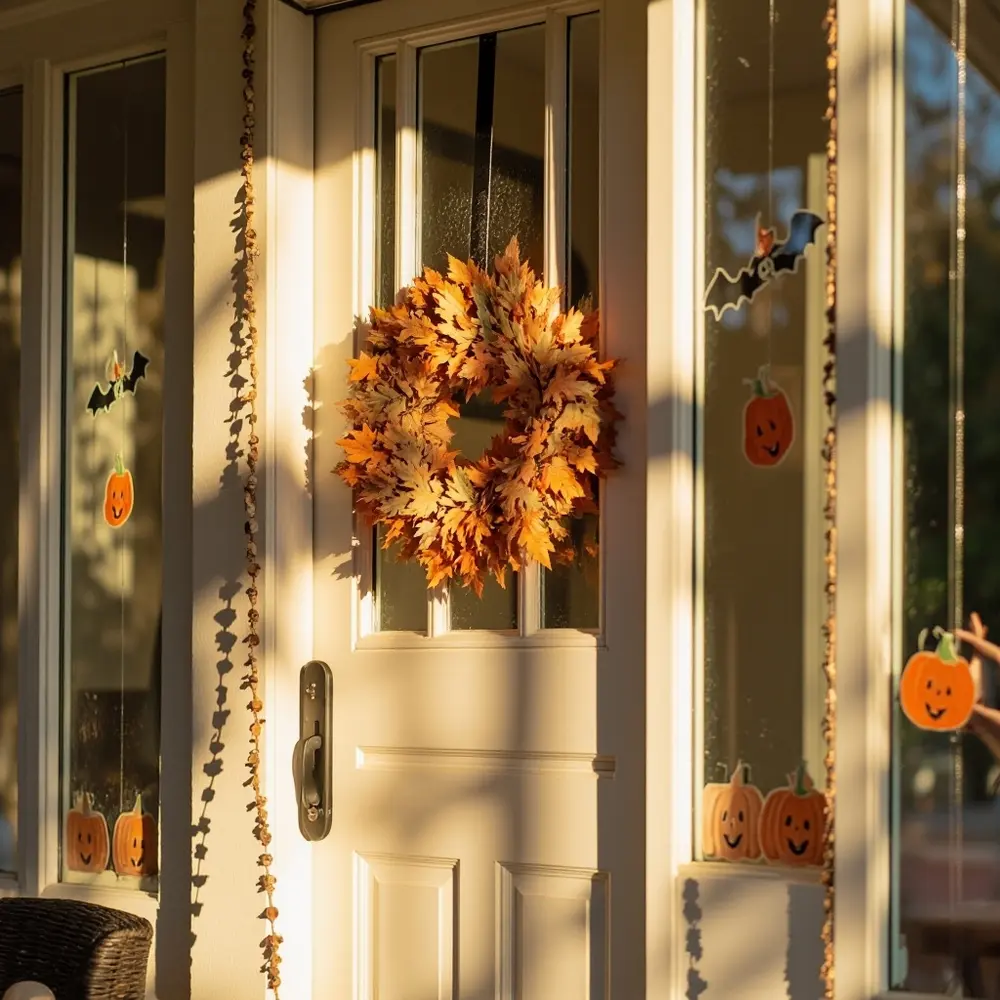
A: Great question! The key is to focus on vertical space. Use your walls, doors, and windows! A cute garland, a wreath on the front door that fits your theme, or some removable window clings can add a huge festive punch without taking up a single inch of floor space. My advice is to choose one “zone,” like your front door, and just make it absolutely amazing.
Q: How can I do this on a really tight budget?
A: I love this challenge! Your best friends here are DIY projects and printables. You can find tons of free or cheap cute Halloween banners, tags, and art online that you can print at home. Also, focus your budget on one or two things that make a big impact, like a few unique pumpkins you paint yourself, rather than a bunch of small, cheap-looking items.
Q: My kids want something a bit spooky. How do I balance “cute” and “spooky”?
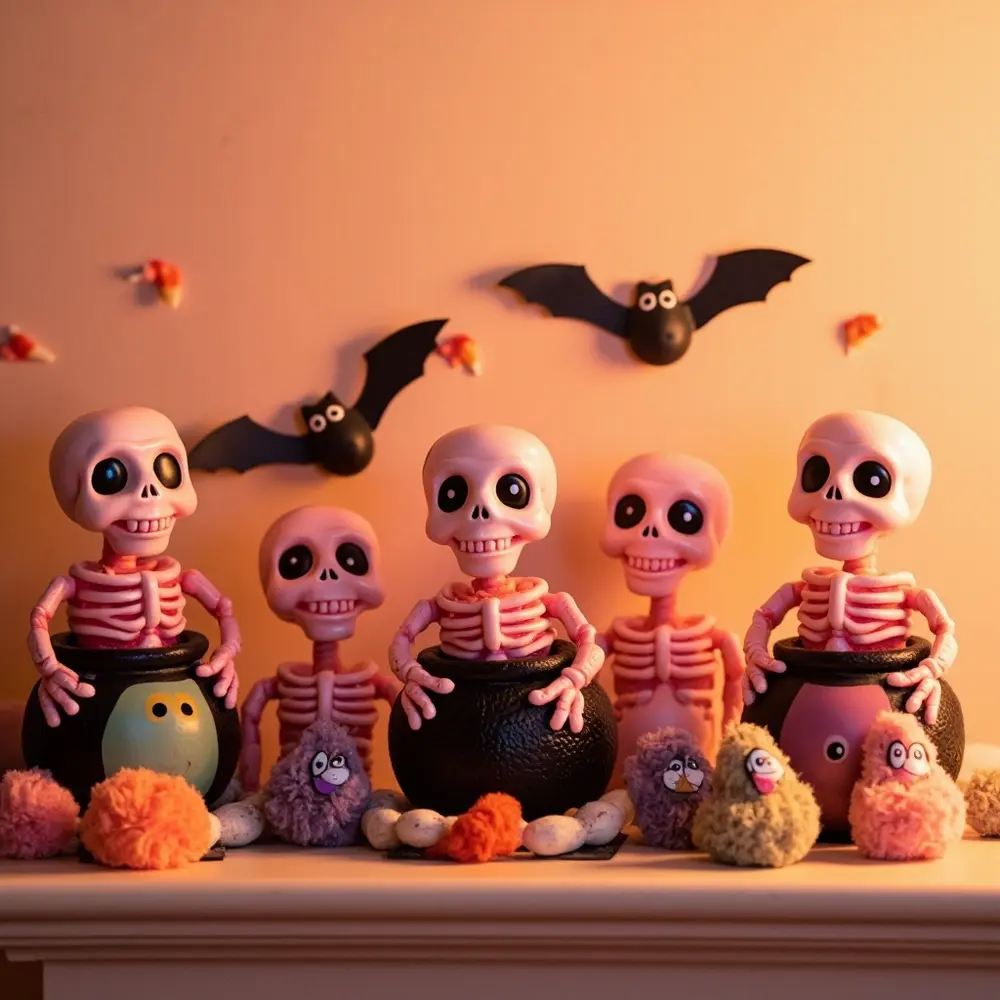
A: It’s all about context and styling! Spooky elements like bats, spiders, and skeletons can easily be made cute. The secret is using your chosen color palette and keeping the faces friendly. Think about pink skeletons, smiling bats with big cartoon eyes, or spiders made from soft, colorful pom-poms. Just avoid anything with gore, snarling faces, or threatening poses, and you’ll strike the perfect balance.
Taking It to the Next Level 🚀
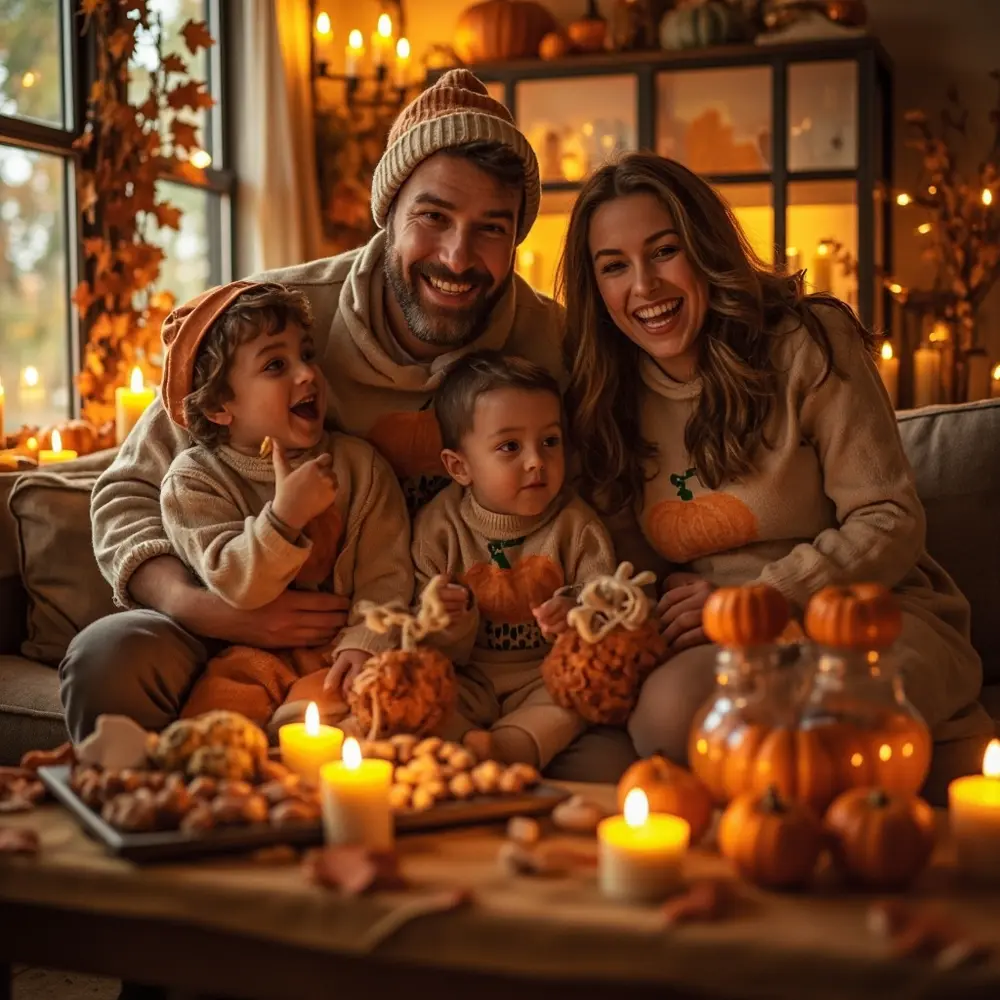
You’ve created a wonderfully cute Halloween home! Now, how can you extend the fun and make it even more memorable?
- Plan a Small Party: Now that your house looks amazing, plan a small Halloween party or a playdate to show off your themed space! You can even create a simple, themed snack board that matches your color palette.
- Engage the Other Senses: Create a “cute Halloween” music playlist with fun, upbeat songs (you can never go wrong with “Monster Mash”!). If your theme is a “Witch’s Sweet Shop,” a cinnamon or apple-scented candle can make the theme feel even more real.
- Coordinate Your Costumes: This is the ultimate move for the perfect photo op! Have the family’s costumes match the house theme. If your house is a “Pumpkin Patch Party,” imagine how cute pictures of your little pumpkins will be!
Conclusion (My Final Thoughts) 👻
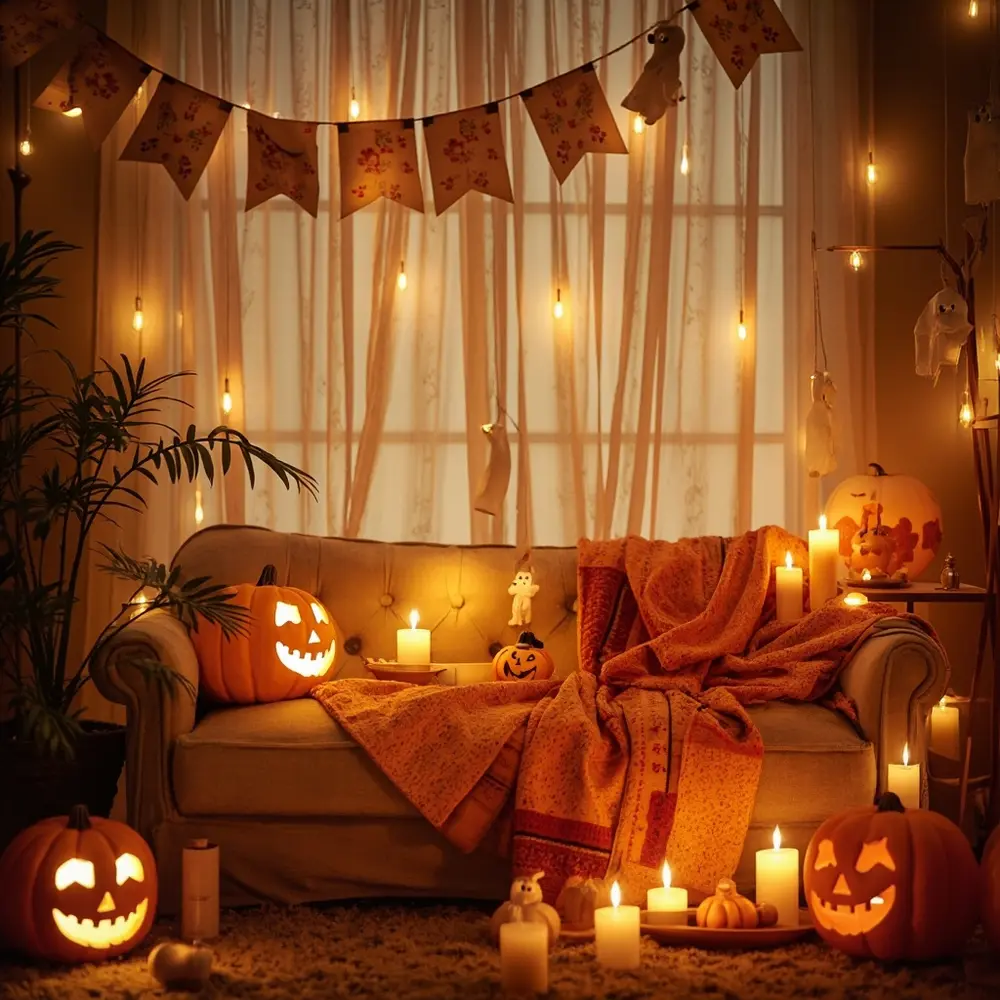
Congratulations! You’ve officially created a Halloween theme that’s absolutely brimming with charm and personality. By taking a little time to plan, you’ve done more than just decorate your home—you’ve built a magical backdrop for family memories that will last a lifetime.
You’ve totally proven that Halloween doesn’t need to be scary to be fun, festive, and special. The real magic of the holiday is the joy and wonder you create together, and your beautifully themed home is the perfect stage for all of it. Stand back, admire your incredible work, and feel proud!
So, I have to ask: What cute theme did you and your family decide to create this year? Share your amazing ideas in the comments below!
