– How to Create a ‘Cute-Spooky’ Vibe That’s Fun for Toddlers
Are you dreaming of a fun Halloween for your toddler but worried that typical spooky decorations might be too much for your little one? 😟 You want all the festive fun of the season without triggering any frights or nightmares. Imagine your home filled with smiling pumpkins, giggling ghosts, and friendly bats that spark curiosity, not fear. This tutorial is my personal guide for you. I’m going to walk you through creating a perfectly balanced ‘cute-spooky’ atmosphere that is 100% toddler-friendly and an absolute blast to make. You don’t need to be a crafting expert or an interior designer. I’ve broken it all down into simple, step-by-step instructions to help you transform your space into a whimsical wonderland your child will adore, guaranteeing a season of giggles instead of gasps. 🎃
- Difficulty Level 🦴: Easy/Beginner
- Time to Complete ⏳: Approx. 1-2 hours for several decorations
- Estimated Cost 💰: Under $25
- Prerequisites 🧠: A desire for a fun, scare-free Halloween!
Prerequisites: What You’ll Need Before You Start 🛠️
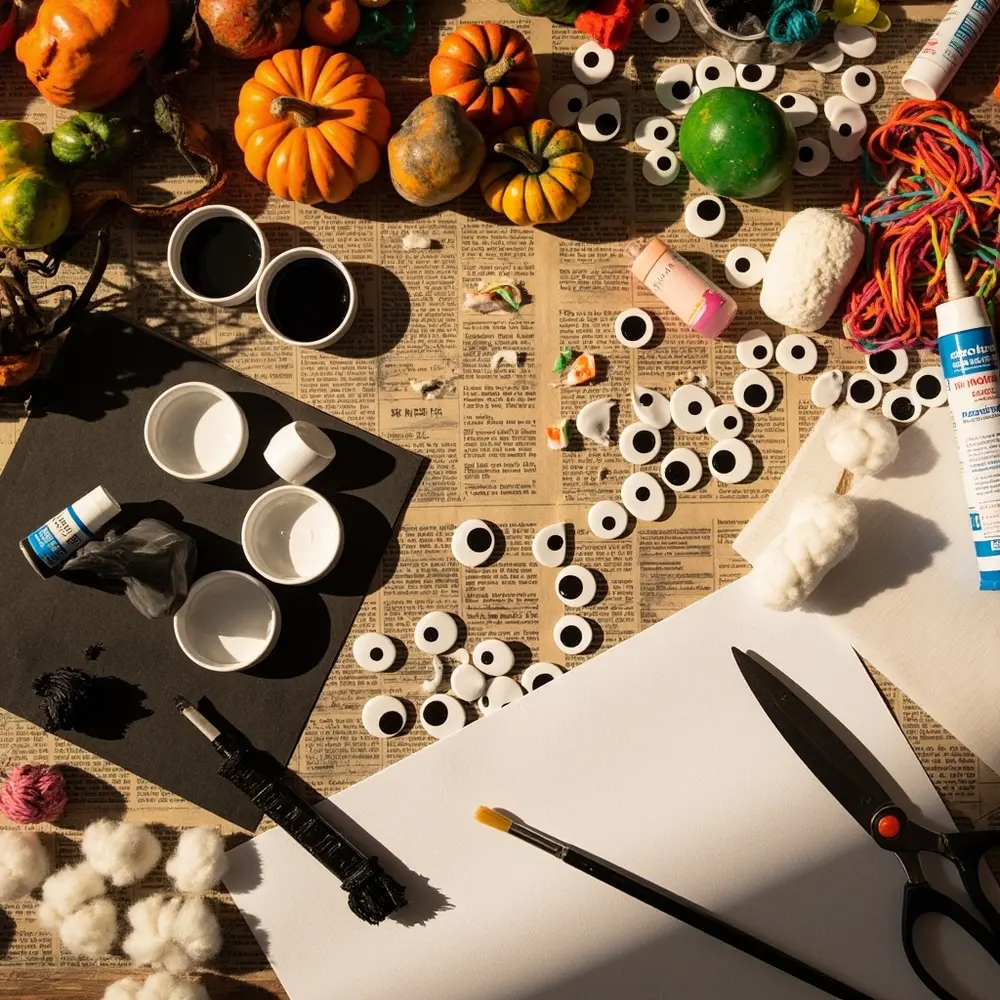
Before we conjure up our cute-spooky friends, let’s gather our magical materials. From my experience helping families create their first Halloween setups, I’ve learned the key is to use soft, familiar, and non-toxic items. It makes the whole process smoother and safer.
- Pumpkins: A few small pie pumpkins or gourds (no carving needed!)
- Washable, Non-Toxic Paint: Black, white, and a few fun pastel colors like lavender, mint green, or light orange.
- Paint Brushes: A few different sizes.
- Googly Eyes: I always recommend the self-adhesive ones as they are easiest for little hands. Get various sizes for different characters.
- Black & White Construction Paper: For crafting bats and ghost details.
- Cotton Balls or White Felt: For making fluffy ghosts.
- Toddler-Safe Glue or Glue Stick: Always double-check that it’s non-toxic.
- String or Yarn: For hanging our creations.
- Blunt-nosed Toddler Scissors: For any cutting you do with your little helper.
Now, let’s get our crafting station ready.
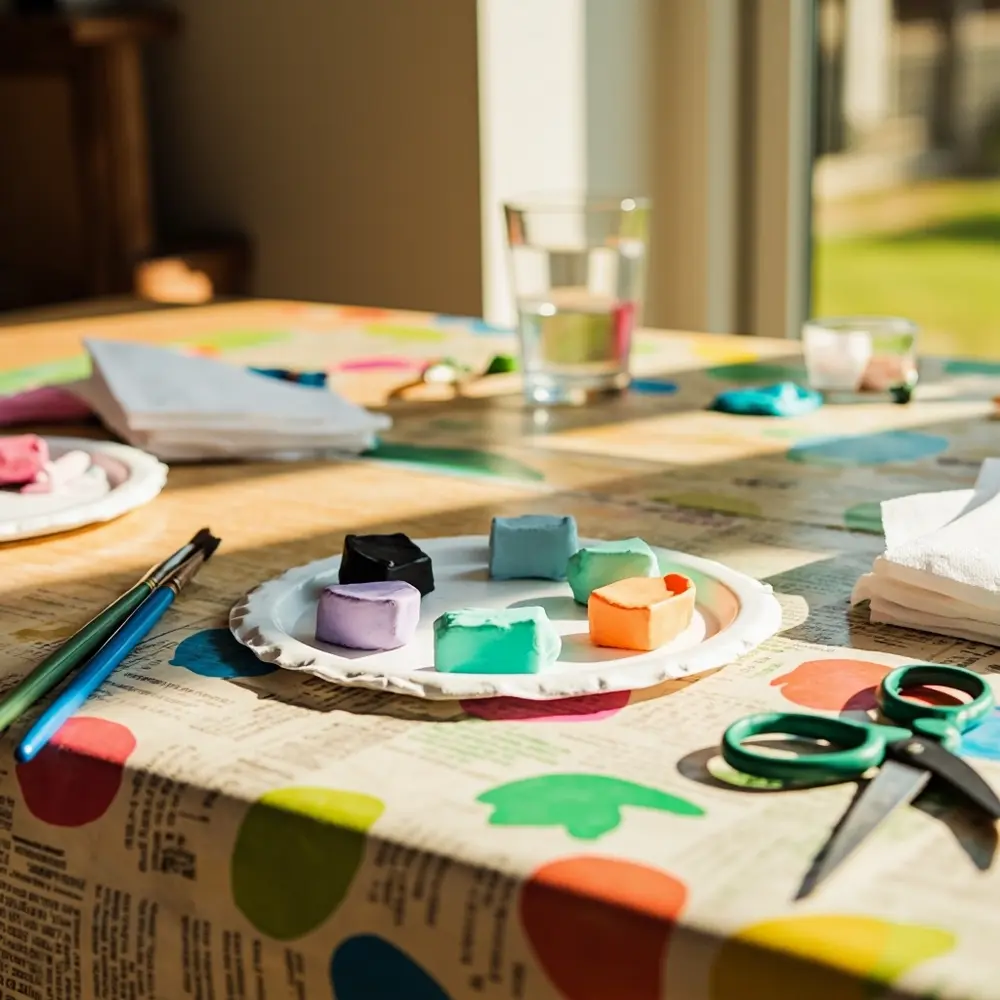
First, lay down newspaper or a plastic tablecloth on your crafting surface to protect it from paint and glue. Then, pour small amounts of paint onto a paper plate for easy access. Finally, have a cup of water ready for rinsing brushes and some paper towels for the inevitable clean-up.
⚠️ Warning: Always supervise your toddler closely during craft time, especially with small items like googly eyes which can be a choking hazard.
Step-by-Step Tutorial 🛠️
Step 1 – Crafting a Coterie of Friendly Ghosts
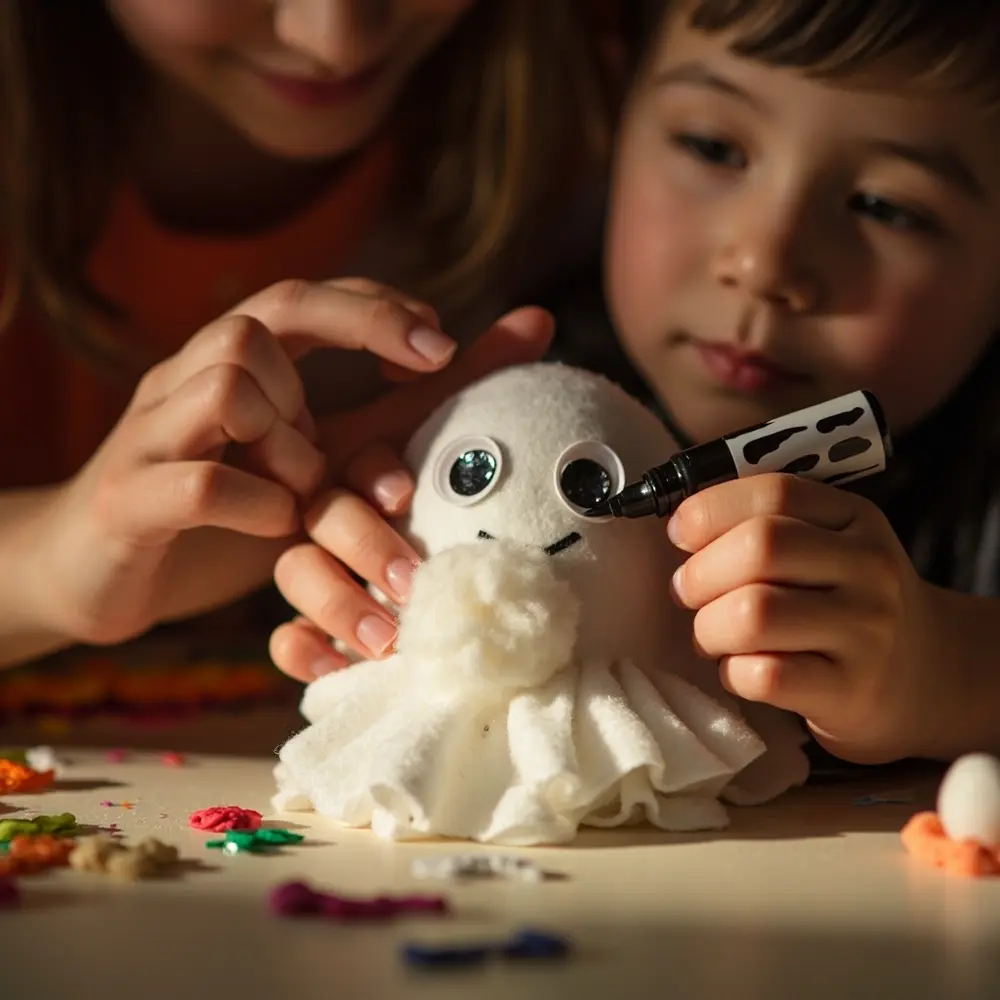
Our objective here is to create soft, fluffy ghosts that look more like cuddly clouds than spooky specters. This is one of my favorite starter crafts!
- Take a large cotton ball or a piece of white felt cut into a classic ghost shape.
- If you’re using felt, you can slightly stretch a cotton ball and glue it to the center for a fun 3D effect.
- Stick on two googly eyes. This is usually the part where the giggles start.
- Using black paint or a marker, draw a small, simple smile or a little “o” shape for a mouth. Avoid sharp teeth or angry expressions.
- Glue a piece of string to the back so you can hang them up.
Important Note: The key to ‘cute’ is the expression. A simple smile or a surprised ‘o’ mouth is perfect. Avoid angry eyebrows or frowning faces at all costs.
Step 2 – Designing Smiling Jack-O’-Lanterns (The No-Carve Way)
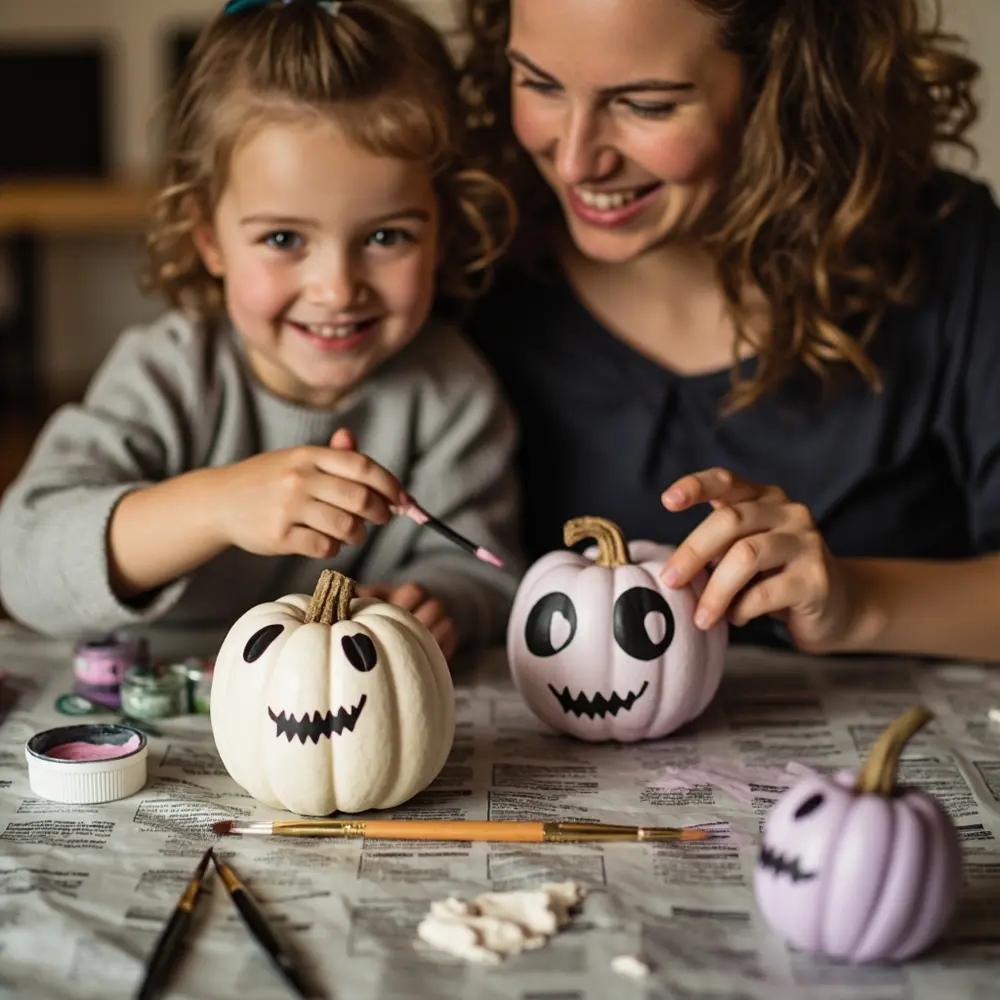
Here, we’ll decorate pumpkins that are cheerful and fun, completely avoiding the use of sharp carving tools, which is a must when toddlers are around.
- Wipe your pumpkin clean with a damp cloth and let it dry completely.
- Let your toddler help you paint the entire pumpkin a fun color, like white, lavender, or mint green. Let it dry fully before the next step.
- Using black paint, create a friendly face. I suggest trying wide, happy eyes (or sleepy, U-shaped eyes) and a big, goofy grin.
- For a less messy option, you can use pre-cut black vinyl shapes or even just a black permanent marker. I’ve found this works great for super young kids.
Step 3 – Making a Bevy of Buddy Bats
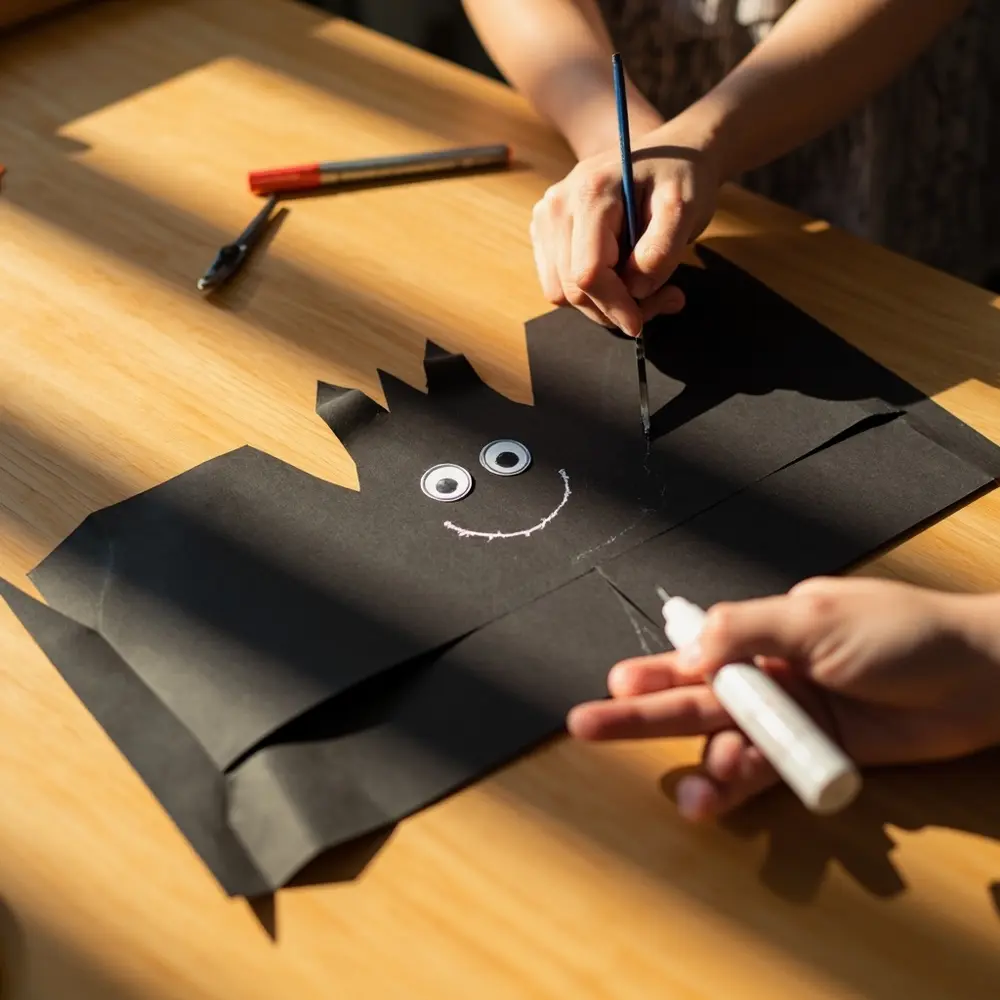
The goal is to create simple, non-threatening bat decorations that are more cartoonish than creepy. These look amazing when you make a whole family of them!
- Fold a piece of black construction paper in half.
- Draw a simple half-bat shape along the fold (one wing and half a body).
- Cut it out and unfold it to reveal a perfect, symmetrical bat.
- Stick on a pair of googly eyes in the center.
- For an extra ‘cute’ touch, I love using a white or silver pen to draw a tiny, smiling mouth.
- Use tape or sticky-tack to place them on a wall as if they are flying in a friendly group.
Step 4 – Testing Your ‘Cute-Spooky’ Vibe
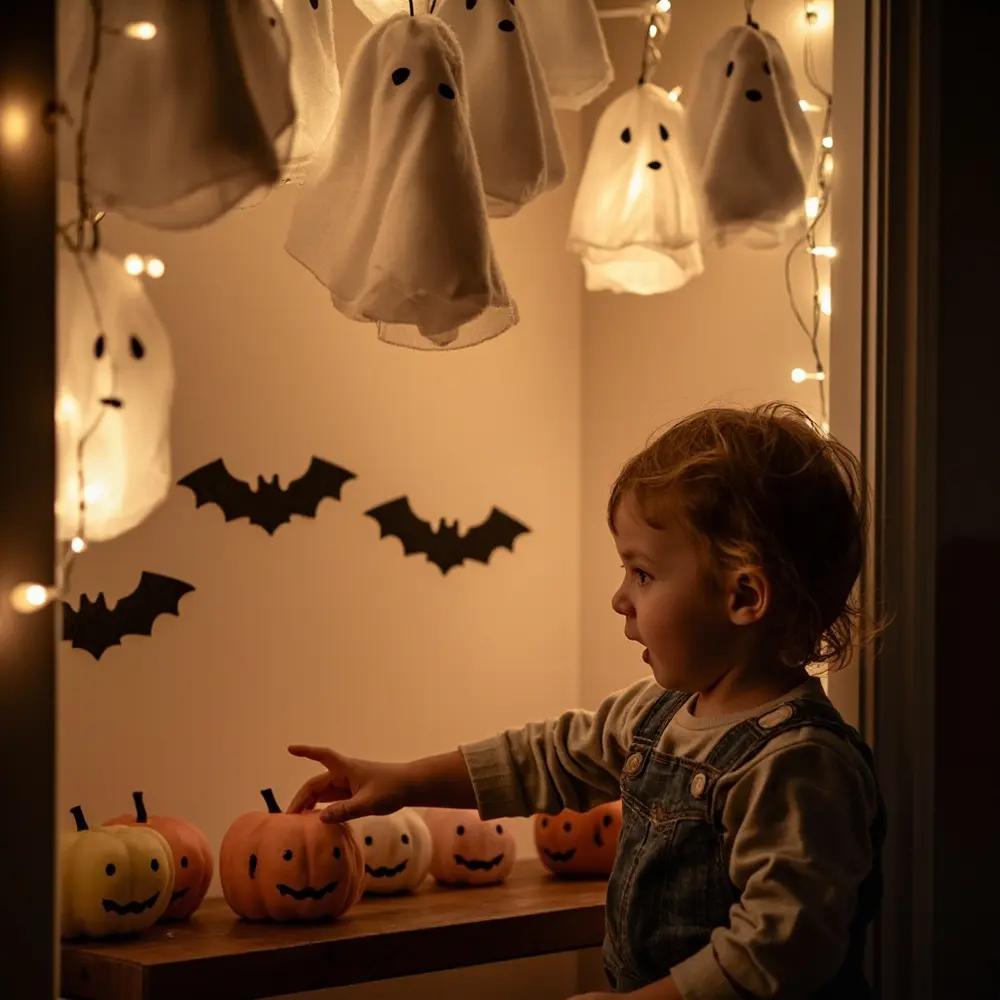
Now for the best part! Let’s assemble your decorations and see the final, toddler-friendly atmosphere come to life.
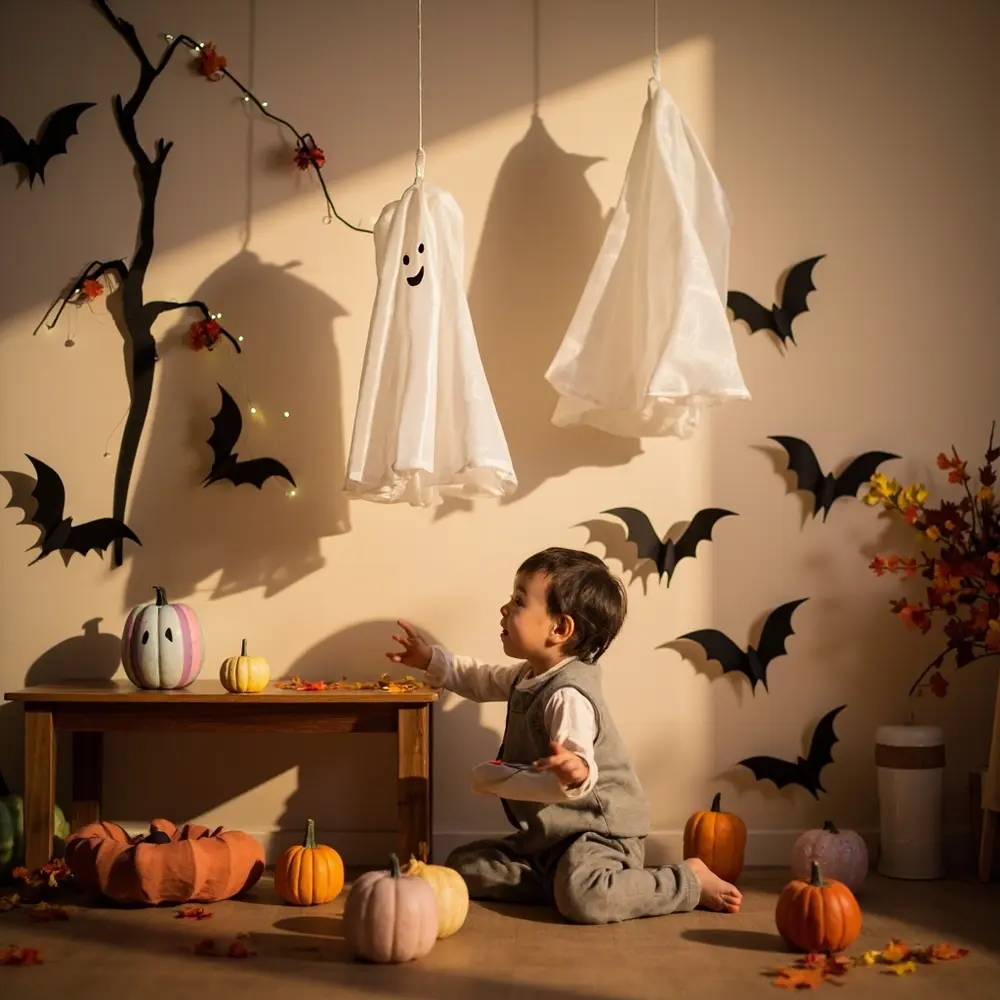
- Hang your friendly ghosts from a doorway, light fixture, or window frame.
- Arrange your smiling pumpkins on a low shelf, a hearth (when not in use), or as a centerpiece on a table.
- Group your buddy bats together on a wall, flying up towards the ceiling.
- Dim the main lights and turn on some soft, warm fairy lights to add a touch of magic.
The expected result is a room that feels festive and themed for Halloween but remains bright, cheerful, and welcoming. There should be no dark, scary corners or frightening faces.
The ‘Cute-Spooky’ Formula: Keeping it Fun, Not Frightening ✅
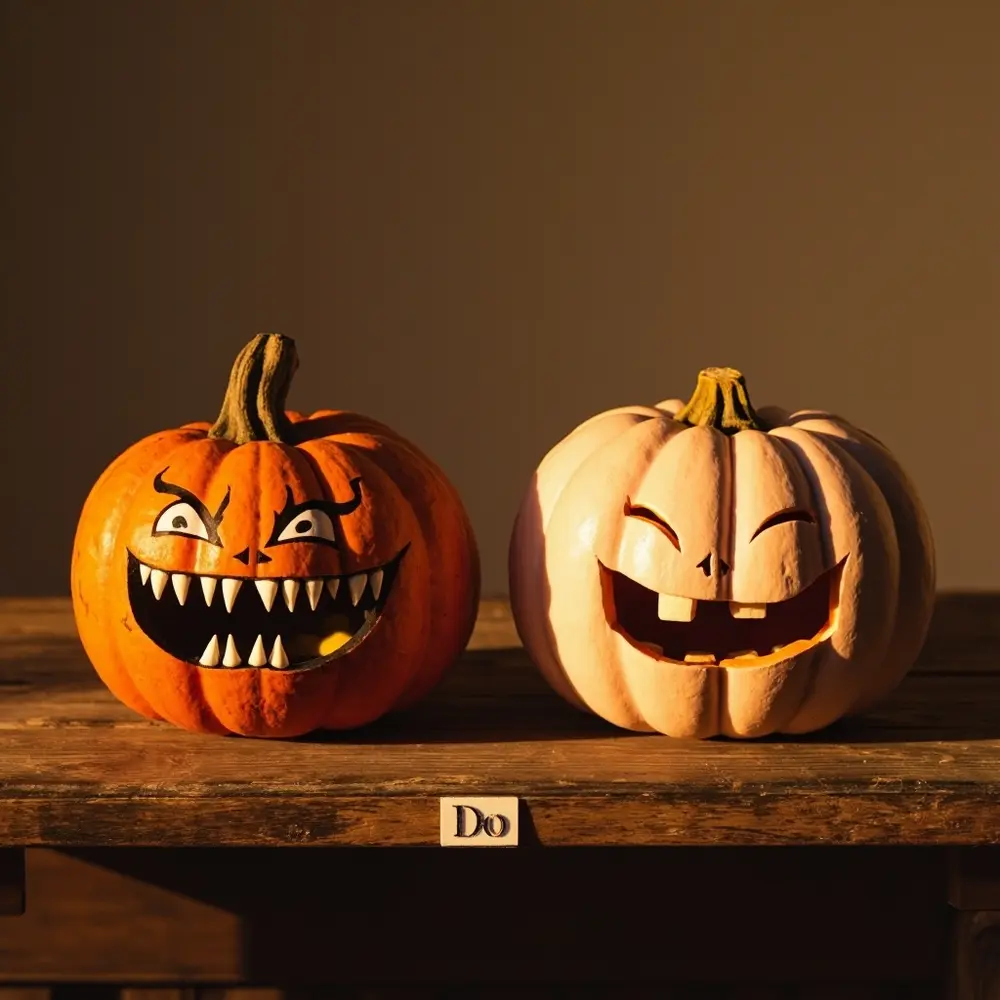
This is the secret sauce that a lot of other guides miss. Achieving the perfect ‘cute-spooky’ vibe for toddlers isn’t just about the decorations themselves, but the principles behind them. Here’s the formula I’ve perfected over years of projects to guarantee a scare-free experience.
- Principle 1: Faces Must Be Friendly. This is my number one, non-negotiable rule. All of your characters—ghosts, pumpkins, bats, monsters—must have friendly expressions. Think simple smiles, round ‘o’ mouths, or sleepy eyes. You must avoid sharp angles, angry eyebrows, fangs, or menacing glares.
- Principle 2: Use Soft Textures & Rounded Shapes. Toddlers perceive soft, rounded objects as safe and approachable. This is why we use fluffy cotton balls, soft felt, and rounded pumpkin shapes. Avoid sharp, spiky decorations or things that look brittle and harsh.
- Principle 3: A Lighter, Brighter Color Palette. While black and orange are traditional, they can create a dark, intense atmosphere. By introducing white, pastels (like lavender and mint), and other bright colors, you lift the mood and make everything feel more playful and less serious.
Important Note: Think “Halloween party,” not “haunted house.” The goal here is pure celebration, not intimidation.
- Principle 4: Involve Your Toddler. The “scare” factor often comes from the unknown. By having your child help create the decorations, they understand that the ghosts are just cotton balls and the bats are just paper. It demystifies the process and turns potentially scary things into a fun art project they are proud of.
Troubleshooting & Common Questions ❓
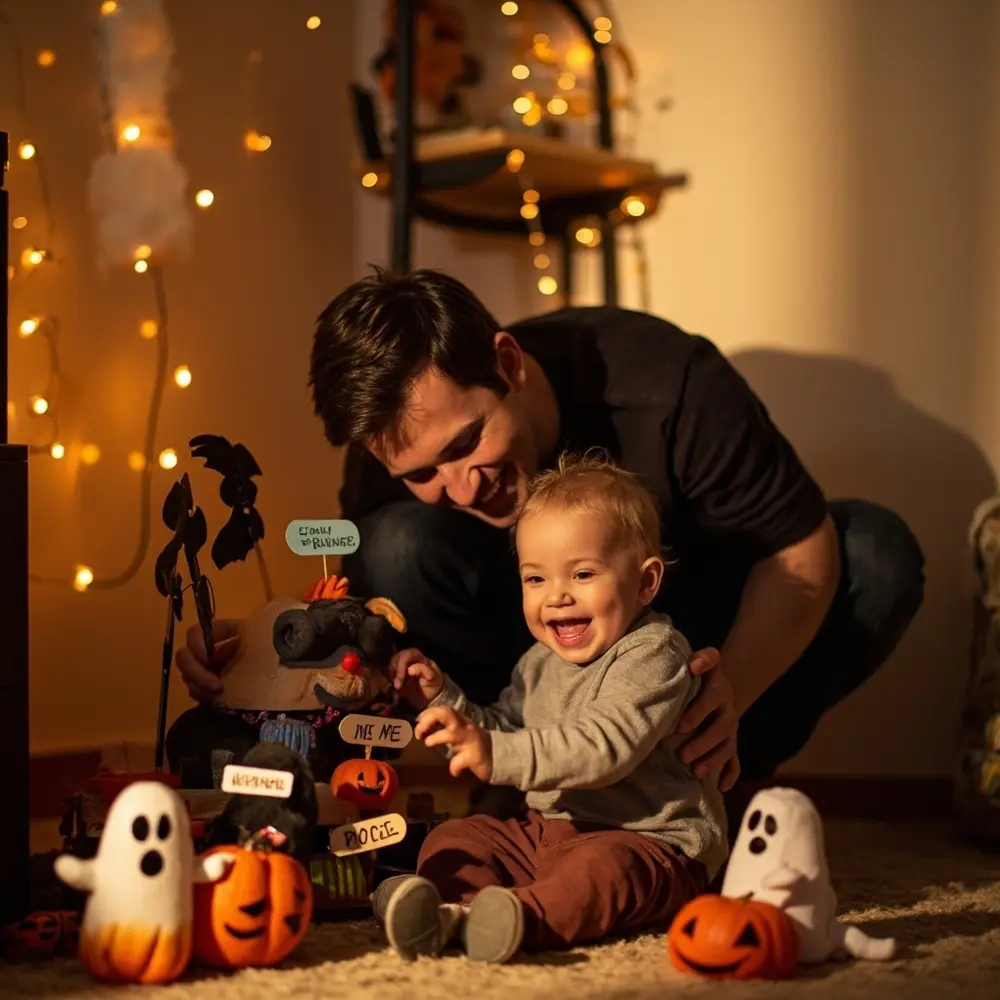
What should I do if my toddler is still scared of the decorations?
That’s completely normal! Don’t push it. My best trick is to give the decorations silly names, like “Gus the Ghost” or “Patty the Pumpkin.” Interact with them playfully yourself, saying “Good morning!” to the pumpkins. This models a positive relationship and shows your child that these are friends, not foes. I did this for a client’s party once, and by the end of the day, the kids were giving the pumpkins ‘hugs’.
Are there good store-bought options that fit this vibe?
Absolutely! When you’re shopping, just apply the same principles from our formula. Look for decorations with smiling faces and soft textures. On websites, I search for terms like “plush Halloween decor” or “kids’ Halloween party supplies.” My advice is to completely avoid the “haunted house” or “animated props” aisles in stores.
How can I adapt this for a very small space, like an apartment?
Great question! Focus on creating one “cute-spooky” zone. You don’t need to decorate the whole place. Just doing up your front door or one specific corner of your living room can have a huge impact. Window clings are also a fantastic, space-saving option—just be sure to vet them for friendly faces before you buy!
Next Steps & Further Optimization 🚀
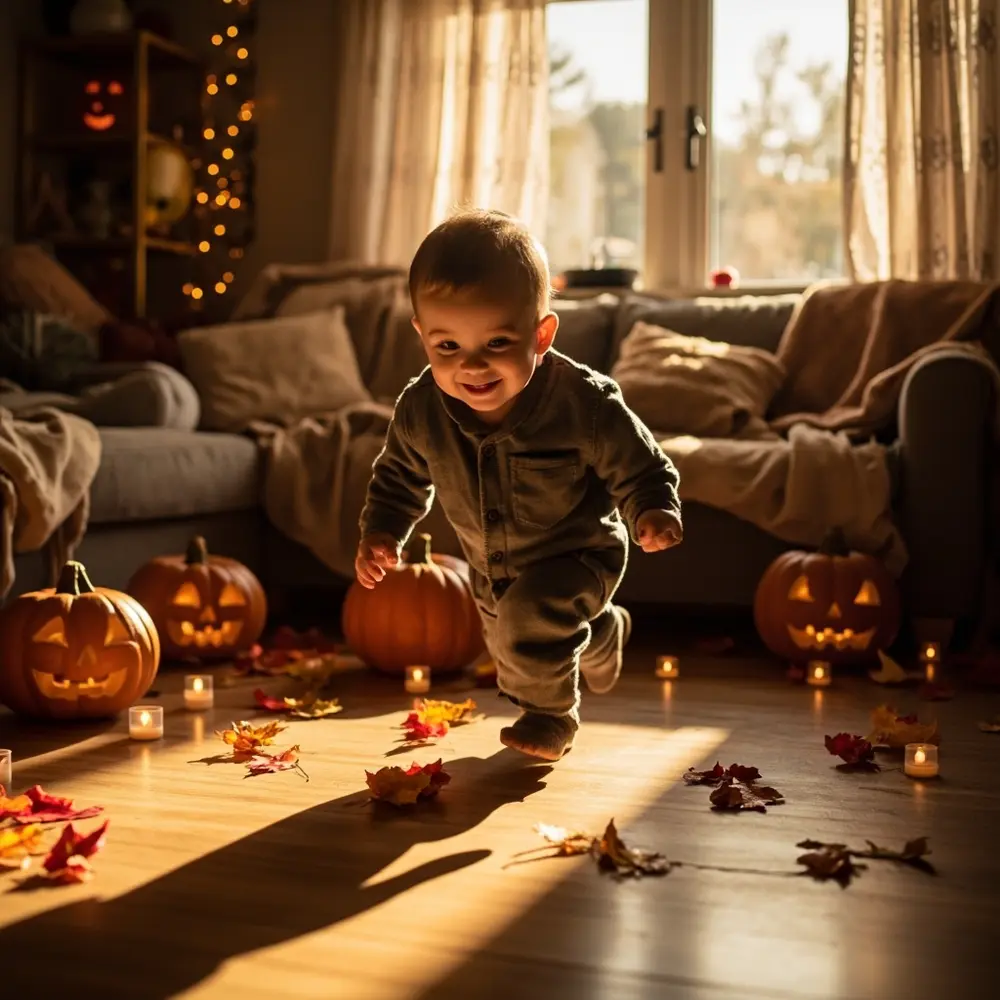
You’ve successfully created a toddler-friendly Halloween atmosphere! So, what’s next?
- What to Do Next: Plan a “Cute-Spooky” Scavenger Hunt. Hide a few of the smiling pumpkins around the house and help your toddler find them. It’s a simple game that extends the fun.
- Optimization Tips: Add some music! Create a playlist of fun, upbeat Halloween songs for kids (think “Monster Mash” or theme songs from shows like Super Monsters). And don’t forget books! Add a few friendly Halloween picture books to your reading nook to reinforce the fun, not-scary theme.
- Advanced Applications: Use these same principles to create a full “Cute-Spooky” tablescape for a toddler Halloween party. You can make friendly ghost-themed snacks (a banana with chocolate chip eyes) and smiling pumpkin clementines (just draw a face with a food-safe marker).
Conclusion (My Final Thoughts) 👻
Congratulations! You’ve done more than just decorate for Halloween; you’ve thoughtfully designed an experience that celebrates the fun of the season while protecting your toddler’s sense of security. By focusing on friendly faces, soft textures, and a cheerful atmosphere, you’ve built a foundation for happy Halloween memories that will last for years to come.
Your home is now a testament to the fact that ‘spooky’ doesn’t have to be scary. You’ve created a magical space where your little one can explore the festive spirit with joy and confidence. I’d absolutely love to see what you’ve created!
What was your toddler’s favorite ‘cute-spooky’ decoration to make? Let me know in the comments below!
