How to Decorate Pumpkins with Yarn, Paper, and Washi Tape
It’s that time of year again, ghouls and goblins! The air is getting crisp, the leaves are turning, and I’m already on my fifth pumpkin spice coffee of the day (no regrets!). But are you getting tired of scooping out pumpkin guts and trying to carve a perfect face, only for it to droop in a week? 🎃
You want your Halloween decor to be unique, stylish, and maybe a little less messy this year. You’re looking for a fun crafting session that results in something truly special, a modern piece of art that screams autumn chic, not just another jack-o’-lantern. ✨
I’m Roshan Sharma, your friendly neighborhood Halloween fanatic, and I’ve designed countless spooky displays and run dozens of crafting workshops. I’m here to guide you through a fantastic, no-carve decorating project that uses yarn, paper, and washi tape to create stunning, textured pumpkins. Let’s get crafting! 👻
Activity At-a-Glance
- Best For 👨👩👧👦: Creative crafters, DIY enthusiasts, unique fall decor, family crafting sessions
- Time ⏳: Approx. 1-2 hours per pumpkin (depending on complexity)
- Budget 💵: Low-Cost to Moderate (depending on material quantity)
- Spookiness Level 🕸️: Low (focus on aesthetic and texture over traditional “spooky”)
What You’ll Need for Your Decorate Pumpkins with Yarn, Paper, and Washi Tape 📋
- Pumpkins (real or faux, various sizes and shapes) 🎃
- Yarn (various colors, textures, and thicknesses) 🧶
- Construction paper, scrapbook paper, or decorative paper 📄
- Washi tape (various patterns and widths)
- Scissors ✂️
- Craft glue (PVA glue or a hot glue gun with glue sticks)
- Pencil ✏️
- Ruler or measuring tape (optional)
- Paintbrush (for applying glue) 🖌️
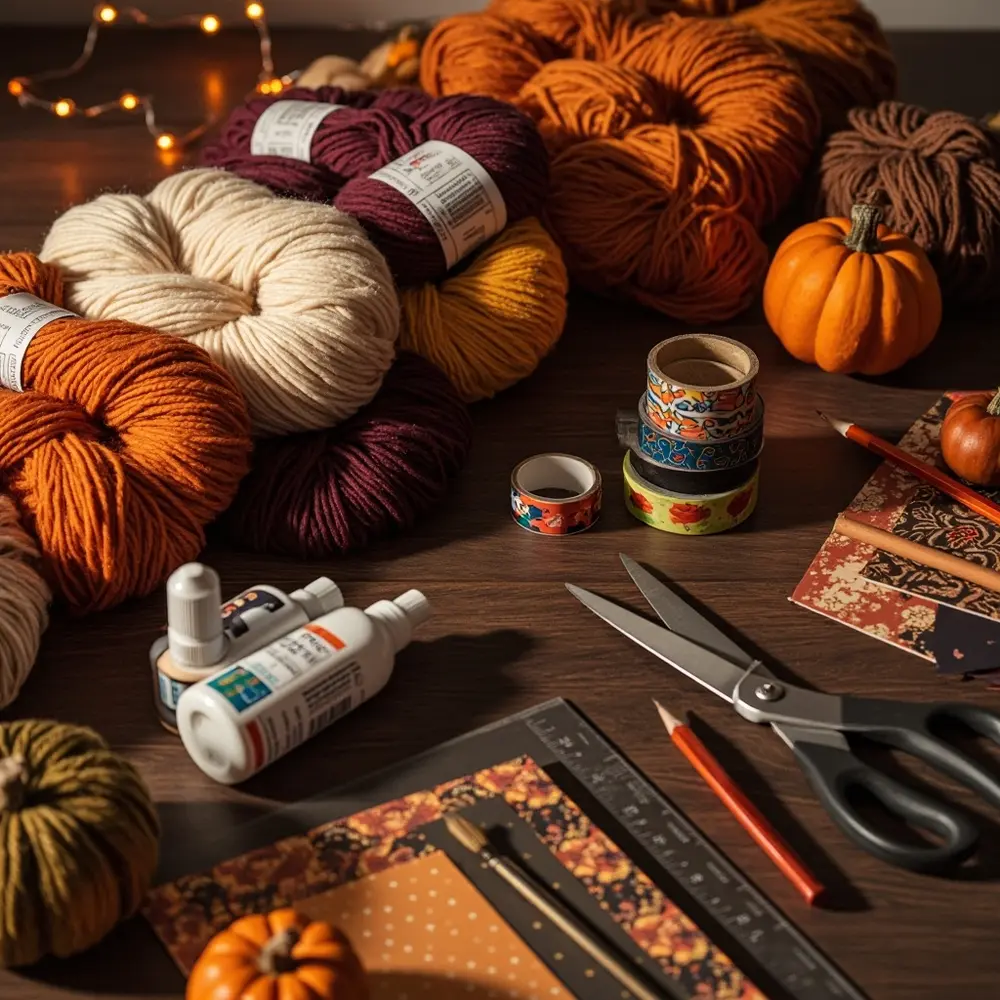
Image-1: A flat-lay photo showing all the supplies neatly arranged on a dark wood table: colorful yarn, patterned washi tape, decorative paper, scissors, glue, and a few clean pumpkins of different sizes.
Preparation & Setup: Creating the Spooky Scene
Before we dive into decorating, let’s set the mood! A great crafting session is all about the atmosphere. I always dim the main lights and string up some orange fairy lights or battery-operated candles to create a cozy, bewitching glow. Put on your favorite spooky season playlist (or a classic horror movie marathon) and make sure everyone has a comfortable seat.
Lay down some newspaper or a plastic tablecloth to protect your surface—while this is a low-mess activity, a little glue can go a long way! Arrange all your materials in the center of the table so everyone can easily grab what they need.
Pro Tip 💡: I love to create a central crafting station by arranging an assortment of different-sized pumpkins on a rustic wooden tray. It not only looks great but keeps everything contained. And don’t forget a warm beverage—a mug of hot apple cider is the perfect crafting companion!
How to Lead the Decorate Pumpkins with Yarn, Paper, and Washi Tape: Step-by-Step Guide 🚀
Step 1: Preparing Your Pumpkin Canvas
First things first, let’s get our pumpkins ready. If you’re using real pumpkins, give them a good wipe-down with a damp cloth to remove any dirt and let them dry completely. For faux pumpkins, a quick dusting is all you need. Take a moment to look at your pumpkin and dream up a design. Will it be fully wrapped in cozy yarn? Covered in geometric paper shapes? Or striped with chic washi tape? Planning your masterpiece is half the fun!
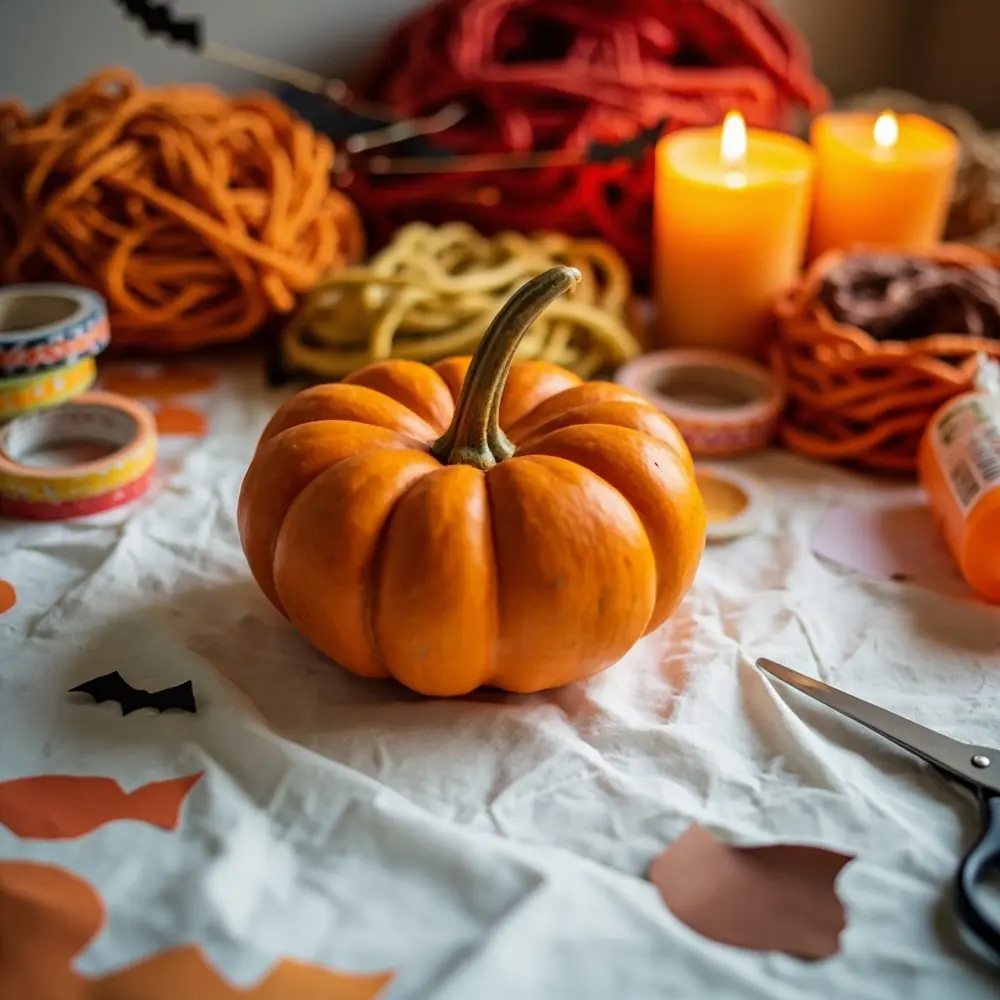
Image-2: A photo showing a clean, orange pumpkin on a protected surface with all the craft materials laid out neatly beside it, ready for decorating.
Step 2: The Art of Yarn Wrapping
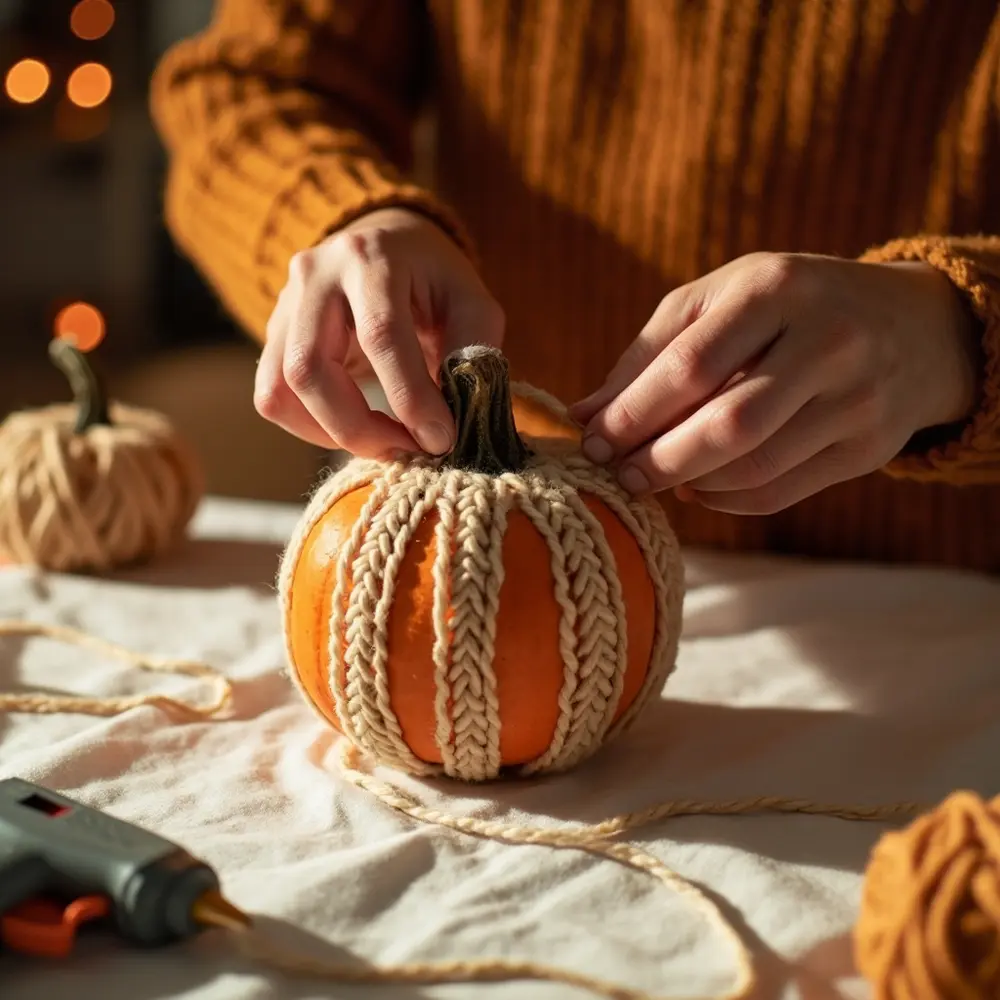
Yarn adds incredible texture and warmth. My niece loves making “sweater pumpkins” this way! To start, add a dot of glue to the top of the pumpkin, near the stem, and press the end of your yarn into it. Once it’s secure, begin wrapping the yarn around the pumpkin. You can create vertical stripes by following the pumpkin’s natural grooves, or wrap it horizontally for a different look. For a fully covered pumpkin, apply glue in small sections with a paintbrush and wrap the yarn tightly, side-by-side. Secure the final end with another dot of glue.
Caution ⚠️: If you’re using a hot glue gun, please be careful! The glue gets extremely hot. I always supervise my younger crafters during this step to make sure there are no accidental burns.
Image-3: A close-up shot of hands carefully wrapping thick, cream-colored yarn around a small pumpkin, showing how to keep the lines tight and neat.
Step 3: Crafting with Paper Elements
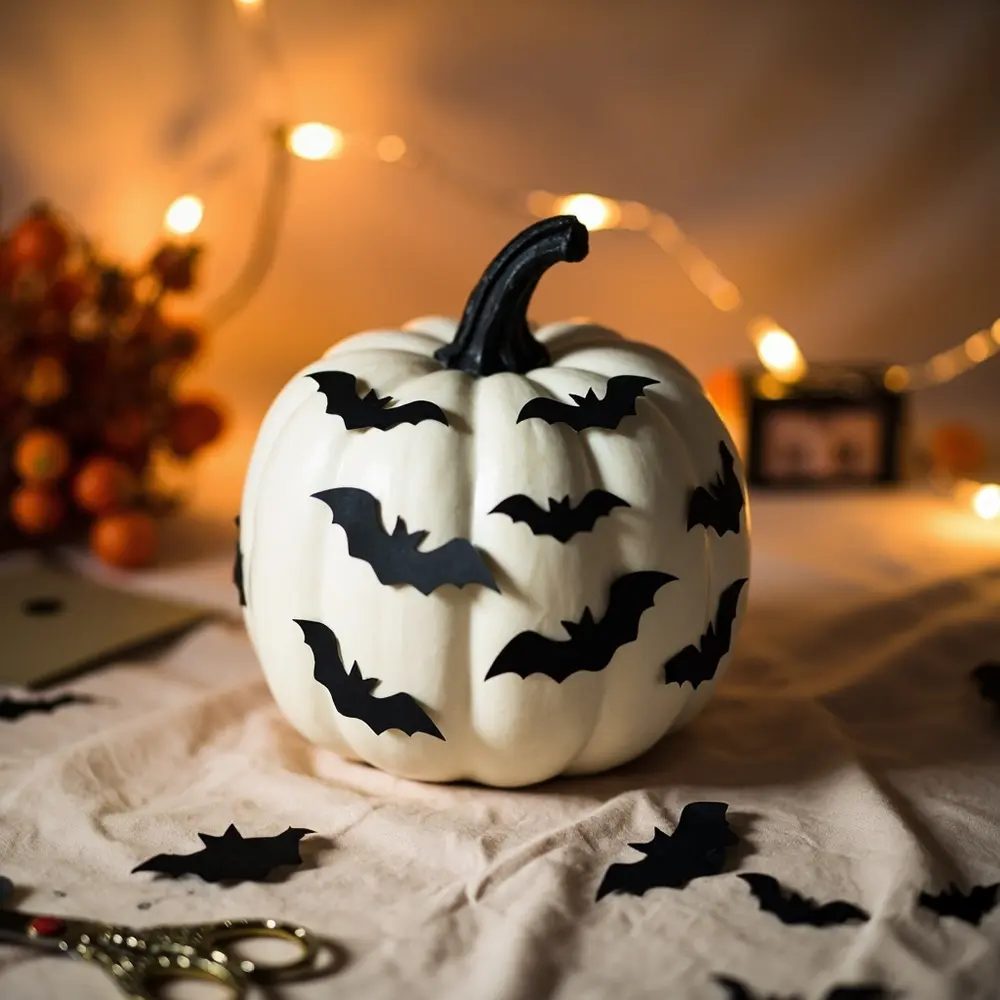
Time to break out the paper and scissors! This is where you can get really creative with shapes. I’ve used everything from simple polka dots to intricate bat silhouettes. Cut your construction or scrapbook paper into whatever shapes you desire—geometric triangles, fall leaves, spooky ghosts, or even thin strips to create a mosaic effect. Use your paintbrush to apply a thin, even layer of craft glue to the back of each paper shape and press it firmly onto the pumpkin’s surface. Don’t be afraid to overlap shapes for a cool, layered look!
Image-4: A photo showing various black paper bat shapes being glued onto a white pumpkin, creating a classic Halloween scene with a modern twist.
Step 4: Patterning with Washi Tape
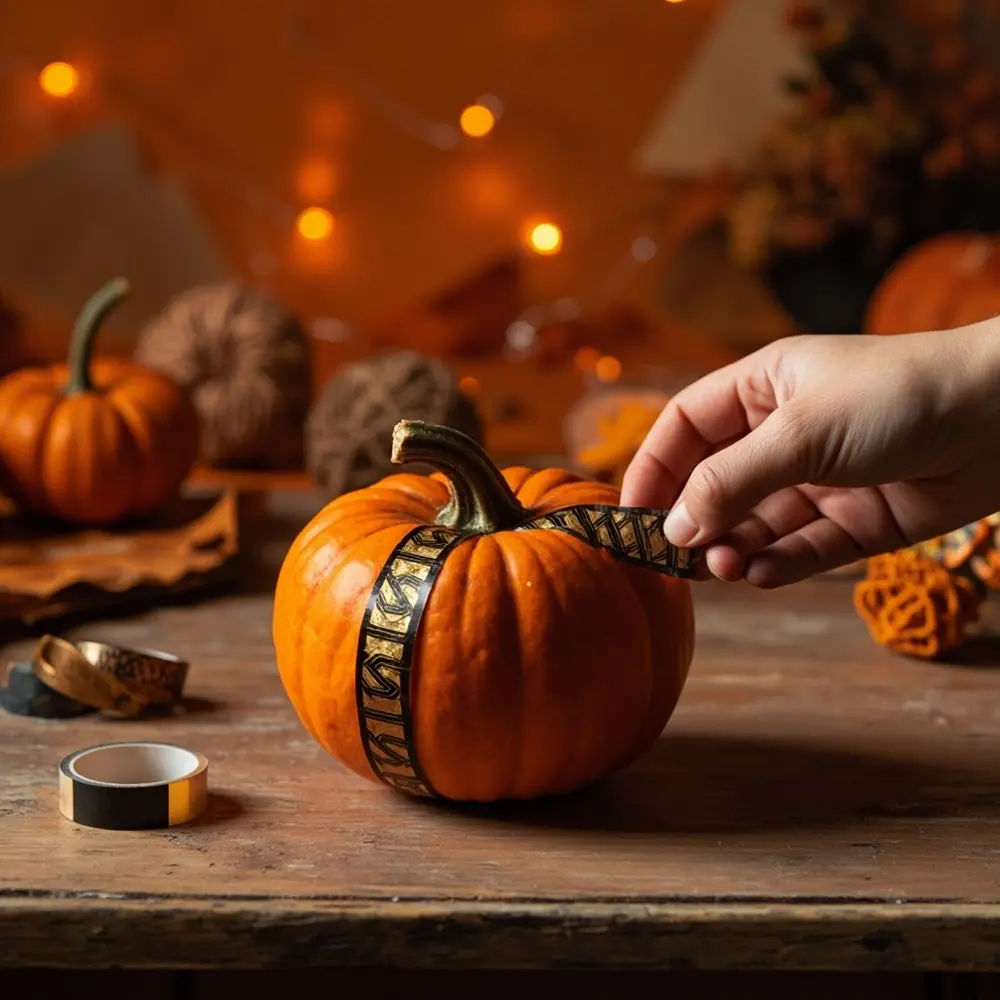
Washi tape is one of my favorite secret weapons for quick, clean, and impressive designs. The best part? It’s super forgiving! If you don’t like where you placed a strip, just peel it off and try again. You can create simple horizontal or vertical stripes, a checkerboard grid, or a trendy chevron pattern. I love layering different patterns and widths of tape to create a really unique, eclectic design. Just press the tape firmly onto the pumpkin, smoothing out any air bubbles as you go.
Image-5: A shot of a hand applying a strip of gold-and-black patterned washi tape vertically down the side of a pumpkin, creating a clean, geometric line.
Step 5: Finishing Touches and Curing
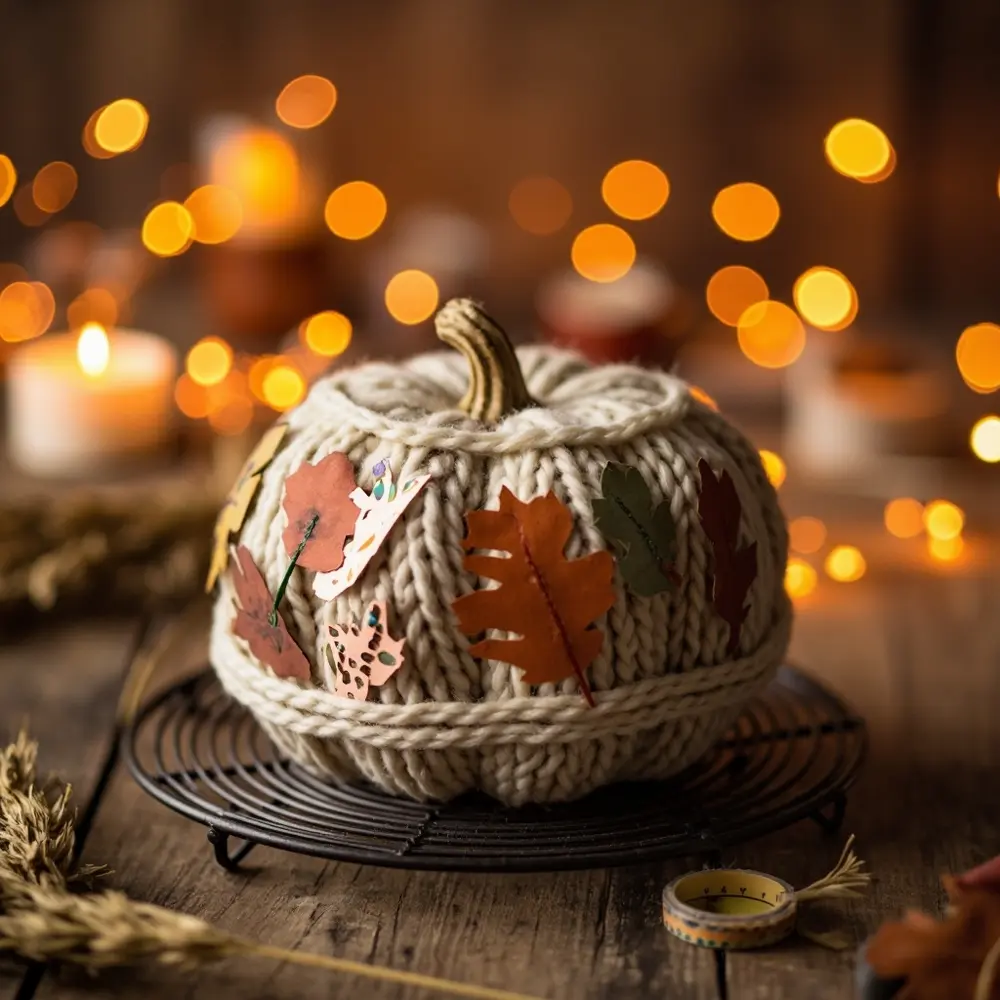
Once you’ve applied all your main elements, take a step back and admire your work! Now is the time for any finishing touches. Trim any stray yarn ends, add a few final paper cut-outs, or use a thin washi tape to create a border around other elements. Let your pumpkin sit for at least a few hours (or overnight) to ensure all the glue is completely dry and your decorations are set for the season.
Image-6: A photo of a completed pumpkin, showcasing a mix of yarn wrapping, paper cut-outs, and washi tape patterns, sitting on a wire rack to dry.
Elevating Your Design: Tips for a Modern & Textured Finish ✨
Want to take your decorated pumpkins from “cute craft” to “designer decor”? This is how I do it. The key is to think like a designer.
- Monochromatic Magic: Stick to a single color family (like different shades of cream, gray, or orange) but use a wild variety of textures. A pumpkin with fuzzy white yarn, glossy white paper circles, and matte white washi tape looks incredibly sophisticated.
- Texture Combos: The magic is in the mix! Place a smooth, sleek washi tape stripe right next to a section of chunky, braided yarn. The contrast is what makes the design pop.
- Embrace Negative Space: You don’t have to cover the entire pumpkin! Sometimes, a few strategically placed stripes or a simple cluster of paper shapes on a bare pumpkin makes a bigger statement.
- Go Abstract: Forget bats and ghosts. Use your materials to create abstract patterns. Think bold color blocking with washi tape or a swirling vortex of yarn.
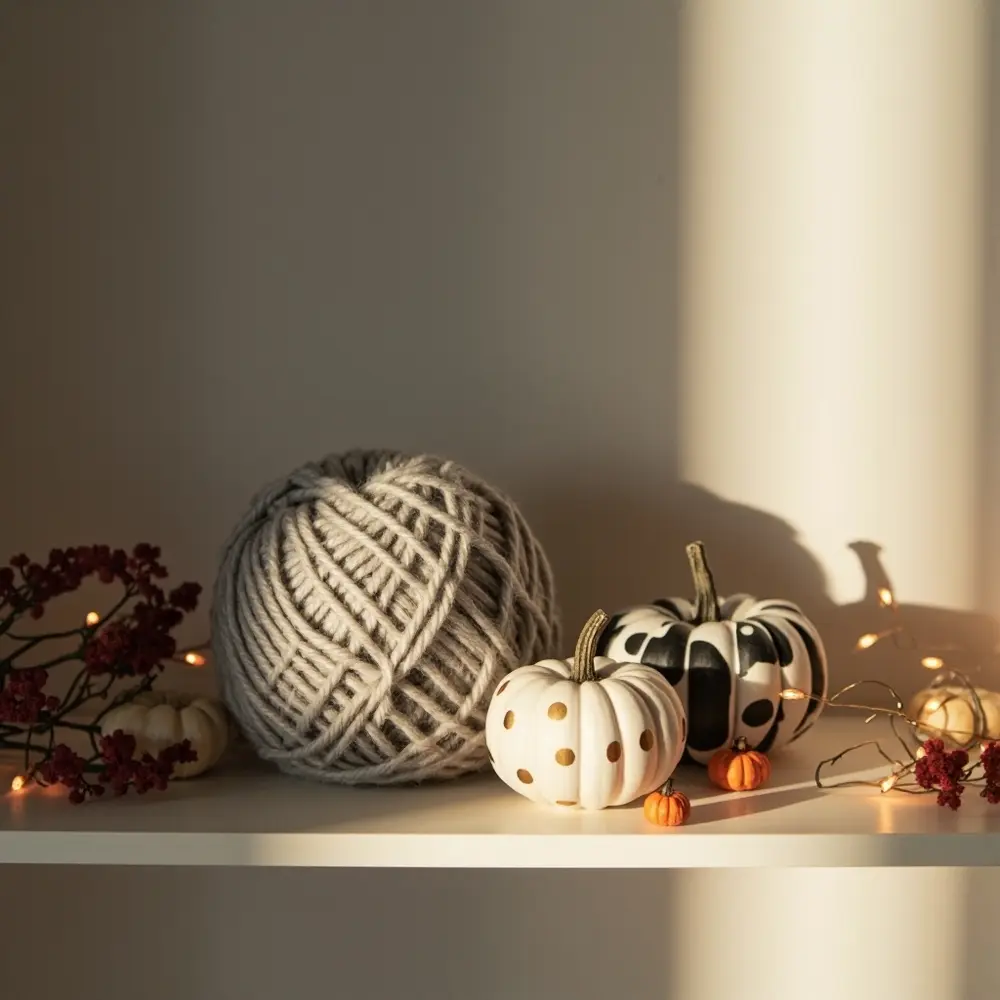
- Style a Vignette: Don’t just make one! Decorate a few pumpkins of different shapes and sizes using a complementary color palette and arrange them together on a mantelpiece, bookshelf, or entryway table. This is how I create those “wow” moments in my own home decor.
Image-7: A stylishly arranged group of three pumpkins on a wooden shelf. One is fully wrapped in gray yarn, another has a black-and-white geometric washi tape pattern, and a third small one features gold paper polka dots.
Variations & Customizations to Haunt Your House 👻
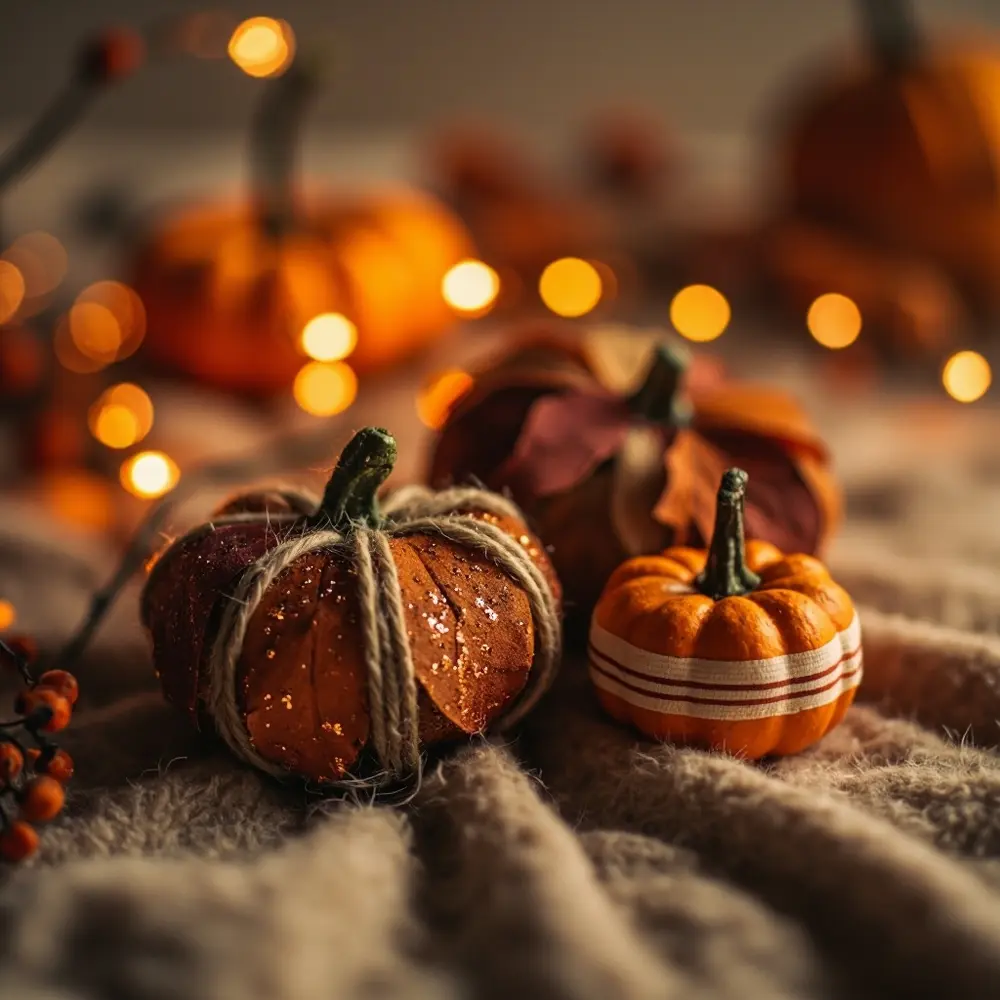
- Mini Pumpkin Magic 🤏: These techniques are perfect for mini pumpkins! I use them to decorate my desk at work or as unique place settings for a Halloween dinner party.
- Glitter & Glam ✨: For some extra sparkle, lightly dust fine glitter over sections with wet glue. It sticks beautifully to the yarn and adds a touch of magic.
- Stenciled Silhouettes 🎨: Use a stencil to create a shape, but instead of painting it, fill it in with tightly wrapped yarn or a mosaic of tiny paper pieces for a truly unique look.
- Themed Pumpkins 🍂: Change up your colors and shapes for any occasion! Pastels and floral cut-outs for spring, or go ultra-chic for Halloween with a black, white, and metallic gold theme.
- Leaf & Vine Accents 🌿: Glue a few artificial autumn leaves, tiny twigs, or faux berries around the stem to blend natural, rustic elements with your modern designs.
Image-8: A close-up on a collection of decorated mini-pumpkins, showing the variety of techniques—one with glittery yarn, another with tiny paper leaf cut-outs, and a third with thin washi tape stripes.
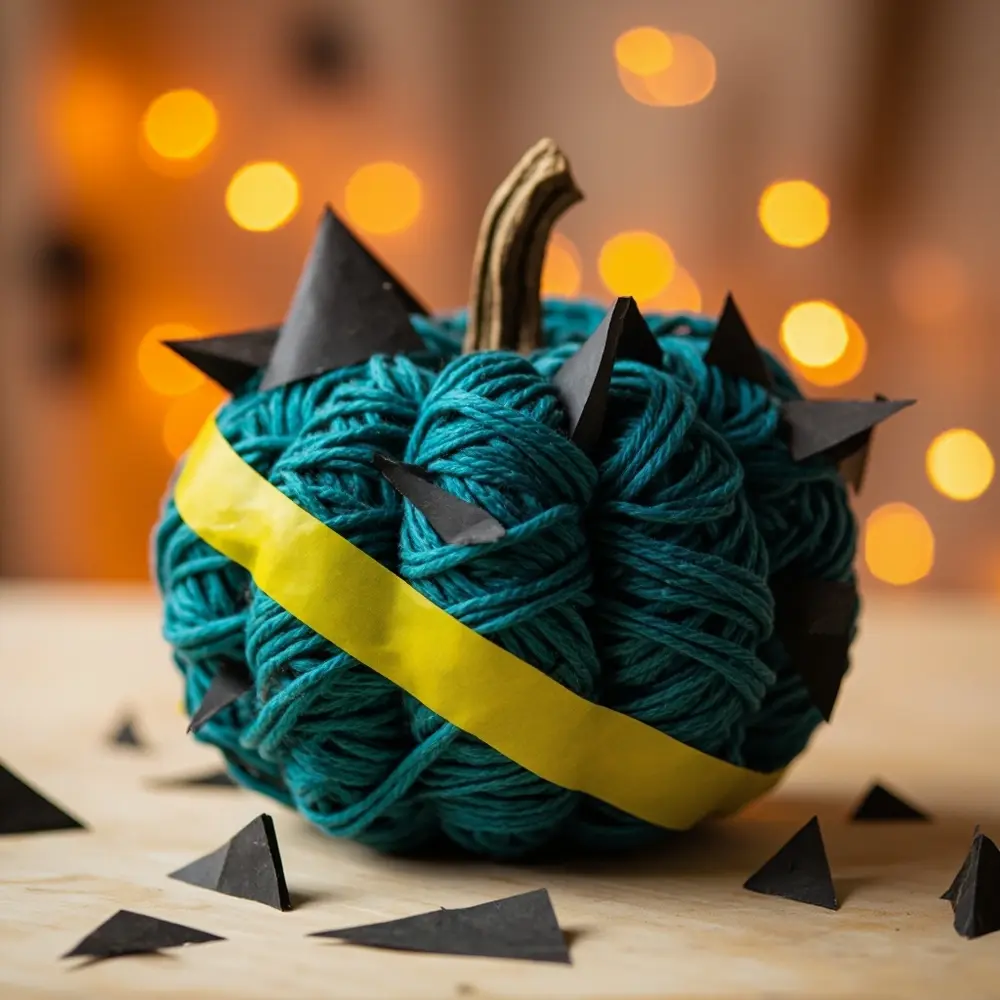
Theme Twist 💡: Ditch the Halloween theme entirely and transform your pumpkins into stunning abstract art pieces. Focus solely on creating bold geometric patterns and color-blocked sections using just yarn and washi tape. It’s a perfect way to create decor that can last all autumn long.
Image-9: A pumpkin decorated as an abstract art piece, with blocks of teal yarn, thick yellow washi tape stripes, and black paper triangles, looking more like a modern sculpture than a Halloween decoration.
Halloween Activity FAQs ❓
Q1: Can I use real pumpkins, and how long will they last?
Absolutely! Just make sure your pumpkin is whole and has no soft spots. A decorated, uncut pumpkin can last for weeks, often right through Thanksgiving if kept in a cool, dry place. The benefit of these no-carve methods is that the pumpkin stays fresh much longer.
Q2: What kind of glue works best for yarn and paper on pumpkins?
For paper and lightweight yarn, a good quality white PVA craft glue (like Elmer’s) works perfectly. Apply it with a paintbrush for even coverage. For heavier yarn or a super-secure hold, a hot glue gun is your best friend. Just remember to be careful with it!
Q3: How do I remove the decorations if I want to reuse my faux pumpkin?
This is one of the best parts of using faux pumpkins! Most washi tape will peel off cleanly. For the glued-on elements, you can often gently peel them off. If there’s stubborn glue residue, a little bit of rubbing alcohol on a cotton ball can help dissolve it without damaging the pumpkin’s surface. I reuse my favorite faux pumpkins year after year with new designs!
Let Your Creativity Creep It Up!
There you have it—a simple, fun, and incredibly creative way to decorate pumpkins that will set your home apart this spooky season. I’ve made dozens of these over the years, and they never fail to get compliments. You get all the fun of a Halloween craft night with a beautiful, modern result that lasts. So gather your supplies, put on some spooky tunes, and let your imagination run wild! 🎃
I can’t wait to see what you create. Share your finished masterpieces online! What’s your favorite non-traditional way to decorate for Halloween? Let me know in the comments below! 👇
