– How to Create a Chic Halloween Centerpiece on a Dollar Store Budget
It’s that time of year, ghouls and ghosts! Are you tired of Halloween decorations that feel more tacky than terrifyingly chic? 😩
You see those stunning, spooky centerpieces in high-end stores and dream of having that style, but then you look at your wallet and it screams for the dollar store. I’ve been there! It feels like you have to choose between stylish and affordable. 👻
Well, you’ve come to the right place. I’m going to show you how to transform a handful of budget-friendly finds into a sophisticated and elegant Halloween centerpiece that will have everyone asking, “Where did you buy that?” Let’s get crafting! 🎃
- Difficulty Level 🦴: Easy/Beginner
- Time to Complete ⏳: Approx. 1 hour (plus paint drying time)
- Estimated Cost 💰: Under $20
- Prerequisites 🧠: A love for spooky, stylish decor!
Prerequisites: What You’ll Need Before You Start 🛠️
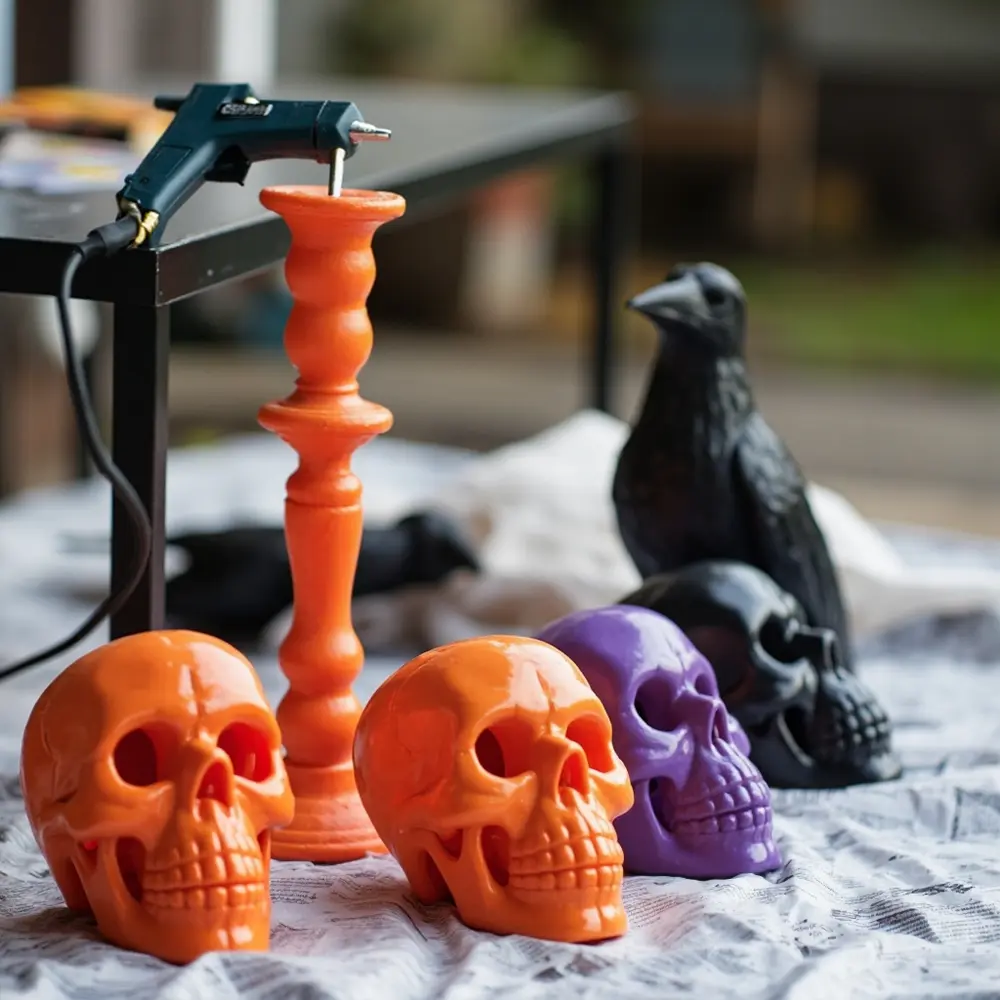
This whole project is basically a fun treasure hunt at your local dollar store. The real key here is to look for items with interesting shapes and textures. Don’t worry about the color—we’re going to transform them completely!
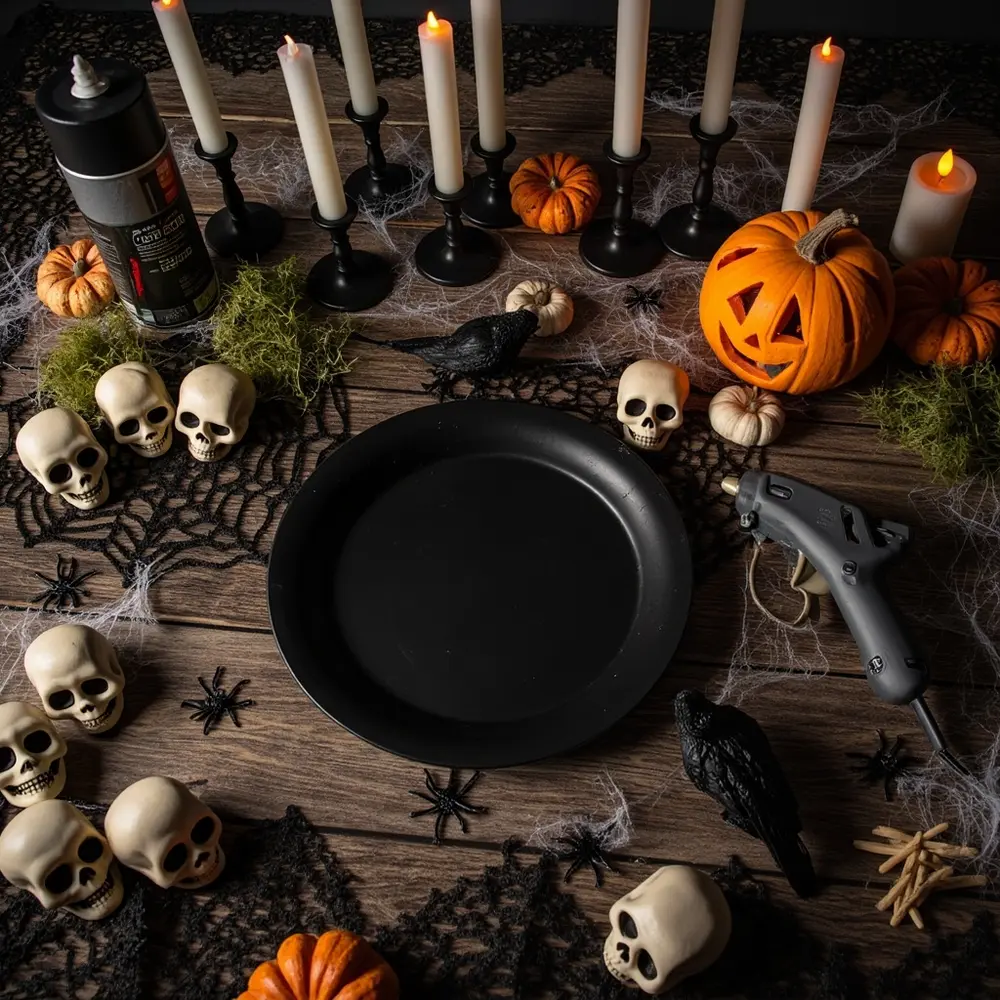
- Base: 1 Black Plastic Charger Plate or a small, flat tray.
- Focal Point: 1-2 Plastic Skulls or a small decorative pumpkin.
- Height Elements: 2-3 Plastic or Glass Taper Candle Holders of varying heights.
- Texture & Filler: 1 bag of Faux Spiderwebs, 1 small bag of Spanish Moss, and a few plastic spiders or a faux crow.
- Lighting: 2-3 Flameless LED Votive or Taper Candles.
- Adhesive: A Hot Glue Gun with extra glue sticks.
- Paint: 1 can of Matte Black Spray Paint (metallic gold or silver also look amazing!).
Here’s how to get your space ready:
- Find a well-ventilated area for spray painting, preferably outside. Lay down some old newspaper or a drop cloth to protect the ground or your table.
- Give all your plastic dollar store items a quick wipe with a damp cloth to get rid of any dust. Let them dry completely.
- Plug in your hot glue gun so it can heat up while you’re getting things prepped.
⚠️ Warning: Spray paint fumes can be harmful. Always work in a well-ventilated area and I really recommend wearing a mask to be safe.
Step-by-Step Tutorial 🛠️
Step 1 – The Transformation: Painting Your Pieces
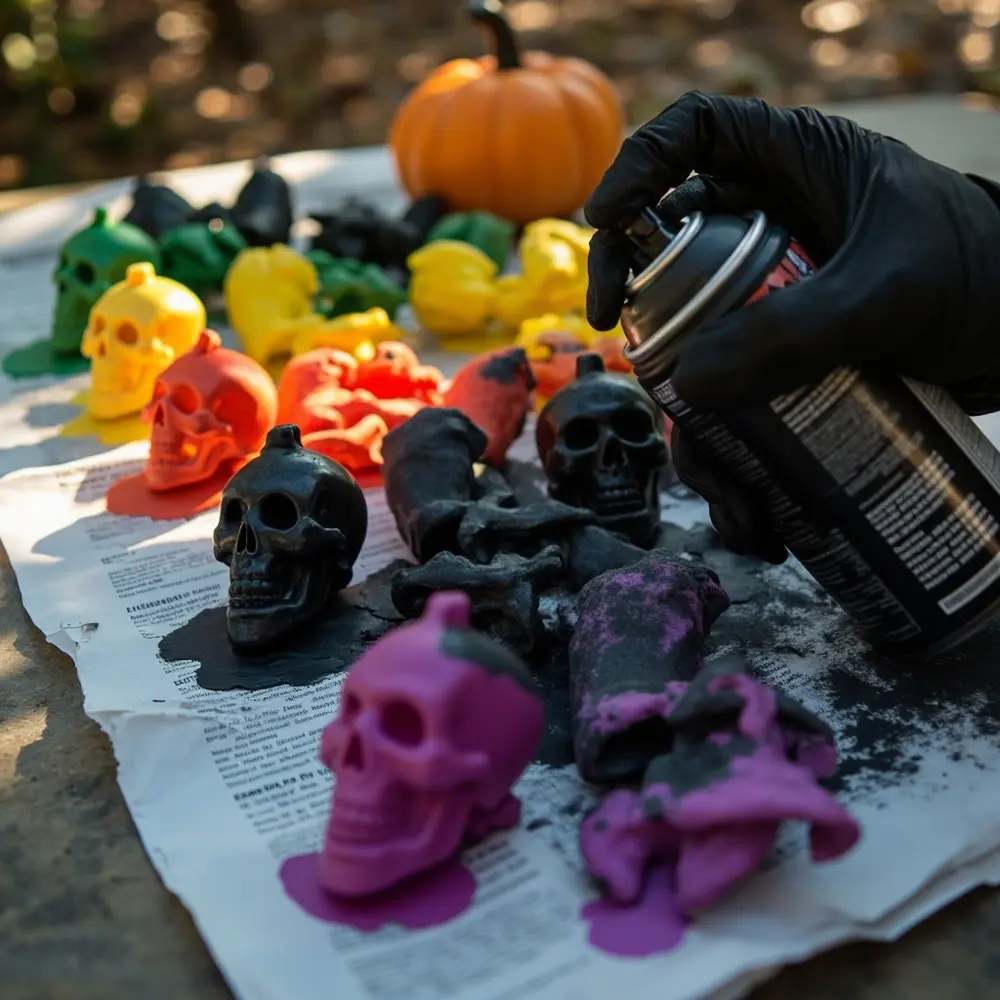
Our first goal is to make all these different items look like they belong together. We’ll do that by unifying them with a single, chic color.
- Arrange your plastic items (skulls, candle holders, crow, etc.) on your newspaper. If your charger plate is already black, you can set it aside.
- In short, even bursts, apply a light, even coat of matte black spray paint to all your pieces. Let them dry for about 15-20 minutes.
- Apply a second coat to make sure everything is fully covered and there are no colorful spots peeking through. Let everything dry completely according to the directions on the can.
Important Note: Don’t spray too close! Holding the can 10-12 inches away is the magic distance. It prevents drips and gives you that smooth, professional-looking finish you want.
Step 2 – Building Your Foundation and Height
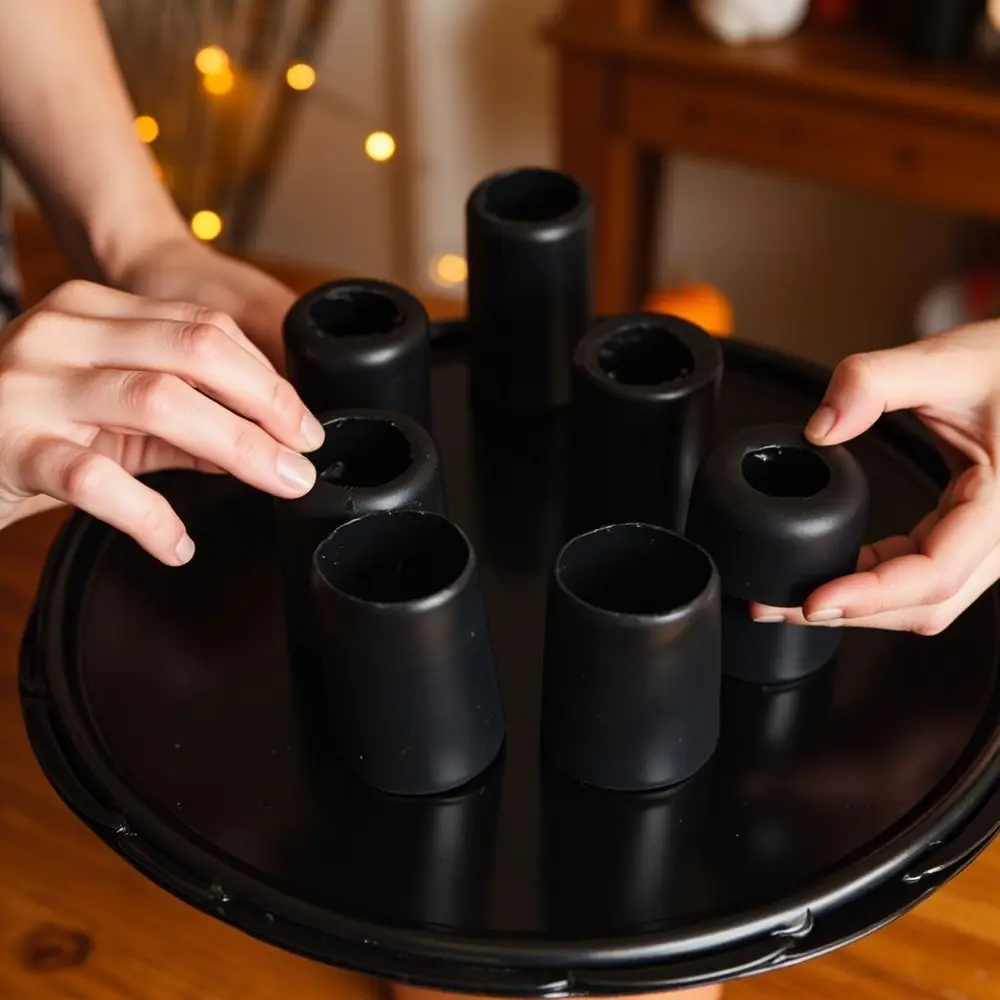
Now we create the basic shape of our centerpiece. Adding different heights is what will give it that “wow” factor.
- Place your black charger plate on your work surface.
- Arrange the painted candle holders on the plate until you find a layout you like. A staggered line or a simple triangle formation always looks great.
- Once you’re happy with the placement, apply a generous ring of hot glue to the bottom of each candle holder and press it firmly onto the plate.
Step 3 – Placing the Focal Point
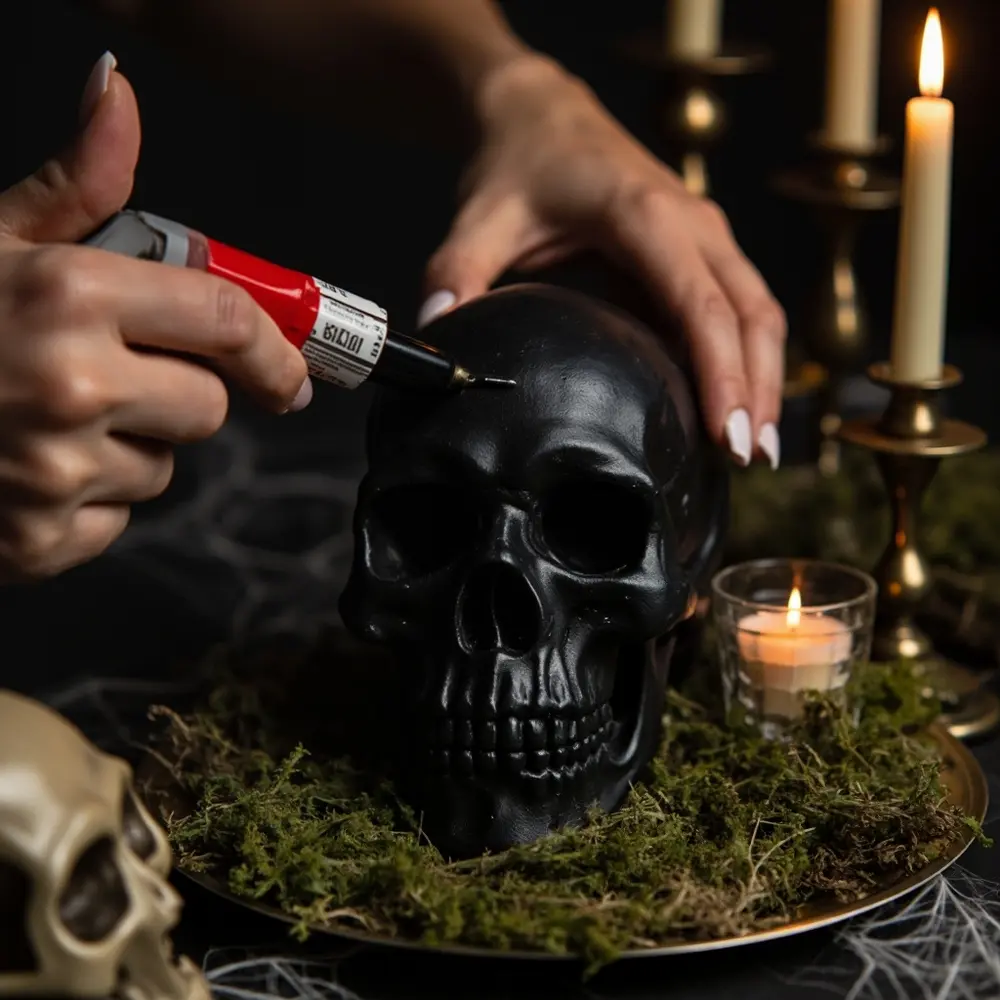
It’s time to add the star of the show—the skull! This will be the main element that draws everyone’s eye.
- Decide where you want your main skull to sit. I find that nestling it between the candle holders, a little off-center, looks best.
- Apply a generous amount of hot glue to the bottom of the skull and press it firmly onto the charger plate. Hold it in place for about 30 seconds to make sure you get a strong bond.
- If you have a second, smaller skull, you can glue it on top of a candle holder or right next to the main one for extra detail.
Step 4 – Adding Texture and Spooky Details
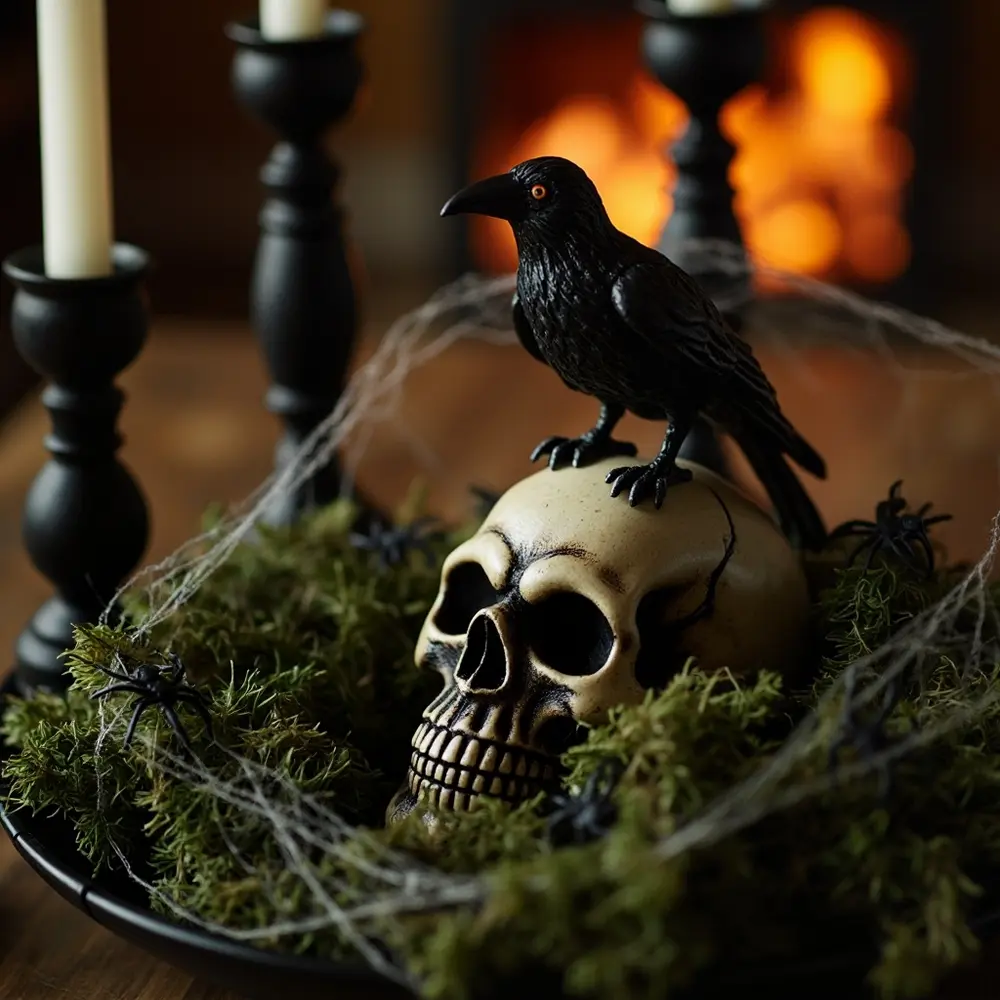
This is my favorite part! We’re going to fill in the gaps and add layers of texture to make the centerpiece look full and professionally styled.
- Take small clumps of Spanish moss and start tucking them around the base of the candle holders and the skull. Use small dabs of hot glue here and there to secure them.
- Gently pull apart the faux spiderweb and stretch it thinly over the entire arrangement. Hook it onto the skull, candles, and any other elements to make it look natural.
- Finally, use a tiny bit of hot glue to attach a few plastic spiders or perch your faux crow on top of the skull.
Important Note: When it comes to spiderwebs, less is more. Stretching it super thin makes it look way more realistic and chic than using thick, chunky clumps.
Step 5 – Testing Your Setup with Final Lighting
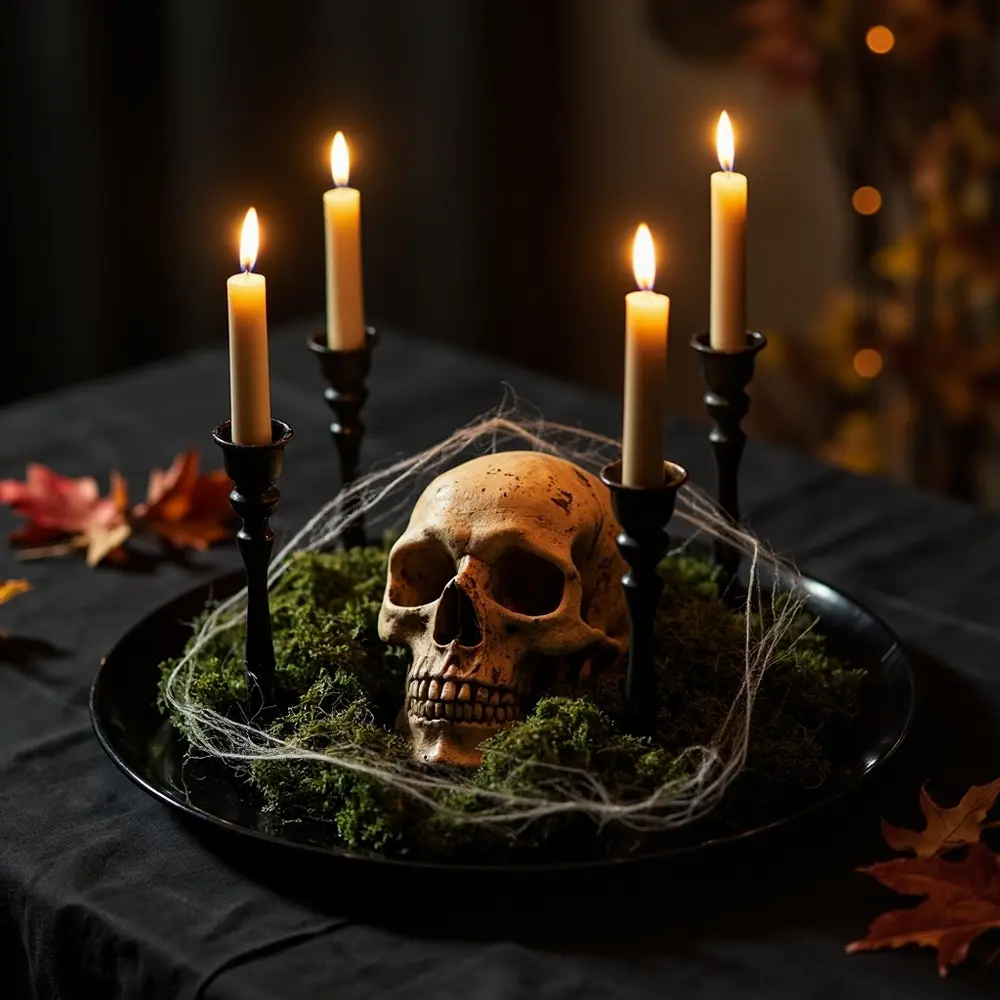
Time for the final touch that brings it all to life. Let’s add some spooky ambiance!
- Place your flameless LED candles on top of the candle holders and tuck any extras into little nooks you might have.
- Turn them on and see the final effect!
You should now have a dramatic, monochromatic centerpiece. The flickering candlelight will create eerie shadows across all the different textures, making it look like a single, cohesive sculpture.
The Secret to Making Dollar Store Decor Look Expensive
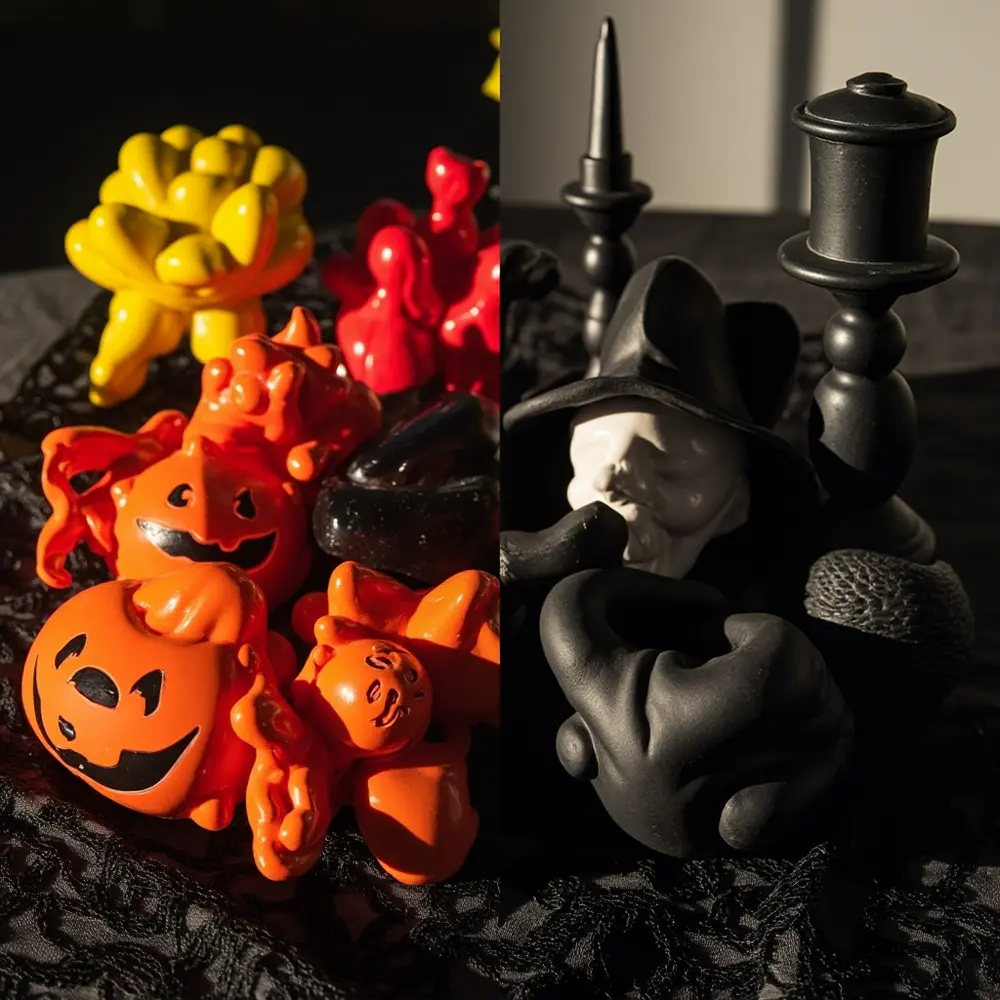
So many tutorials show you what to buy, but they miss the most important part: the why. The difference between a craft that looks cheap and a decoration that looks chic is all in the technique, not the price of the materials. Here’s a closer look at the design principles we just used.
My Personal Tip: Last year, I planned a ‘Haunted Masquerade’ party for a client on a surprisingly tight budget. Instead of buying expensive props, we took a bunch of cheap plastic masks, candelabras, and beads, and spray-painted them all a metallic, antique gold. The result was pure elegance! That project proved to me that a monochromatic color scheme is the ultimate secret weapon for any DIYer.
- Monochromatic Magic: This is the most effective trick in the book. By spraying everything matte black, we tricked the eye. You no longer see a “plastic skull” and a “glass candle holder”; you see a unified sculpture. The single color erases the cheap origin of the materials and replaces it with a deliberate, stylish choice.
- Texture Over Color: When color is neutralized, your eye starts to notice shape and texture. This is why we combined the smooth skull, the wispy spiderweb, and the rough Spanish moss. This textural contrast creates depth and visual interest that makes the piece look complex and thoughtfully designed.
Important Note: When you’re on your dollar store treasure hunt, deliberately look for a mix of textures—smooth, rough, shiny, dull—to get the most out of this effect.
- Create Dynamic Height: A flat arrangement just looks… well, flat. By using candle holders of different heights, we make the eye move up and down. This makes the centerpiece feel more dynamic and professional, giving it a much stronger presence on your table.
Troubleshooting & Common Questions ❓
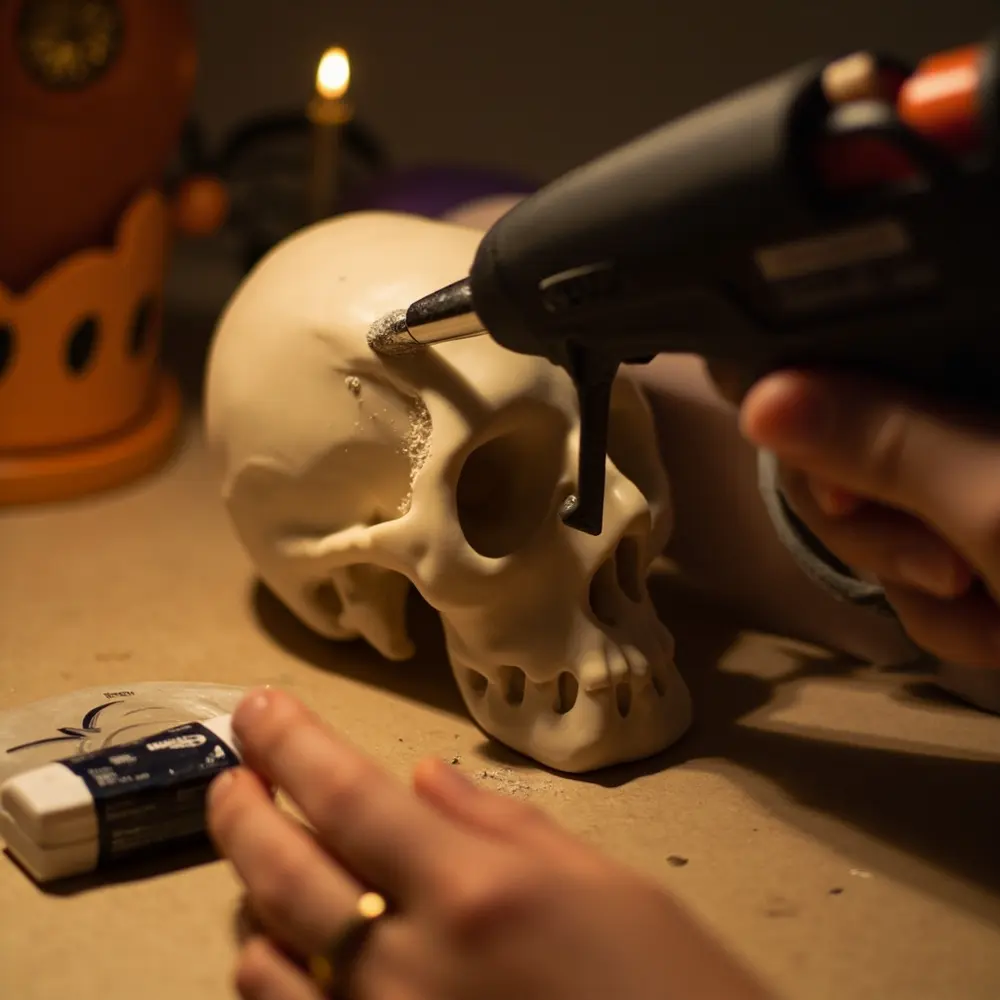
Why won’t my hot glue stick to the plastic?
Ah, the classic crafter’s problem! Some super smooth plastics can resist hot glue. For a much stronger bond, take a small piece of sandpaper and gently scuff up the areas on the bottom of your items where you’ll be applying glue. This creates a rougher surface for the glue to grip. For a truly permanent hold, you could use an industrial-strength glue like E6000, but be sure to use it with good ventilation!
Can I use a different color scheme for my DIY Halloween decor?
Absolutely! The monochromatic principle works with any color. Try an all-white and silver spray paint for a ghostly, ethereal look. A deep, royal purple can also look incredibly elegant. For a more “gothic” or “antique” vibe, spray everything black first, then use a dry-brushing technique with a tiny bit of silver or gold craft paint to highlight the edges and details.
Why does my spray paint look bumpy and uneven?
I’ve had this happen to me, and it’s so frustrating! It’s usually caused by one of two things: spraying too close to the object, or painting in high humidity. Always remember to hold the can 10-12 inches away and use light, sweeping motions instead of one heavy coat. Also, check the weather—if it’s too damp outside, the moisture in the air can mess with the paint’s finish.
Next Steps & Further Optimization
Congratulations on your awesome new centerpiece! Now, how can you take this skill even further?
- What to Do Next: Create a whole theme! Use your leftover materials and spray paint to create matching mini-decorations for individual place settings or to put on a bookshelf.
- Optimization Tips:
- Add a Scent: Tuck a few cinnamon sticks or whole cloves into the moss at the base for a subtle, autumnal scent that adds another sensory layer.
- Incorporate Nature: Weave in a few real, dried twigs from your yard (sprayed black, of course!) for even more organic texture and height.
- Advanced Applications: Try this same technique on a larger scale. Grab a dollar store wreath form and a bunch of plastic spooky decorations to create an amazing Halloween wreath for your front door.
Conclusion (My Final Thoughts) 👻

You did it! You’ve officially turned a bag of dollar store bargains into a piece of art that’s spooky, sophisticated, and totally you. By focusing on simple techniques like a single color scheme and layering textures, you’ve learned the real secret to making budget decor look absolutely stunning.
You now have a centerpiece that proves creativity, not cash, is the most important ingredient for beautiful holiday decorating. I hope you feel proud of what you’ve made and are inspired to tackle even more projects. Now go ahead, stand back, and admire your handiwork—you’re about to get a lot of compliments!
What unique dollar store finds did you use for your centerpiece? I’d love to hear your ideas in the comments below!
