How to DIY Your Halloween Wedding Decor: 5 Easy Projects to Start Now
✨ From styling spooky-chic weddings to managing endless planning spreadsheets, I’ve mastered the art of creating magical Halloween atmospheres—testing, fixing fails, and discovering solutions that actually work.
😅 But I know the struggle: How do you make your decor look elegant and not like a kid’s party? How can you create high-impact, spooky wedding ideas on a budget? I’ve been there, and I’ve spent years figuring it out.
👑 That’s why in this post, I’ll show you exactly how to solve these challenges with tips I’ve tested myself. Stick with me, and you’ll learn how to create stunning, personalized Halloween wedding decor while making unforgettable memories! 🎃
Tutorial At-a-Glance
Time Required: Approx. 4-8 hours (total for all projects, spread out)
Budget Level: Low-to-Mid Cost
Skill Level: Beginner to Intermediate (No-Sew, Basic Crafting)
Essential Supplies for All Your Spooky Wedding DIYs 🎃
Before we dive into the individual projects, let’s stock our crafting cauldron. My go-to trick for any big DIY undertaking is to gather all the general supplies first. It saves so much time and keeps the creative magic flowing!
✅ Hot Glue Gun & Glue Sticks (👑 Nancy’s Pick: I recommend a dual-temp glue gun. The low setting is perfect for delicate fabrics, while the high setting gives a super-strong bond for heavier items.)
✅ Craft Scissors / Utility Knife
✅ Black & White Craft Paint
✅ Paint Brushes
✅ Various Ribbons (black, deep red, purple)
✅ Faux Spiderwebs
✅ Glitter (black, silver)
✅ Craft Wire & Pliers
Project 1: Eerie Potion Bottle Centerpieces 🧪
As an event planner, I’ve learned that the secret to a stunning tablescape is a cohesive, eye-catching centerpiece. These DIY potion bottles are one of my favorite budget Halloween decor hacks because they look incredibly high-end but are so simple to make. They are the perfect DIY wedding centerpieces to set a magical mood.
Materials for Potion Bottle Centerpieces ✅
✅ Assorted Glass Bottles & Jars (various sizes, thrifted is great!)
✅ Labels (printable or blank for hand-writing)
✅ Food Coloring (green, purple, black)
✅ Glitter (fine, iridescent)
✅ Small Plastic Spiders or Insects
✅ Cork Stoppers (if bottles don’t have them)
✅ Twine or Raffia
Step 1: Prepare Your Bottles
First things first, you need clean bottles. The easiest way to remove stubborn labels is to soak the bottles in a sink of hot, soapy water for about 30 minutes. The labels should peel right off! For any sticky residue left behind, a little rubbing alcohol on a cotton ball works wonders. Let them dry completely.
[image-1: A collection of clean, empty glass bottles and jars of various shapes and sizes.]

Step 2: Craft Your Potions
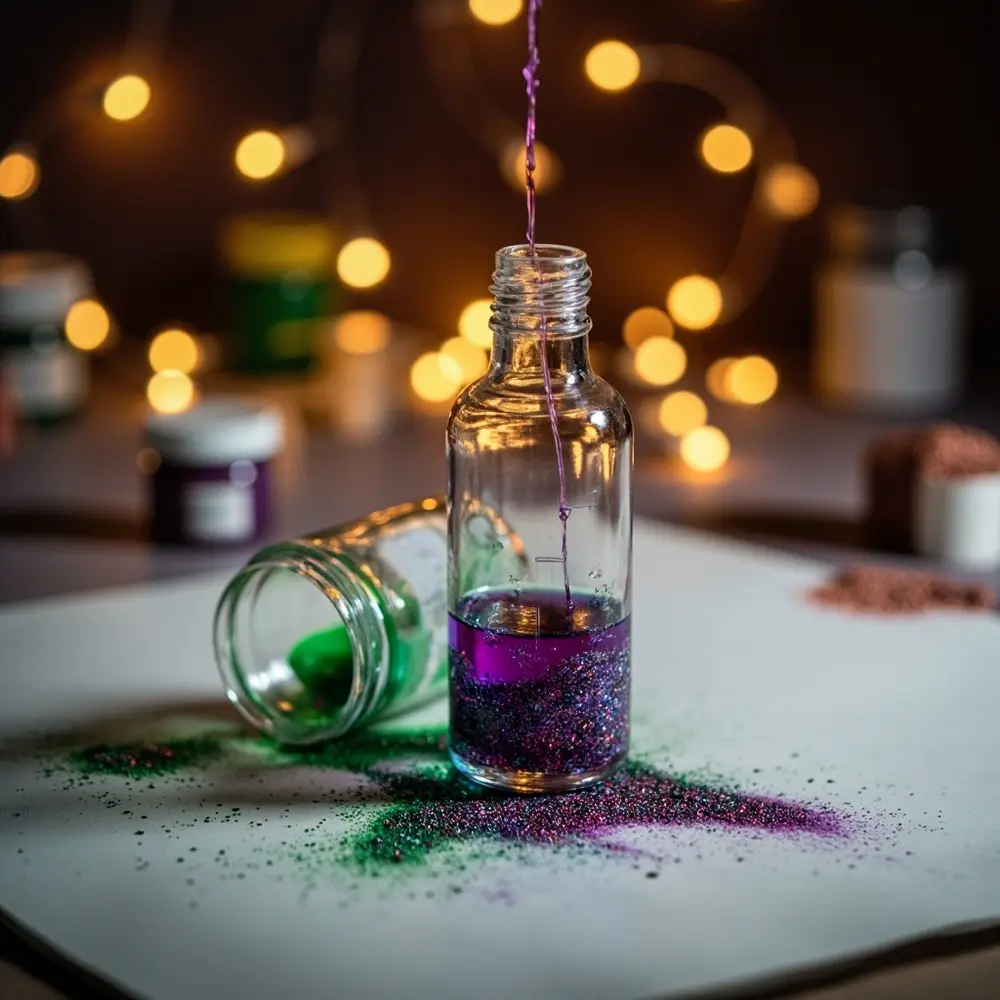
Now for the fun part! Fill your bottles most of the way with water. Add a few drops of food coloring and a generous pinch of glitter. Secure the lid or cork and give it a good shake to mix your magical concoction. A mistake I always see is people forgetting to add a tiny drop of dish soap—this helps the glitter stay suspended in the water instead of just sinking to the bottom.
💡 Pro-Tip: For a really cool effect, create layered potions! Fill a bottle halfway with colored water, then slowly pour a layer of vegetable oil on top. The liquids won’t mix, creating a spooky, two-toned look.
[image-2: Close-up of hands carefully pouring colored liquid into a bottle, with glitter swirling.]
Step 3: Label & Embellish
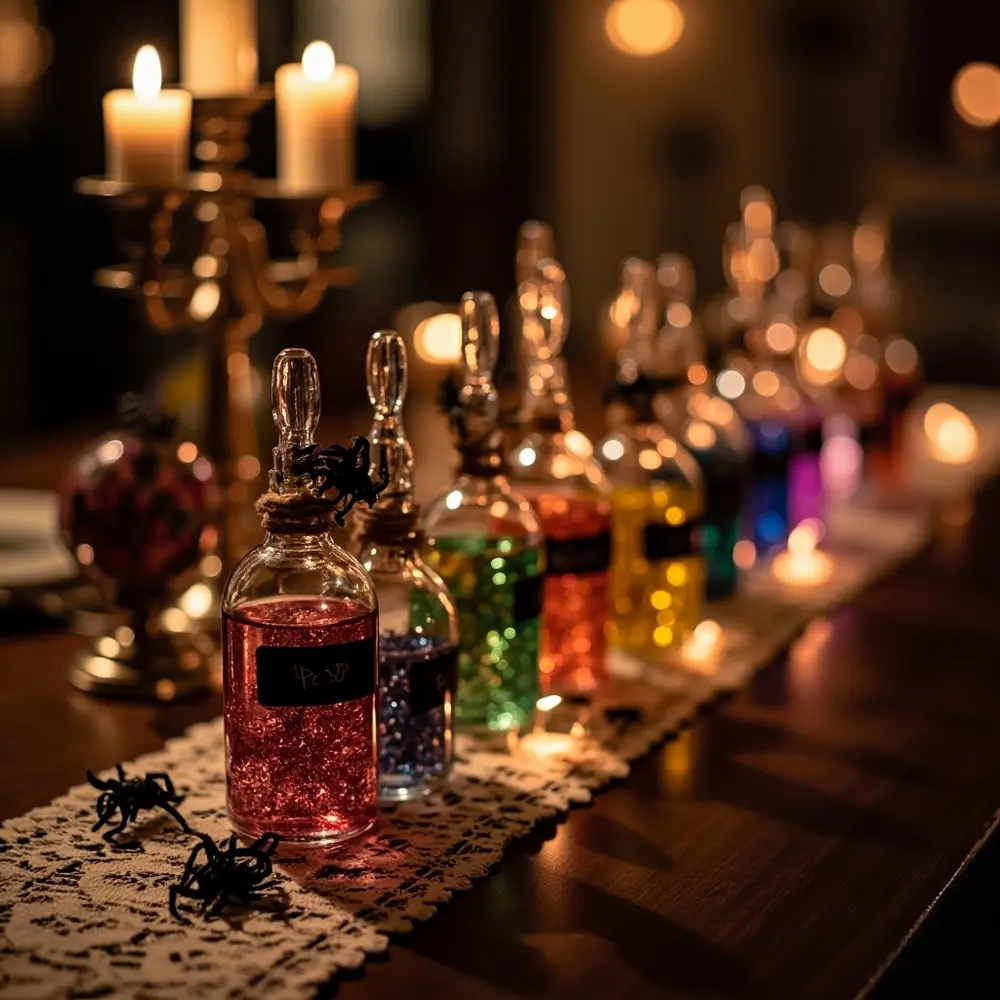
This is where your potion bottles really come to life. You can print pre-made spooky labels or hand-write your own on aged paper with fun names like “Love Potion No. 9,” “Witches’ Brew,” or “Elixir of Eternal Love.” Attach the labels with a bit of craft glue. For the final touch, wrap twine or raffia around the neck of the bottle and hot glue a tiny plastic spider or a small charm for extra flair.
[image-3: A finished potion bottle centerpiece arrangement, showcasing various bottles with labels and embellishments.]
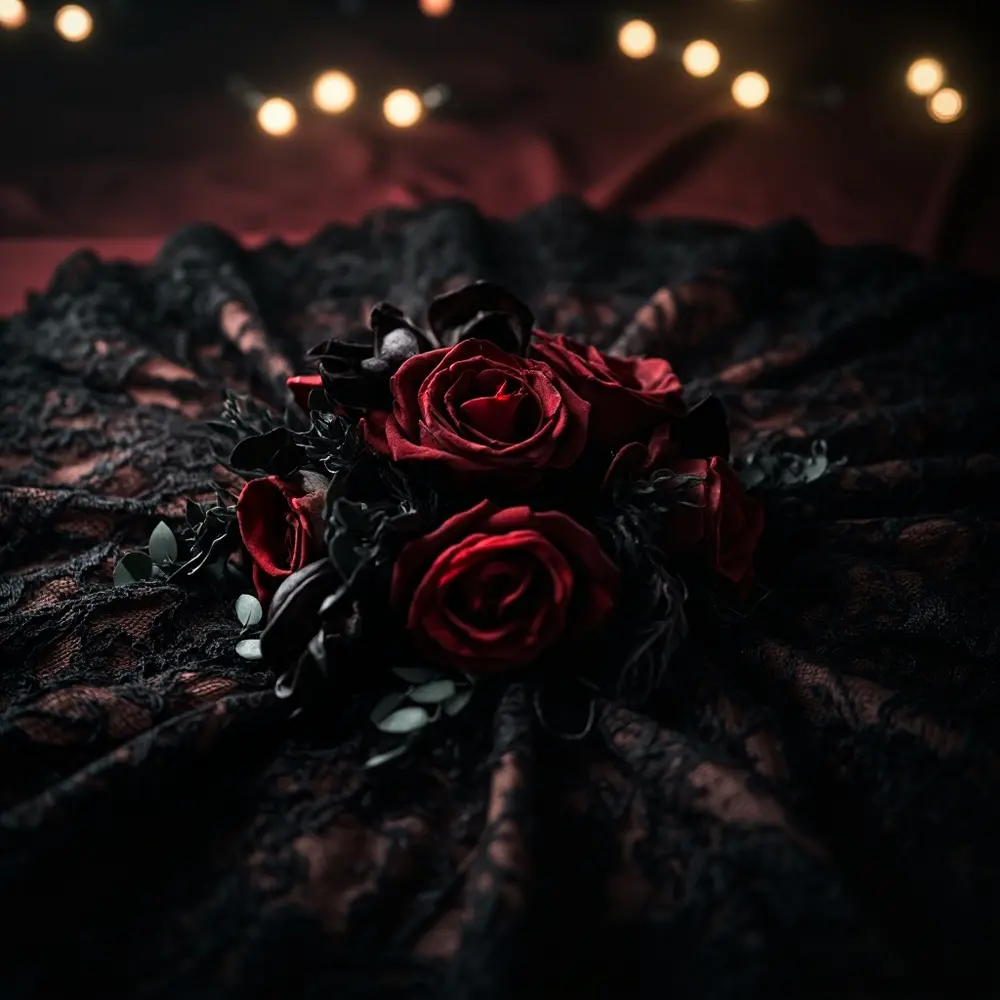
Project 2: Gothic Lace & Floral Backdrop 🥀
A question I get all the time on my Instagram is, “How do I make a wedding backdrop that looks expensive without spending a fortune?” This gothic floral backdrop is the answer. It’s dramatic, romantic, and the perfect photo spot for you and your guests.
Materials for Gothic Lace Backdrop ✅
✅ Black Fabric (e.g., velvet, heavy cotton, or even black bedsheets) – approx. 6-8 ft wide x 8 ft long
✅ Black Lace Fabric (various patterns, approx. 2-3 yards total)
✅ Faux Flowers (deep red roses, black calla lilies, dark purple hydrangeas) (👑 Nancy’s Pick: Look for “real touch” faux flowers. They cost a little more but look incredibly realistic in photos!)
✅ Faux Greenery (dark leaves, eucalyptus)
✅ Floral Wire & Floral Tape
✅ Command Hooks or Backdrop Stand
✅ Fabric Scissors
Step 1: Drape the Base Fabric
Start by hanging your main black fabric. If you’re using a backdrop stand, simply slide it on. If not, heavy-duty Command Hooks are your best friend! Place them along the top of the wall where you want the backdrop to hang. Make sure the fabric is pulled taut and smooth for a clean, professional look.
[image-4: A plain black fabric backdrop hung smoothly, ready for decoration.]
Step 2: Layer with Lace
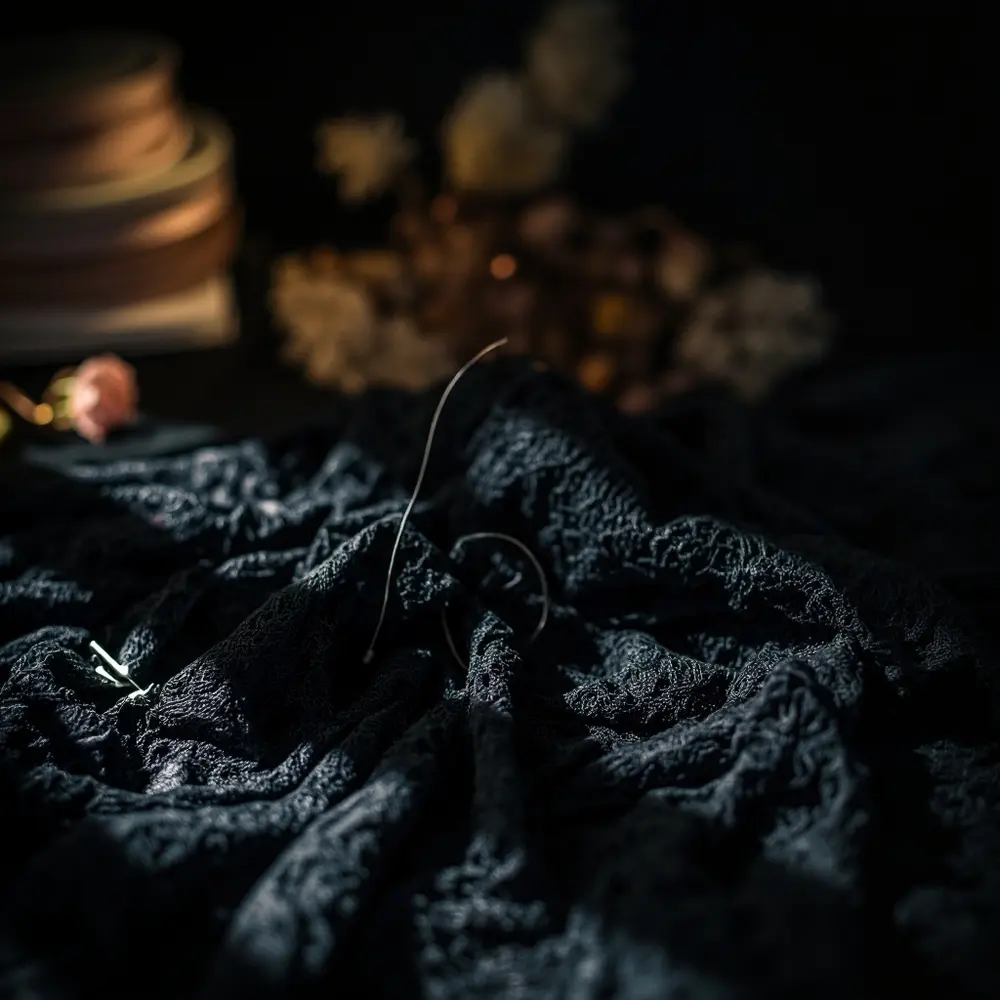
Now, create some texture. Take your pieces of black lace and drape them over the base fabric. Don’t worry about making it perfect—the goal is an artfully layered, slightly undone look. You can let some pieces hang long and bunch others up, securing them with a few safety pins on the back of the base fabric.
⚠️ Safety First: When hanging your backdrop, please use a sturdy step stool or ladder. Double-check that all your hooks are securely fastened to the wall before you let go of the fabric!
[image-5: Close-up of lace being draped and pinned onto the black fabric backdrop.]
Step 3: Arrange Floral Accents
Using your floral wire and tape, create several small clusters of your faux flowers and greenery. I like to make a few large ones for the corners and several smaller ones to scatter in the middle. Attach them to the backdrop by either pushing the floral wire through the fabric and twisting it tight at the back or by using a generous amount of hot glue.
[image-6: A section of the finished backdrop, showing the layered lace and a beautiful floral cluster.]
Project 3: Spiderweb Charger Plates 🕷️
My go-to trick for elevating a simple place setting is a custom charger plate. It’s a small detail that makes a huge impact. These spiderweb chargers are ridiculously easy and add a perfect touch of spooky elegance to your reception tables.
Materials for Spiderweb Charger Plates ✅
✅ Plain Black Charger Plates (plastic or wood)
✅ White Paint Pen or Fine-Tip White Paint (👑 Nancy’s Pick: A Posca paint pen is perfect for this! The paint flows smoothly and gives you a crisp, opaque line.)
✅ Clear Sealant Spray (optional, for durability)
✅ Small Plastic Spiders (optional)
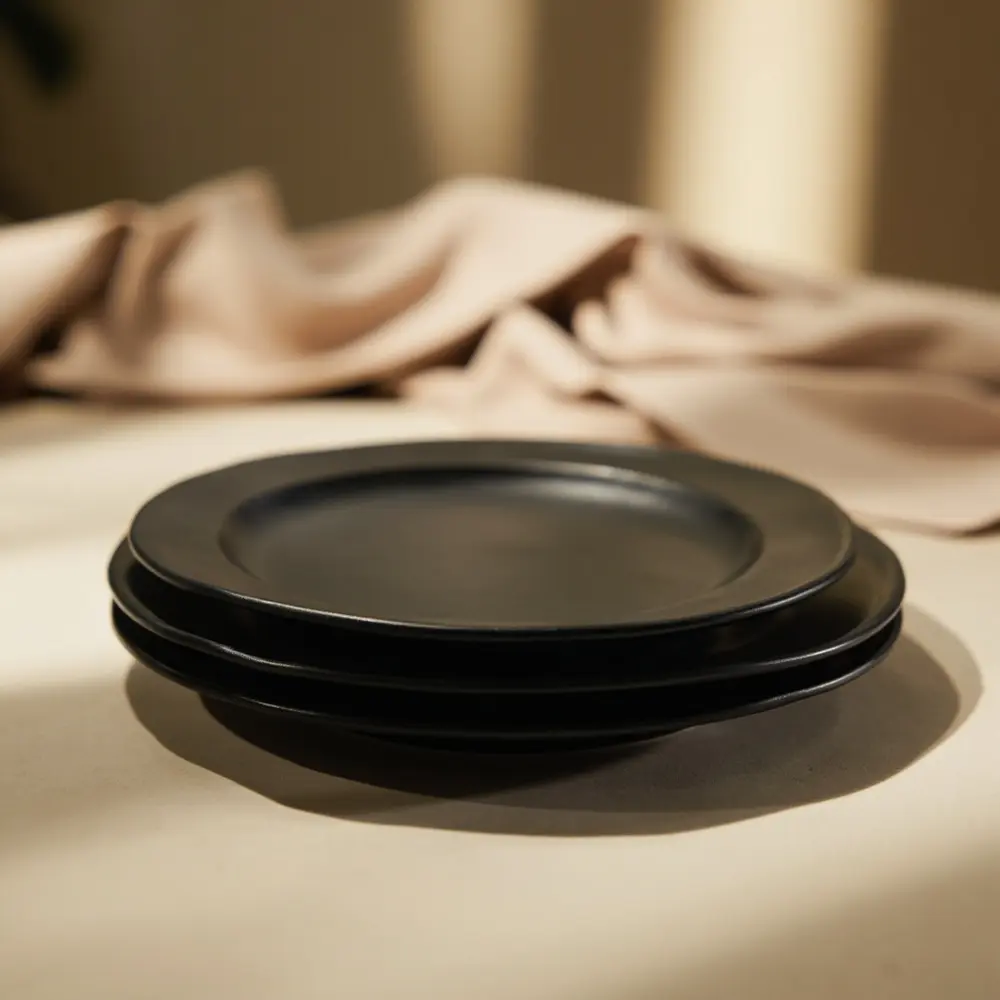
Step 1: Clean & Prepare Chargers
Before you start drawing, make sure your charger plates are clean and free of any dust or oils. A quick wipe-down with a damp cloth or an alcohol wipe will do the trick. This ensures your paint will adhere smoothly and won’t chip off.
[image-7: Stack of clean, plain black charger plates.]
Step 2: Draw the Spiderweb Design
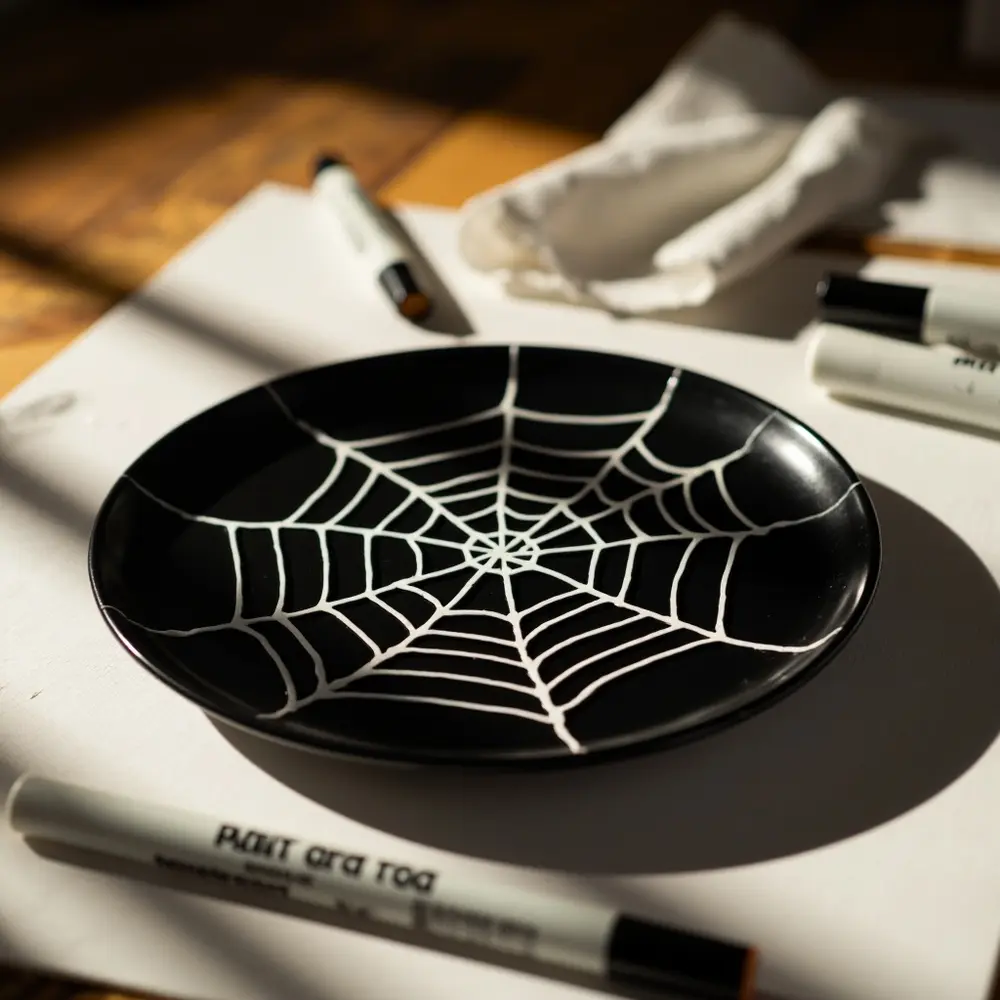
Using your white paint pen, start by drawing a small “X” in the center of the plate. Then, draw a few more lines radiating out from the center, like spokes on a wheel. Once you have your base lines, connect them with slightly curved lines, starting from the center and working your way out. Don’t stress about making them perfect—natural spiderwebs are never symmetrical!
[image-8: Hands drawing a spiderweb pattern onto a black charger plate with a white paint pen.]
Step 3: Add Finishing Touches
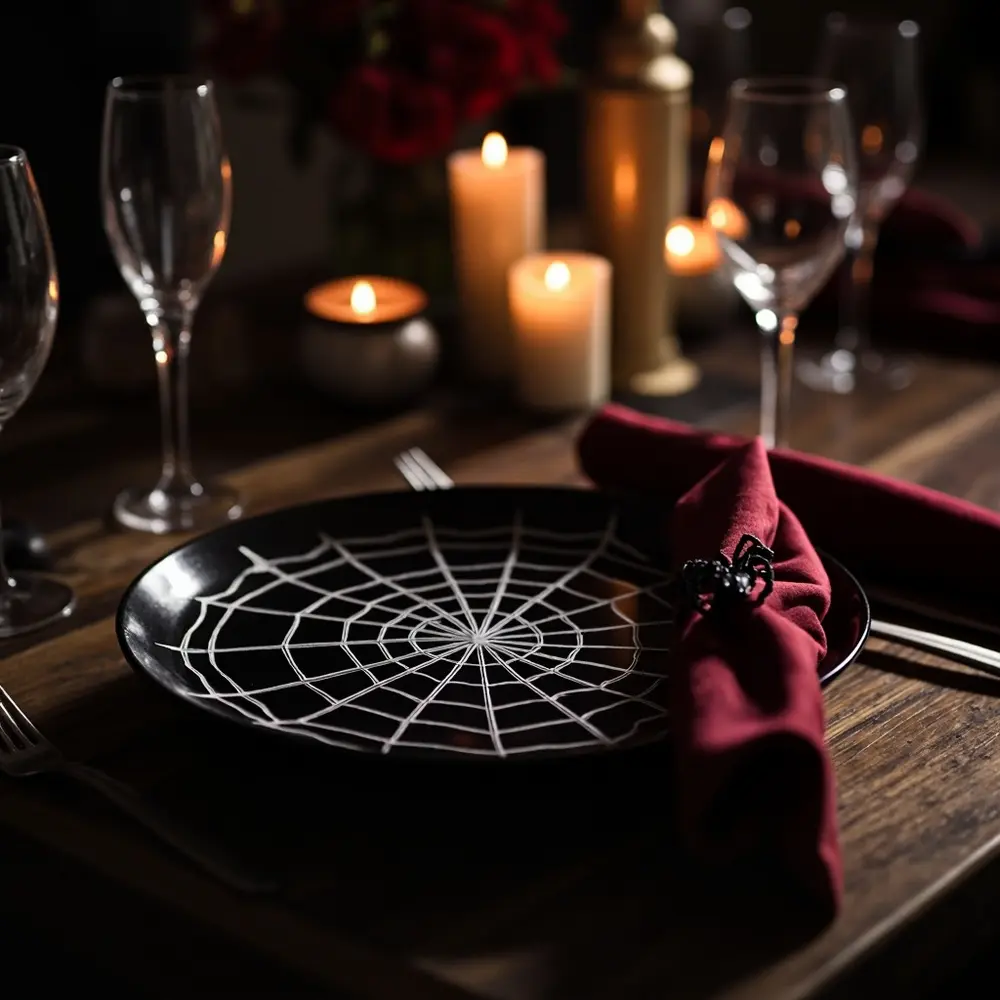
Let the paint dry completely. If you want to make the chargers more durable, take them outside and give them a light coat of clear sealant spray. For a final creepy-crawly touch, use a dot of hot glue to attach a small plastic spider to the edge of the web on each plate.
[image-9: A finished spiderweb charger plate set on a table, perhaps with a matching napkin.]
Project 4: Floating Candle & Skull Votives 🕯️
After testing dozens of centerpiece ideas, I can tell you this is one of the easiest and most dramatic. The combination of flickering candlelight, water, and spooky skulls creates an ethereal glow that is pure Halloween wedding magic.
Materials for Floating Candle Votives ✅
✅ Clear Glass Vases or Jars (various heights)
✅ Small Plastic Skulls or Skeletons
✅ Floating Candles (white or black) (👑 Nancy’s Pick: Opt for unscented floating candles with a long burn time—at least 4-6 hours—so you don’t have to worry about replacing them during your reception.)
✅ Distilled Water
✅ Optional: Black Pebbles or Sand
Step 1: Arrange Skulls & Pebbles
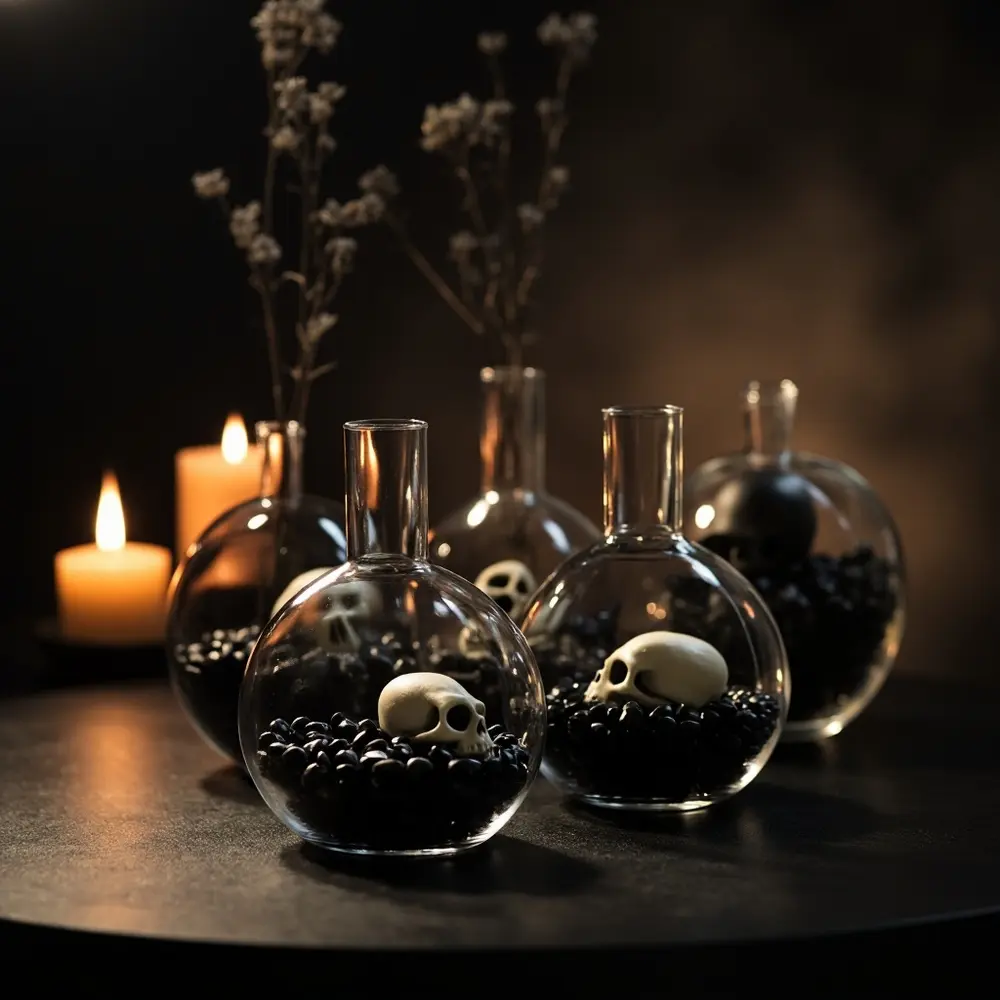
Start by placing one or two small plastic skulls at the bottom of each glass vase. If you’re using them, add a layer of black pebbles or sand first to help anchor the skulls in place. Grouping vases of different heights together will create a more dynamic and visually interesting display.
[image-10: Clear glass vases with small plastic skulls and pebbles at the bottom.]
Step 2: Fill with Water
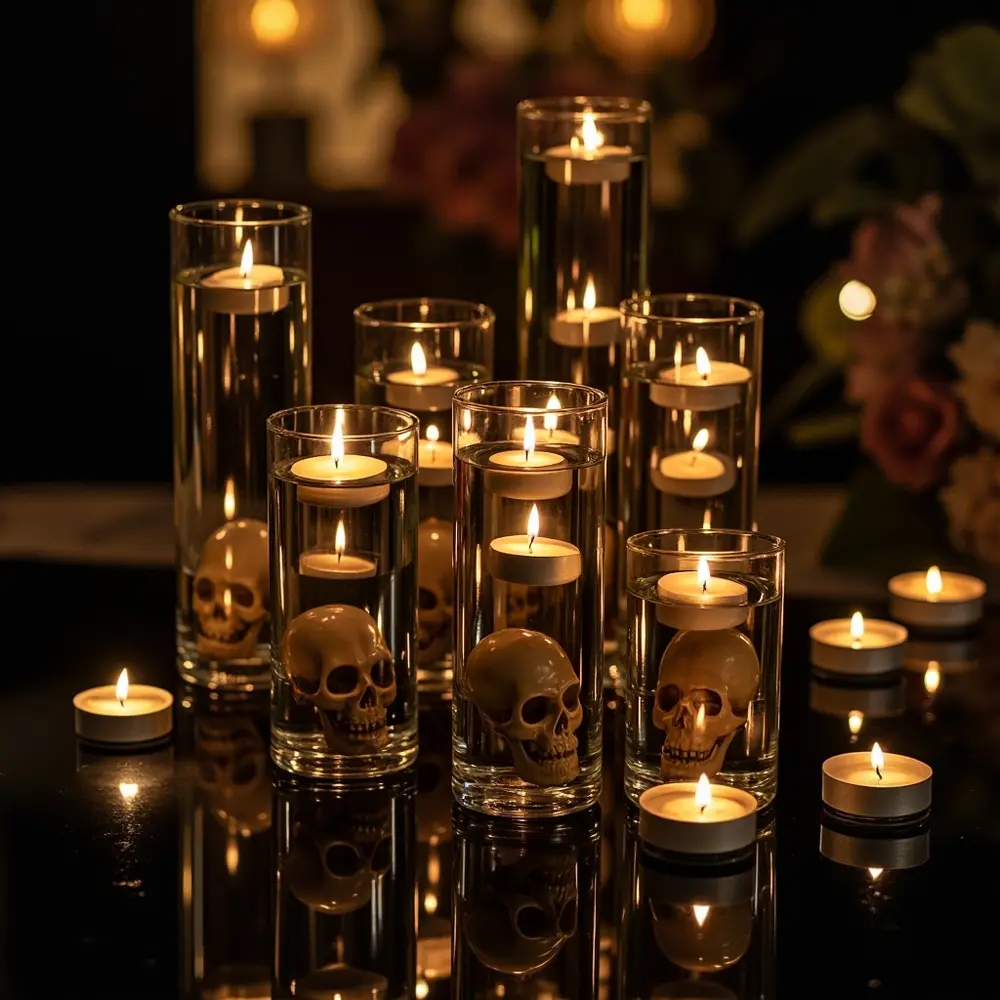
Carefully and slowly fill the vases with distilled water. Using distilled water is a key pro tip—it’s clearer than tap water and will prevent any cloudiness, keeping your display looking crisp and clean all night long. Fill the vases until the water level is about an inch from the top.
[image-11: Hands carefully pouring water into a vase with a skull inside.]

Step 3: Add Floating Candles
Gently place one floating candle on the surface of the water in each vase. The candles should float freely above the skulls. Arrange your finished votives on your tables, light the candles just before guests arrive, and watch the spooky, romantic ambiance come to life.
[image-12: A collection of finished floating candle votives, some lit, creating an eerie glow.]
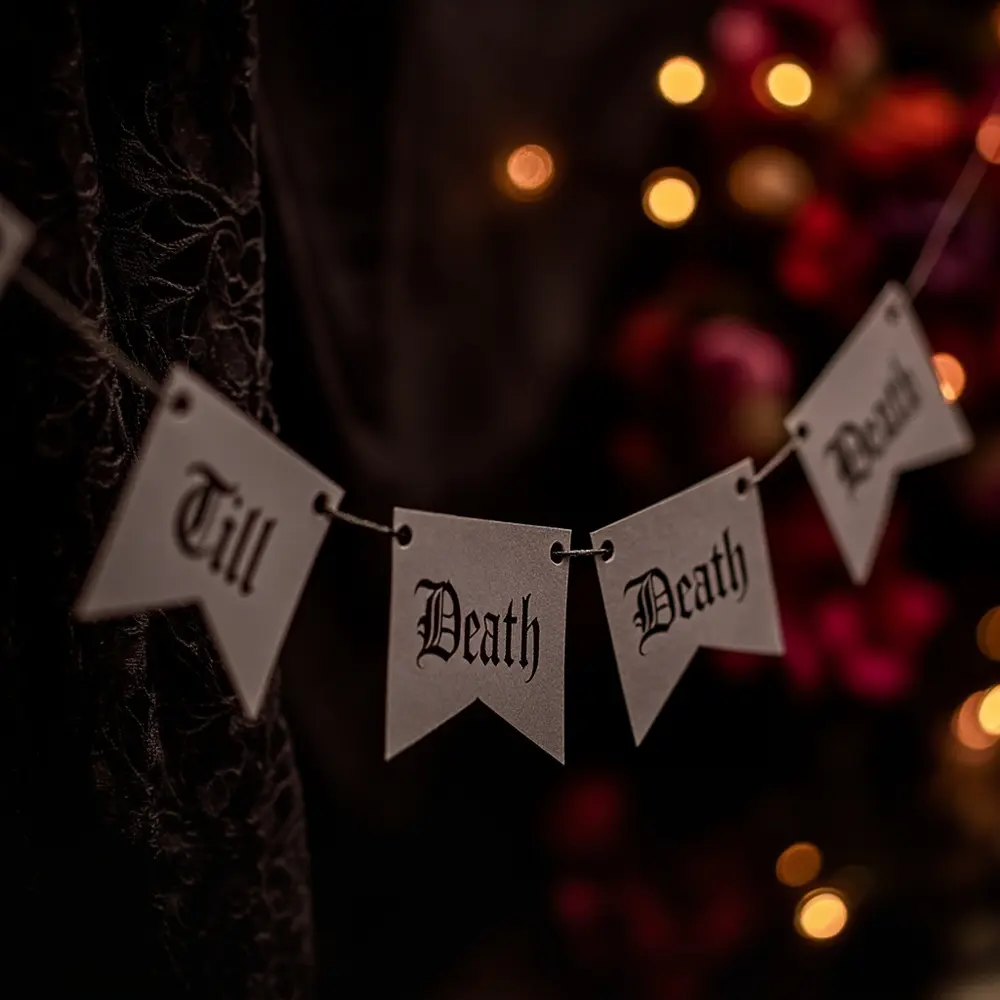
Project 5: “Till Death Do Us Part” Banner 💀
A custom banner is a fantastic way to personalize your space, and this one is a perfect nod to your theme. To make this project completely foolproof for you, I’ve created a free downloadable template! No need to worry about fancy lettering—just print, cut, and assemble.
Materials for Wedding Banner ✅
✅ Cardstock (black, white, or deep red)
✅ Twine or Ribbon
✅ Hole Punch
✅ Craft Knife or Scissors
✅ Printer
✅ [Downloadable Resource] “Till Death Do Us Part” Banner Template (link placeholder)
Step 1: Print & Cut Template
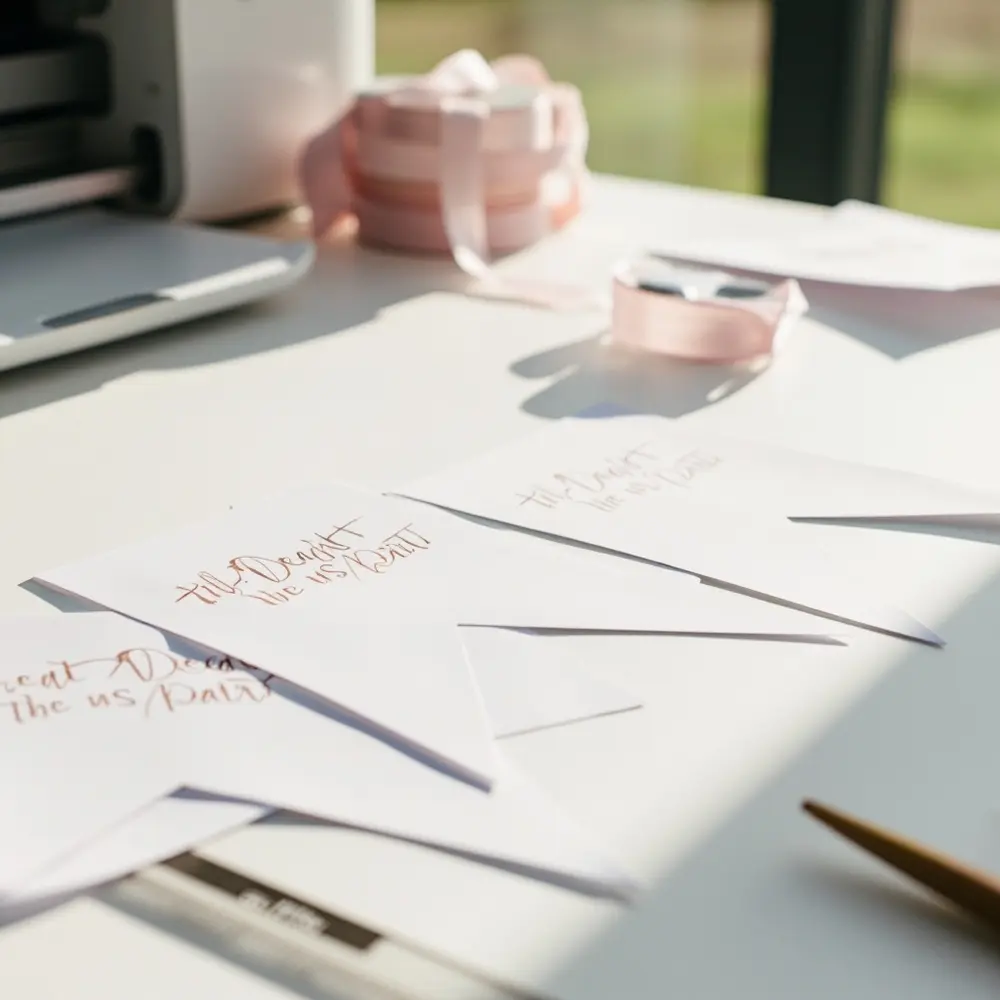
First, download the banner template and print it out on your cardstock of choice. Using a craft knife and a ruler for straight lines or a sharp pair of scissors, carefully cut out each letter pennant. Take your time with this step to get clean, crisp edges.
[image-13: Printed template sheets and hands cutting out individual banner letters.]
Step 2: Punch Holes
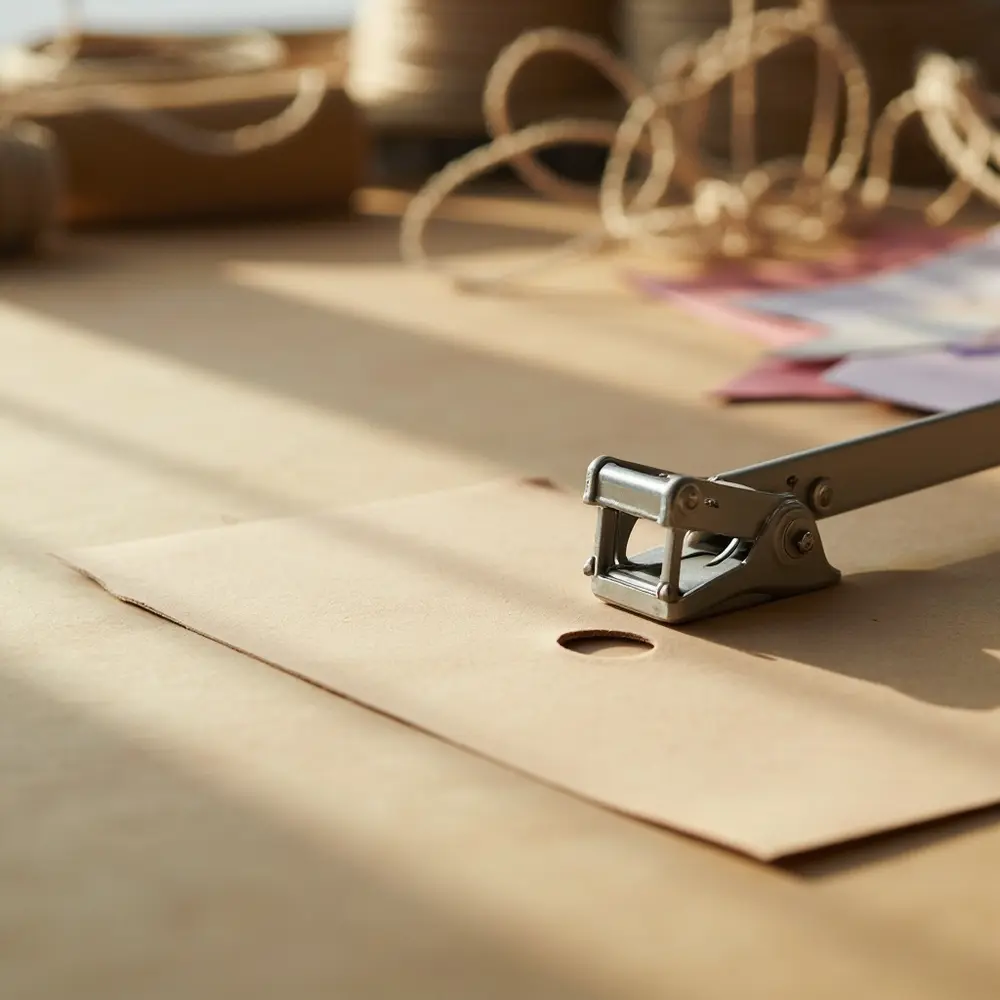
Using a standard hole punch, create a hole in the top two corners of each banner piece. Try to make them in the same spot on each letter so the banner hangs evenly.
[image-14: Close-up of a hole punch creating holes in a cardstock letter.]
Step 3: Assemble the Banner
Cut a long piece of twine or ribbon. Starting with the first letter, thread the twine through the holes of each pennant to spell out “Till Death Do Us Part.” Leave a generous amount of extra twine on each end for hanging. Adjust the spacing between the letters until it looks even, and your banner is ready to hang!
[image-15: The fully assembled “Till Death Do Us Part” banner hung against a wall or backdrop.]
Variations & Customizations 👻
One of the best parts of DIY is making it your own! Here are a few ideas to adapt these projects to your unique style:
- Color Palette Swap: Instead of traditional black and red, try deep purples, emerald greens, or even a ghostly white and silver theme.
- Victorian Gothic: Incorporate more velvet, antique frames, and candelabras for a refined, old-world spooky feel.
- Whimsical Halloween: Use brighter oranges, friendly ghosts, and pumpkin motifs for a less intense, more playful vibe.
- Personalized Touches: Add photos of the couple, custom monograms, or inside jokes to any of the projects.
DIY Halloween Wedding Decor FAQs 🤔
Q1: How can I make sure my DIY decor looks elegant and not too “costume party”?
The key is to focus on texture and a limited color palette. Stick to 2-3 main colors (like black, deep red, and gold) and incorporate rich textures like velvet, lace, and dark florals. Avoid overly cartoonish or brightly colored items. Sophisticated motifs like skulls, crows, and ornate patterns will feel more “gothic romance” and less “haunted house.”
Q2: What if I’m not very crafty? Which projects are the easiest to start with?
You can absolutely do this! I’d recommend starting with Project 1 (Potion Bottles) and Project 4 (Floating Candle Votives). Neither requires any special skills—it’s mostly just assembly! You’re just filling bottles and jars. They are incredibly forgiving and give you a huge decorative impact for very little effort, which is a great confidence booster.
Q3: How far in advance should I start these DIY projects to avoid last-minute stress?
My professional event planner advice is to start 1-2 months before the wedding. This gives you plenty of time to gather supplies without rushing. You can make the Potion Bottles, Charger Plates, and the Banner well in advance since they store easily. Save the Backdrop and Floating Candle Votives for the week of the wedding, as they are best assembled on-site or just before.
*
Now you have five incredible projects to start creating the spooky-chic wedding of your dreams! Each one is designed to be fun, budget-friendly, and totally achievable.
Which project are you most excited to try first? Let me know in the comments below! 🖤
