DIY Haunted House Decor: How to Make Spooky Silhouettes and Ghosts
Hey there, ghouls and goblins! Roshan here, your friendly neighborhood Halloween fanatic. 🎃 It’s that magical time of year when the air gets crisp, and we all get the itch to make our homes just a little… haunted.
Do you ever feel like store-bought decorations are either way too expensive or just don’t capture that classic, creepy vibe you’re dreaming of? It can be a real fright trying to create a bone-chilling atmosphere without breaking the bank or needing professional skills. 😟
Well, you can stop shaking in your boots! I’m here to show you how to easily craft two of the most iconic haunted house decorations: spooky window silhouettes and eerie floating ghosts. These projects are simple, budget-friendly, and will turn your home into a Halloween masterpiece. Let’s get crafting! 🎉
Activity At-a-Glance
- Best For 👨👩👧👦: Home Decor, Family Crafting, Outdoor/Indoor Displays
- Time Required ⏳: Approx. 1-2 hours per project (not including drying time for ghosts)
- Budget Level 💸: Low-Cost
- Spookiness Level 👻: Medium to High
H2: What You’ll Need for Your DIY Haunted House Decor 📋
Before we dive into the spooky fun, let’s gather our ghoulish gear. I always find it helps to lay everything out first—it’s like a mad scientist preparing an experiment!
- For Spooky Silhouettes:
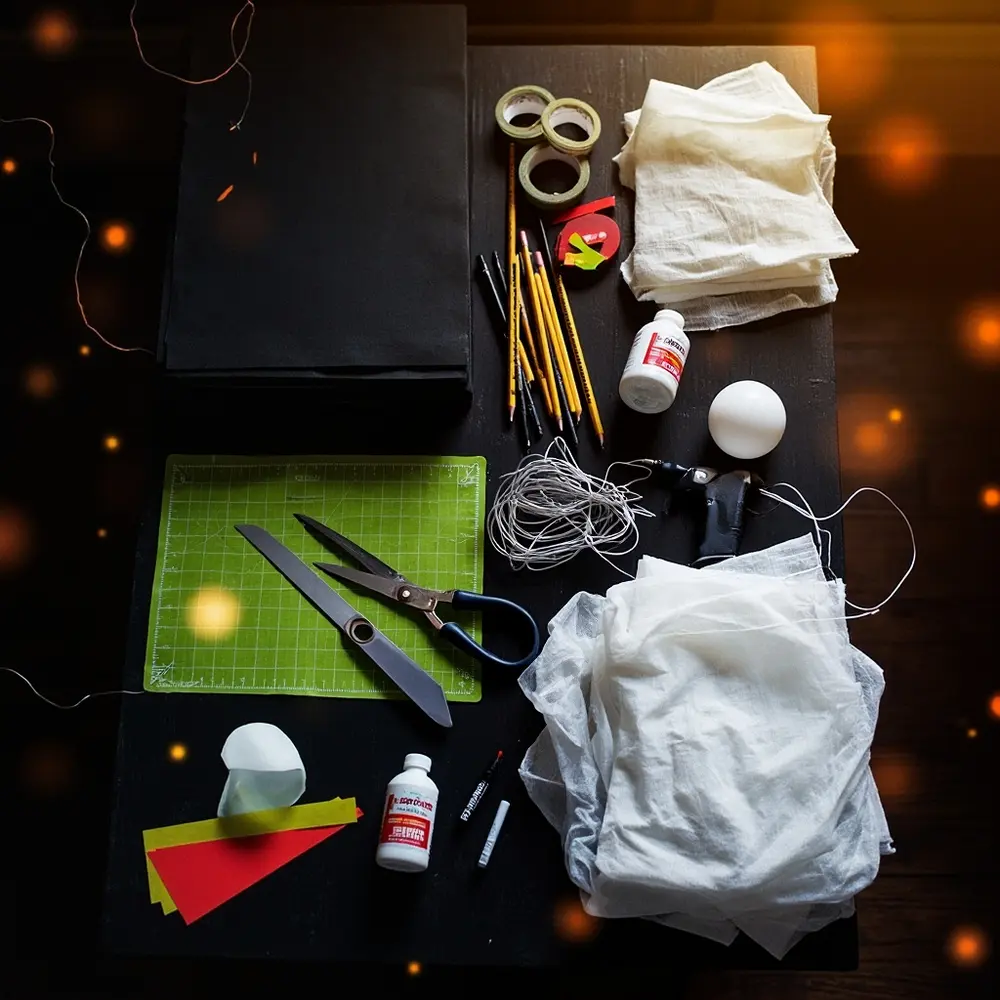
- Large sheets of black paper or poster board 📄
- Pencil ✏️
- Scissors or a craft knife (adult supervision needed!) ✂️
- Tape (masking tape or painter’s tape works best)
- Optional: Projector, stencils, or printed templates for more complex shapes
- Optional: Red or yellow cellophane for a truly demonic glow!
- For Eerie Floating Ghosts:
- White fabric (an old sheet, cheesecloth, or any lightweight white cloth) 💨
- Styrofoam ball, plastic bottle, or balloon (for the head shape) 🎈
- Liquid fabric stiffener or spray starch (optional, but highly recommended for rigid ghosts)
- Black marker or paint (for those hollow eyes) ⚫
- String or fishing line
- Hot glue gun (optional, but handy!)
- Optional: Glow sticks or small battery-powered LED lights
Image-1: A flat-lay photo showing all the materials for both projects neatly arranged on a dark wooden table.
H2: Preparation & Setup: Creating the Spooky Scene ⚗️
Alright, let’s set the stage for our crafting chaos! A little prep work goes a long way. First, find a good workspace with plenty of light. I like to put down some old newspaper or a plastic tablecloth to protect my dining table from any rogue paint or glue.
To really get in the spirit, I always put on my “Spooky Halloween Hits” playlist. Nothing gets the creative juices flowing like some classic monster mash! Make sure all your tools are within arm’s reach.
Pro Tip 💡: Before you start, give the windows you plan to use for silhouettes a quick wipe-down. A clean surface helps the tape stick much better and makes your final creation look crisp and clear from the street.
H2: Crafting Spooky Silhouettes: Step-by-Step Guide 🦇
This is one of my all-time favorite projects because the results are so dramatic for such little effort. Last year, a kid walking by my house saw my witch silhouette and yelled, “Mom, there’s a real witch in there!” Mission accomplished.
H3: Step 1: Design Your Spooky Scene
First, decide what story you want to tell in your windows. Are you going for a classic haunted mansion with a creepy butler? A coven of witches brewing a potion? Or maybe a swarm of bats escaping into the night?
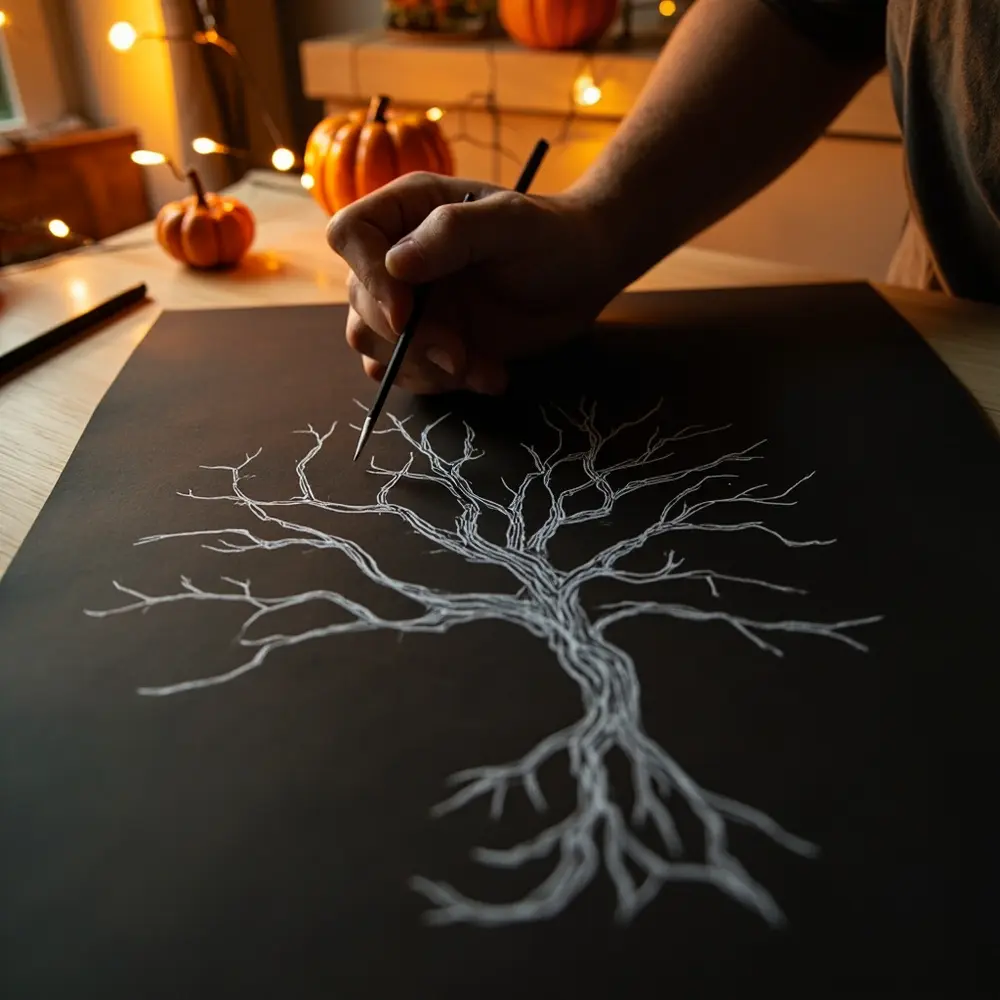
You can freehand your designs right onto the black paper with a pencil. Don’t worry about being a perfect artist—simple, bold shapes work best! If you’re not confident in your drawing skills, you can find tons of free templates online. Just print them out, trace them, or use a projector to cast the image onto your paper.
Image-2: A photo showing a person sketching the outline of a spooky, gnarled tree onto a large sheet of black poster board.
H3: Step 2: Cut Out Your Silhouettes
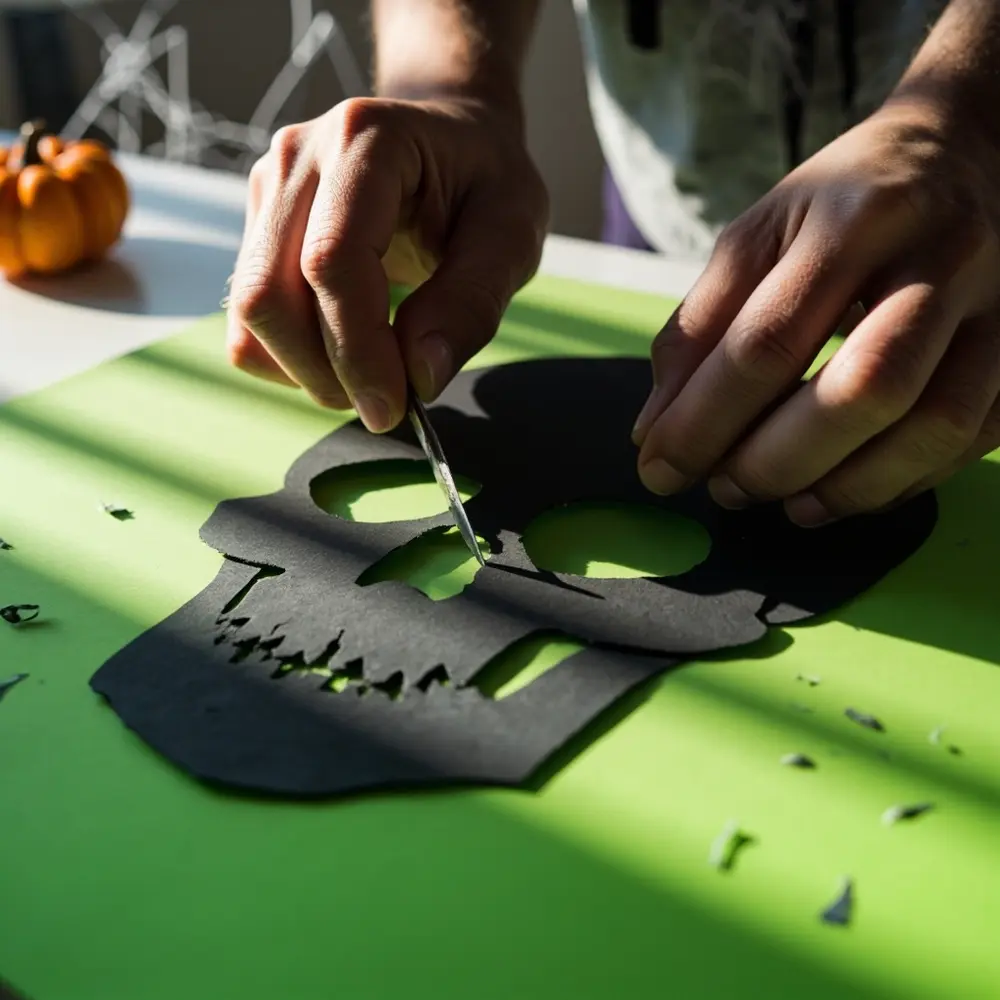
Now it’s time to bring your creations to life! Carefully cut along the lines you drew. For big, simple curves, a good pair of scissors will do the trick. For those tiny, intricate details—like a witch’s pointy fingers or a skeleton’s ribs—a craft knife is your best friend.
Safety First! ⚠️: Craft knives are incredibly sharp! If you’re using one, always cut on a protected surface like a cutting mat and keep your fingers clear of the blade’s path. This step is for adults only, or with very close adult supervision for older teens.
Image-3: A close-up shot of hands in action, carefully using a craft knife to cut out the detailed eye socket of a skull silhouette on a green cutting mat.
H3: Step 3: Install Your Spooky Scenes
This is the final, magical step! Take your finished silhouettes and tape them to the inside of your windows, facing out. I recommend using painter’s tape because it peels off easily without leaving any sticky residue.
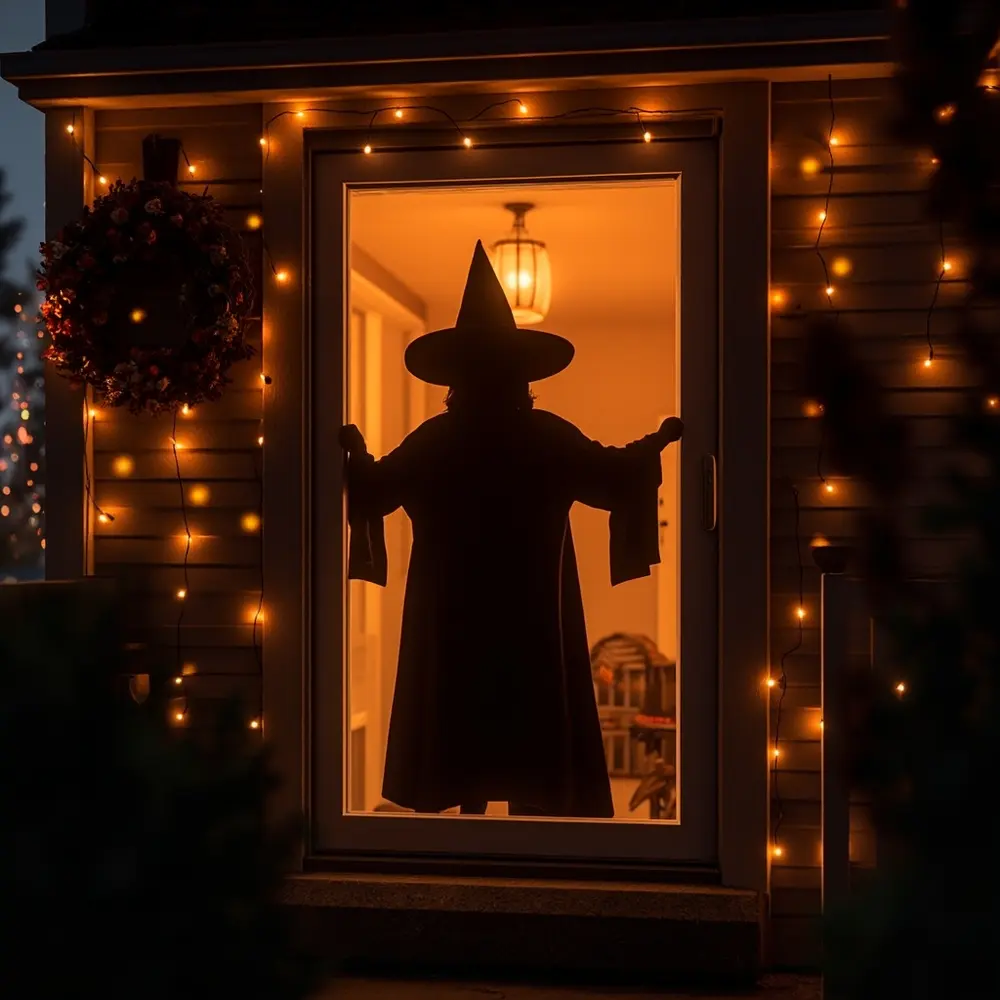
For the best effect, place them in windows that will have a light on in the room behind them at night. That backlight is what makes the silhouette pop and look incredibly eerie from the outside.
Image-4: A photo taken from outside a house at dusk, showing a witch silhouette glowing menacingly in a window with a warm light on inside the room.
H2: Creating Eerie Floating Ghosts: Step-by-Step Guide 👻
These aren’t your basic, floppy-sheet-in-a-tree ghosts. We’re making specters that look like they are truly floating and frozen in mid-air. They are a fantastic addition to a porch or hanging from tree branches.
H3: Step 1: Prepare Your Ghostly Material
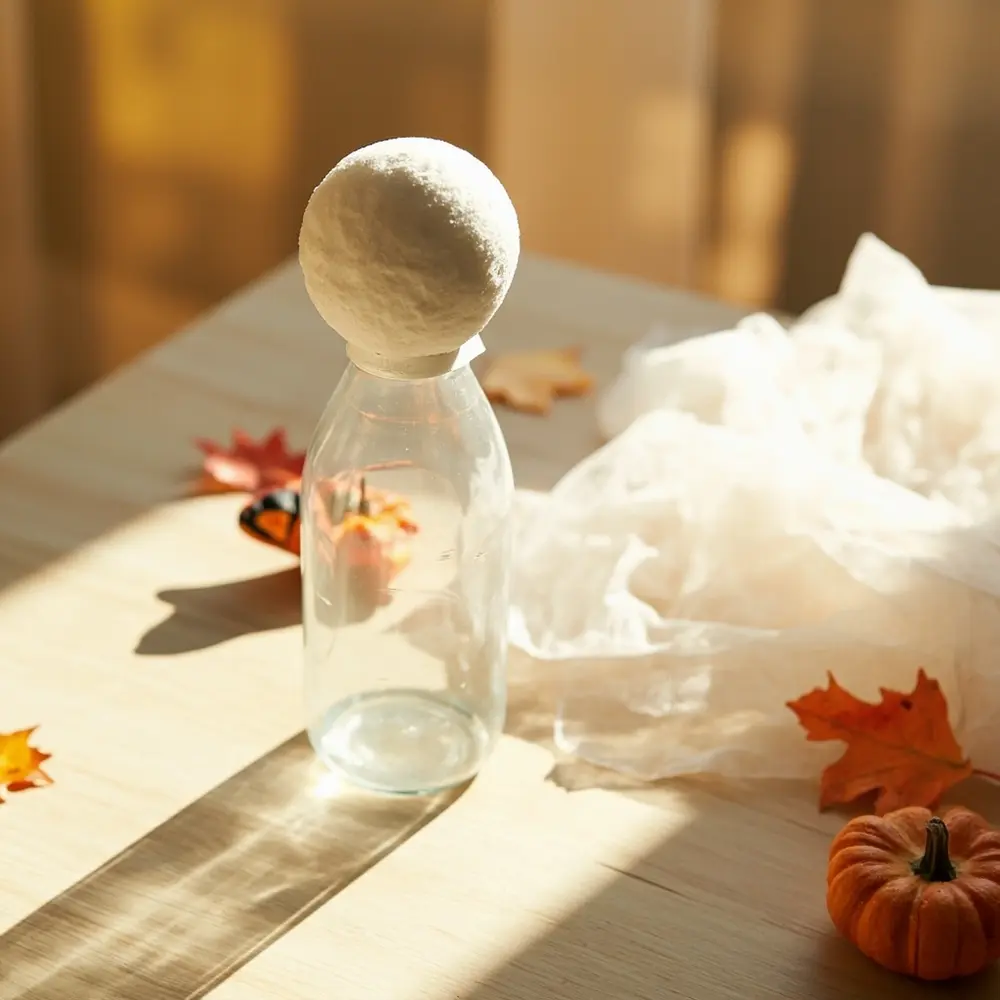
First, create a simple stand to form your ghost’s shape. A plastic bottle with a Styrofoam ball taped to the top works perfectly. You can even just use a balloon! This will be the head.
Next, cut your fabric. You want it to be large enough to drape over the head form and have some nice, long, flowing tendrils. A square or circle shape works well. If you’re using fabric stiffener (and I really think you should!), pour some into a bowl.
Image-5: A photo of the ghost-making setup: a Styrofoam ball perched on top of a soda bottle, with a piece of white cheesecloth next to it.
H3: Step 2: Form Your Ghostly Shape
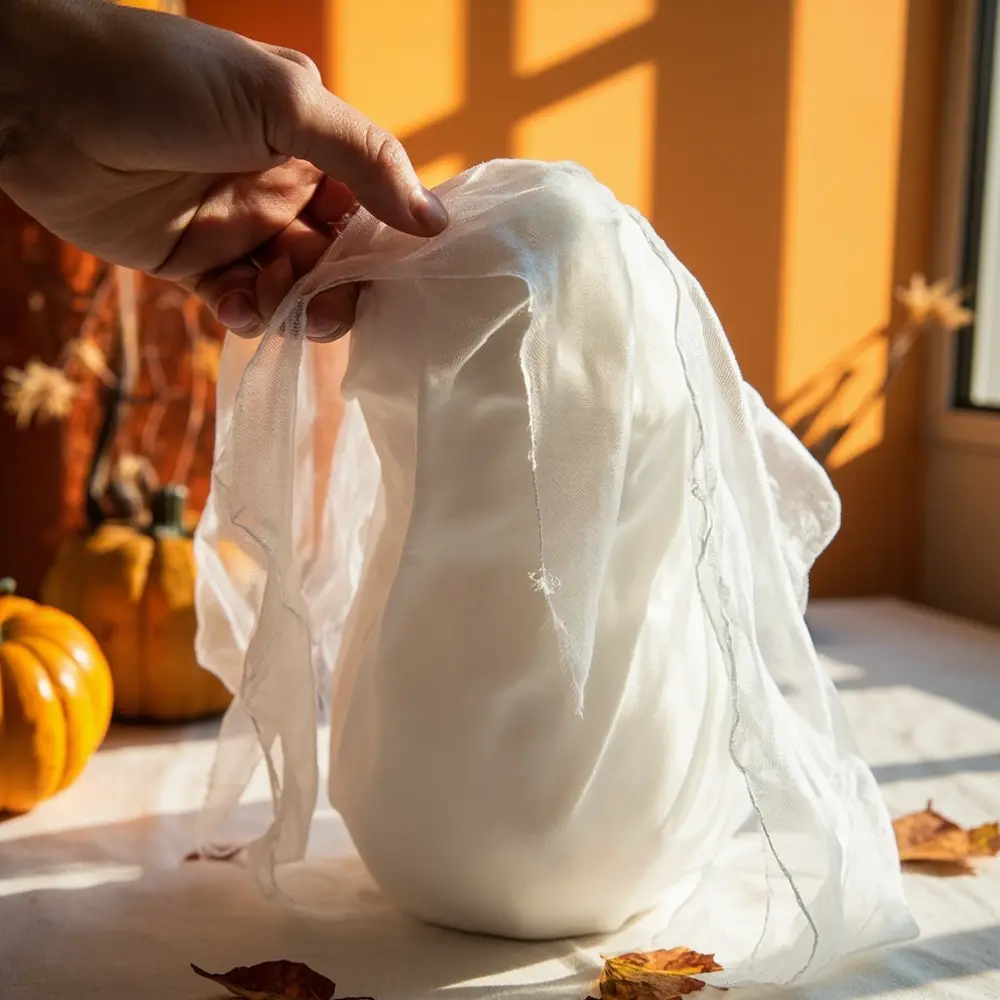
Now for the messy—but fun—part! Dip your fabric into the liquid fabric stiffener, making sure it’s completely soaked. Wring out the excess so it’s not dripping everywhere.
Carefully drape the wet fabric over your head form. Now, get creative! Arrange the folds and ripples in the fabric to look like it’s flowing in the wind. Shape the bottom edges into spooky points. Let it dry completely according to the stiffener’s instructions (this can take several hours or overnight).
Image-6: A shot of a hand arranging the stiffener-soaked fabric over the head form, creating dramatic, flowing shapes at the bottom.
H3: Step 3: Give Your Ghost Life
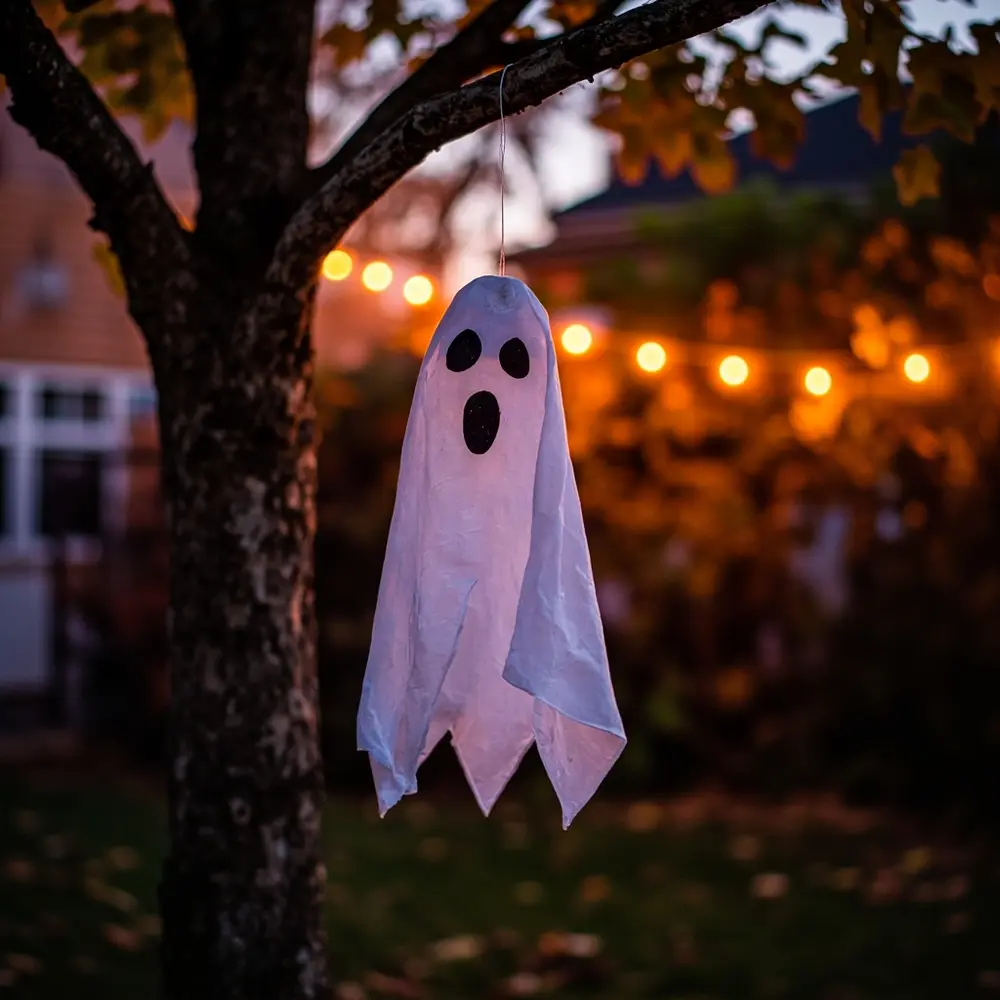
Once your ghost is completely dry and stiff, gently lift it off the form. It should hold its shape perfectly! Use a black marker or a little bit of black paint to add two simple ovals for eyes and maybe a silent, screaming mouth. Less is more here—you want it to look hollow and haunted.
Finally, poke a small hole in the top of the head and thread your fishing line or string through it to hang your creation.
Image-7: A photo of a finished, stiffened ghost hanging from a tree branch in a yard, looking like it’s genuinely floating in the air.
H2: Classic Haunted House Tips: Elevating Your Spooky Decor ✨
Want to take your haunted house to the next level? Here are a few of my go-to tricks:
- Lighting is Everything: For your silhouettes, don’t just use a standard ceiling light. Place a single lamp on the floor behind the window. A flickering LED bulb or a colored light bulb (orange or red!) creates a much more dynamic and creepy effect.
- Group Your Ghosts: One ghost is spooky, but a group of three or five floating at different heights is a true haunting. It tells a story and has a much bigger impact.
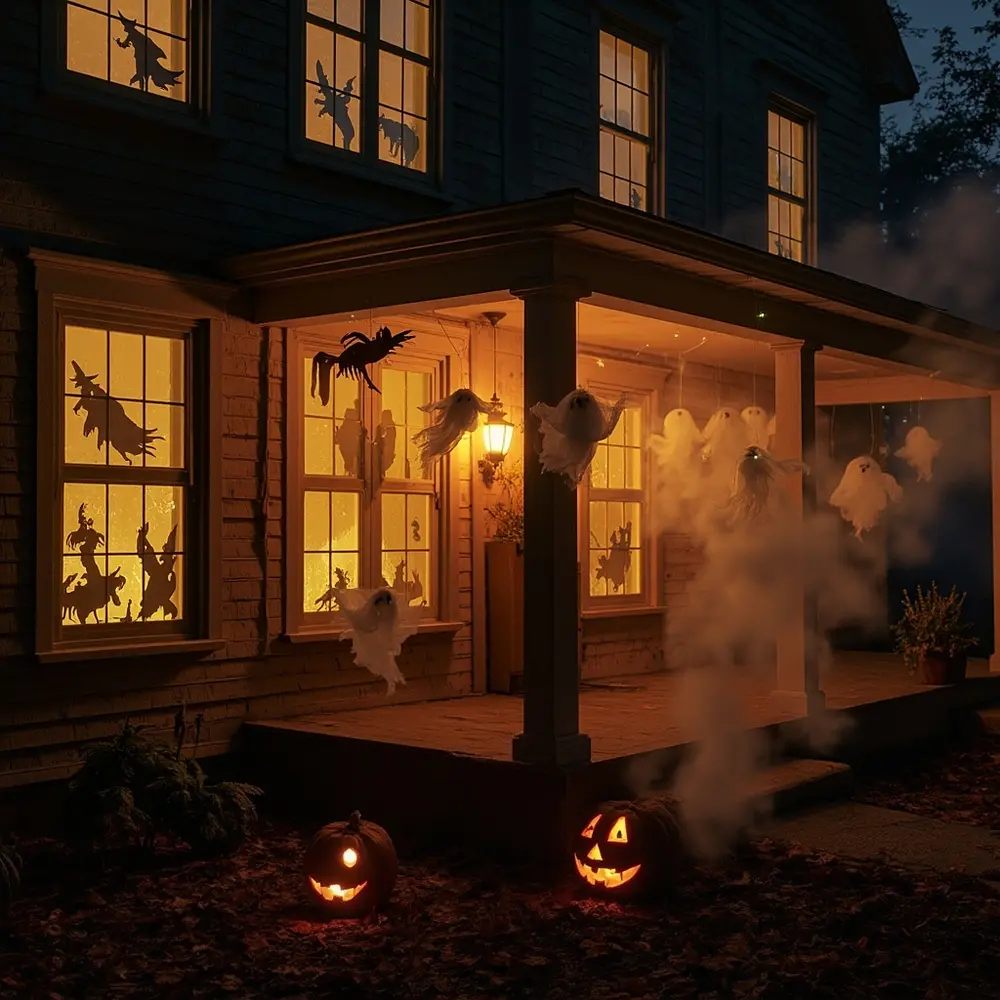
- Create a Scene: Combine your projects! Have your floating ghosts outside the window where your spooky butler silhouette is peeking out. It creates a cohesive, layered look that will impress all the trick-or-treaters.
- Add Sound: Hide a small Bluetooth speaker near your display and play a loop of spooky sounds—creaking doors, distant whispers, or howling wind. It’s the ultimate finishing touch!
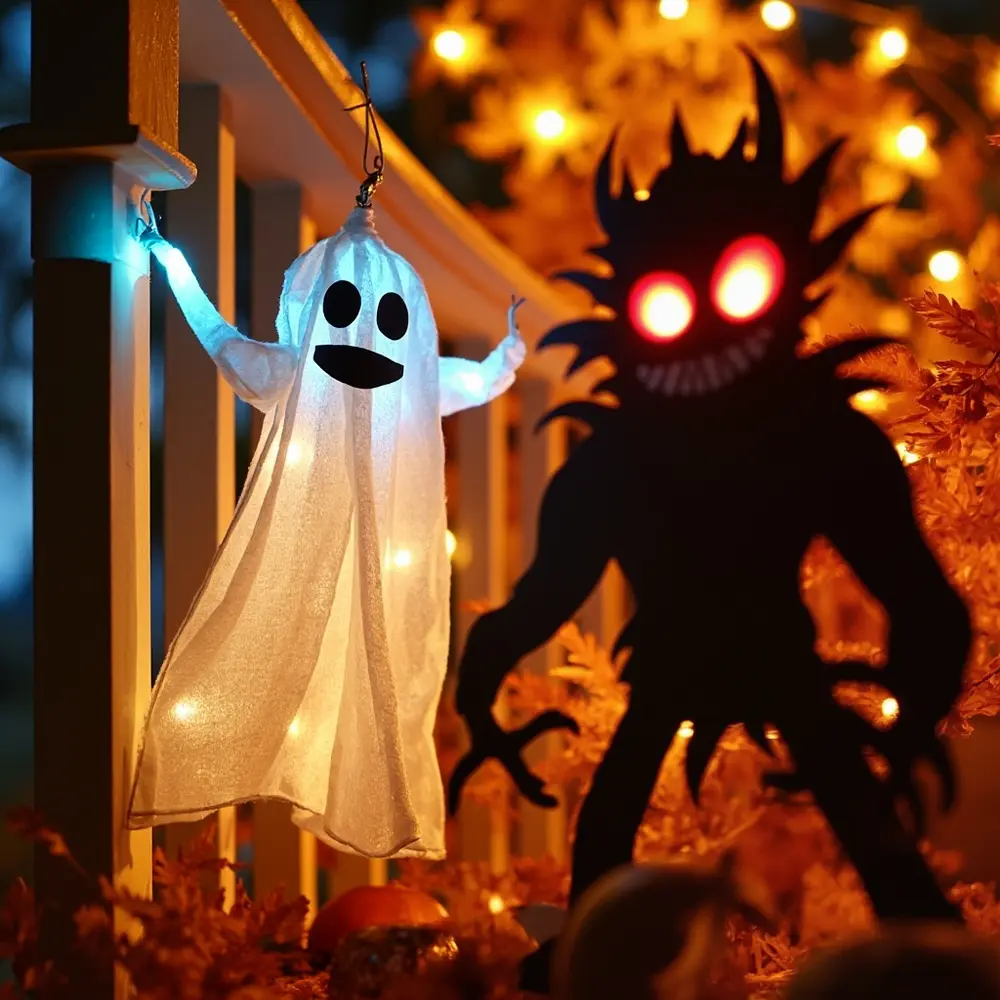
Image-8: A wide shot of a home’s exterior at night, showcasing both the glowing window silhouettes and several floating ghosts hanging from a porch roof.
H2: Variations & Customizations to Haunt Your House 🎨
Feeling extra creative? Here are some fun ways to put your own spin on these classic crafts.
- Silhouette Variations:
- Tape colored cellophane behind cut-out areas (like a monster’s eyes) for a glowing effect.
- Create a scene with depth by placing a smaller silhouette (like a cat) in front of a larger one (like a witch).
- Use LED strip lights around the inside of the window frame to make your silhouettes glow with an eerie, colored light.
- Floating Ghost Customizations:
- Make a whole ghost family by using different sized balls and bottles for the heads.
- Before you add the stiffener, wrap wire or pipe cleaners around the “shoulders” of your form to create posable arms you can shape.
- Add a touch of glow-in-the-dark paint to the edges of your ghost for a supernatural shimmer after dark.
Theme Twist 💡: Instead of classic spooks, why not create “Victorian Spirits”? Use old lace or cheesecloth with tattered edges. For your silhouettes, design characters in old-fashioned clothing for a more gothic horror feel.
Image-9: A creative shot showing a variation, like a ghost with posable wire arms reaching out, or a silhouette with red cellophane eyes.
H2: Halloween Activity FAQs ❓
Q1: How can I make my silhouettes visible from the street at night?
The key is backlighting! Make sure the room behind the window is lit, but the rest of your house is dark. A single, focused light source (like a lamp placed on the floor) pointing toward the window works much better than a bright overhead light, which can wash it out.
Q2: What’s the best way to hang floating ghosts outdoors so they don’t blow away?
Fishing line is great because it’s strong and nearly invisible. When you hang them, try to find a spot that’s slightly sheltered from the wind, like under a porch or on a sturdy tree branch. For extra security, you can add a small, clear weight (like a fishing sinker) to the very bottom of the ghost’s fabric to keep it from flying away in a strong gust.
Q3: Can these projects be made child-friendly?
Absolutely! For the silhouettes, let the kids do the drawing and tracing. An adult should handle the craft knife, but kids can safely use scissors for simpler shapes. For the ghosts, kids will love the messy fun of dipping the fabric in stiffener and drawing on the faces with markers once they’re dry. It’s a perfect family activity!
Conclusion
And there you have it! With just some paper, fabric, and a bit of spooky spirit, you’ve created a classic haunted house scene that is sure to be the talk of the town. I absolutely love these projects because they prove you don’t need a Hollywood budget to make Halloween magic. The best decorations are the ones you pour your own creativity into.
Now go turn your home into the spectacular haunt you’ve always dreamed of! I would be thrilled to see your creations. Share them on social media with the hashtag #SpookySharmaDIY so I can see all the amazing haunted houses you bring to life!
What’s your all-time favorite DIY Halloween decoration to make? Let me know in the comments—I’m always looking for new ideas! Happy haunting! 🎃👻

