DIY Hocus Pocus Party Decorations: Spooky & Easy Dollar Store Hacks + Printables
✨ From haunted party planning spreadsheets to last-minute glitter explosions, I’ve mastered the art of creating magical Halloween parties—testing, fixing fails, and discovering solutions that actually work.
😅 But I know the struggle: how do you create a spellbinding Hocus Pocus party without a witch’s budget? You see amazing ideas online, but they often lack clear instructions.
👑 That’s why in this post, I’ll show you exactly how to transform dollar store finds into enchanting decor with my favorite budget-savvy hacks. Stick with me, and you’ll learn how to throw a bewitching bash while creating magical memories with your loved ones! 🎃
Tutorial At-a-Glance
Time Required: Approx. 2-4 hours (depending on number of projects)
Budget Level: Low-Cost
Skill Level: Beginner to Intermediate
What You’ll Need for Your Spellbinding Hocus Pocus Decor 🧙♀️
My go-to trick for a fabulous party is always starting at the dollar store. You can find so many hidden gems to transform! Here’s what to gather for our magical crafting session:
✅ Assorted glass bottles/jars (dollar store)
✅ Black and purple craft paint (👑 Nancy’s Pick: Opt for acrylic craft paint from the dollar store – it’s cheap, covers well, and dries quickly for multiple layers!)
✅ Hot glue gun and glue sticks
✅ Cardstock (black, purple, green)
✅ Scissors or craft knife
✅ Twine or ribbon
✅ Printable Hocus Pocus designs (provided in a later section)
✅ Faux spiderwebs, plastic spiders, plastic ravens (dollar store)
✅ Old books or cardboard boxes
✅ Battery-operated tea lights
Crafting Your Hocus Pocus Magic: Step-by-Step Decorations ✨
As your Party Planner Extraordinaire, I’m all about creating maximum impact without breaking the bank. These DIY projects are perfect examples of my Budget-Savvy Solutions, transforming simple dollar store finds into truly magical Hocus Pocus decor!
Project 1: “I Put a Spell on You” Potion Bottles
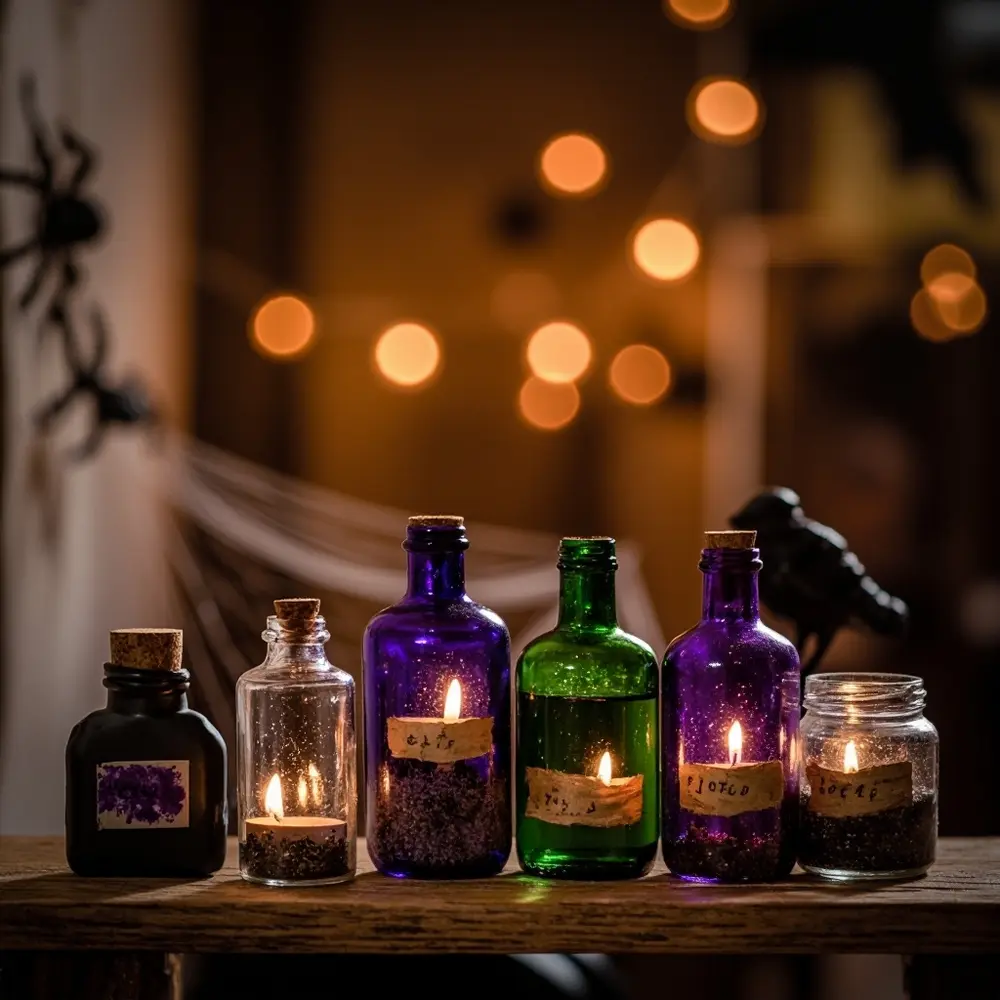
These potion bottles are the cornerstone of any good witch’s lair. First, make sure your glass bottles and jars are clean and dry. Apply one or two coats of black or purple acrylic paint—don’t worry about making it perfect; a slightly rustic look adds to the charm! Once dry, cut out your favorite labels from my printable sheet and use a bit of hot glue or craft glue to attach them. For an extra magical touch, fill the unpainted bottles with water tinted with a drop of food coloring or a sprinkle of glitter.
[image-1: A collection of various sized glass bottles, some painted black and purple, some with vintage-style potion labels, arranged artfully on a wooden shelf.]

Project 2: Sanderson Sisters Silhouette Garland
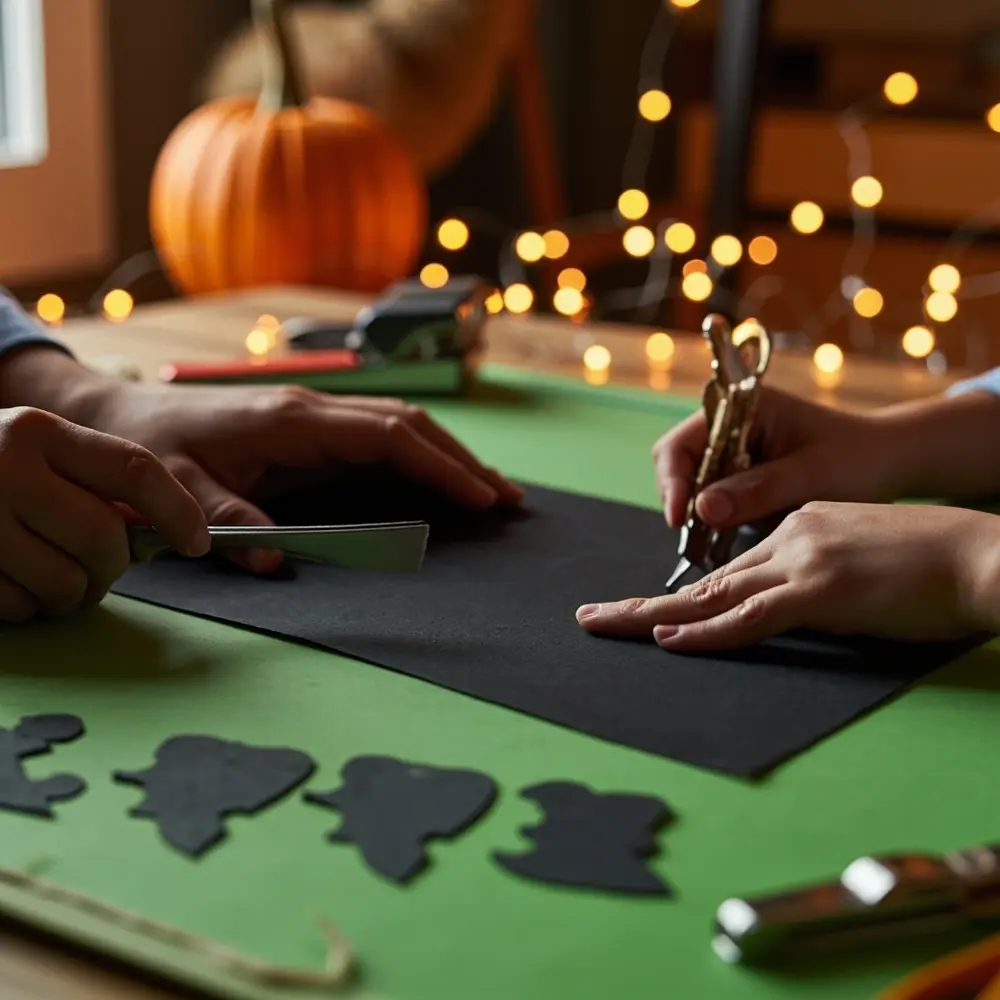
This garland is a simple yet dramatic way to honor the Sanderson Sisters. Start by printing the silhouette designs onto sturdy black cardstock for durability. After testing dozens of paper types, I can tell you that cardstock holds its shape and won’t curl like regular paper. Carefully cut out each silhouette—Winifred, Sarah, Mary, Binx, and the spellbook.
⚠️ Safety First: An adult should always handle a craft knife. If using scissors, take your time on the intricate details for the best results.
Once your shapes are cut, use a hole punch to make two small holes at the top of each silhouette and thread your twine or ribbon through to create a spooky, spellbinding garland.
[image-2: Close-up of hands carefully cutting out a Sanderson Sister silhouette from black cardstock with a craft knife on a cutting mat.]

Project 3: DIY Book of Spells Prop

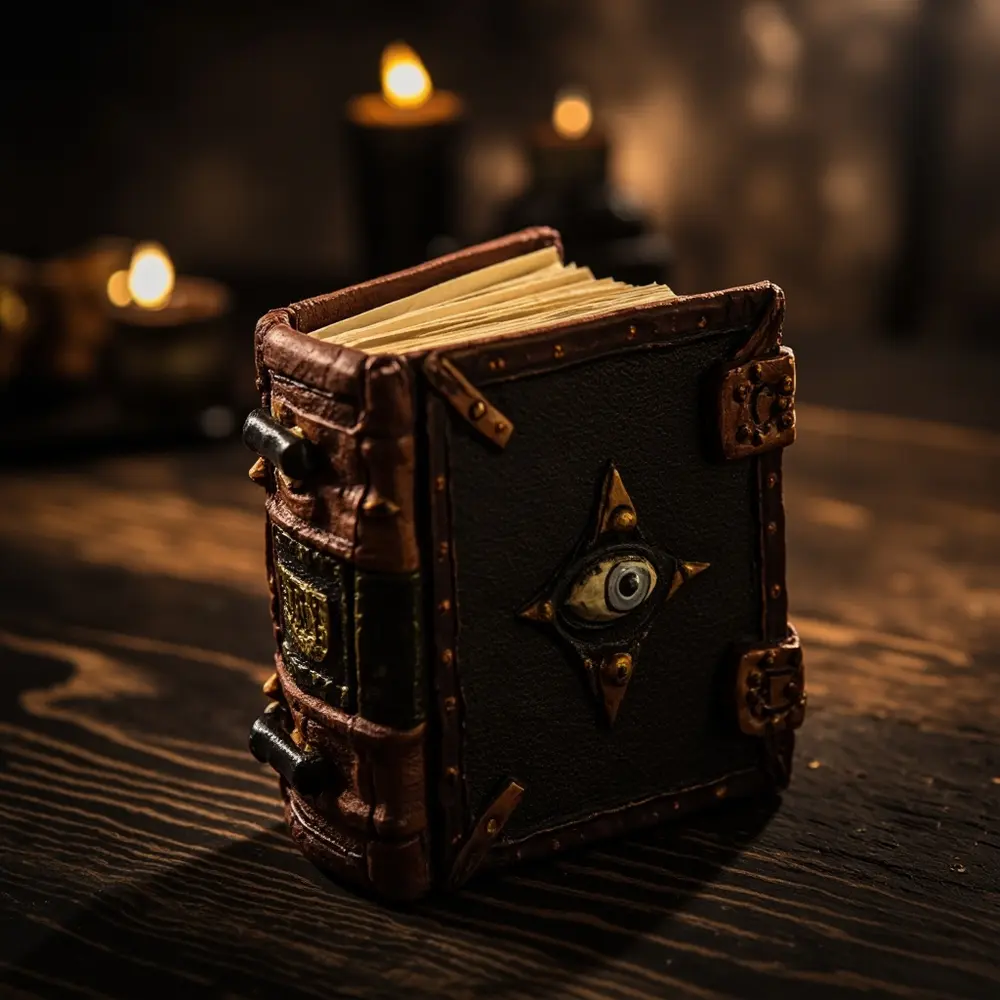
No Hocus Pocus party is complete without the iconic Book of Spells! Find an old hardcover book you don’t mind altering or use a small cardboard box. Paint the entire outside with brown or black paint. To create the creepy stitched effect, run thick lines of hot glue along the “spine” and edges. Then, attach the printable eye and clasp with more hot glue.
💡 Pro-Tip: To create a raised, textured “skin” effect before painting, lightly crumple a piece of aluminum foil. Lay it over the book cover, then run your hot glue over the foil to create ridges and bumps. Once the glue is cool, peel off the foil and paint over the texture!
[image-3: A finished DIY Book of Spells prop, painted brown with hot glue “stitching,” open slightly to reveal a “spell” page, with a battery-operated tea light casting a spooky glow from inside.]
Project 4: Spooky Raven & Spiderweb Vignettes
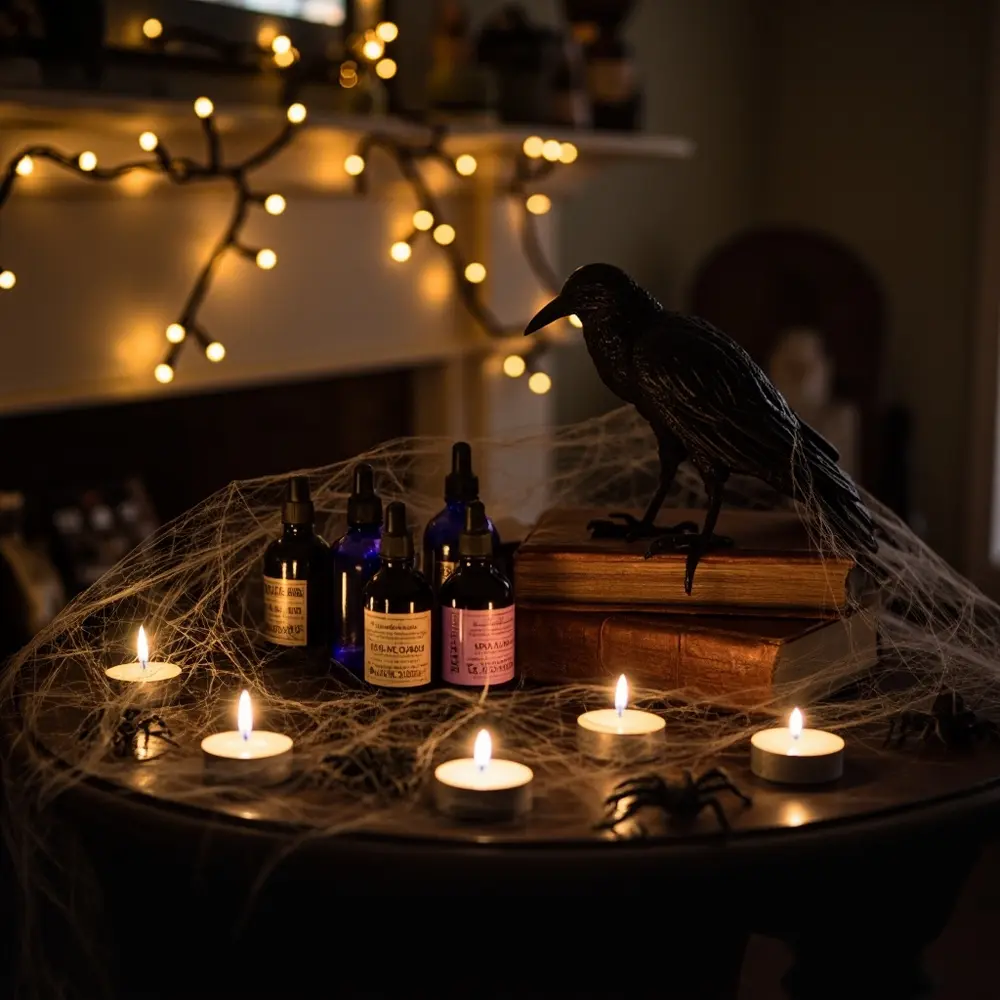
This is where your inner stylist comes out to play! A mistake I always see is people just throwing decorations around. Instead, create intentional little scenes, or “vignettes.” On your mantel, a bookshelf, or a side table, artfully stretch out the faux spiderwebs. Perch a plastic raven on a stack of old books next to a few of your finished potion bottles. Scatter some plastic spiders around the base and tuck in a few battery-operated tea lights to cast an eerie glow. It’s these little curated moments that make your party decor feel truly immersive.
[image-4: A styled vignette on a dark wood table featuring stretched faux spiderwebs, plastic spiders, a black plastic raven, and a cluster of DIY potion bottles, all illuminated by the soft glow of a battery-operated tea light.]

Exclusive Hocus Pocus Printable Designs 📜
To make this even easier for you, I’ve designed a set of exclusive printables. A question I get all the time is how to make DIY decor look polished, and these are the answer! They are designed to be easy to cut and apply, instantly elevating your projects from simple crafts to party-perfect props. Just download, print, and get crafting!
- Potion Bottle Labels (e.g., “Dead Man’s Toe,” “Oil of Boil,” “Newt Saliva”)
- Sanderson Sisters Silhouettes (for garland or wall decor)
- “I Put a Spell on You” Banner Letters
- Book of Spells Eye & Clasp
- Hocus Pocus Quote Signs (e.g., “It’s just a bunch of Hocus Pocus!”)
More Dollar Store Hacks for a Bewitching Bash 💰
After planning dozens of Halloween parties, I’ve learned that a few extra touches can make all the difference. If you want to take your Hocus Pocus theme even further, here are a few more of my favorite quick and easy dollar store ideas:
- Witch’s Broomsticks: Grab a few small decorative brooms from the dollar store, or attach bundles of twigs to long sticks with twine for a more rustic look.
- Cauldron Candy Bowls: Use the classic plastic cauldrons as candy bowls. Fill them with green tissue paper first to make the candy pop.
- Glow-in-the-Dark Accents: Use glow sticks or glow-in-the-dark paint on plastic spiders or bats and hide them in corners for a spooky surprise when the lights are low.
- “Cemetery” Yard Stakes: Paint dollar store foam boards grey, cut them into tombstone shapes with a craft knife, and write spooky names like “Billy Butcherson” with a black marker.
Hocus Pocus Party FAQs 🤔
Q1: How can I make my DIY decorations last beyond the party?
My go-to trick for this is a can of clear matte sealant spray. A light coat over your painted potion bottles and the Book of Spells will protect them from chipping. Store everything carefully in a box with tissue paper between the items, and you can bring them out year after year!
Q2: Are these projects suitable for involving kids in the crafting process?
Absolutely! This is a fantastic way to create memories. Kids can do the painting for the potion bottles, help arrange the spiderweb vignettes, and glue the labels on. Just be sure an adult handles the hot glue gun and any cutting with a craft knife.
Q3: What if I don’t have a printer for the printable designs?
No printer? No problem! You can pull the designs up on a tablet or computer screen, place a thin piece of paper over it, and gently trace the outlines. You can also check your local library or an office supply store, as they often offer very affordable printing services.
Now you have all my secrets for a spellbinding Hocus Pocus party on a budget! These dollar store hacks prove you don’t need a big cauldron of gold to create some real magic.
Which project are you most excited to try first? Let me know in the comments below! ✨
