DIY Pumpkin Patch Birthday Party Setup: A Complete Guide
✨ From haunted party planning spreadsheets to styling unforgettable Halloween birthdays, I’ve mastered the art of turning a simple idea into a magical experience. As a professional event planner, I’ve learned all the secrets to creating stunning autumn birthday ideas that look incredible without breaking the bank.
😅 But I know the struggle. How do you transform your backyard into a festive pumpkin patch that feels special and not just like a pile of gourds? Where do you even start with seating and decor for a cohesive kids party theme?
👑 That’s why in this post, I’ll show you exactly how to solve these challenges with tips I’ve tested myself. Stick with me, and you’ll learn how to create a breathtaking DIY fall setup while making magical memories with your loved ones! 🎃
Tutorial At-a-Glance
Time Required: Approx. 3-5 hours (depending on scale)
Budget Level: Mid-Range (can be adapted to Low-Cost with DIY focus)
Skill Level: Beginner to Intermediate
What You’ll Need for Your DIY Pumpkin Patch Birthday Setup 🎃
A question I get all the time from my community is how to get that high-end, festive look on a budget. The secret is focusing on a few key, high-impact items. My go-to trick is to mix natural elements with a few store-bought supplies. With these budget-friendly solutions, you can create a stunning pumpkin patch birthday party that looks like it was styled by a pro.
- ✅ Assorted Pumpkins & Gourds (various sizes)
- ✅ Hay Bales (small to medium, for seating and decor) (👑 Nancy’s Pick: Look for local farm stands or feed stores for the best prices and freshest bales, often cheaper than craft stores.)
- ✅ Outdoor Rugs or Blankets (for seating areas)
- ✅ Picnic Tables or Folding Tables (for food/activity stations)
- ✅ Tablecloths (burlap, plaid, or fall-themed)
- ✅ Fall Foliage & Corn Stalks (real or artificial)
- ✅ String Lights or Lanterns (for ambiance)
- ✅ Themed Party Supplies (plates, napkins, cups with fall/pumpkin motifs)
- ✅ DIY Signage Materials (chalkboards, wood planks, paint)
- ✅ Kid-Friendly Activities (e.g., pumpkin painting station, ring toss)
- ✅ Snacks & Drinks (fall-themed, e.g., apple cider, pumpkin cookies)
Creating Your Dream Pumpkin Patch Birthday Setup: Step-by-Step Guide 🍂
Step 1: Choose Your Location & Plan the Layout
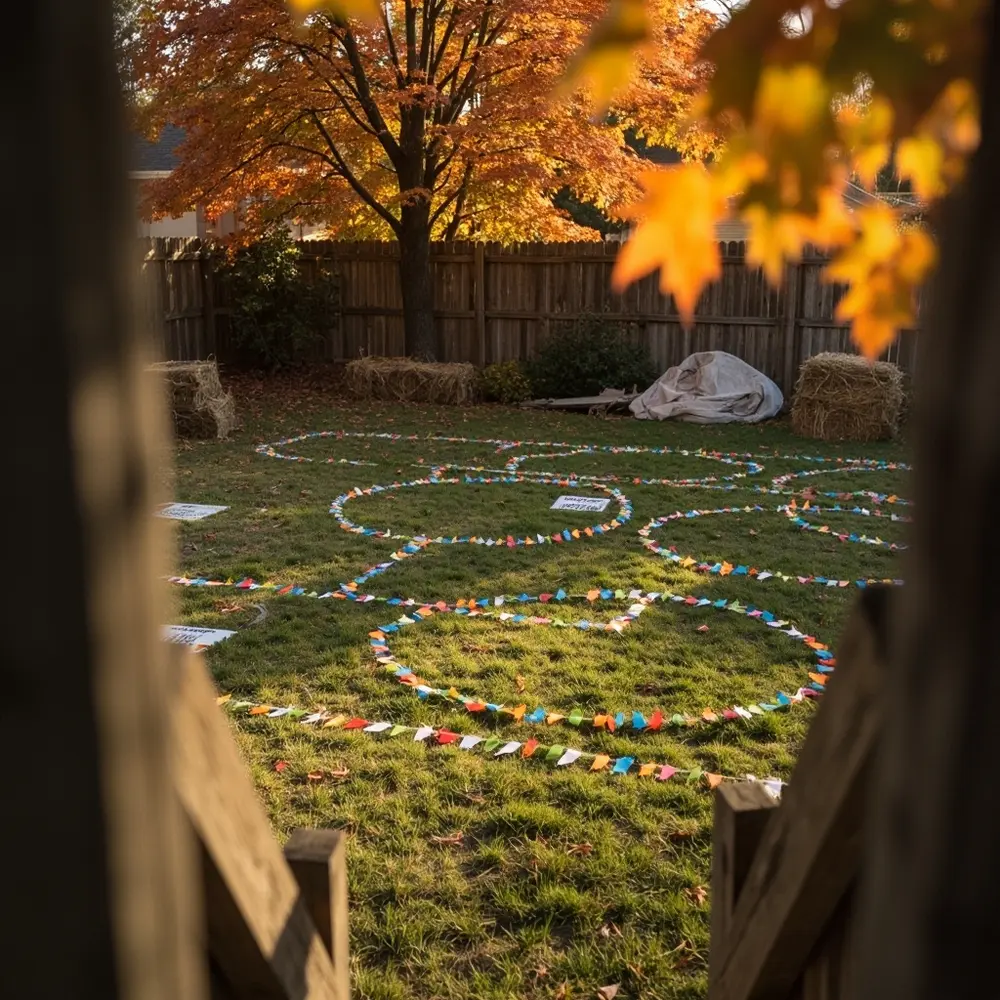
First, scout the perfect spot in your yard. Look for a level area with a nice backdrop, like a large tree or a rustic fence, that you can use as a natural anchor for your decor. Before you move a single hay bale, sketch a quick map of your party zones. Designate separate areas for seating, the main food and drink table, and activities like pumpkin painting. This ensures guests can move around easily and keeps messy activities contained.
[Image Placement Instruction: image-1: An aerial or wide shot of the chosen outdoor space, perhaps with initial markers for different zones.]
Step 2: Set Up Your Hay Bale Seating Areas
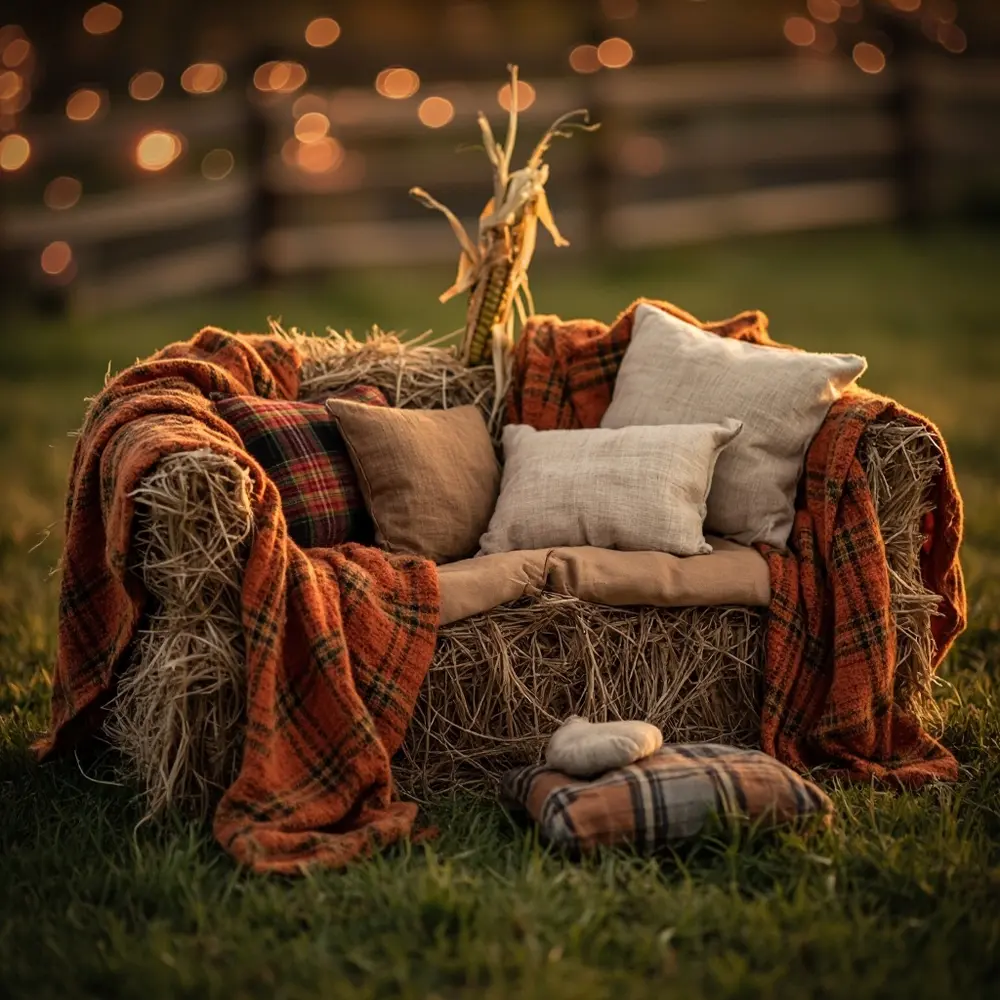
This is where the cozy, rustic vibe really comes to life! Arrange your hay bales in conversational clusters, like small L-shapes or semi-circles, to encourage guests to mingle. A mistake I always see is just lining them up in a row, which can feel stiff. Drape thick plaid blankets, quilts, or pieces of burlap over the tops to make them comfortable and prevent scratchy legs.
⚠️ Safety First: Before letting little ones sit down, press firmly on each hay bale to ensure it’s stable and won’t tip over. Run your hands over the sides to check for any sharp, poky pieces of straw and tuck them in or trim them off.
[Image Placement Instruction: image-2: A cozy hay bale seating arrangement with blankets and cushions, ready for guests.]
Step 3: Design Your Themed Snack & Drink Tables
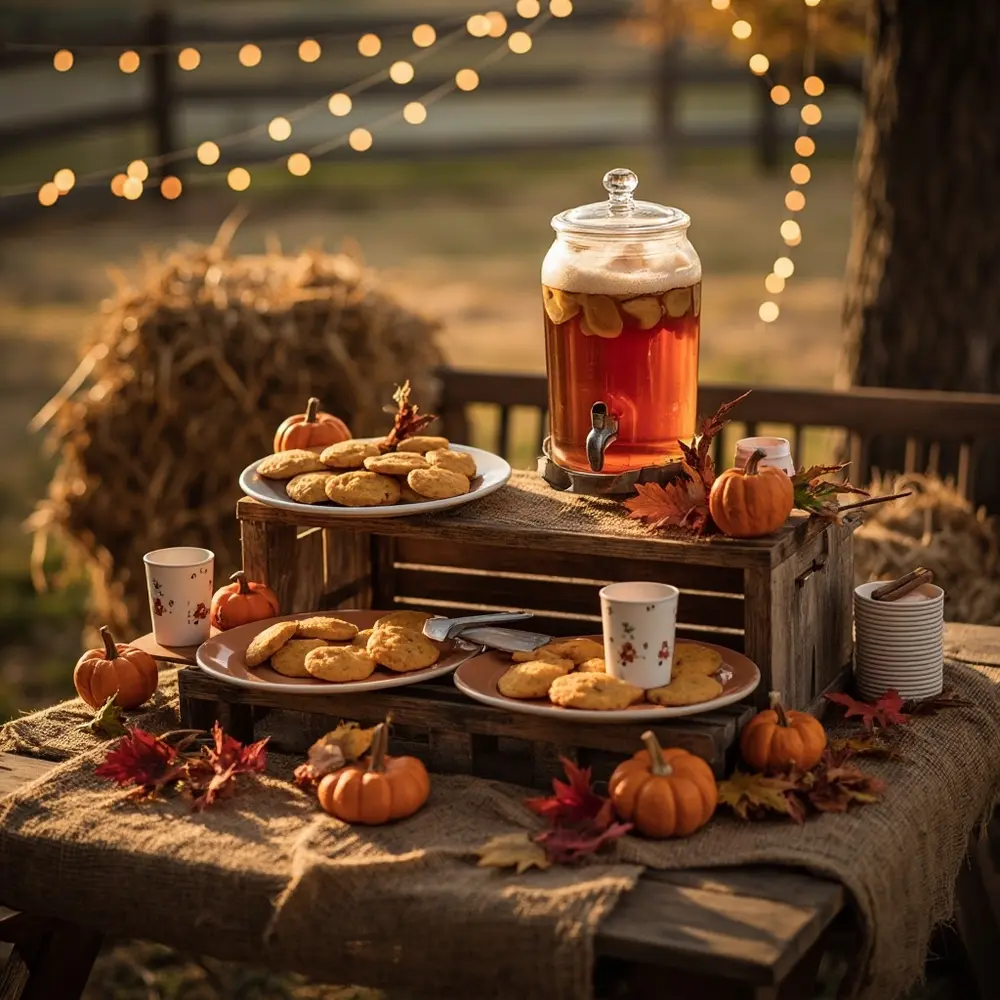
Your food table is a major decorative focal point. Start with a festive tablecloth—burlap or a classic orange-and-black plaid works wonders. My favorite trick for adding visual interest is to create different levels. Use wooden crates or overturned baskets to elevate platters of pumpkin cookies or a dispenser of warm apple cider. Scatter a few mini pumpkins and some artificial fall leaves around the dishes to tie everything together.
💡 Pro-Tip: Use mini pumpkins or gourds as clever, on-theme food labels! Just write the name of the dish on a small card and tuck it into a slit you’ve cut in the stem. They also work perfectly as weights to hold down napkins on a breezy day.
[Image Placement Instruction: image-3: A beautifully decorated snack table laden with fall-themed treats and drinks, with themed tablecloths and decor.]
Step 4: Arrange Pumpkins, Gourds, and Fall Decor
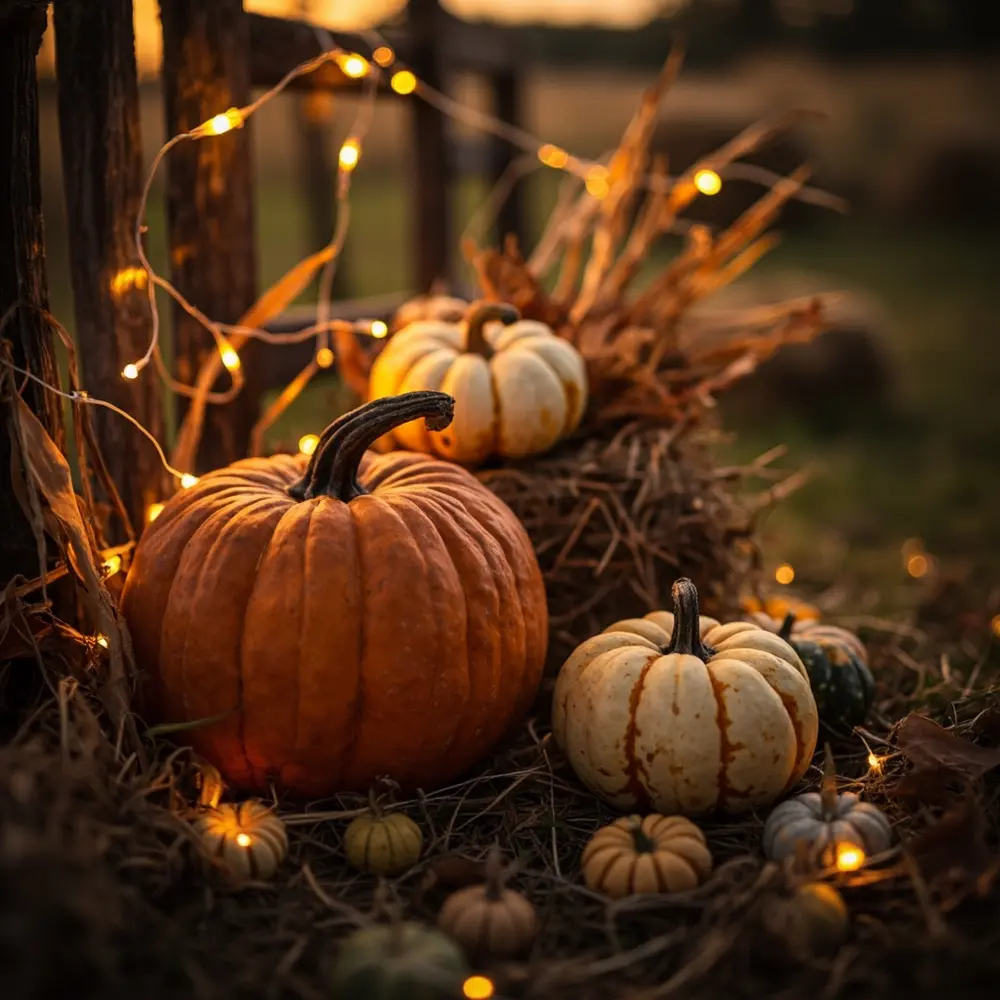
Now for the main event: creating the “patch”! The key to an authentic look is variety and strategic placement. Start by anchoring the corners of your party area with taller elements like corn stalks tied to a fence post or tree. Then, create charming clusters of pumpkins and gourds of all shapes, sizes, and colors. Place larger pumpkins on the ground, prop medium ones on small hay bales, and fill in gaps with smaller gourds. This layering of heights and textures is what makes it feel like a real, abundant pumpkin patch.
[Image Placement Instruction: image-4: A close-up shot of a decorated area, showcasing a mix of pumpkins, corn stalks, and string lights.]
Step 5: Add Lighting and Finishing Touches
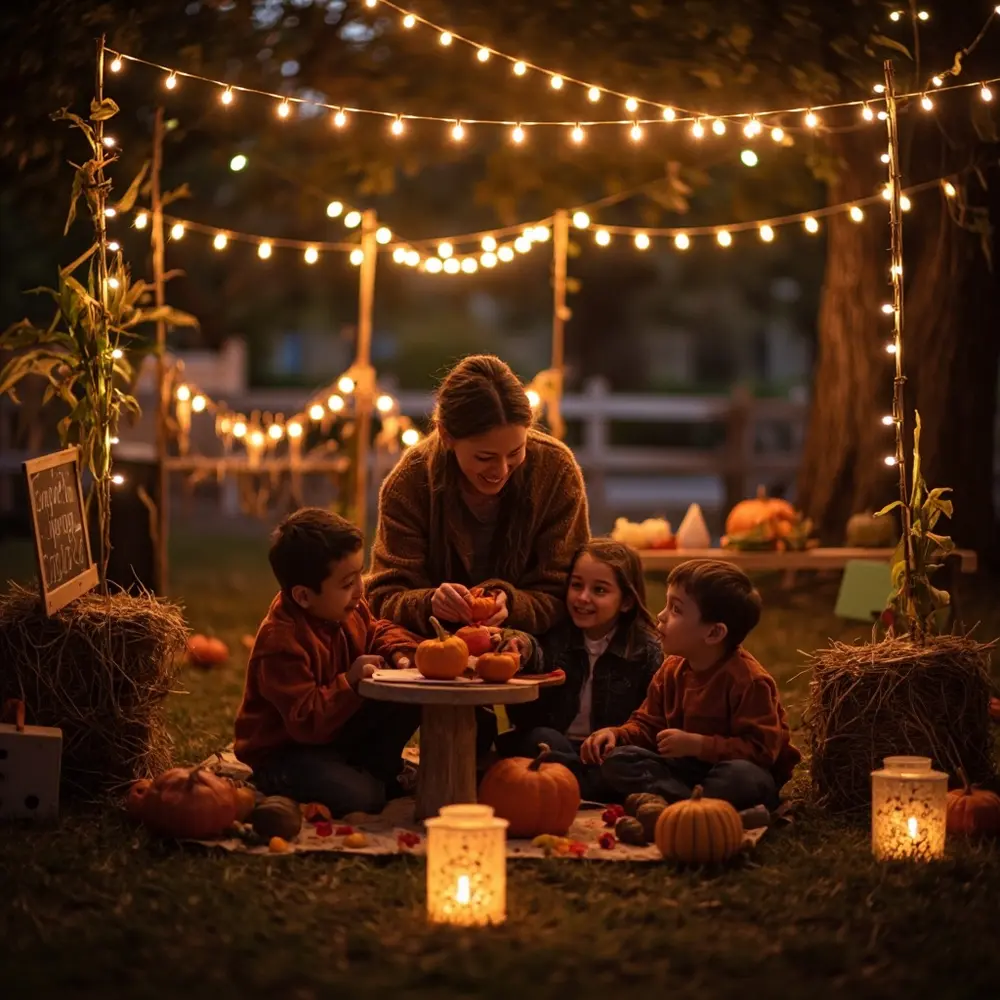
As the sun begins to set, ambient lighting will transform your setup into a magical wonderland. Drape warm-white string lights between trees or along a fence line. Place a few battery-operated lanterns around the seating areas for a soft glow. Finally, add your DIY signage. A simple chalkboard sign that says “Welcome to [Name]’s Pumpkin Patch!” adds a personal touch that makes all the difference. Do one last walkthrough to make sure everything is secure and there are no tripping hazards.
[Image Placement Instruction: image-5: The complete pumpkin patch birthday setup, illuminated by string lights, showing the festive atmosphere.]
Variations & Customizations for Your Fall Celebration 👻
One of the best things about this DIY fall setup is how easily you can adapt it! After planning dozens of these events, I’ve found a few twists that work beautifully.
- For a smaller space, focus on a “mini patch” with fewer hay bales and more potted mums to create a lush, contained feel.
- Incorporate a specific Halloween twist with spooky elements like friendly ghosts made from cheesecloth or spiderwebs artfully draped among the pumpkins.
- Add a DIY photo booth backdrop using a hay bale for seating, a couple of corn stalks on either side, and a festive “Happy Birthday” banner.
- Adapt for an adult gathering by adding a cozy s’mores station with a small fire pit or a spiked apple cider bar for the grown-ups.
Pumpkin Patch Birthday Setup FAQs 🤔
Q1: How can I keep real pumpkins from rotting before the party?
To help your pumpkins last longer, give them a quick bath in a solution of one part bleach to ten parts water. Let them air dry completely before setting them out. This kills surface bacteria that causes rot. Also, try to keep them in a cool, shaded spot until party day.
Q2: What are some good rain-plan alternatives for an outdoor pumpkin patch party?
Always have a backup plan! You can move the party into a garage or onto a covered patio. Recreate the “patch” on a smaller scale by laying down a tarp, setting up a few hay bales, and clustering your pumpkins. A pop-up canopy tent can also be a lifesaver for covering the food table.
Q3: How can I make the hay bale seating more comfortable for all ages?
While blankets help, some guests (especially older adults) might find the bales too low or unstable. My solution is to have a mix of seating. Keep the hay bales for the kids and more adventurous adults, and set up a few folding chairs with cushions in another area. For the bales themselves, using thick, flat cushions on top of the blankets provides a much more stable and comfortable seat.
*
Creating a beautiful pumpkin patch birthday party is all about layering simple, rustic elements to make something truly magical. With these steps, you’re ready to host a fall celebration that your family and friends will remember for years to come.
What’s your favorite fall party treat you’d add to the snack table? Let me know in the comments below
