Step-by-Step DIY: Halloween Cake Toppers & Themed Cupcakes (Cricut & No-Cricut Options!)
✨ From haunted party planning spreadsheets to last-minute glitter explosions, I’ve mastered the art of creating magical Halloween party desserts. After years of testing, fixing fails, and discovering what actually works, I’ve perfected these sweet and spooky treats.
😅 But I know the struggle. Are you scrolling through Pinterest for Halloween party desserts, only to find beautiful photos with no real instructions? Do you feel like you can’t make cute things without a fancy Cricut machine? I’ve been there, too.
👑 That’s why in this post, I’ll show you exactly how to solve these challenges with my tested, step-by-step tutorial for both Cricut and no-Cricut crafters. Stick with me, and you’ll learn how to create stunning Halloween cake toppers and themed cupcakes while making magical memories with your loved ones! 🎃
Tutorial At-a-Glance
Time Required: Approx. 2-3 hours (depending on Cricut use)
Budget Level: Low-to-Medium Cost
Skill Level: Beginner to Intermediate (Cricut optional)
What You’ll Need for Your Spooky & Sweet Treats 🎃
As a party planner for over a decade, I’ve learned that having your supplies ready is the key to a stress-free crafting session. Here’s my go-to list for this project.
- ✅ Cardstock: Grab a mix of classic Halloween colors (black, orange, purple, green) and some fun pastels (lavender, mint, light pink) for a modern twist.
- ✅ Cricut machine OR craft scissors/X-Acto knife: You absolutely do not need a cutting machine! A sharp pair of scissors will work wonders.
- ✅ Cutting mat: If you’re using an X-Acto knife, a self-healing mat is best, but in a pinch, a thick piece of cardboard will protect your table.
- ✅ Craft glue or hot glue gun with glue sticks: I like having both on hand—craft glue for delicate layers and hot glue for attaching sticks.
- ✅ Wooden skewers or lollipop sticks: These will be the posts for your toppers.
- ✅ Cupcake mix or your favorite recipe ingredients: Your choice! Box mix is a fantastic time-saver.
- ✅ Frosting: Store-bought or homemade, both work perfectly.
- ✅ Gel food coloring: Classic Halloween colors plus pastel options like lavender, mint green, and light orange.
- 👑 Nancy’s Pick: I swear by AmeriColor Soft Gel Paste. The colors are incredibly vibrant, and you only need a tiny drop, so it won’t thin out your frosting like liquid food coloring can.
- ✅ Piping bags and tips: Optional, but great for creating those perfect frosting swirls. A Ziploc bag with the corner snipped off is a great creative problem-solving hack!
- ✅ Halloween-themed sprinkles: Ghosts, bats, pumpkins, or simple nonpareils in festive colors.
- ✅ Toothpicks or small paintbrushes: Perfect for applying tiny dots of glue or drawing fine details on your cupcakes.
Crafting Your DIY Halloween Cake Toppers: A Step-by-Step Guide ✂️
This is where the magic begins! Creating your own toppers adds such a personal and impressive touch to any cake or batch of cupcakes. My go-to trick for this is to put on a spooky movie in the background while I work.
Step 1: Design & Cut Your Toppers (Cricut or Hand-Cut)
First, decide on your designs. Think classic ghosts, spooky bats, cute pumpkins, witch hats, or even text like “Boo!” or “Happy Birthday” for a Halloween-themed birthday.
- For Cricut Users: Search for “Halloween SVG” in Cricut Design Space, Etsy, or other design sites. Upload your chosen design, resize it to fit your cake or cupcakes (I recommend 2-3 inches for cupcake toppers), and let the machine do the precise cutting for you.
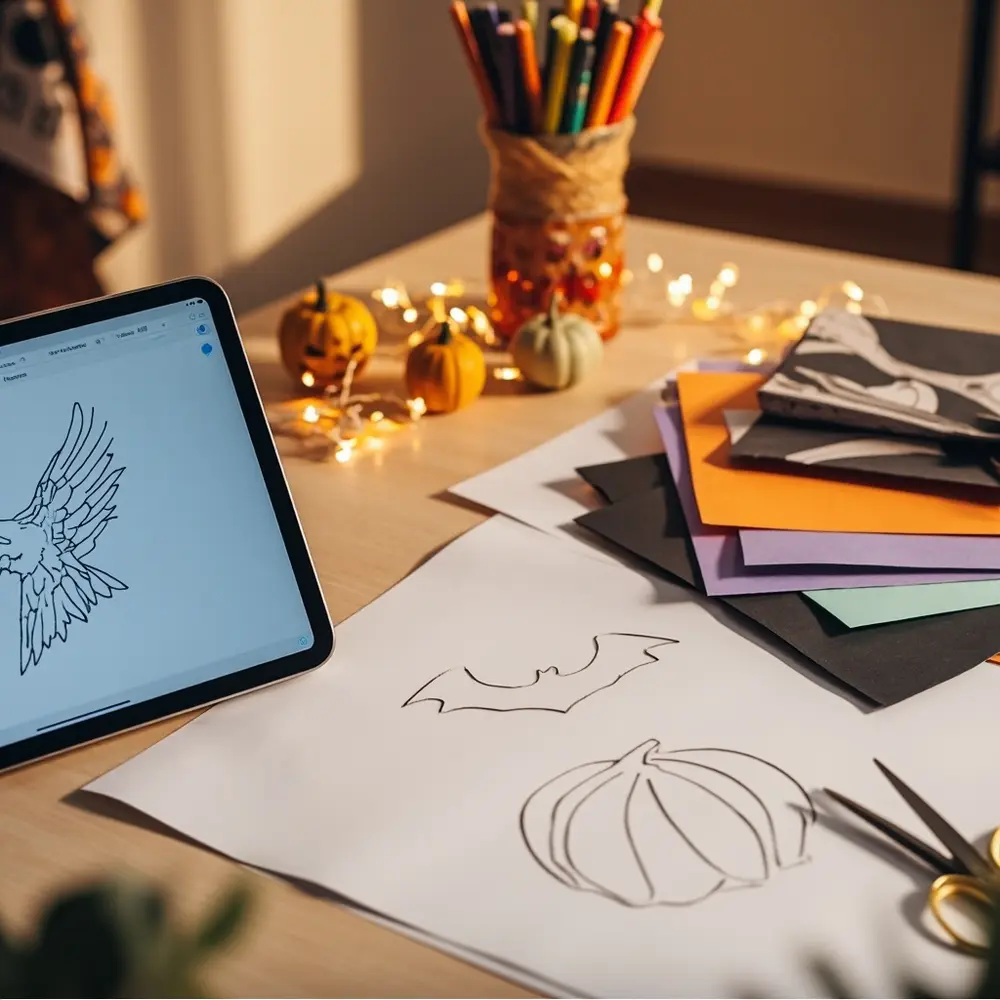
- For No-Cricut Crafters: Don’t worry, this is just as fun! You can find simple Halloween templates online by searching for “ghost coloring page” or “pumpkin stencil.” Print and cut out the template, trace it onto your cardstock, and carefully cut it out with sharp scissors or an X-Acto knife.
image-1: A split image showing a digital ghost design on a Cricut screen and hand-drawn paper templates of a bat and pumpkin next to scissors.
Step 2: Assemble Your Topper Layers
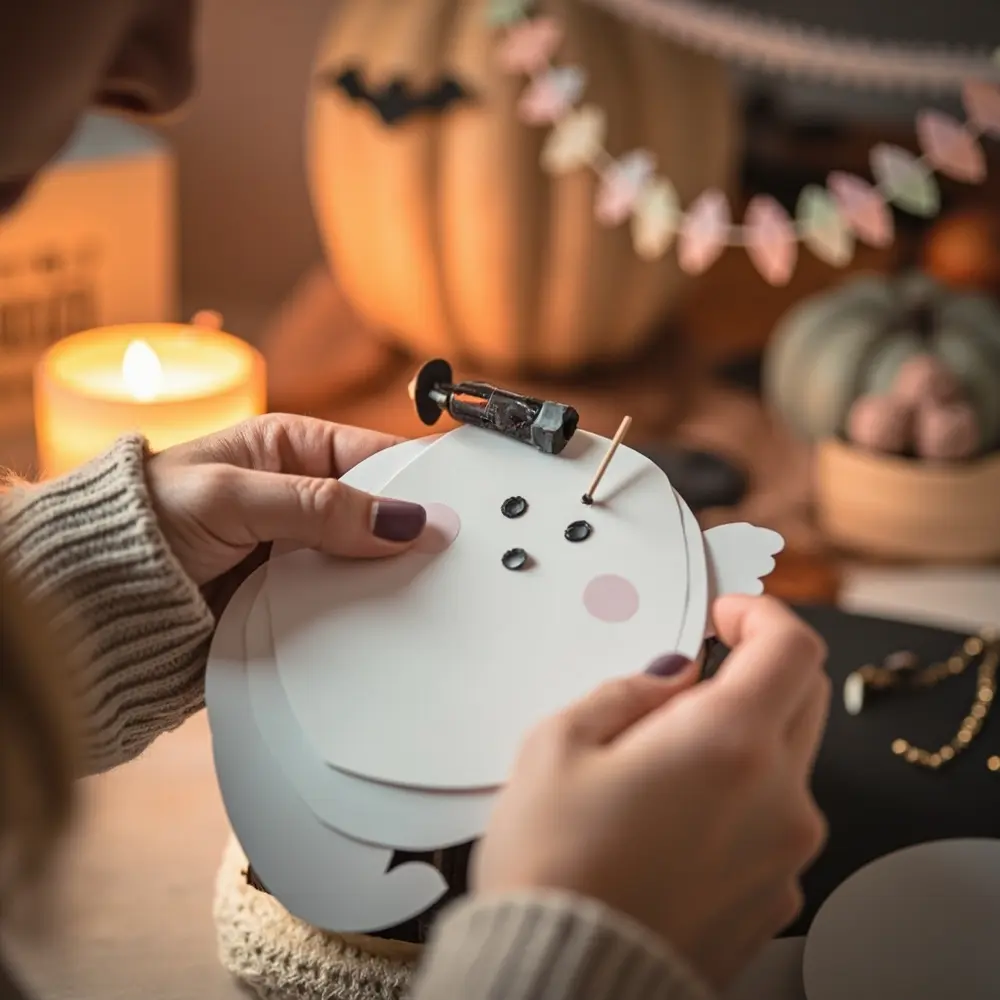
Layering is the secret to making your toppers look professional. For example, you can cut a ghost shape from white cardstock and then cut smaller ovals from black cardstock for the eyes and mouth.
Using a toothpick or the fine tip of a craft glue bottle, apply a small amount of glue to the back of the smaller pieces and press them firmly onto the base layer. This adds depth and makes your designs pop!
⚠️ Safety First: If you’re using an X-Acto knife for intricate cuts, always use a cutting mat and cut away from your body. Keep your fingers clear of the blade’s path!
image-2: Close-up shot of hands carefully gluing small black cardstock eyes onto a layered white cardstock ghost topper.
Step 3: Attach Sticks & Embellish
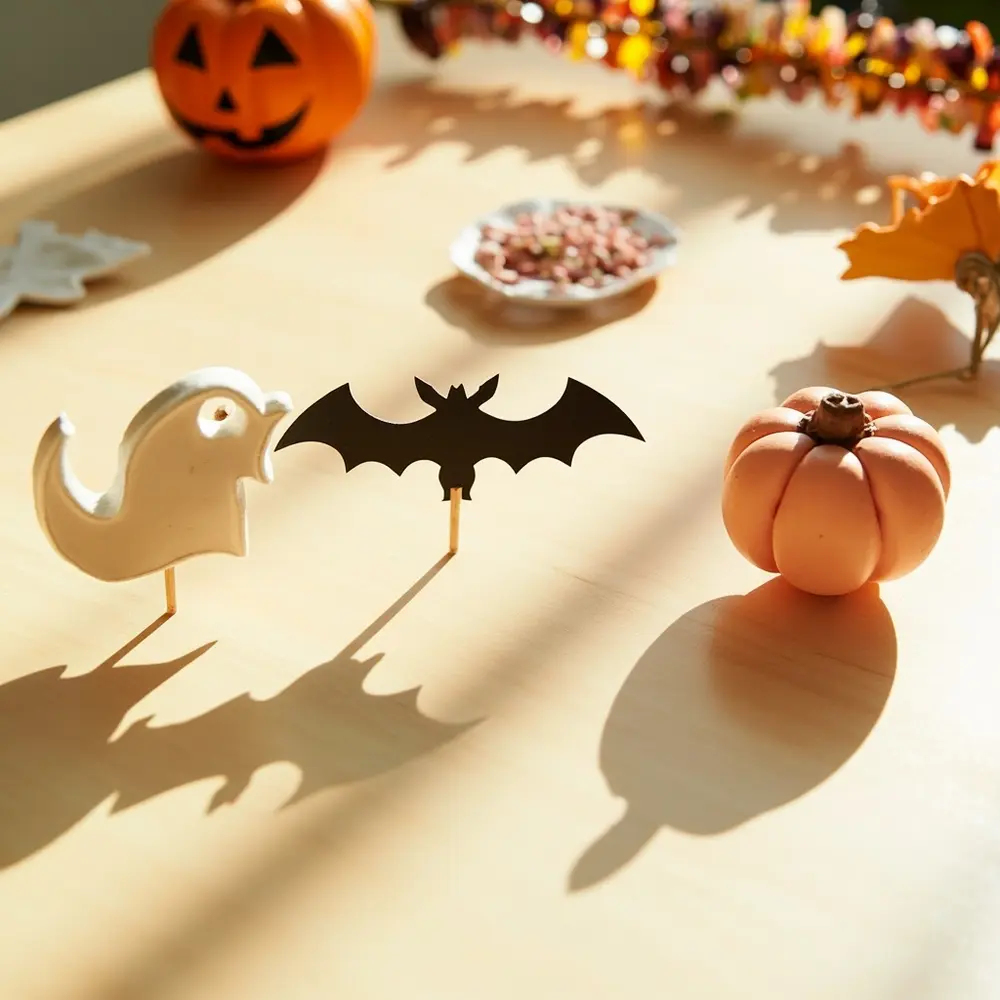
Once your layered designs are dry, it’s time to turn them into toppers. Flip your paper design over and run a line of hot glue down the center of the back. Quickly press a wooden skewer or lollipop stick into the glue and hold it for a few seconds until it sets. For extra sparkle, you can add a touch of glitter glue or tiny craft gems.
💡 Pro-Tip: To make your toppers extra sturdy, sandwich the stick! After gluing the stick to the back of your topper, add another dab of glue and press a small scrap of matching cardstock over the stick. This creates a clean, strong finish.
image-3: A photo showing several finished cake toppers—a ghost, a bat, and a pastel pumpkin—some with sticks attached, laid out neatly on a craft table.
Decorating Themed Halloween Cupcakes: Spooky & Sweet! 🧁
Now for the cupcakes! This is a great activity to do with kids. A mistake I always see is people trying to frost warm cupcakes—patience is key here for a smooth, non-melty finish.
Step 1: Bake & Cool Your Cupcakes
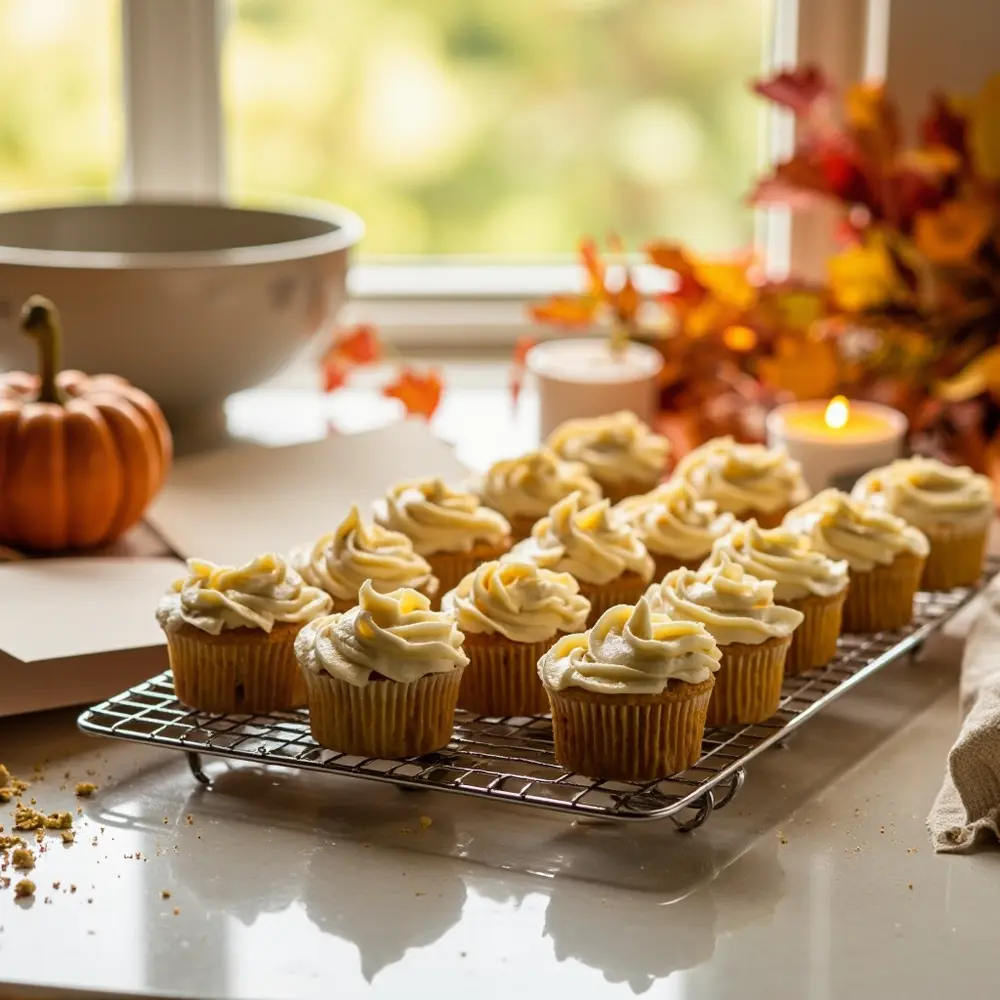
Follow your recipe or the directions on the box mix to bake your cupcakes. Once they’re done, transfer them to a wire rack to cool completely. I mean it—completely! This can take at least an hour. Trying to frost a warm cupcake will result in a soupy, melted mess.
image-4: A dozen freshly baked vanilla cupcakes cooling on a wire rack on a kitchen counter.
Step 2: Mix & Color Your Frosting (Pastel & Classic Options)
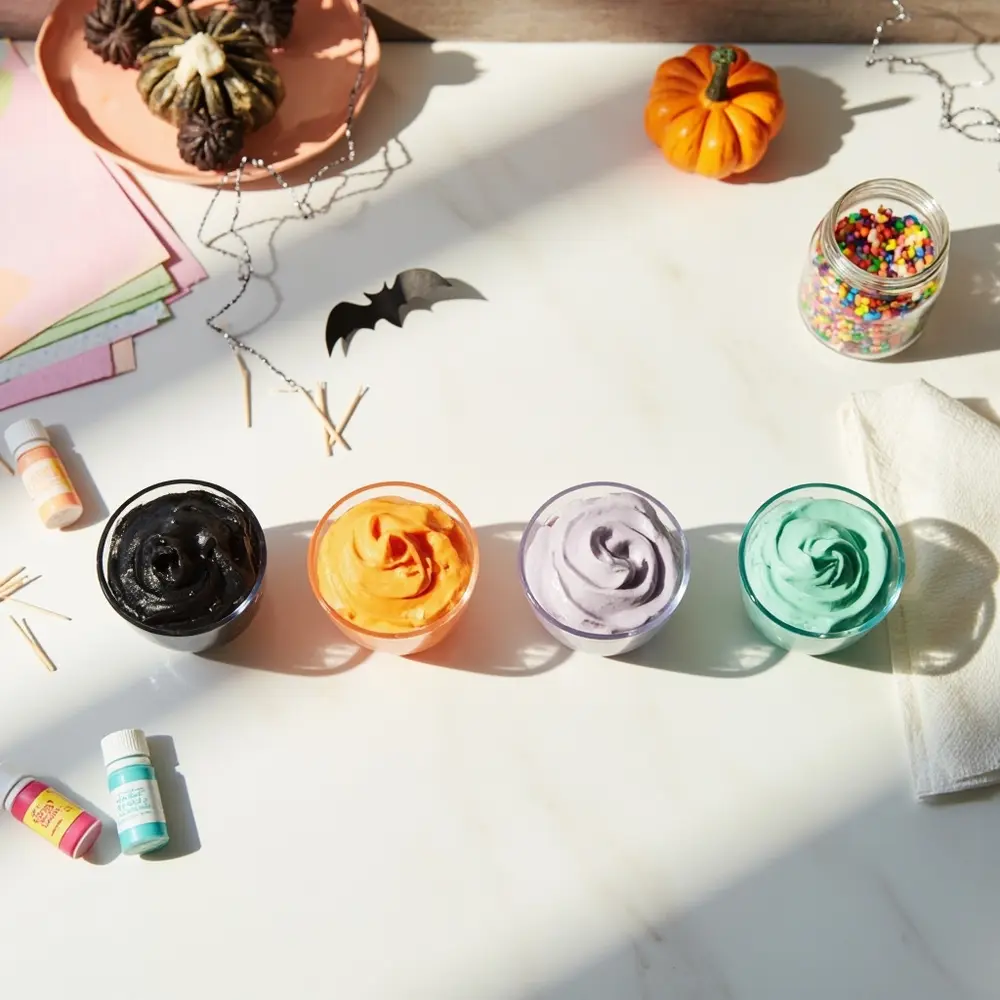
Divide your white frosting into several small bowls—one for each color you want to create. Dip a clean toothpick into your gel food coloring and swirl it into one of the bowls. A little goes a long way! Mix thoroughly and add more color until you reach your desired shade. This is the perfect time to experiment with both classic black and orange and trendy pastel Halloween colors like mint green, lavender, and soft pink.
image-5: Four small glass bowls of white frosting being colored. One is black, one is orange, one is lavender, and one is mint green, with gel food coloring bottles nearby.
Step 3: Frost & Decorate Your Cupcakes
Time to bring it all together! You can frost your cupcakes in a few easy ways:
- Simple & Smooth: Use a butter knife or small offset spatula to spread a smooth layer of frosting.
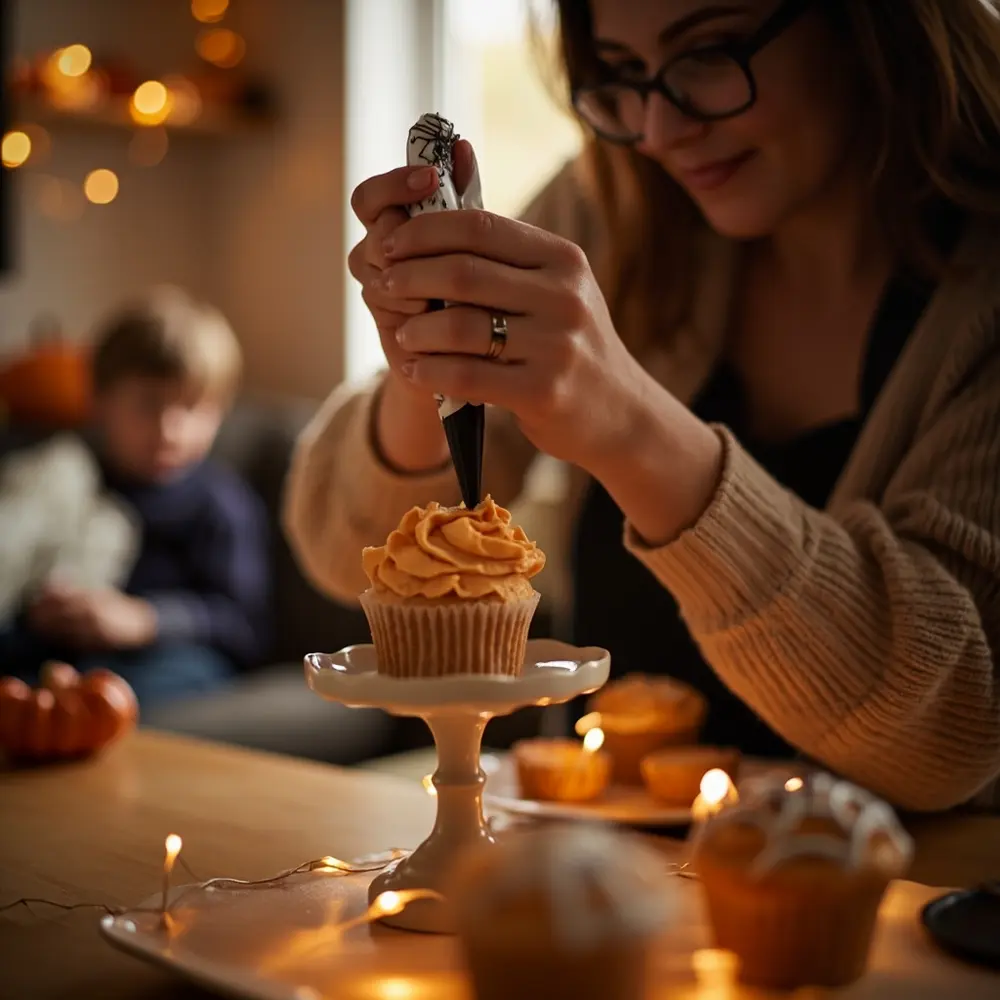
- Classic Swirl: Use a piping bag with a star tip to create a beautiful swirl.
- Creative Designs: Use a toothpick to draw a spiderweb in black frosting over a white base, or add two mini chocolate chips for ghost eyes.
Finish with a sprinkle of your Halloween-themed sprinkles and gently press one of your amazing DIY toppers into the center of a few cupcakes. Mix and match for a fun, dynamic display!
image-6: A close-up of hands decorating a cupcake with orange frosting and black sprinkles, with a finished cupcake featuring a ghost topper visible in the background.
Pastel & Beyond: Creative Variations for Your Halloween Treats 👻
After testing dozens of Halloween dessert ideas, I’ve found that a few simple tweaks can completely change the vibe. Here are some of my favorite ways to adapt this tutorial:
- ✅ Pastel Perfection: Go all-in on the pastel Halloween trend! Use only pastel cardstock for your toppers and pastel frosting for the cupcakes. Think lavender ghosts, mint green bats, and light orange pumpkins for a dreamy, spooky-chic look.
- ✅ Mini Cake Toppers: Planning a larger, tiered cake? Simply scale up your designs to create a few larger statement toppers instead of a dozen small ones.
- ✅ Spooky Silhouettes: For a more dramatic and elegant effect, use only black cardstock to create intricate silhouette toppers. A haunted house, a spooky tree, or a witch on a broom look incredible against a white or orange frosted cake.
- ✅ Edible Toppers: If you want a fully edible option, try this! Use cookie cutters to cut shapes from thinly rolled fondant or use edible wafer paper with an edible ink printer to create similar designs.
Halloween Cake Topper & Cupcake FAQs 🤔
A question I get all the time on my Instagram is how to troubleshoot common DIY fails. Let’s dive into a few for this project.
Q1: How can I make these paper toppers more durable or food-safe for placing directly on a cake?
This is a great creative problem-solving moment! To make them more durable, you can spray them with a clear acrylic sealant (just make sure it dries completely). For food safety, my top trick is to never let the paper touch the frosting. You can either wrap the bottom inch of the skewer in plastic wrap before inserting it or, even better, stick a small drinking straw into the cake first and then place the topper’s skewer inside the straw.
Q2: What if I don’t have a Cricut machine, and my hand-cutting isn’t perfect?
Embrace the charm of handmade! The beauty of DIY is that it doesn’t have to be perfect. My advice is to choose simpler shapes (ghosts and pumpkins are more forgiving than intricate bats). Use a very sharp pair of small craft scissors for better control. If a line is a little wobbly, you can often hide it by outlining the edge with a fine-tipped glitter glue pen, which adds sparkle and conceals imperfections.
Q3: How far in advance can I make the toppers and decorate the cupcakes without them getting stale or damaged?
As an event planner, timing is everything! The paper toppers are the best make-ahead element; you can craft them weeks in advance and store them flat in a box or drawer. You can bake the cupcakes 1-2 days ahead and keep them in an airtight container at room temperature. However, for the best taste and texture, I always recommend frosting and decorating them the day you plan to serve them.
I hope this guide helps you create the most spooktacular and sweet treats for your celebration!
What Halloween character will you be turning into a cake topper first? Let me know in the comments below
